Before And After Budget Bedroom Makeover Reveal
A budget-friendly bedroom makeover that demonstrates how you can upgrade what you already own and use it to totally transform the look of a room.
This post contains affiliate links. Click HERE to read my full disclosure.
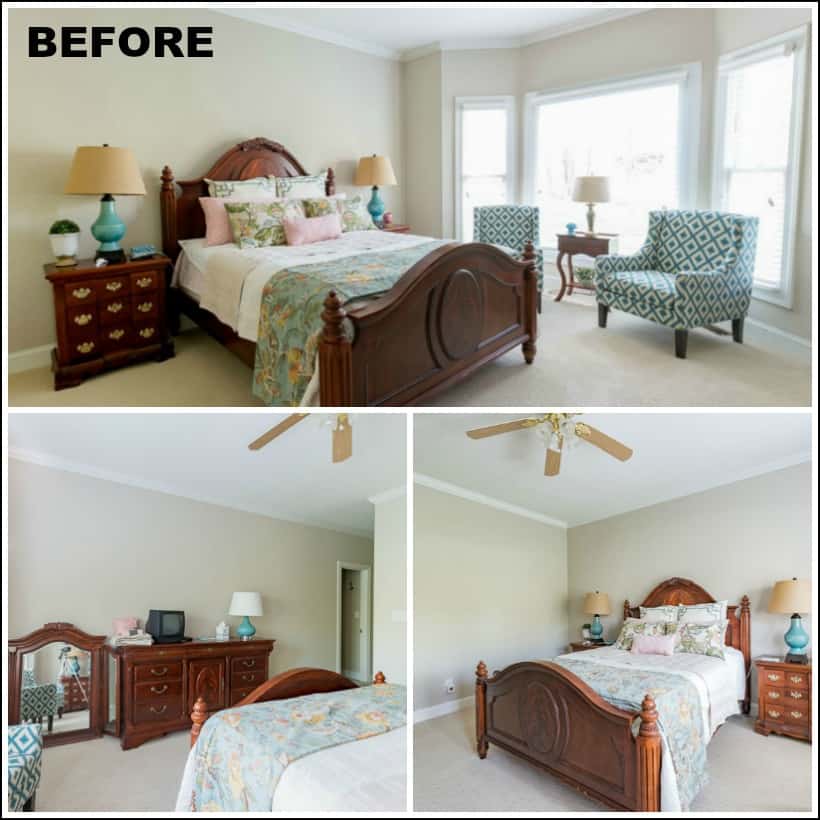
Let me show you a few pictures of what this bedroom looked like right after we moved into the house 4½ years ago. There wasn’t really anything wrong with it other than it was boring and dated looking to me. Plus, I was extremely over the cheap faux cherry finish on the furniture. It sat like this until almost a year ago and by then I was beyond ready for a change!
CREATE A MOOD BOARD
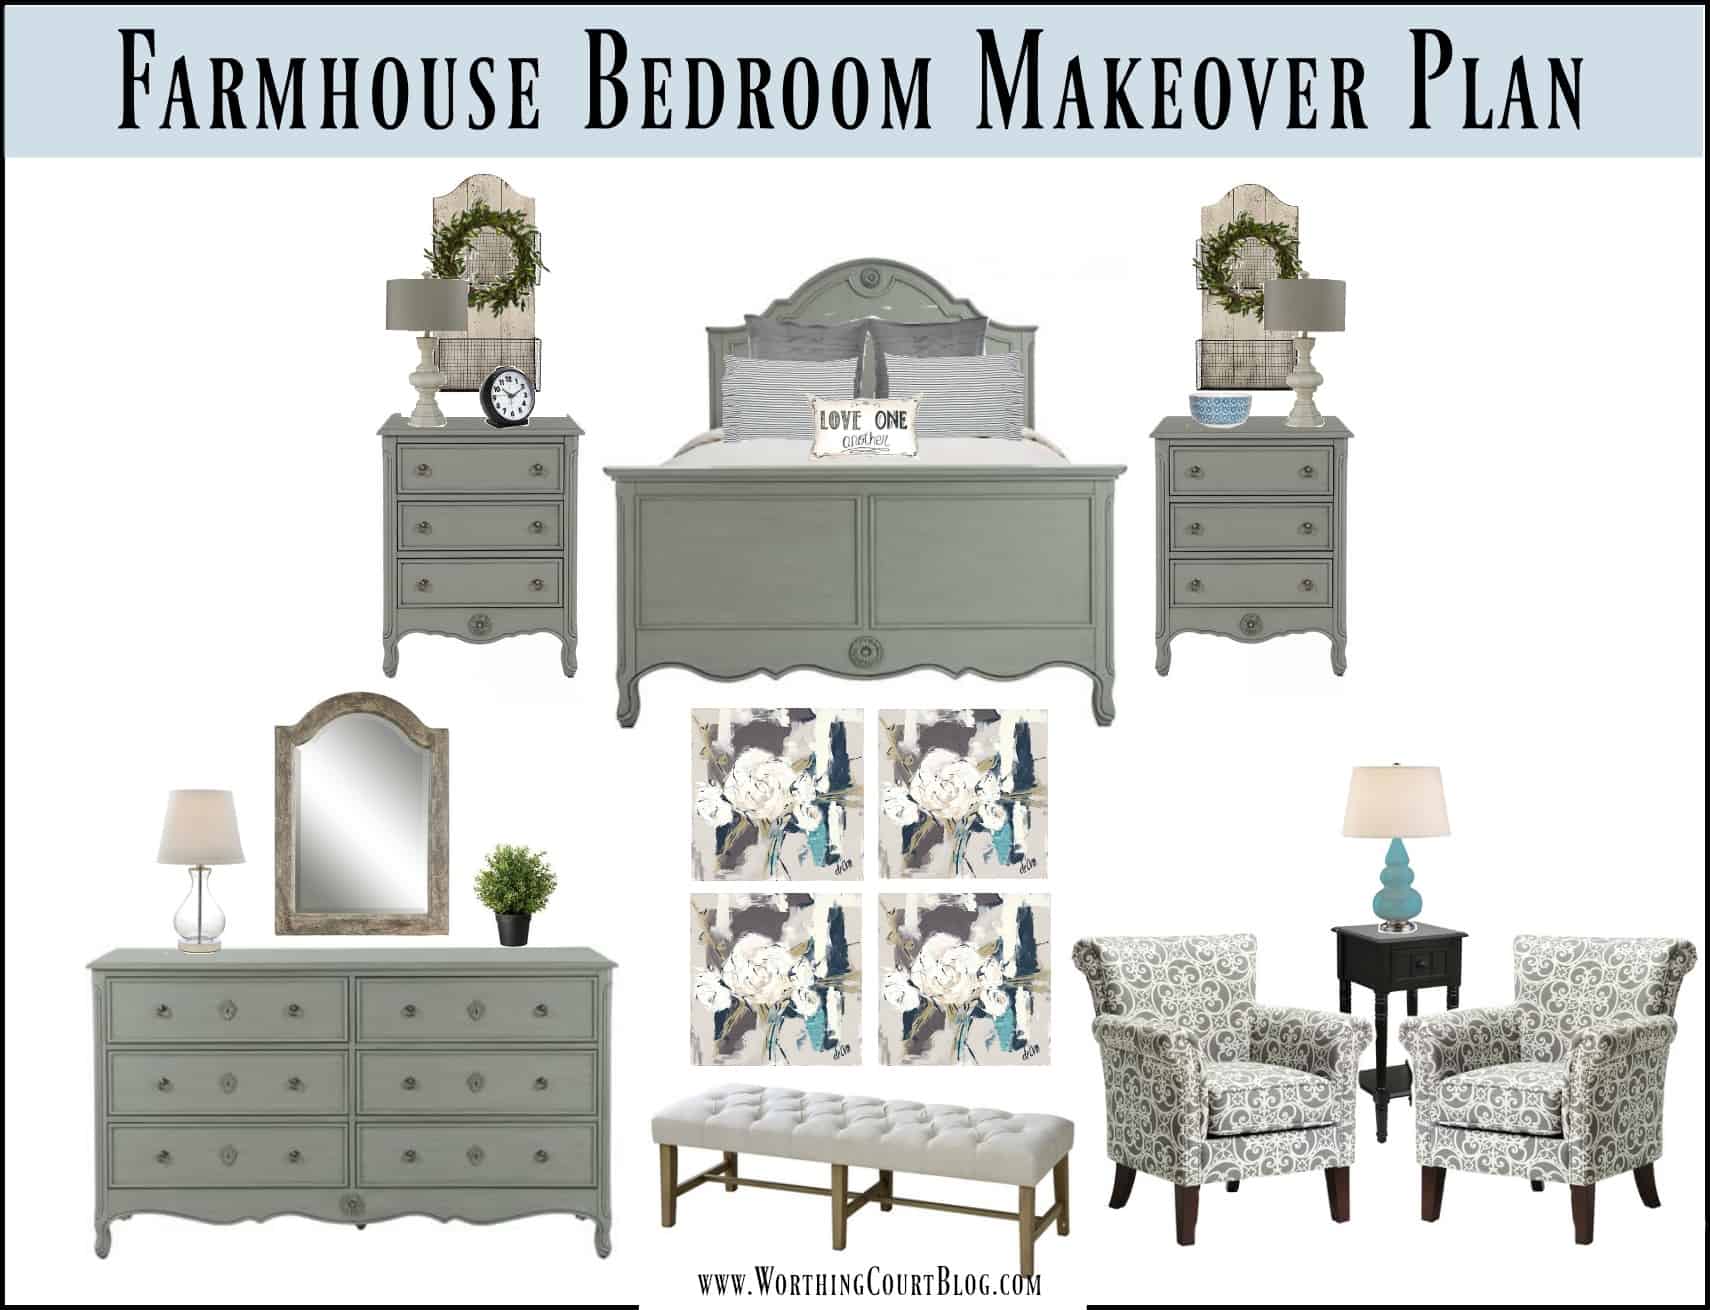
Before we dive into the before and afters of the makeover, let me share the original mood board that I created. By the way – creating a mood board before you start the decorating of a room is an excellent way to put all of your thoughts and ideas into one place and get an idea of what your end design will look like.
As you take a look at the after photos of the room, it’s pretty obvious that my newly made-over room doesn’t exactly match the mood board, but it definitely has the same overall feel and that’s what was most important to me. If you’ve never created one, I put together a step-by-step tutorial that you can see right HERE.
ADD TRIM TO CREATE INTEREST
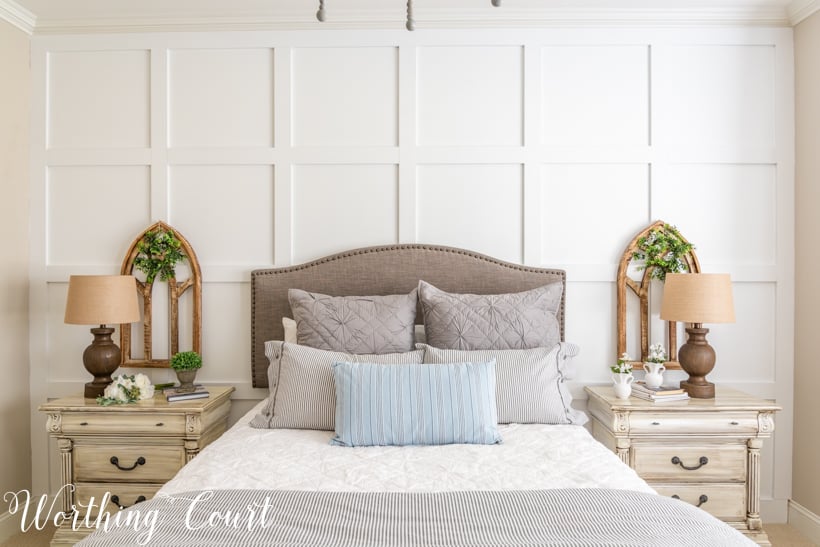
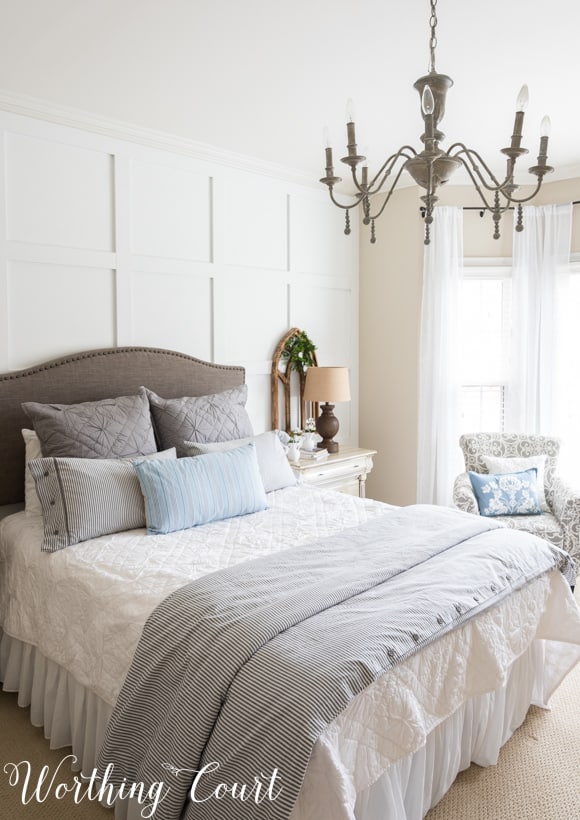
The first project of the makeover was to enhance and add interest to the architecture of the room. The bay window certainly adds interest on its own, but the huge blank wall behind the headboard needed some help. I was going for a cozy, yet uncluttered look in the room, so adding board and batten to that wall, instead of filling it with a bunch of artwork, was a great solution.
Not only does the new wall treatment add interest, it also adds lots of texture and is a nice feature that really draws your eye to this spot. To prevent warping and knot holes, we used 1″x4″ pvc boards instead of pine boards to create the wall. For reference, this wall measures 13’3″ wide x 8′ 3″ tall and each one of the openings between the boards is 22½’ wide x 21″ high.


Similar products have been linked where the original is no longer available.

UPDATE FURNITURE WITH PAINT
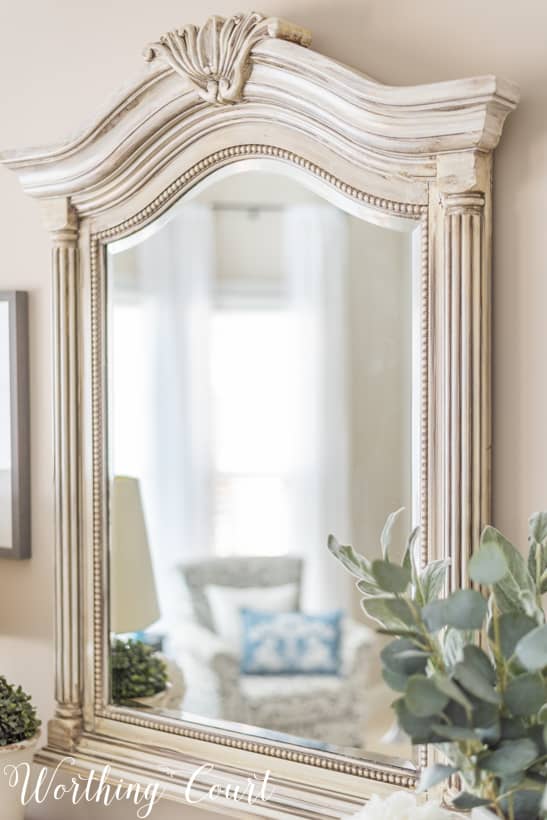
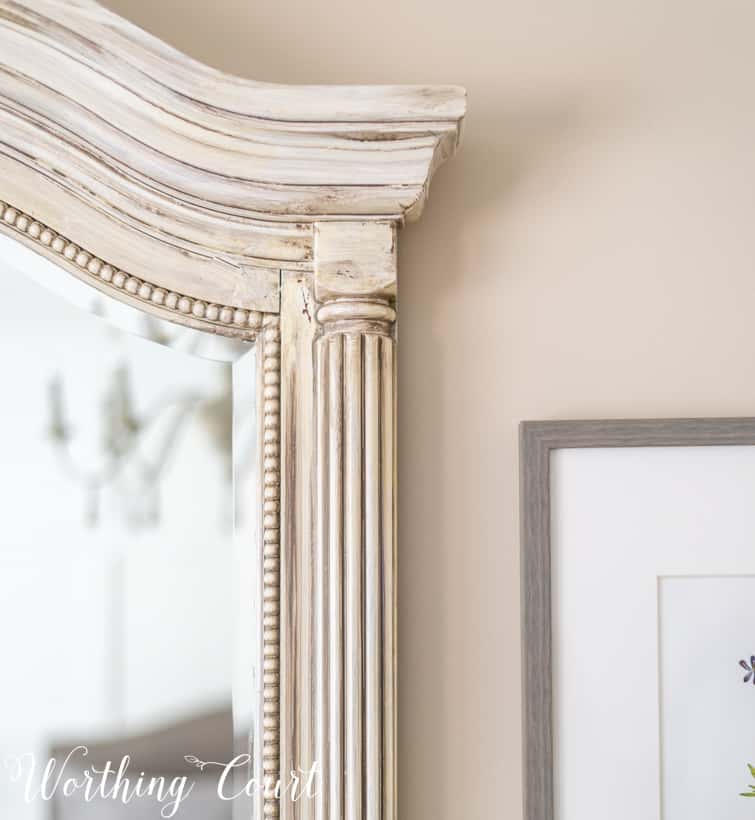
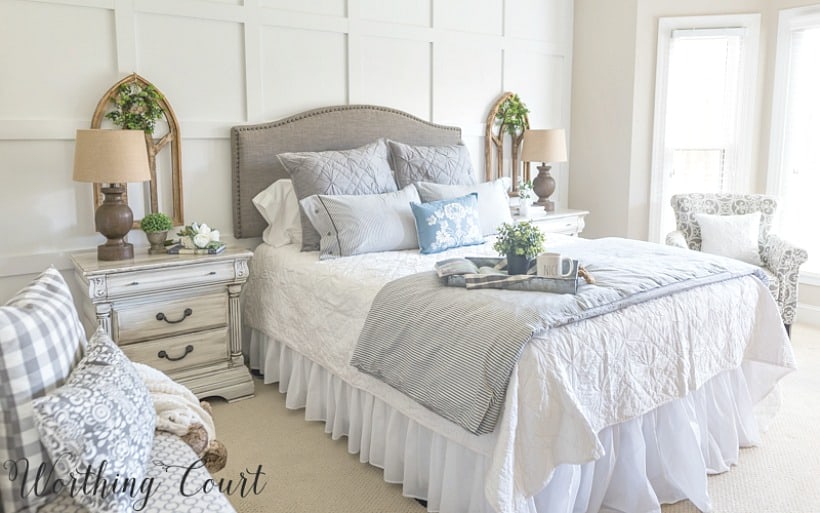
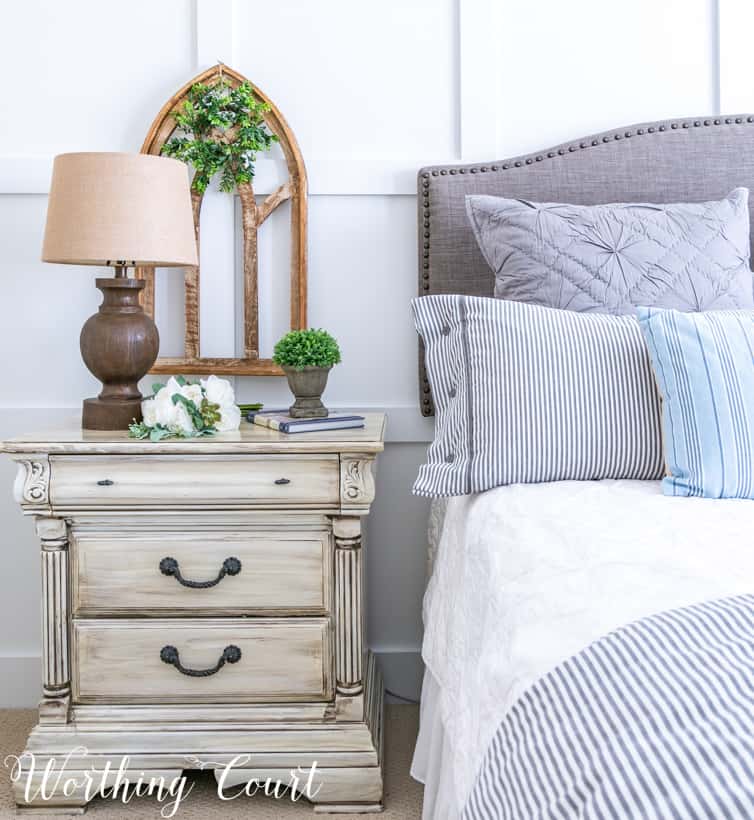
The next project, and the largest undertaking of all, was to paint the furniture. The furniture that we already had was in perfectly good condition, it just wasn’t to my taste any longer. So – to keep this budget-friendly, I opted to keep the dresser, mirror and nightstands and transform them with paint.
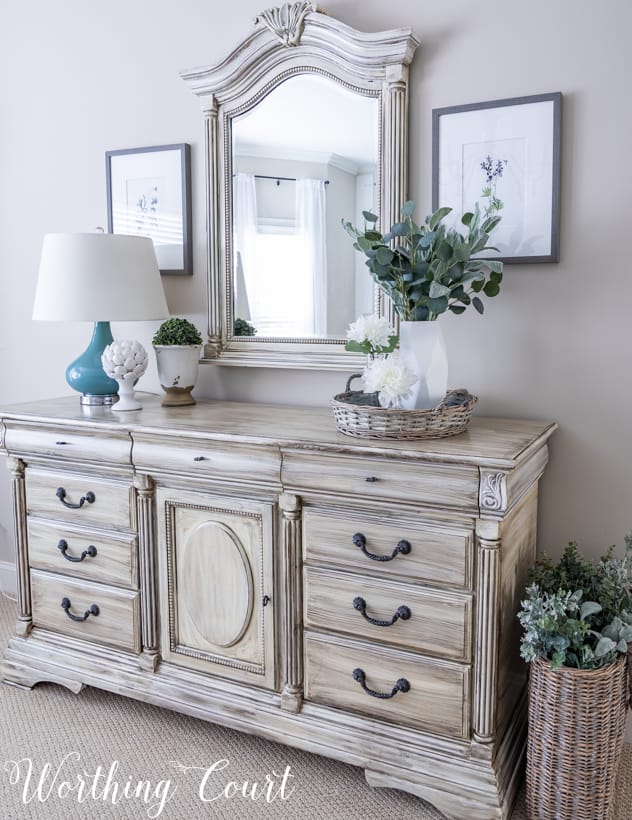
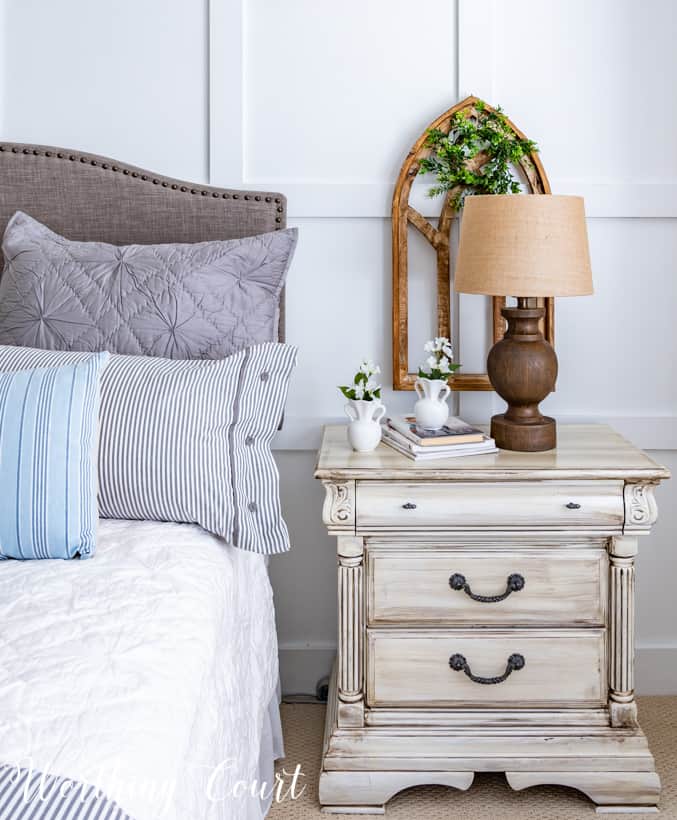
The details on the furniture made it a perfect candidate for painting solid white and then enhancing all of the lines with a dark’ish gray glaze. I used a very forgiving, easy paint technique and you can get the complete step-by-step tutorial, including a how-to video, for how I painted all of the furniture in this room HERE.
REUSE AND UPDATE A CHANDELIER
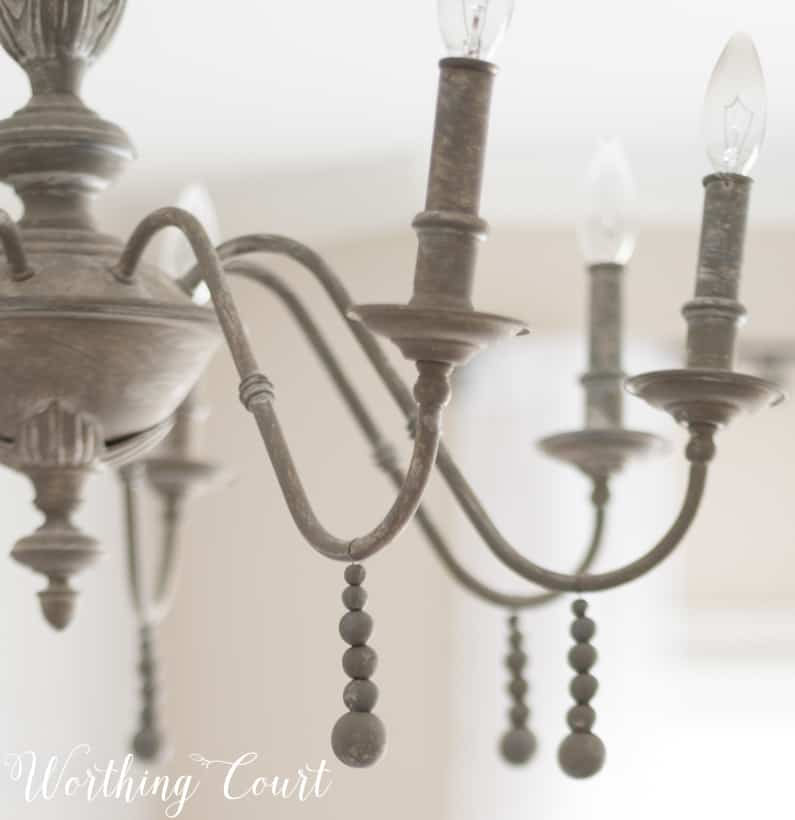
Take a look back at the before photos and you’ll get a glimpse of the ceiling fan that was original to the room. The frosted glass and ugly shiny brass embossed with grape clusters had to go! In its place, I put the chandelier that was originally located in the dining room of our home, prior to its makeover.
The chandelier started out as verdigris green with shiny brass accents, so it took a bit of scheming to come up with a new design for it that would compliment the rest of the decor in the room. You can see its before and get the full tutorial for how you can makeover a chandelier of your own HERE.
 ADD THE DECORATIVE ACCENTS
After all of the diy projects had been completed it was time for the fun part – the actual decorating of the room!
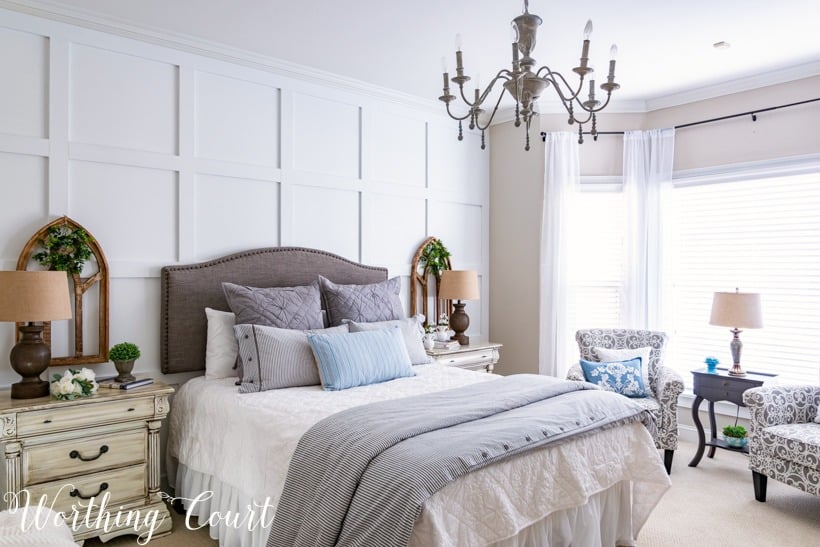
My original intention was to keep all of the furniture in this room, including the bed, but as I started choosing other items for the room, I decided that the heavy, ornate headboard and footboard were just too much for the room. Remember – I was after an uncluttered look. A simple upholstered headboard is a much better fit for this space.
The headboard that I used comes with legs that can be attached, but the depth of our baseboards kept it from lying flush against the wall. To overcome that little issue, we just chose not to attach the legs. Instead, we added a D ring to each corner of the headboard on the back and hung it directly to the wall. Worked like a charm and I actually prefer this to being able to see the legs since they are covered with black fabric.
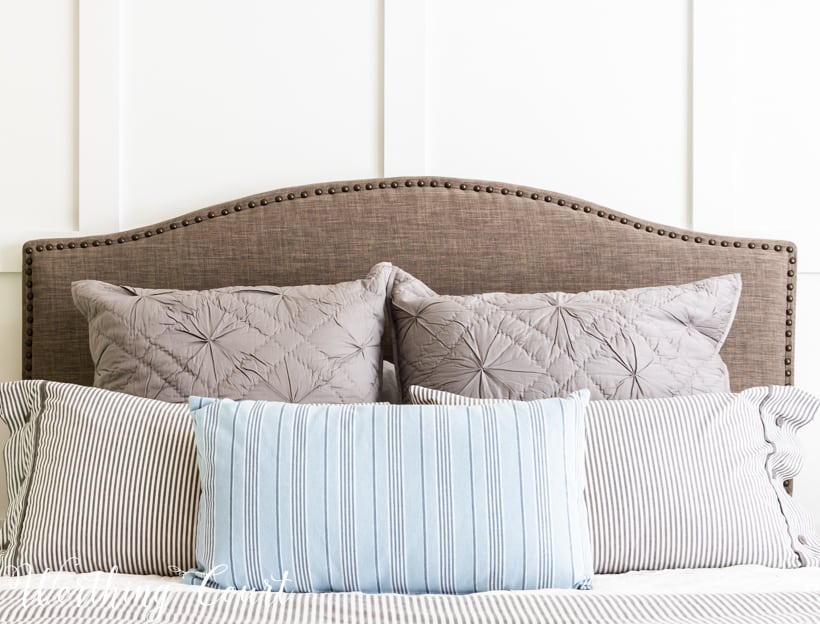
An assortment of beautiful bedding in gray and white completes the look of the bed. The gray and white striped lumbar pillows, in front of the solid gray euro shams, are actually standard size pillowcases that I cut down and sewed into a shorter size. The cases already had the button detail on them, which I loved.
When I put a bed together, I don’t hide away the actual sleeping pillows or even put them into a decorative sham. It’s too much trouble to take them out each night and replace them the next morning, so I simply “hide” them behind the other decorative pillows on the bed.
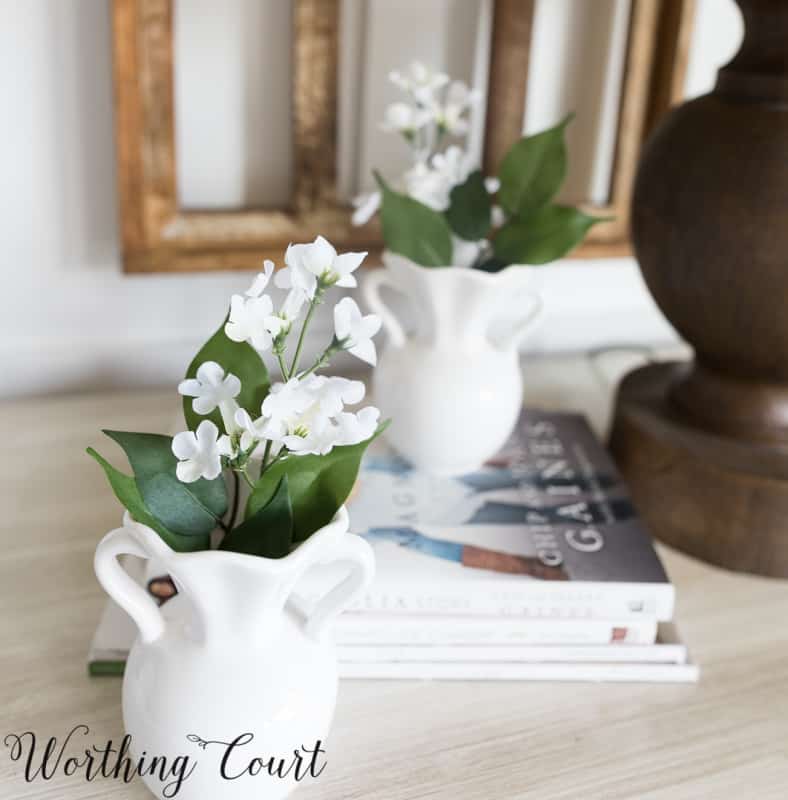
New lamps and decorative accents were added to each nightstand. A pair of Gothic arches adorned with a small wreath are the only “art” that the board and batten wall needs.

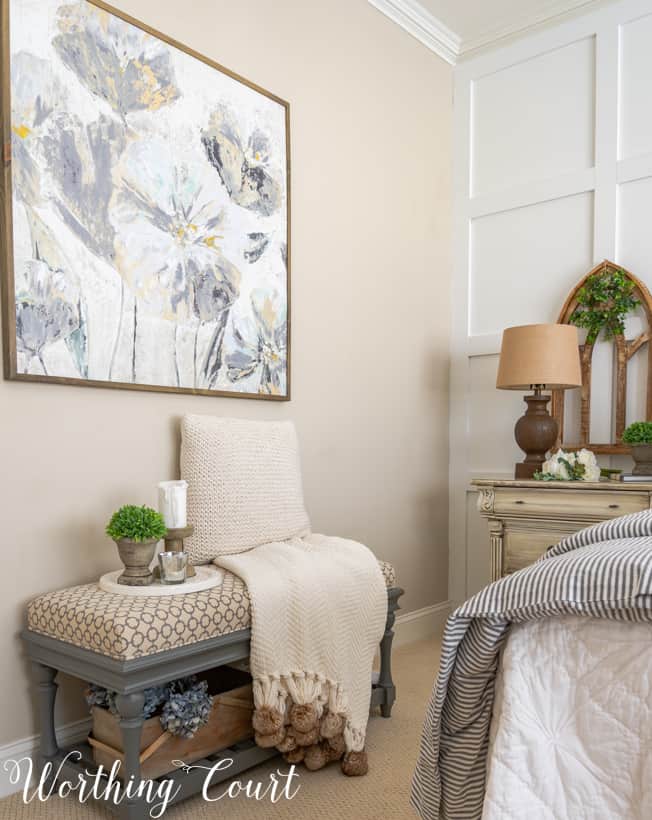
There was one more blank wall that needed attention in the room and that was the wall beside the bed, opposite from the bay window. Not only is a bench a good place to sit to put your shoes on, it also makes a great luggage rack whenever we have overnight guests. The single piece of large art is really eye-catching, but not so much that it overwhelms everything else that’s going on in the room.

All done and ready for guests!
Gorgeous – that pretty much sums it up. Am doing the same thing with dining room. Passed on the china cabinet to someone who would love it and am in the process of painting the dining room table legs. First coat of chalk paint is done and am already loving it.
I know that painting furniture can be scary, so I’m so glad to hear that you’re loving it!
You definitely updated your room! I love the board and batten – may be my favorite aspect of the room. I also like the paint job you did on the dresser/mirror. It lightens the whole room. I like the headboard and bedding as well, and the “arches” behind the bedside lamps. You’ve done a terrific job, Suzy! A+.
Thank you so, so much, Barbara!
Apologize – sounded like I was bragging – but you have been such an inspiration to me.
No – you didn’t sound like that AT ALL!!! Providing inspiration is exactly what I’m here for, so it totally makes me happy when I hear that I’ve been able to do that. 😀
I absolutely love your designs!! I would love to send you a photo of my sitting room that has board and batten walls and get your perspective on what I should do! Please let me know if you’d be willing to take a look!
Thank you, Katie. Sure, I’d be happy to take a look. Just shoot the photo to me in an email along with what type of advice you’re looking for.
I just sent you the email and photos. Thanks so much, Suzy!
The room is beautiful! I love the way the board and batten adds interest to the wall. Can you tell me the colour of paint you used on the wall with the large piece of art? Thank you!
Thank you, Connie. All of the walls, except for the board and batten wall are painted with Sherwin Williams Accessible Beige.
Wow, I’m impressed by what you’ve done with this room! It’s so elegant and breathtaking! Love the accent wall’s texture. It’s not overwhelming, but it’s still very eye-catching. My most favorite thing is the color of the furniture because the nuance you’ve painted it in is incredibly beautiful and one-of-a-kind. The pillows are also lovely and seem very cozy. Every corner and detail in the room is so inviting!
Thank you so much, Katarina!
Wow, I’m impressed by what you’ve done with this room! It’s so elegant and breathtaking! Love the accent wall’s texture. It’s not overwhelming, but it’s still very eye-catching. My most favorite thing is the color of the furniture because the nuance you’ve painted it in is incredibly beautiful and one-of-a-kind. The pillows are also lovely and seem very cozy. Every corner and detail in the room is so inviting!
Such a beautiful transformation. Would you be able to tell me the name, color, and manufacture of the carpet in this lovely room?
Thank you, Cher. We purchased the carpeting from Lowes. I don’t remember the brand or manufacturer’s name, but honestly, I wouldn’t use this brand of carpeting again as it’s difficult to spot clean.
I just found your blog today. The redo looks amazing. Did you DIY board and batten? It really puts the room over the top. Would love to know how much that part of the project was if not.
Thank you so much, Andrea! Due to time constraints, I hired someone else to install the board and batten for us. What would have taken us weeks to do was completed in only a few hours by the person we hired. 🙂 I’m sorry, but I can’t remember exactly what the cost was – somewhere $300 – $600, I think. That didn’t include caulking and painting everything after it was completed.
Love this room and now it’s my inspiration for a room in my home. Thanks for sharing where to find things too! What is your wall paint color? Thank you!
Hi Rebecca. The board and batten wall is painted with Sherwin Williams Extra White, semi gloss. The rest of the walls are painted with Sherwin Williams Accessible Beige in flat.
Loved your bedroom makeover so much we had board and button installed!!! I read another comment you painted the 3 walls accessible beige, what color did you paint the board and baton wall?
Hi Dana. I’m so happy you were inspired by the board and batten wall in my bedroom! We painted that wall with Sherwin Williams Extra White in the semi gloss finish so that it matches the rest of the trim in the room.
Thanks, Suzy!
Sorry if I missed it, but did you say where you got your bed? Love the wall!
Jayme
I’m so sorry for the delay in replying! Here’s the link to it. To hang it from the wall, we added D rings to each corner on the back and didn’t add the legs that came with it. https://rstyle.me/+3AmXnTJPBIPfSoCasieSHg
Lens,Zeefuik