Family Room Decor – Layering Accessories On A Console Table
Enjoy this project for the family room of our previous home. We’re currently remodeling a new-to-us home. Click HERE to see how I’m totally changing my decorating style!
The updates continue to my family room decor.
Boy, I sure am having fun!
A couple of weeks ago I showed you my new chairs and the repainted side table between them.
New Chairs, Chalkpaint And Updating My Family Room Decor
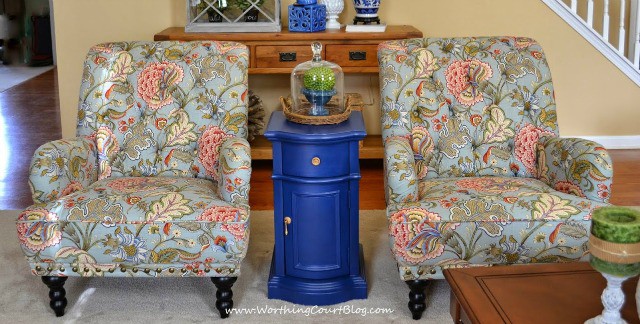
You could see just a little peek of my new console table in the background. I wasn’t ready to show you the whole area at that point.
But now it’s complete and I’m ready to share!
I am in love with the fresh look that is coming together in my family room.
I’m finally able to use many of the things that I’ve been accumulating along the way and others that I’ve been hanging onto for a long time.
Note to self: don’t throw away or get rid of items that you still love, even if you don’t think you’ll ever use them again. You may be surprised.
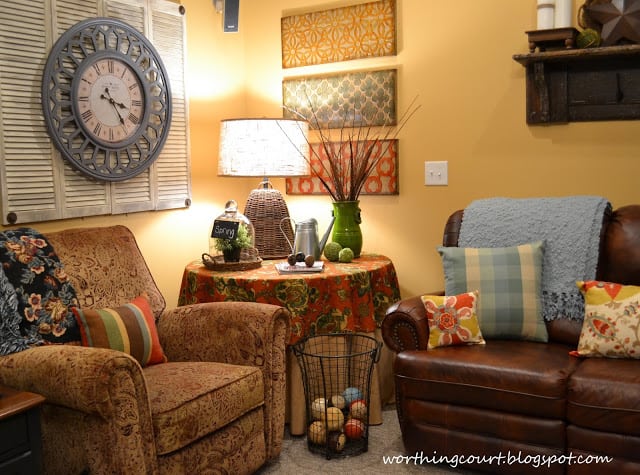
If you’ve been reading for a while, you may remember the bi-fold doors that I held onto when we did the rehab on our beach condo.
I cut them in half and created a backdrop to an oversize clock when I decorated my basement family room.
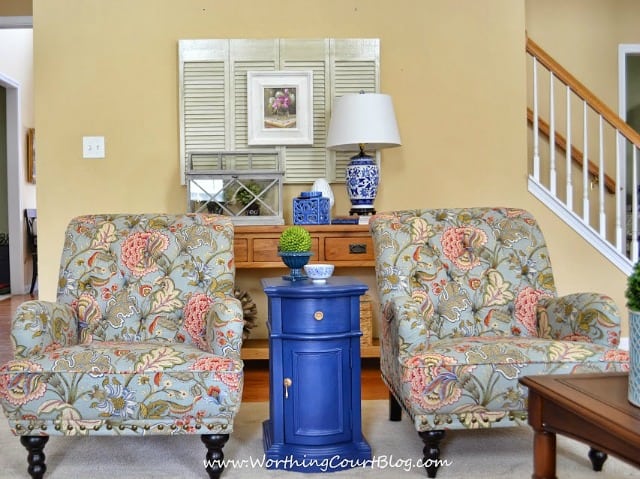
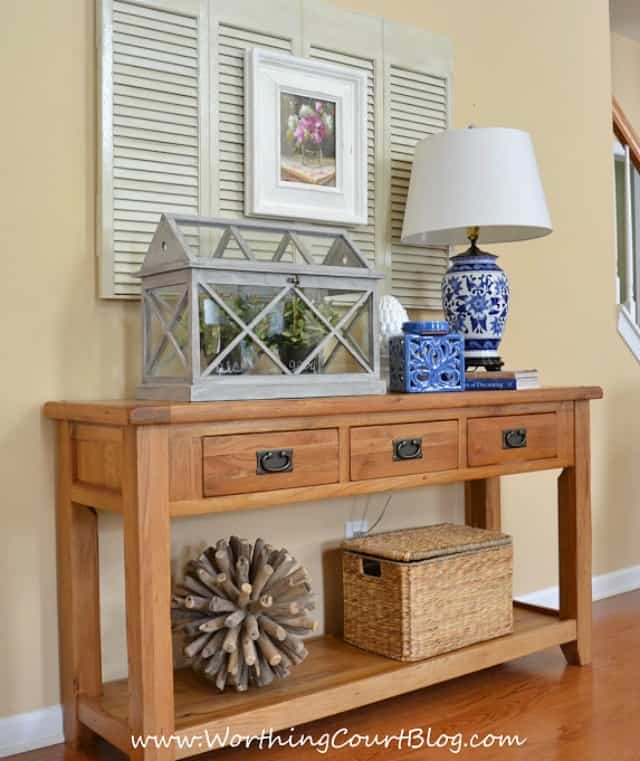
I’ve been hanging onto the other half of the doors, knowing that I would eventually use them somewhere. I’m glad I kept them because they make a perfect backdrop to the oil painting that is hanging over the console table now. They add more importance to the piece that would be too small on its own and add lots of texture too.
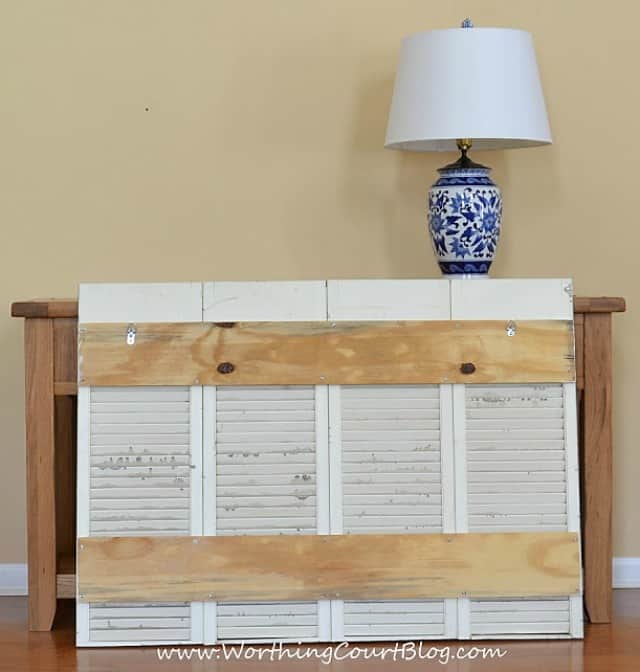
To create the backdrop, I attached the four pieces of bi-fold doors together with some scrap wood, making sure that I put screws into each section of the wood – two screws into each side of each shutter. You can’t just attach the wood to the sides or it will all fall apart.
The doors were already off-white, but they were grody when they came out of the condo. So I hosed them down, allowed them to dry and then brushed gray stain onto the top of the paint and allowed it to completely dry. I didn’t remove any of the stain after I brushed it on. I used Rustoleum Ultimate Stain in the color Sunbleached.
I made sure to add some paint and stain to the ends of the boards on the back too, since they are slightly visible when looking directly from the side.
I took a photo of the back to give you an idea of how I attached them together and the D ring hangers that I added. You can see where some of the stain ran through the slats – that’s ok because it doesn’t show at all from the front.
I’m often guilty of not completely finishing an area when I’m playing around/decorating. Then I wonder why the room doesn’t look quite right. This time I wanted to make sure that I had several layers of accessories on my console table so that it would have that pulled together and finished look.
Take a look at the different stages.
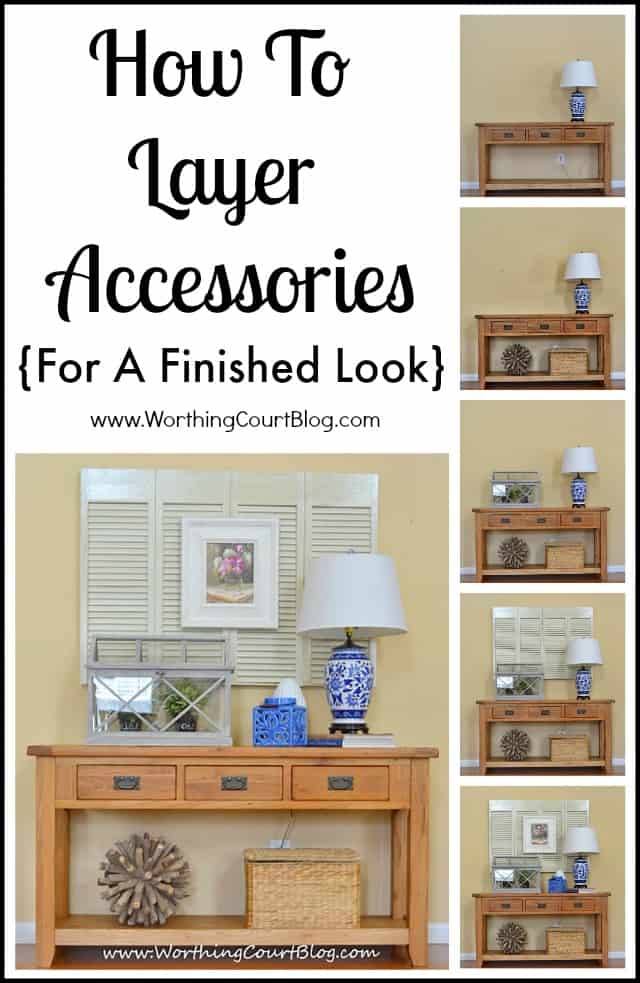
And so that you can really appreciate how far this side of the room has come, here’s a look at the before and after.
BEFORE
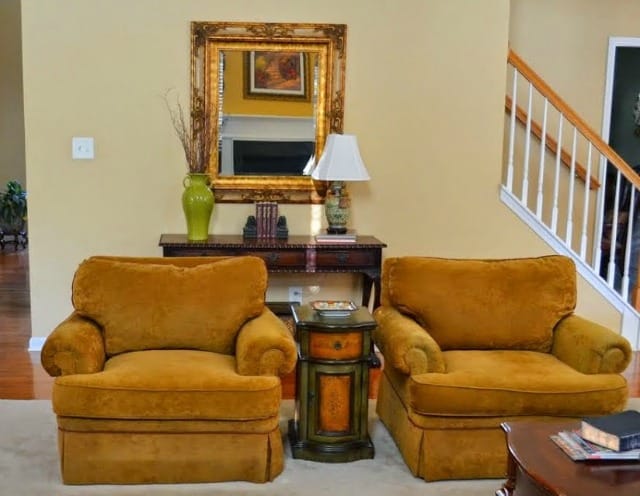
AFTER
Just a little different – eh?
Here’s where I used the other half of the bi-fold doors.
Basement Family Room Reveal
Wow! What a difference! Absolutely gorgeous!
The new look is awesome!! It is so fresh and modern but it still retains the look of the traditional. You did a fantastic job. I bet you smile every time you enter the room 🙂
You’re absolutely right, Marisa. I do smile every single time I walk in. Thank you for stopping by!
Wow! What a wonderful after!
I love how this area turned out! The doors really make a difference. Thanks for sharing the tips on how to pull everything together! 🙂
Love your new console table! Where did you find it? I am looking for one just like that, 3 drawers and a lower shelf. Thanks!
Hi Andrea. I found the table at a local shop that sells furniture market samples. I can’t find anything on it to tell me what brand it is. Sorry I couldn’t be of help. Thank you for stopping by for a visit!
Wow Suzy love what you did with those doors and I like to added touch of the gray. Hope you had a great Easter!
Cynthia
Suzy, this looks so fresh and inviting, I love it!!! And I know you do….this look is much more like the Suzy I know
What a great after! I really like how you layered the different sizes and textures on the table.
Sorry it cut off the rest of my comments…guess it doesn’t like Emotion happy faces.
Continued….. Can’t wait to see the new recliner, recovered couch and the rest of the room. You will have fun this Fall and Christmas adding some blue to your holiday decor : D. Great Job.
Great news….we are finally tearing out the kitchen today. Guess I really am getting a new one : ) : – ) ; D
Oooh – I can’t wait to see what’s going on! Maybe I can get over there one day next week for a look.
This looks so wonderful. you inspire me so much! Do you mind if I share One of your pictures here with all links back to you with my readers?
Not at all, Susie! Thank you so much!
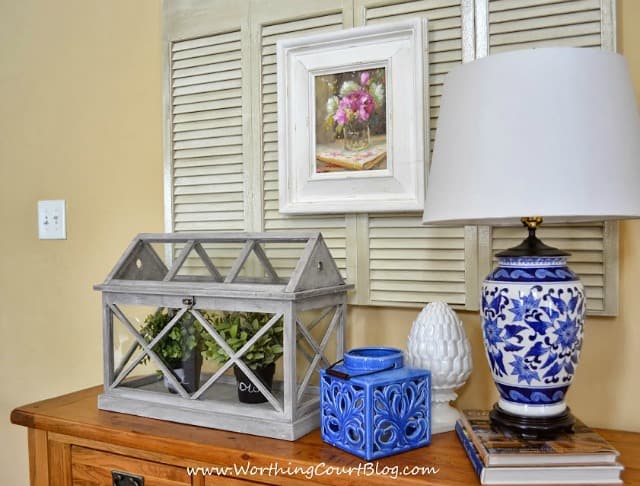
Can you tell me where you got your miniature greenhouse on the console table?
Hi Mary Ann. I found it at Garden Ridge. I’ve seen other styles at Hobby Lobby too and they’re often on sale for 50% off.