How To Make No Sew Faux Roman Shades
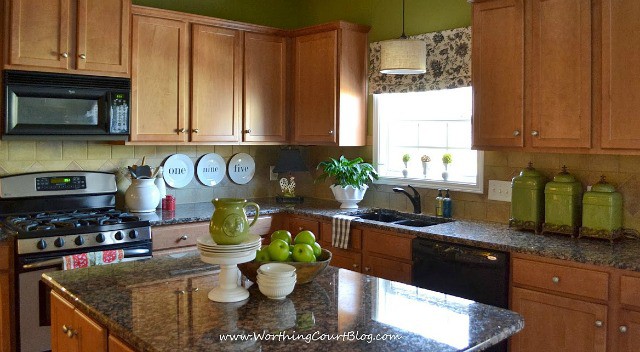
I love the roman shade that I made for my kitchen and I’m excited to share the how-to with you today.
My shade is actually a faux roman, plus it’s no sew. That’s the best of both worlds if you don’t know how (or want) to sew and don’t want to spend a lot of money on fabric!
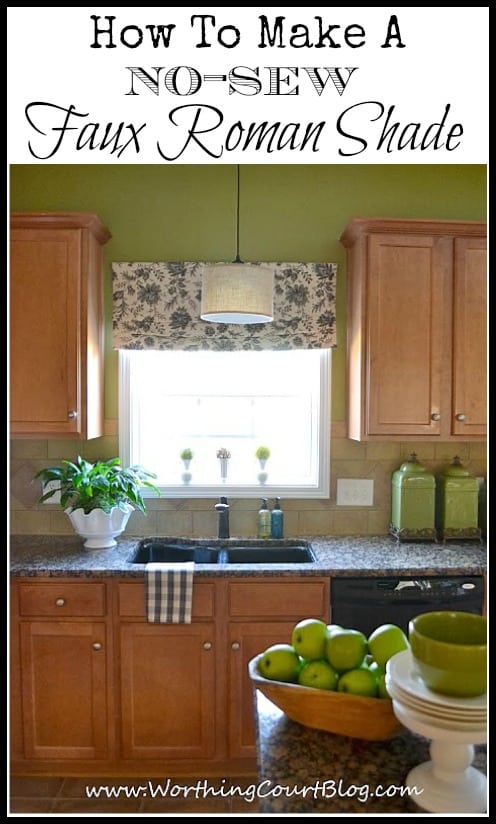
Just a little bit of fabric at a window makes such a huge difference in a room. Plus the folds of the fabric add some of that all important texture.
Before we get started, there are a couple of things to tell you:
*The finished dimensions of my shade are 41″ wide x 16″ high. If your shade will be a different size, the steps are the same, but you will need more or less fabric than I used and all dimensions that I give you in the directions should be adjusted accordingly.
*If you’re using a patterned fabric, decide where you want the pattern to fall at the top, bottom and middle of the shade before cutting.
*This one is important! Stop several times throughout the process to check the shade for squareness. Do this by measuring each side of the shade after a step is completed. Make adjustments as you go – don’t wait until the end.
*My shade is only perfectly straight across the very bottom. I wanted it to have a slightly relaxed look, so you may notice that the folds are not perfectly straight. If you want all of your folds to be straight across the bottom, you will need to use hot glue to create a pocket for a wooden dowel where each fold is located.
*All of my photos were taken on the well “loved” table in my drapery workroom. That explains why you’ll see some lines and smudges on the fabric covering the table.
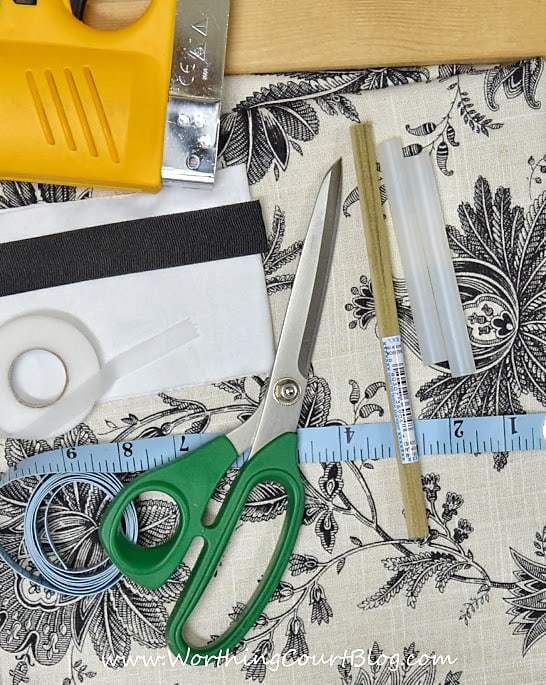
SUPPLIES
*1 yard of 54″ wide, decorator fabric
*1 yard of drapery lining, I used blackout lining on mine, but regular white lining is fine
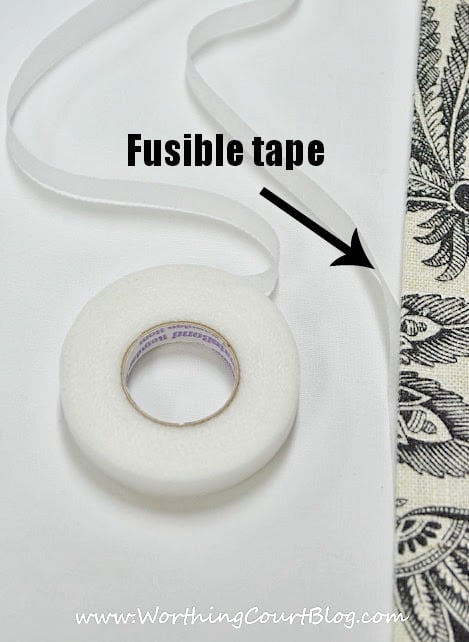
*fusible bonding tape, such as Stitch Witchery
*hot glue gun and glue sticks
*needle and thread that matches the fabric
*staple gun and staples
*one 1/2″ diameter wooden dowel rod, cut to the finished width of the shade
* one 1″ x 2″ board, cut to the finished width of the shade
*straight pins
*scissors
*measuring tape
*iron
Directions
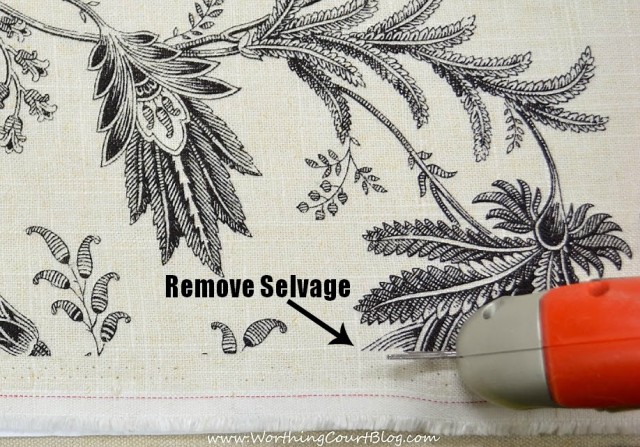
Step one – remove the selvage and cut the fabrics
Cut the selvage away from each side of the fabric. You want to do this first, because the selvage is often woven more tightly than the body of the fabric and will throw off your measurements on the sides.
Cut the width of the main fabric to equal the width of the finished shade, plus 8″. {The finished width of my shade was 41″, so I cut my fabric to be 49″ wide.}
Cut one yard of lining to equal the finished width of the shade. No extra width is needed.
Hem the sides
Lay the main fabric right side down and lay the lining fabric on top of it, right side up. Center the lining fabric so that there is an equal amount of the main fabric showing on each side.

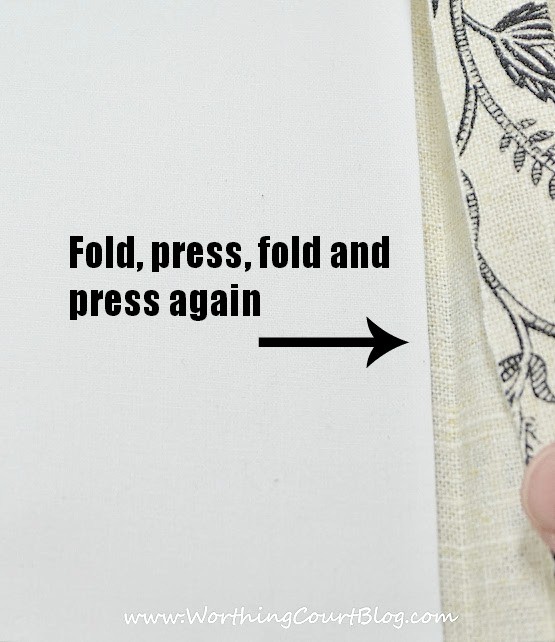
On one side, fold the excess main fabric over to meet the edge of the lining. Press in place.
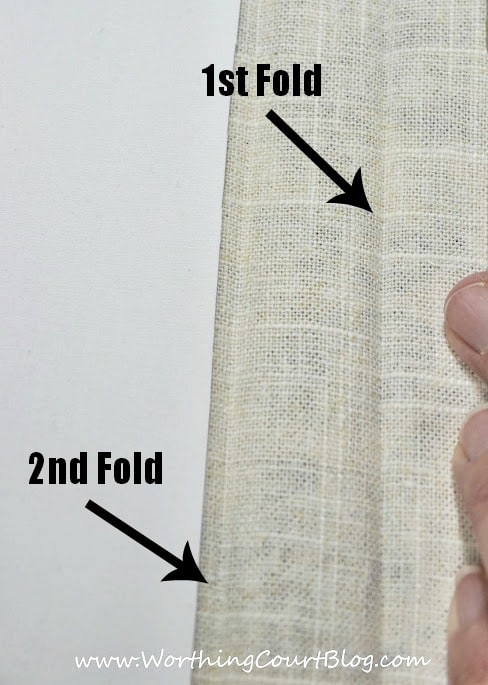
Fold again over the lining and press in place.
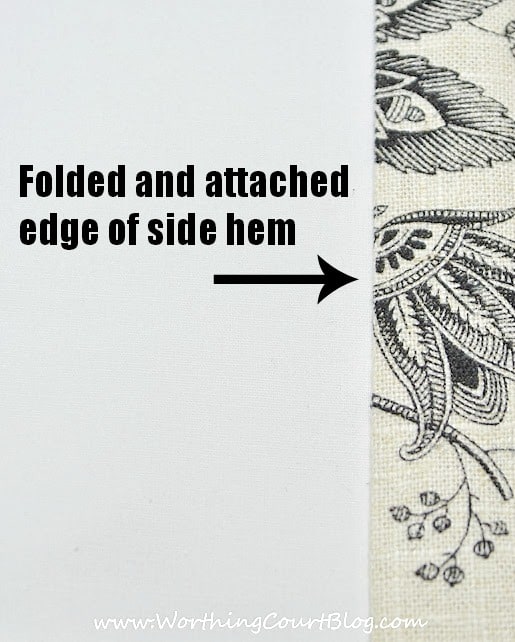
Lay the fusible web tape under the edge of the folded down fabric. Follow the manufacturers directions to adhere the fabrics together.
You should wind up with a hem that is 2″ wide.
Repeat on the opposite side.
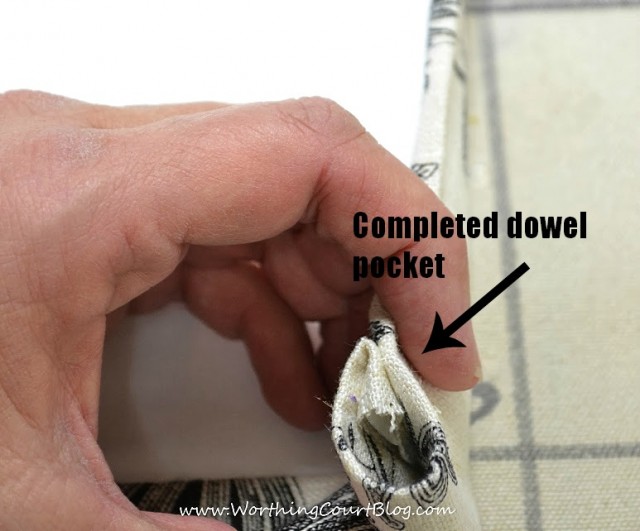
Hem the bottom and create a pocket for the dowel
The wooden dowel will be inserted through a pocket formed at the bottom of the shade. It will act a stabilizer for the shade and will keep the bottom of the shade straight.
Fold the bottom edge of the shade up 1/2″ and press into place.

Fold up another 1 1/2″ and press into place.
Run a bead of hot glue along the folded edge of the fabric to secure.
You’ve now created a pocket to hold the dowel.
Hand stitch the pocket opening closed on each side of the shade to keep the dowel from falling out.
Create the folds of the shade
Holding both layers of the fabric securely, turn the shade over so that the main fabric is right-side-up. Smooth the layers of fabric out, making sure there are no wrinkles anywhere.
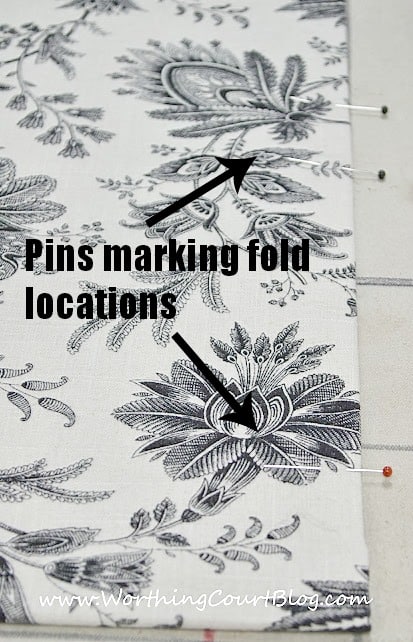
Place a pin on each side of the shade to mark where the folds will be created.
I knew that I wanted a 3″ reveal at the bottom of my shade (before the first fold) and another 3″ reveal between the first and second folds. I also knew that I wanted each of my folds to be 7″ deep.
My pins are placed like so:
#1 pin is 3″ from the bottom
#2 pin is 7″ from the #1 pin
#3 pin is 3″ from the #2 pin
#4 pin is 7″ from the #3 pin
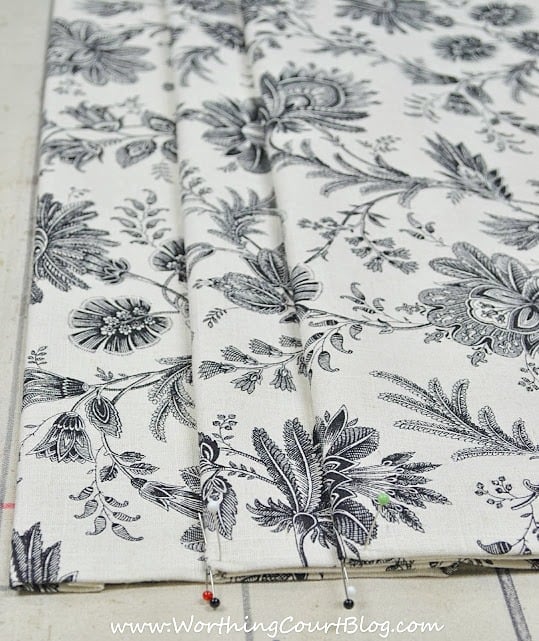
Grab hold of each side of the shade at pin #2 and bring in down to meet pin #1.
Bring pin #4 down to meet pin #3.
In the photo below, you can see the fabric is folded and the pins are “stacked” one on top of the other.
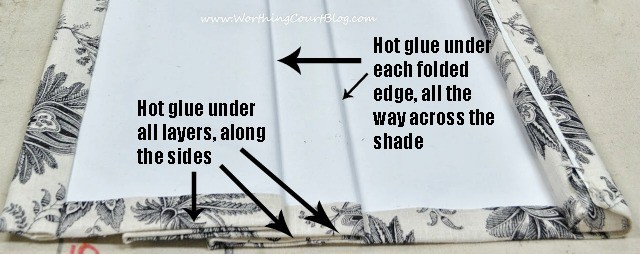
Run a bead of hot glue up under all of the folds – both on the sides and all the way across the front, under the bottom edge of the folds.
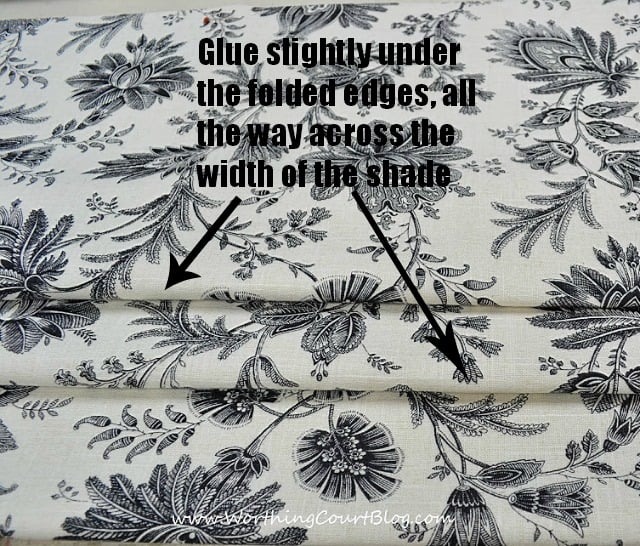
Allow the glue to cool and flip the entire shade over. Repeat the same gluing process on the back of the shade.
Attach the shade to the mounting board
At this point, your shade is finished! Now you just need to attach is to the 1″ x 2″ board so that it can be mounted to the wall.
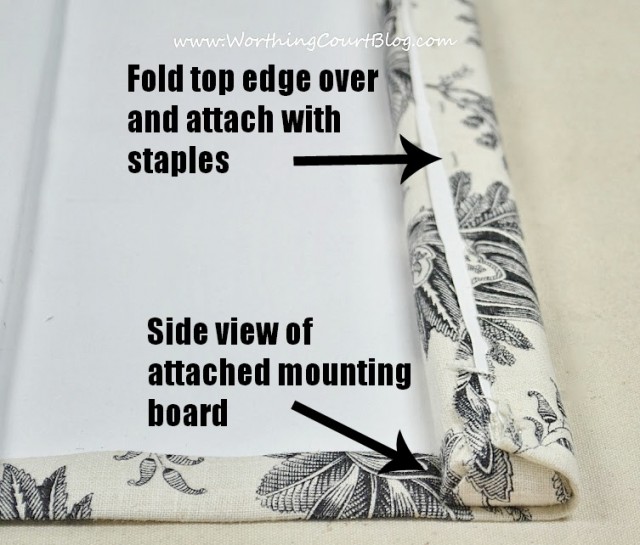
Cover the 1″ x 2″ board with fabric by wrapping it around the board and stapling it in place. Make sure you finish the ends off nicely for a professional look.
{I used excess fabric that was left over from cutting the main fabric down to the proper width.}
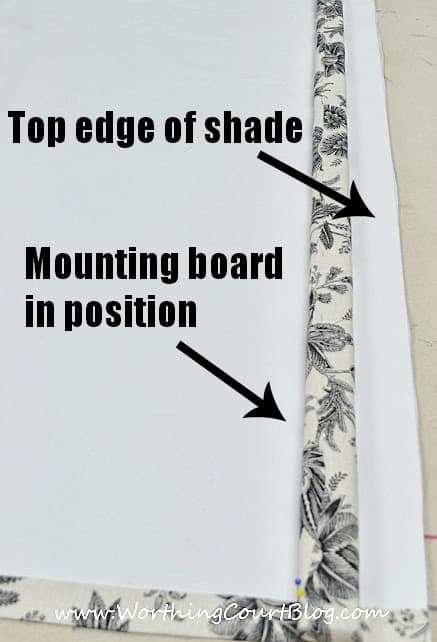
Lay the board at the top edge of the shade, on the lining side. Lay it far enough down from the top so that there is just enough fabric to wrap it around the board and staple it into place. Make sure the board is perfectly straight before stapling.
Mount the shade
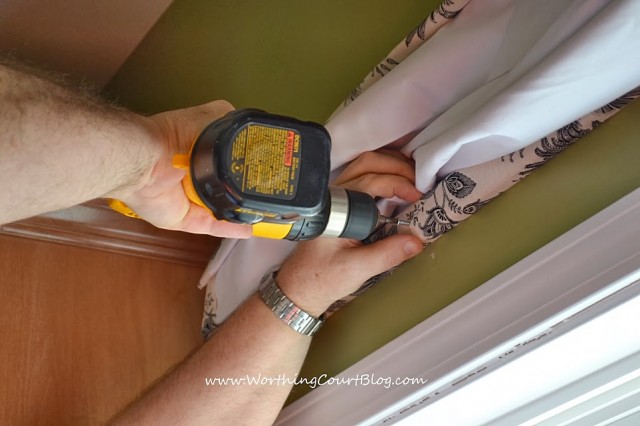
Pre-drill holes through the board in preparation for attaching it to the wall. Reach up under the shade to drill the holes – make sure you do not drill through the face of the fabric.
To mount the shade to the wall, turn it so that the face of main fabric is facing toward you.
Place the board at the location the top of the shade is to be located.
Flip the fabric up, and drill straight through your pre-drilled holes, into the wall. You may need to use wall anchors if there is no stud to drill into.
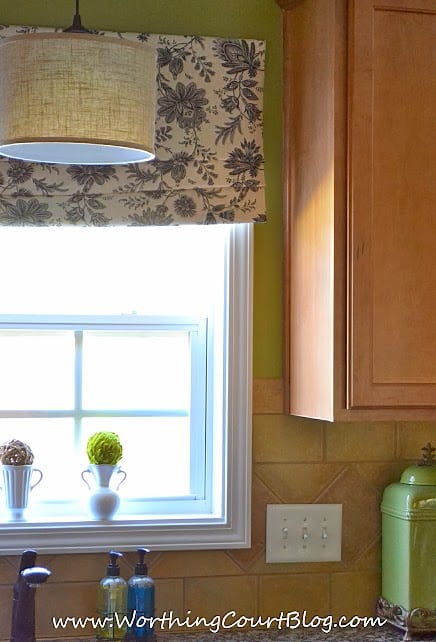
And that is it – you are done!
Sigh. Now I want to run out and get hoards of fabric and make these roman shades for all my windows. 🙂 First of all, I LOVE the fabric you chose. And second, I love the new look of your kitchen and the touches of black and white. The plates on the backsplash are fabulous!!!! Hope to see it all in person SOON. Love you my friend. xxoo, Barb
These shades are so classy, Suzy! And they make such a big difference without really getting in the way! Thanks so much for your PERFECT instructions! I have a kitchen window that needs this treatment! Gonna give it a try! xo
This is such a fun group!
I love all the changes you’re making in your kitchen, and this window treatment is one of my favorite things you’ve done in there so far.
If I didn’t have a good friend who was an amazing seamstress, I would make a roman shade like this for my office window. But it’s good to have talented friends!
Fabulous tutorial Suzy, thank you!
I love this idea, Suzy! I am passing it along to my daughter for her kitchen window…perfect! I am loving being a part of our no-sew group!…hugs…Debbie
Your faux Roman shade is lovely and no sewing got to love that.
I never have time to sew anymore so no sew ideas are great.
Denise
Oh WOW these look fab… I need to make 11 of these for my conservatory.. Glad I found this, because it sounds a lot quicker to do 🙂
Oh, wow – that’s a big job! Good luck!
I love the way that turned out. What a clever idea!
I love, love no-sew, infact a couple of posts ago I wrote about a no sew table runner! Isn’t that iron bonding just wonderful!
Your Roman Shades turned out beautiful and this is an amazing tutorial too!
Have a super week!
Jemma @athomewithjemma
Yes, Jemma – that bonding tape is great! It opens up a whole new world for people who don’t sew. Glad you liked the tutorial.
Love this Suzy…bookmarking for future reference!!!
Let me know if you give it a try!
I totally love hot glue in lieu of sewing. 🙂 Great job on the curtains. They look fabulous!
Love your fabric choice and what a great tutorial too. Looks so pretty. Thanks tons for linking to Inspire Me. Hugs, Marty
It looks very beautiful. I liked it, especially the fabric pattern is very pleasant.
Do you think a shade could be made for a window that is ~73 inches wide? Or maybe attach 2 half the size on the same board?
Hi Angie. I don’t think that I’d use this method for a roman shade that wide. It would tend to droop quite a bit in the middle because of the weight of the fabric. For a shade that wide, you’d need to add a weight bar to each fold to keep the shade straight. You could try using this method to make two narrower ones that are attached to the same board – just be aware that you’ll have a bit of a gap in the middle.
Could you use the bonding tape instead of hot glue to keep the folds in place?
Hi Annie. I assume you’re talking about the type of tape where you use an iron to activate the adhesive??? My only concern is if enough of the heat/steam would penetrate all of the layers of fabric to get a good bond. You could always give it a try and then come back to the hot glue if it didn’t work.
Hi Suzy,
Your hot gluing method is amazing. I am trying to make stationary roman shades and sell them online, is the hot gluing method a long lasting or do you have any other suggestion?
Thank you so much!
Hi Zuka. I apologize for taking so long to respond to you! We only lived in the house where this shade is hanging for about a year, so I really can’t speak to the longevity of the hot glue. If you’re selling them, you may prefer a fusible iron-on tape of some kind. There are several professional workroom products available for that purpose.
Your “How To” is the best I’ve seen. I’d like to start on the blinds today, but I need one more measurement before I can cut.
You mentioned your width of 41″, but what was the measurement to cut for the height, to achieve a finished height of 16″? If you said it, I can’t find it.
Please let me know ASAP. Thanks.
Hi Gail. I didn’t include that info because every window will be different and what I did on this window won’t necessarily be what someone else wants on theirs. 😀 You’ll need to do a bit of calculating to figure out how much fabric length you need for the height of your shade:
1. Determine how long you want your finished shade to be .
2. Determine how many folds you want in your shade and how tall you want each of the folds to be.
3. Determine how much of a reveal you want at the bottom of the shade, below all the folds. Add 2″ to that to allow for creating the pocket for the dowel.
4. Determine how much of a reveal you want in between the folds.
5. You need to know how wide the board is that you will mount the shade to.
Once you’ve made those determinations, you can refer back to the part of the post under “Create The Folds Of The Shade” to proceed.
Please note: the width of my shade is 41″ because that’s how wide my window was. Yours may be different.
Hello!,
I love the way this looks and I have a similar window. That fabric would look perfect! Can you please share the fabric source?? Thank you for sharing.
Warm Wishes,
Chelle
Hi Chelle. I purchased that fabric several years ago at a local shop. Sorry I provide a link for you!
Thanks – I used a drapery liner material, sewed mine and used fusible tape to hold folds in place – but followed your instructions- very helpful & so we’re photos!
I’m glad you found this helpful. Thanks for letting me know!
I must try this on those difficult windows in my bath and sewing room!! Thanks for the detailed instructions!! Pinning! 😍