How To Build And Upholster An Easy Farmhouse Bench – Part 2
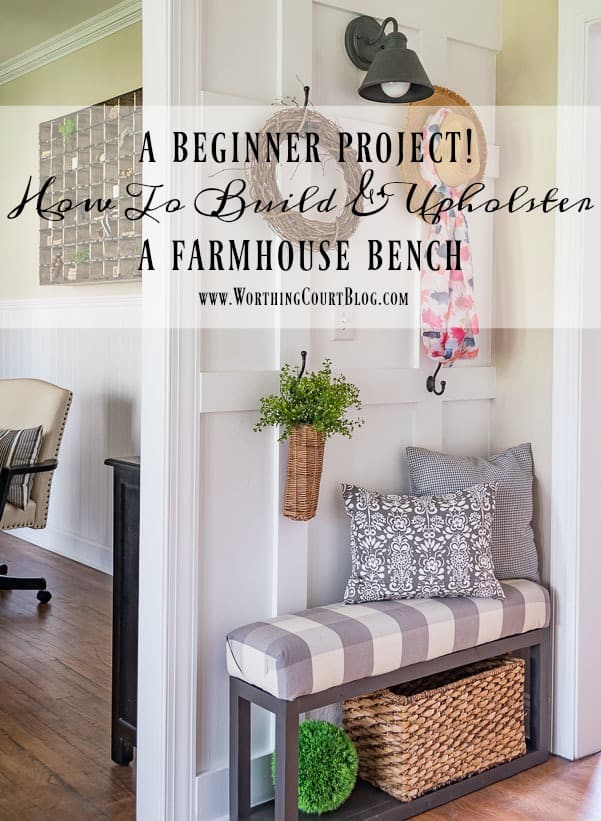
Now is the time to paint the base. I used spray paint on mine, which you can read about HERE. There’s no need to paint the frame for the seat because it will be completely covered with fabric.
Let’s construct the seat frame, upholster it and attach it to the bench. Before you start, make sure to read the helpful tips that I included in Part 1 of the tutorial!
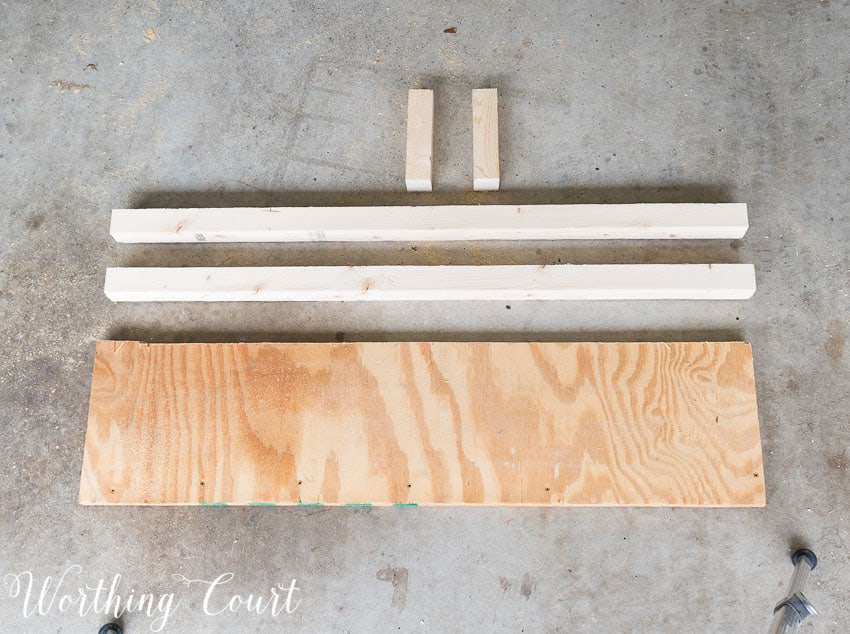
SUPPLIES NEEDED TO BUILD AND UPHOLSTER ONE SEAT FRAME:
1 – 2″ x 2″ board, at least 8′ long.
1 piece of ¾” thick plywood
2½” – 3″ wood screws
Chop Saw
Circular Saw or Jigsaw
Drill and Drill Bits
Screwdriver (if not using a drill)
1 – 36″ long x 9″ wide x 2″ thick Piece of Foam Rubber
Spray Adhesive
1 yard of Batting that is at least 48″ wide (a little wider would be easier to work with).
1 yard of Fabric that is at least 48″ wide (a little wider would be easier to work with).
Staple Gun and Staples
Scissors
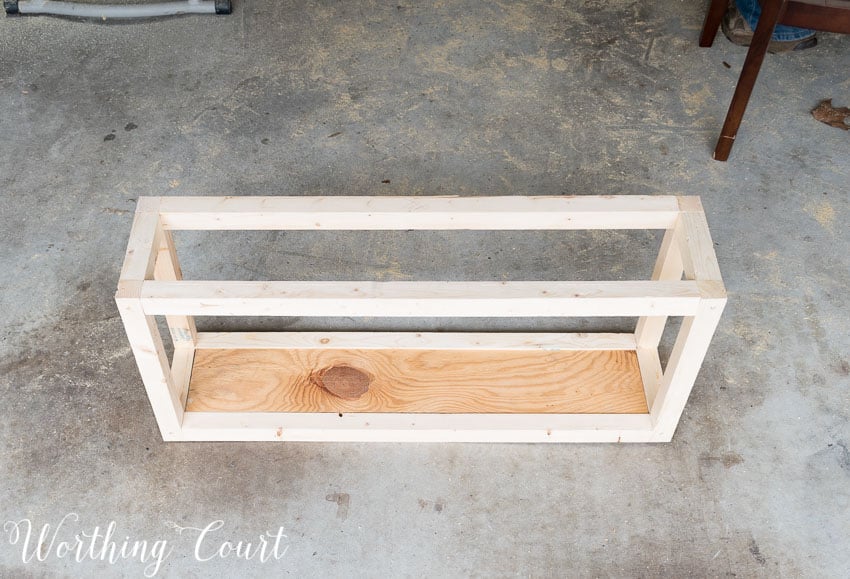
STEP 1: Assemble the seat frame.
Cut: 2 – 7″ long, and 2, 36″ long 2″ x 2″ pieces of wood.
Cut: 1- piece of plywood that measures 36″ long x 9″ wide
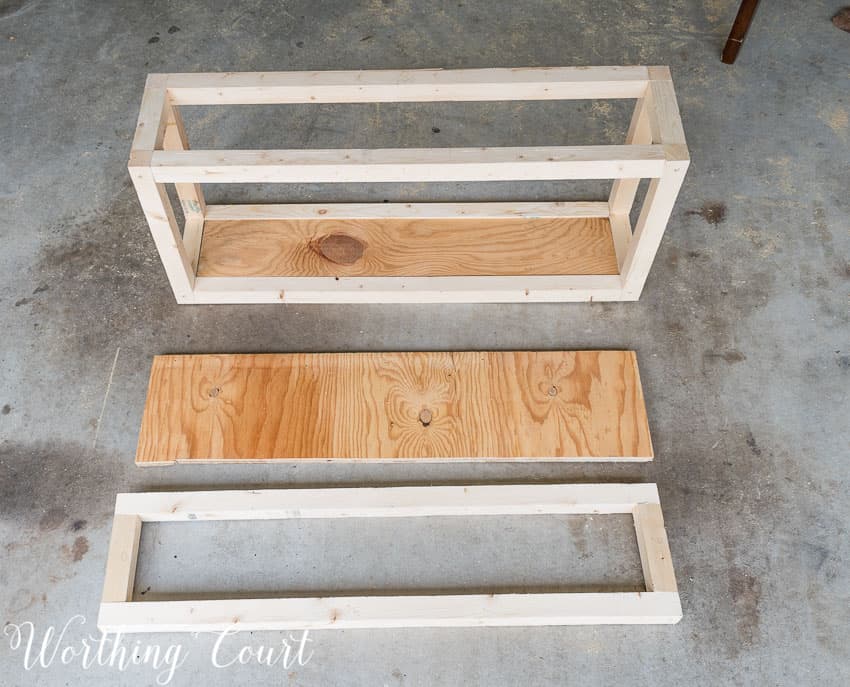
Attach the 2″ x 2″ pieces of wood together with wood glue and screws to create a rectangle as seen in the bottom of the below photo. Attach the plywood piece to the top of the rectangular frame. This will become the seat, once it has been upholstered.
Let me stop right here for a moment. By the time that the wood frame, plywood and foam rubber are joined together and upholstered, the seat will be 4″ thick. Why did I create such a thick seat? Well…it’s for one reason only – I didn’t want a too thin looking seat. If you don’t want a seat as thick as mine, just be sure to adjust the size of the wood for the frame and/or the thickness of the foam rubber accordingly.
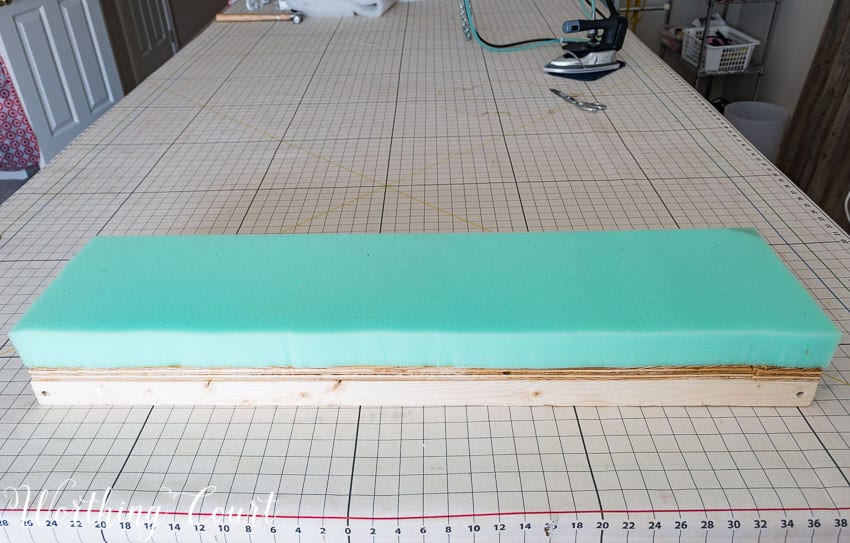
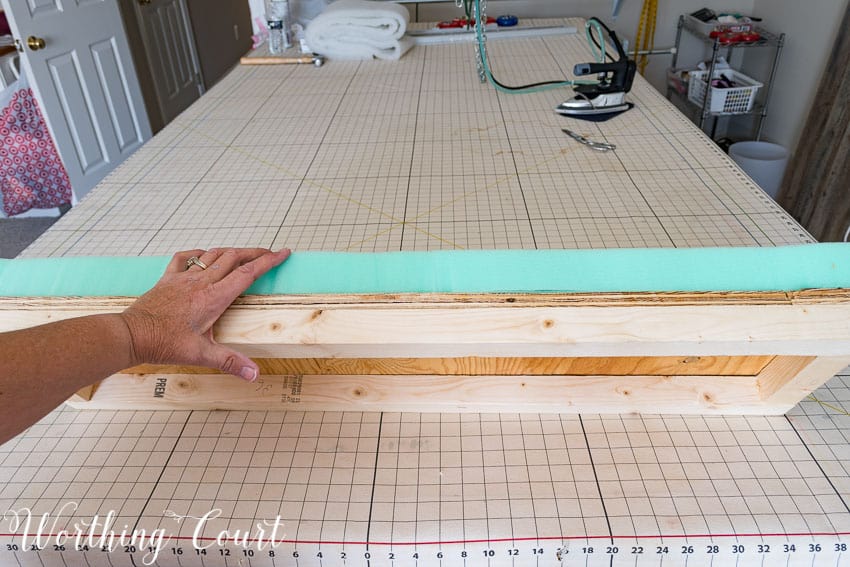
STEP 3: Join the foam rubber and wood seat frame.
Adhere the piece of foam to the seat frame with spray adhesive and allow to dry.
TIP: Use an electric knife to cut the foam to the size that you need.
Here’s a look at what the underneath side of the seat frame looks like, with the foam attached.
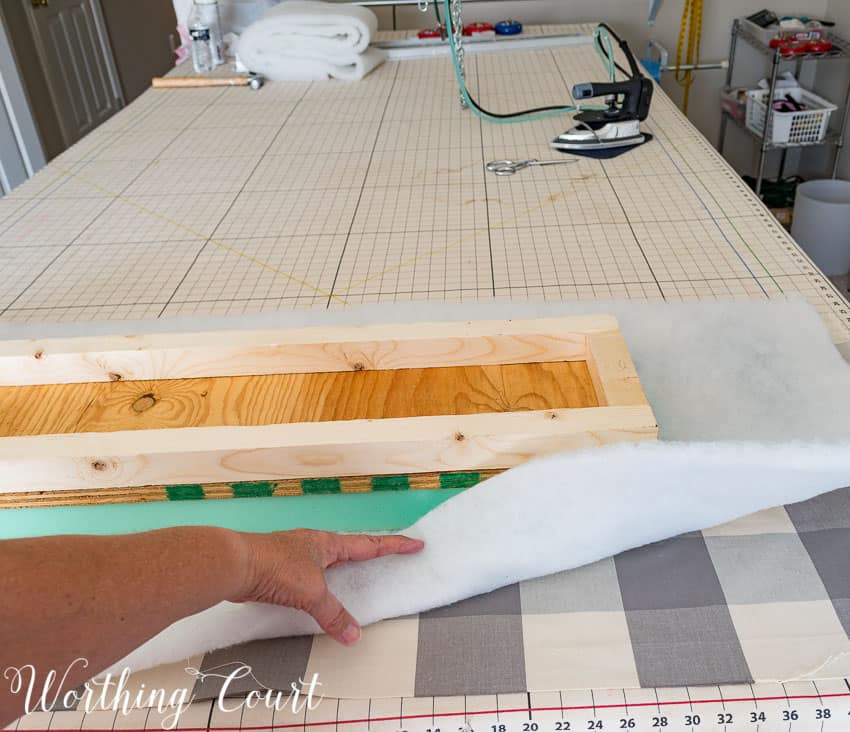
STEP 4: Upholster the seat.
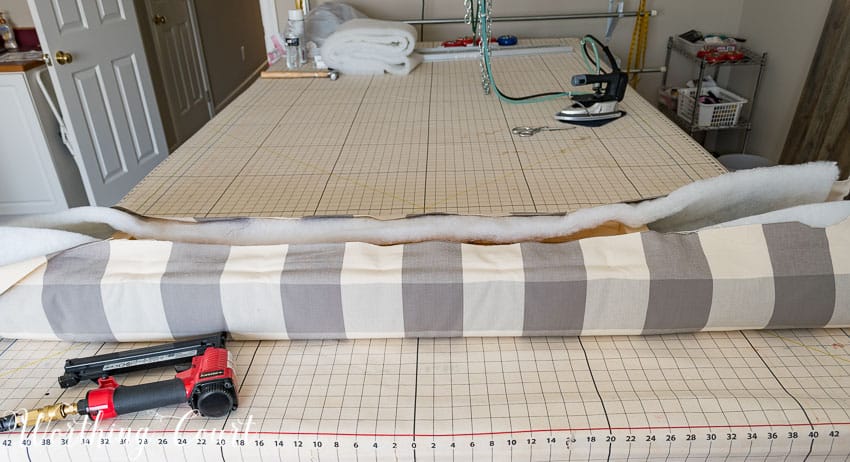
Place the fabric on your work surface, right side down. Place the batting on top of the fabric. Make sure that both pieces are completely smoothed out. Lay the seat frame, upside down, on top of the batting. Make sure that you line the frame up with the pattern in your fabric, if you have one. In my case, I was using buffalo check fabric, so I wanted to be sure that the fabric wasn’t crooked.
The fabric and batting will be attached with staples. Place your first staple in the middle of one of the long sides. Pull the fabric and batting taut, but not too tight, and place another staple on the opposite side. Then, working your way out from the center, place a staple every 3″ or so. Continue to alternate stapling from one side to the other.
TIPS: Make sure that the fabric pattern is lined up with the edges before attaching.
Alternating staples from one side to other helps to keep prevent your fabric from becoming skewed as you pull on it and keeps it taut.
Continue pulling the fabric taut from side to side and from the center to the end as you staple.
Look at the right side of the seat every once in a while to make sure nothing looks wrinkled or puckered. Don’t fret if you have to remove a staple and redo it!
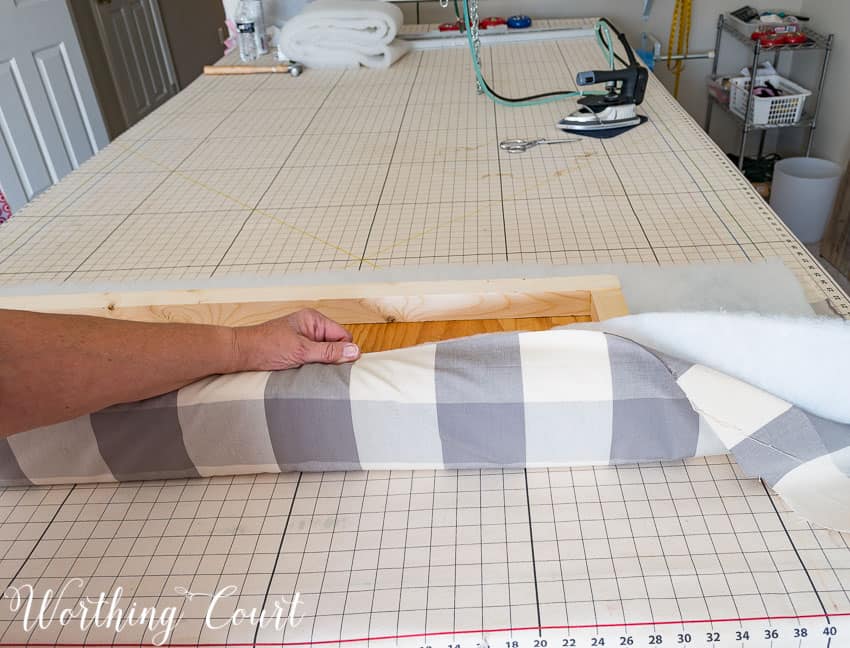
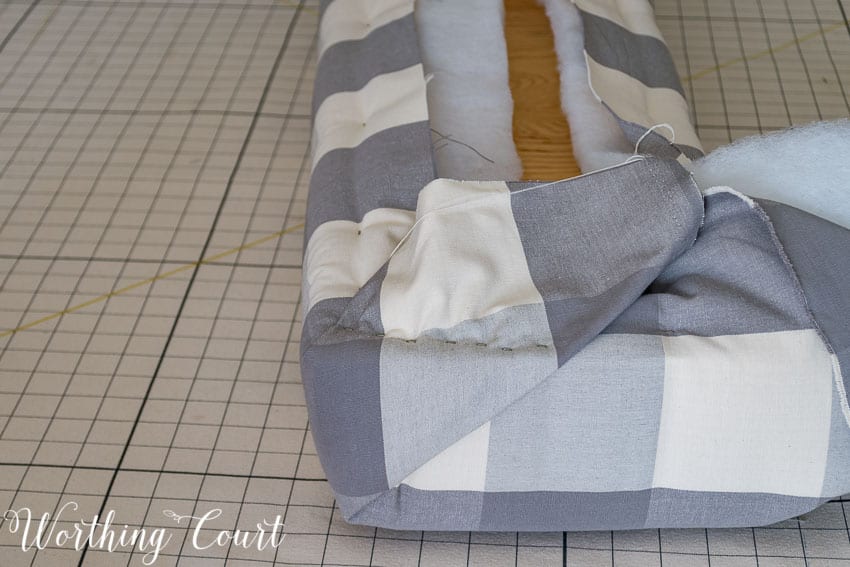
When both sides have been stapled, it’s time to work on each end.
To begin, pull the end of the fabric up and attach it with a few staples, using the same process that you used with the sides.

Pull back the fabric at each corner, pull the batting to a point and cut it at an upward angle. This will reduce the amount of bulk that will be created when folding the ends. Be careful not to cut the fabric!
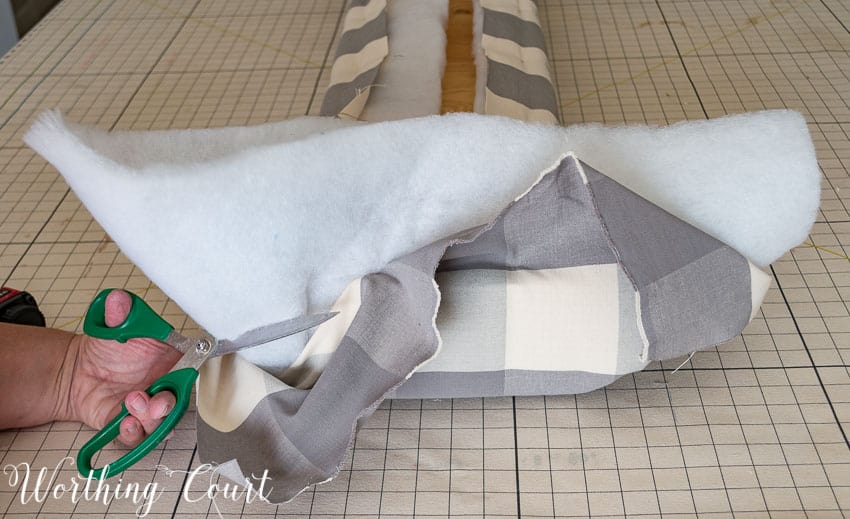
I recommend folding the fabric and batting as if you are wrapping a present. I usually have to work with the corners a bit to get everything nice and smooth. Secure with staples as you go. It gets easier once you’ve done your first corner!
STEP 5: Finishing touches.
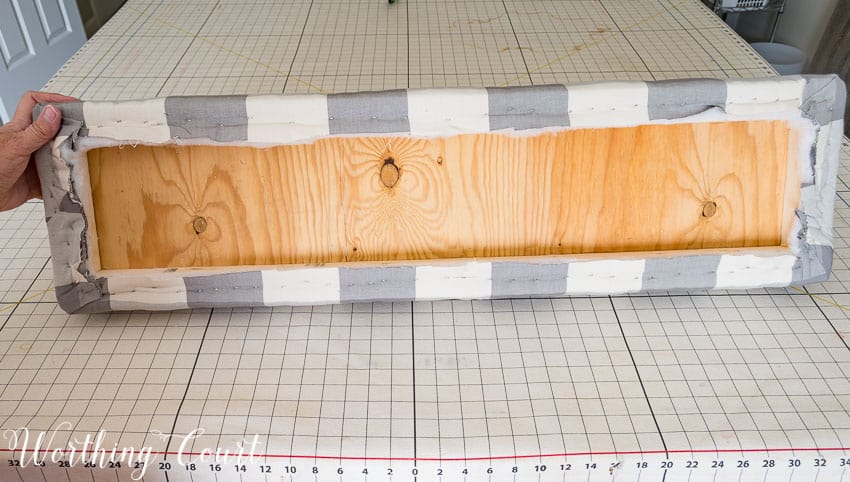
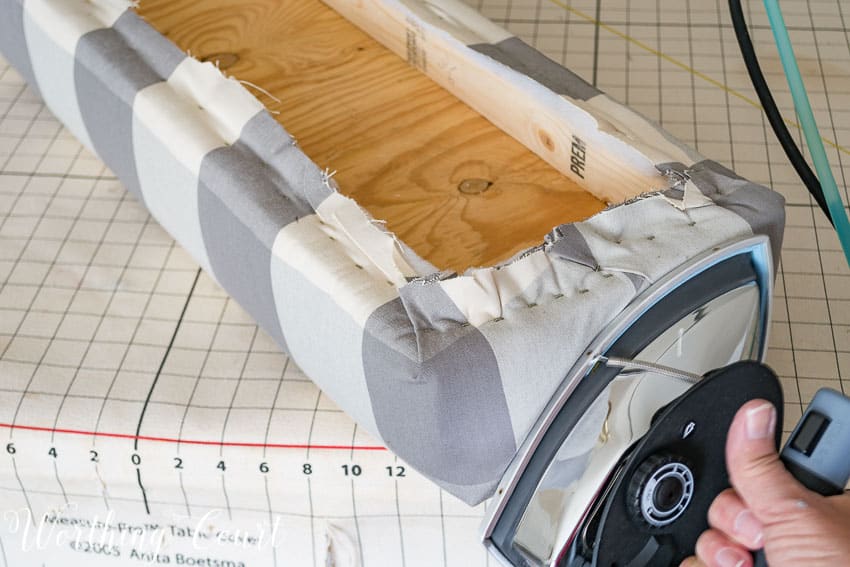
Now that both sides and both ends have been attached, come back and add more staples. Be sure to pull the fabric taut as you go and continue to check the top side for puckers. When all of the extra staples have been added, trim the excess fabric and batting away. Here’s the finished bottom side of the seat.
TIP: To give the ends a more polished look, hold a steam iron against the folds for a few seconds to flatten them, if your fabric will allow steam and heat to be used.
STEP 6: Attach the upholstered seat to the base.
I don’t have a photo of this step, but simply lay the upholstered seat upside down and place the bench base on top of it. Make sure all sides are lined up and screw through the underneath of the 2″ x 2″ frame up into the seat.
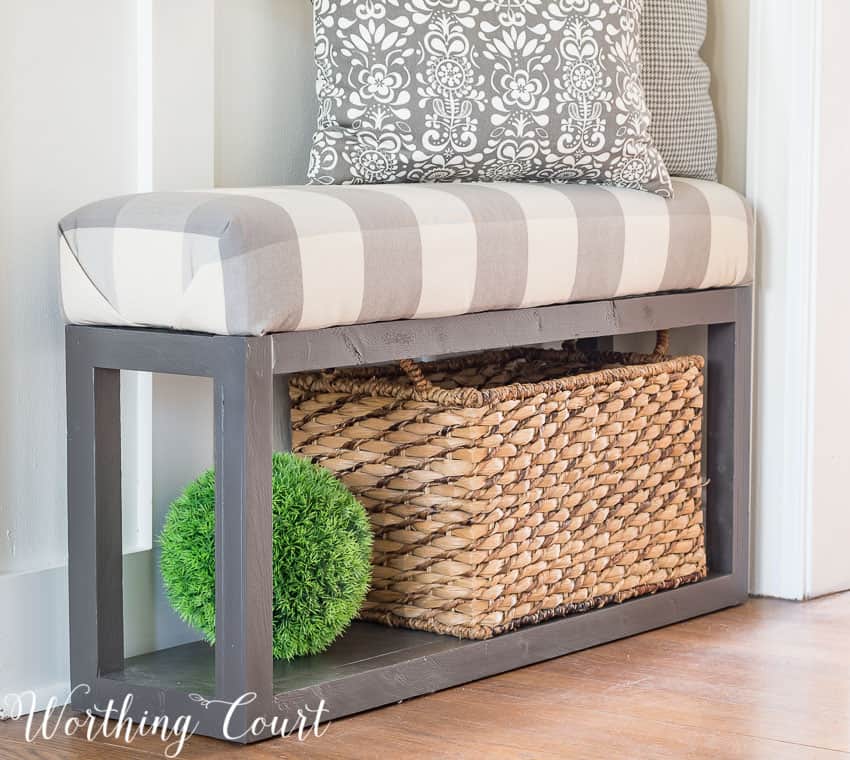
And wow – you’re finished and ready to enjoy your bench!
What a cute bench and helpful tutorial. I am a new subscriber to your blog and have thoroughly enjoyed your posts!
This bench will be perfect for a clients’s back entrance and easy enough for me to make and adjust to her particular needs. Thanks!!
Thanks for the great tutorial. You always make everything so easy to understand and follow. Your bench looks great!! Enjoy your day.
Thanks for the rest of this tutorial. I love the grey plaid fabric.
The bench tutorial is great! Such a great idea to put a personal touch in a space! Enjoy all your wonderful ideas!
I love the look of your redone foyer. The benches add just the right “finished” look!!
I have a spot in my entry that will only accommodate something narrow, and I think this might fill the bill! Thank you for the great tutorial.
I am always in awe of people who can build things but you make it look like it’s possible for me to do it. Your tutorials are excellent.
Linda Owens
Love how you did the corners
I love this bench! Thank you for sharing each step with us, including the many pictures so we can see how everything works together. Love it!
Really love this bench and your directions, with illustrations are wonderful! Thank you!!!
Thank you for the tutorial! Excellent, detailed instructions.
I could only hope that my corners would turn out as precise as yours! Perfect!
Love the bench instructions, I need some tools to complete my visions.
Love the finished bench. Thanks for sharing!
This is exactly what I was looking for today. I could not believe my luck –we are in the middle of remodeling our front hallway and need a new bench. Thank you so much for sharing. I love your style!!
Thanks for this great idea! Can’t wait to get started.