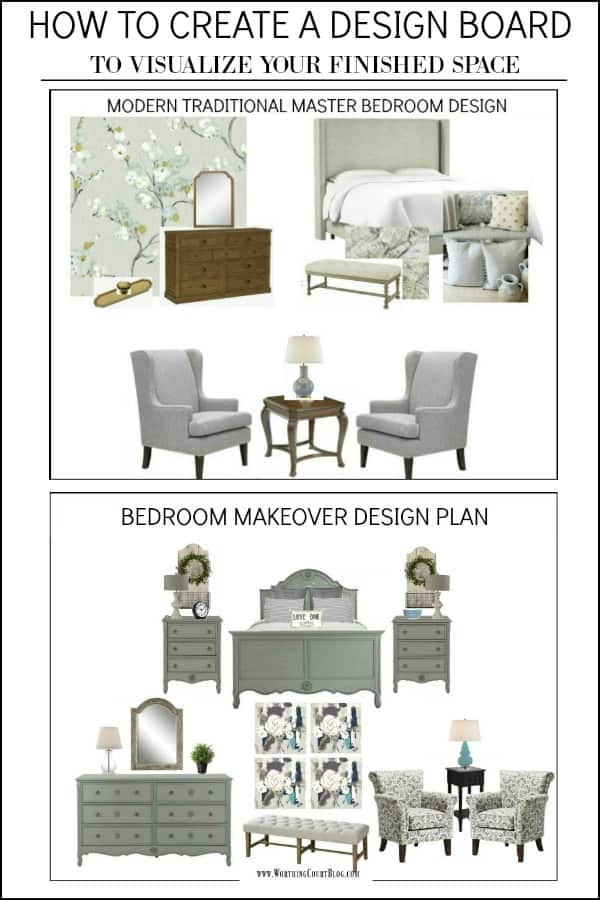
How To Create A Design Board – This Will Change Your Decorating Life!
Step-by-step directions for creating a mood board to help you design a room.
Do you have lots of ideas for your rooms in your head, but need an easy way to pull them all together? Are you a visual person who feels like you need to “see” the space before you actually start the decorating? Then, my friend, creating a design board is for you! Too bad this option wasn’t around back in the days of when I tried my best to create THE most beautiful Barbie dream house ever under my mom’s dining room table. 😀
Using design boards for interior design (also known as mood boards) is nothing new – you’ve probably seen them on lots of blogs and on Pinterest. Professional interior decorators and design enthusiasts (that’s you and me!) use them to help figure out how to design a room and to get a little sneak preview of what the space will look like. Fashion bloggers use them too, for putting awesome looking outfits together.
In the past few months, I’ve shared three different design boards that I’ve either used or I am in the process of using to help me decorate a room. One was for my guest bedroom makeover, the other was for a small dining room makeover and the third is for my master bedroom makeover, that I’m just getting started on. Check out the three design boards below.
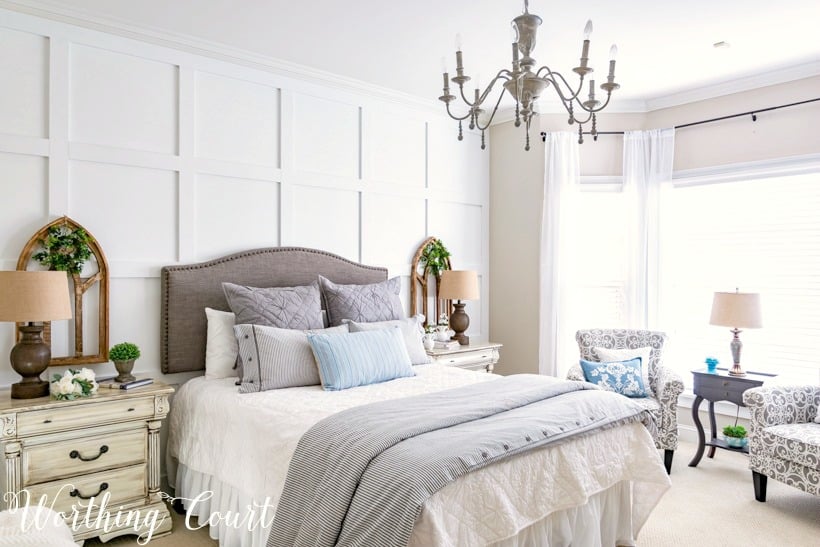
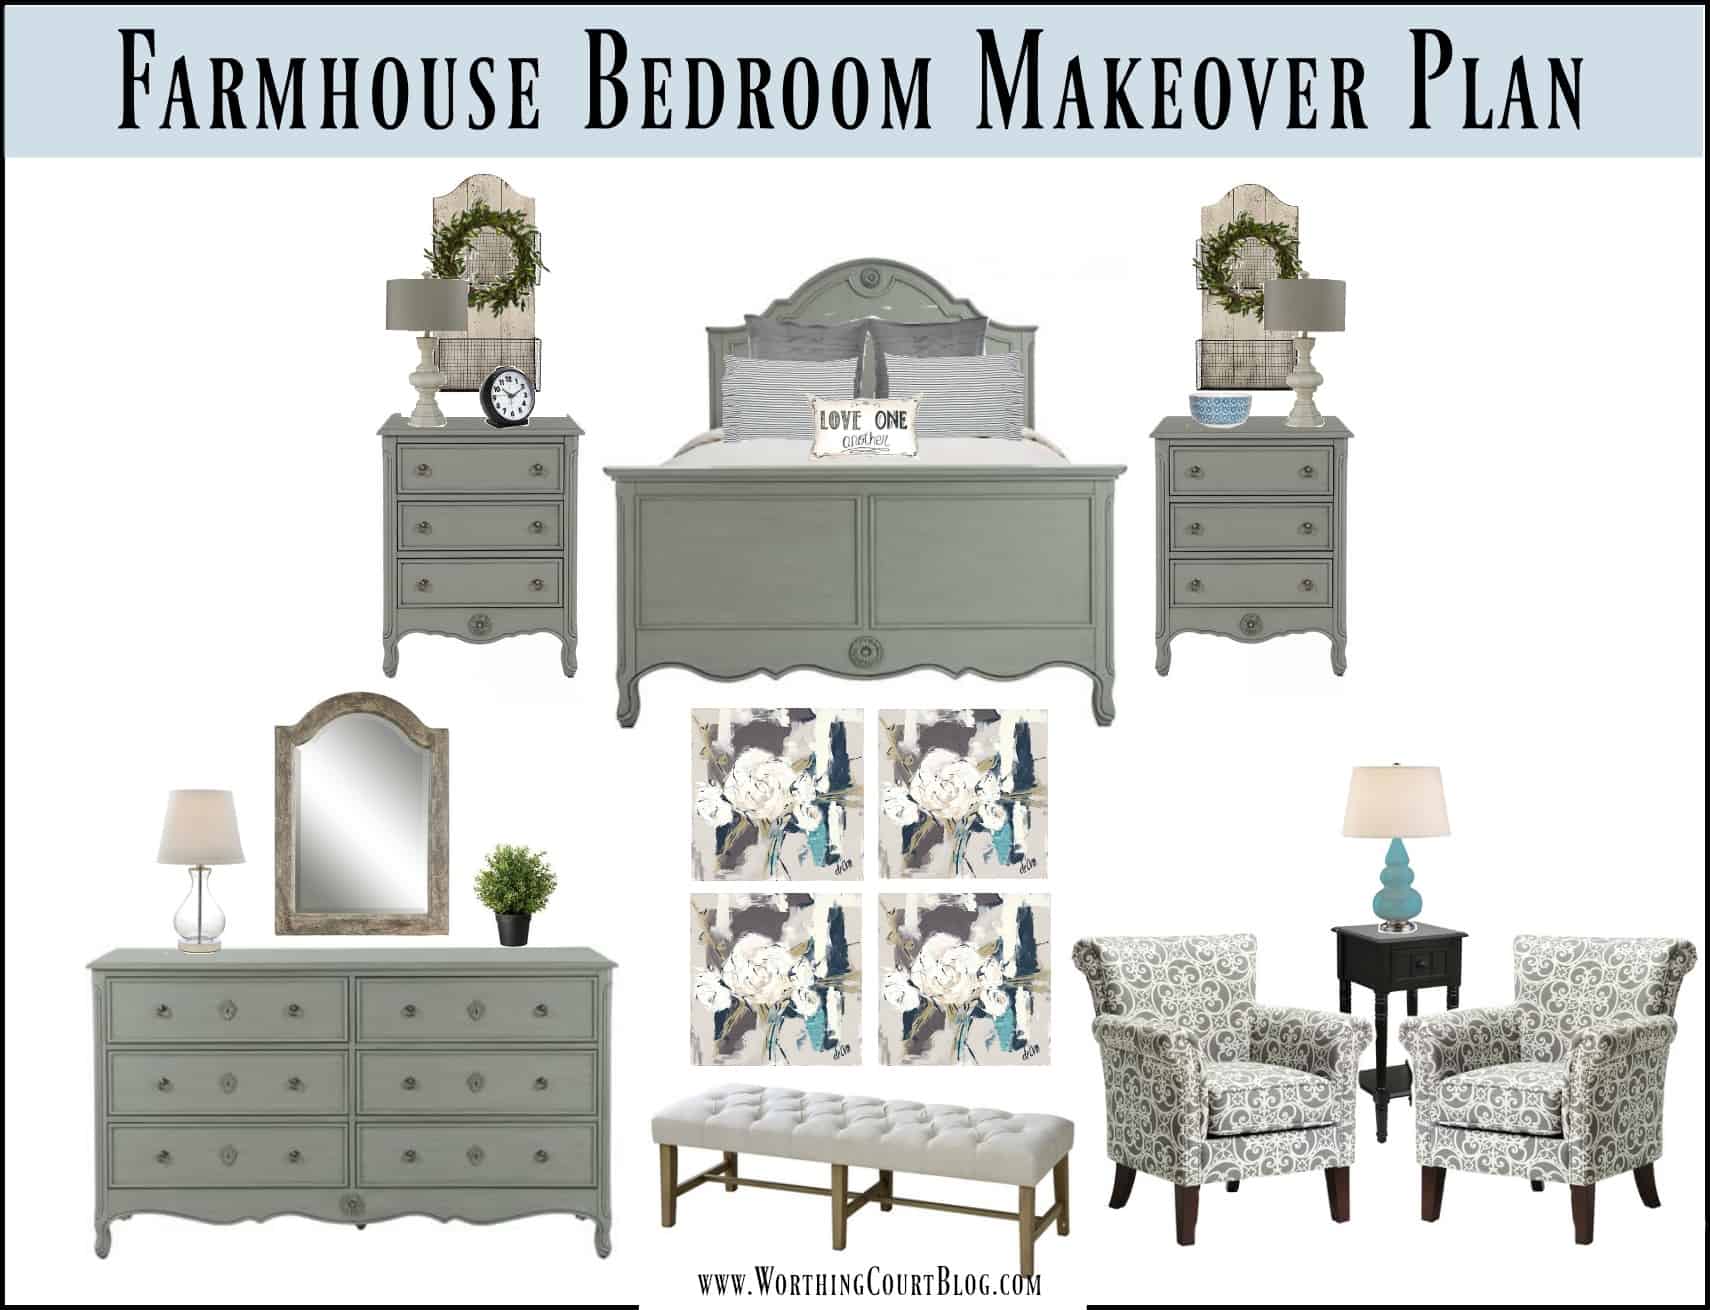
GIVING A HO-HUM BEDROOM A FARMHOUSE MAKEOVER
SMALL DINING ROOM MAKEOVER – BRINGING A MOOD BOARD TO LIFE

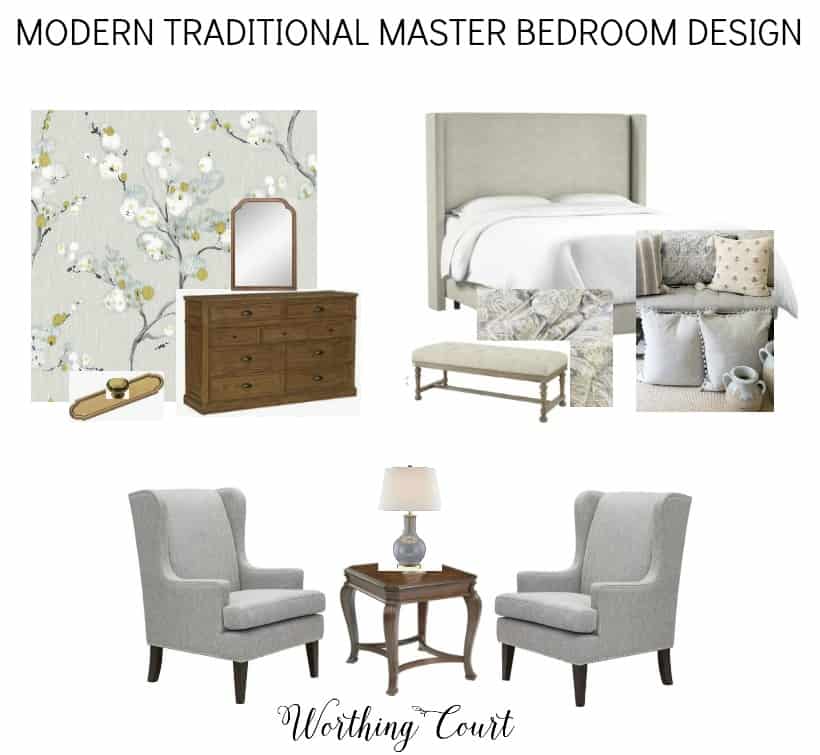
MODERN TRADITIONAL MASTER BEDROOM DESIGN PLAN
Using a design board for interior design is an awesome way to get a sneak peek into what your space will look like when it’s finished. It’s also beyond helpful to avoid making potentially costly mistakes. Sometimes those individual things that you think you’ll like don’t look so great when you combine them together. 😀 Trust me, I’ve created design boards before and then realized that I didn’t like how my vision was looking and had to start over.
Apparently, y’all would like to create design boards for your spaces too because I’ve had lots and lots and lots of questions asking how to make one. They’re super easy and a lot of fun to do! Let me show you how I create one. Today, we’ll create a mood board for a wall in an imaginary living room.
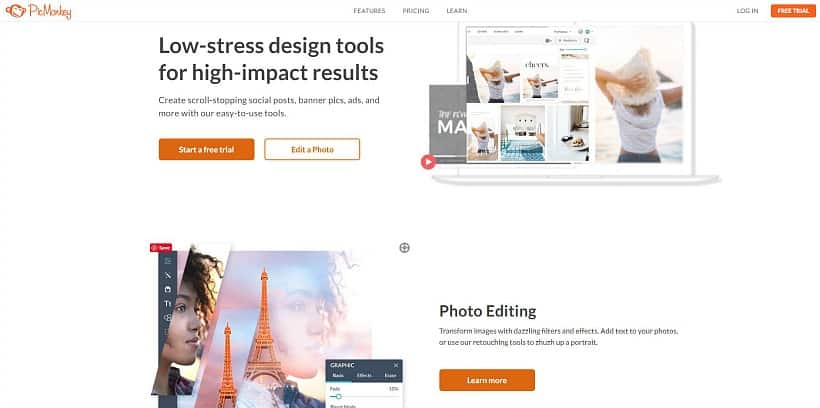
1. I USE PICMONKEY TO CREATE MY DESIGN BOARDS
If you don’t already use Picmonkey, you’re missing out on a fun place to digitally play with photos and to create graphics of all kinds! I use it ALL the time. The charge is nominal, but if you aren’t sure you want to use it, there’s a free trial available. You can sign up for it right HERE. When you go to picmonkey.com, the home page will look something like this:
Affiliate links have been used. See my full disclosure HERE.
2. START WITH A BLANK DESIGN PAGE
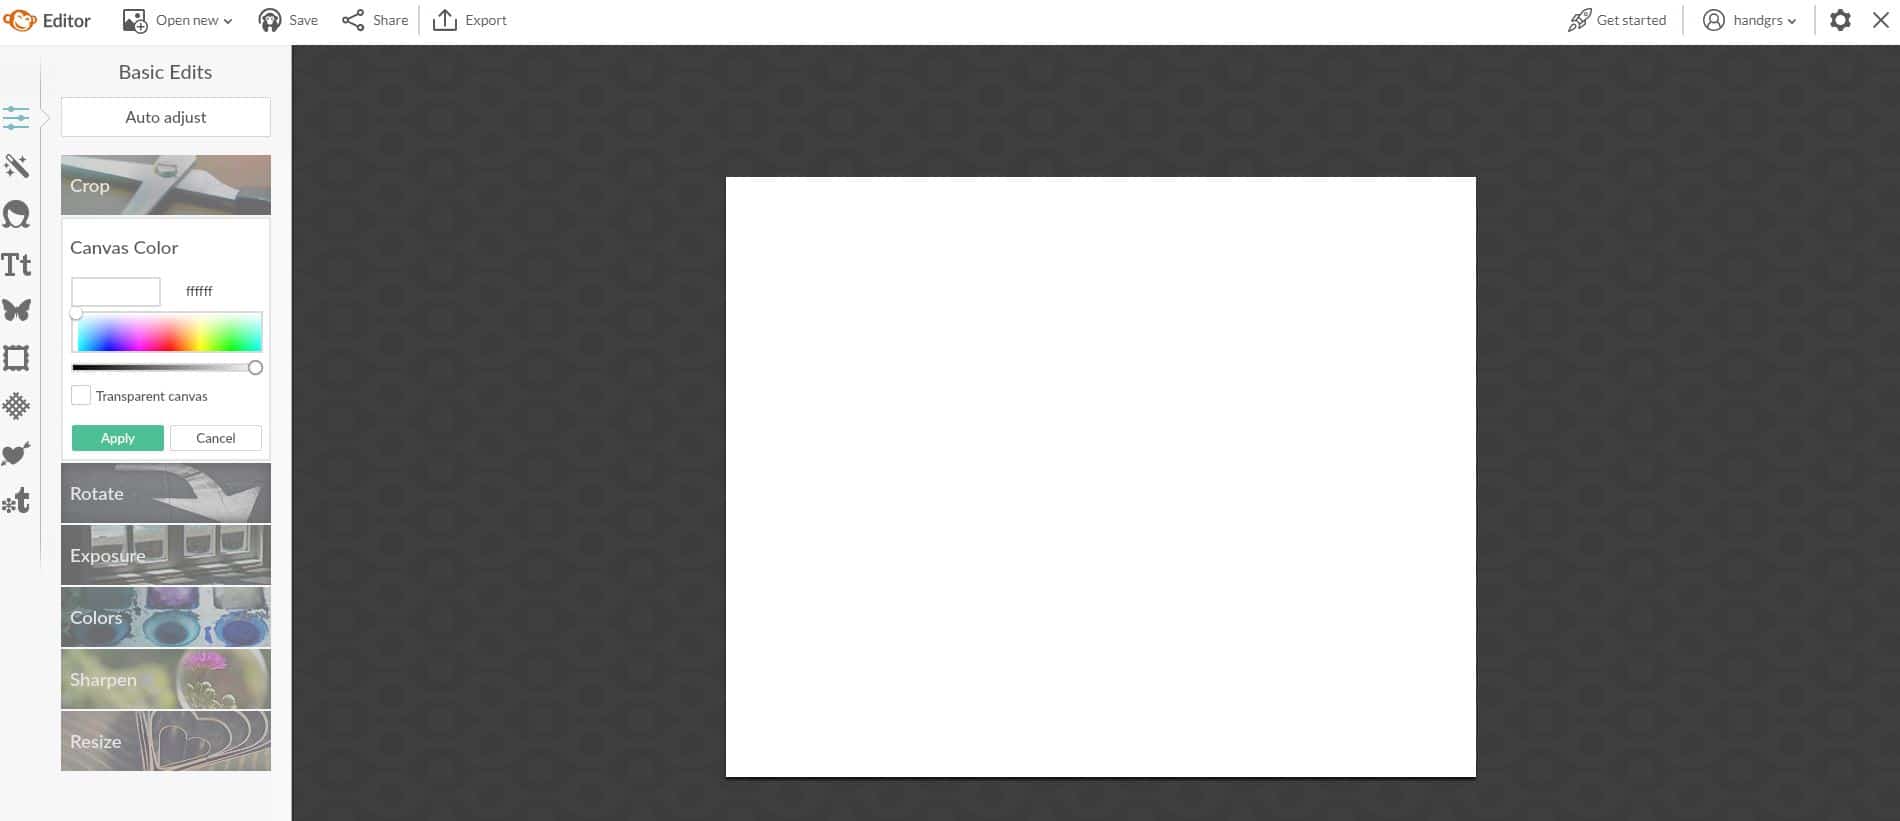
Once you’ve logged in, hover your mouse over ‘Design’ and a drop-down menu will appear. You can choose ‘Templates’, ‘Blank Canvas’ or ‘Custom Size’. For today’s exercise, we’ll choose ‘Custom Size’ and enter the size (in pixels) that we want our mood board to be. It doesn’t really matter what size you chose, but 8 x 10 is a good one to start with, so enter 750 x 600 in the white boxes and click on the blue ‘Make It!’ button. When the blank template appears, choose a canvas color and click ‘Apply’ – I usually just use white.
3. THIS IS WHERE THE REAL FUN BEGINS!
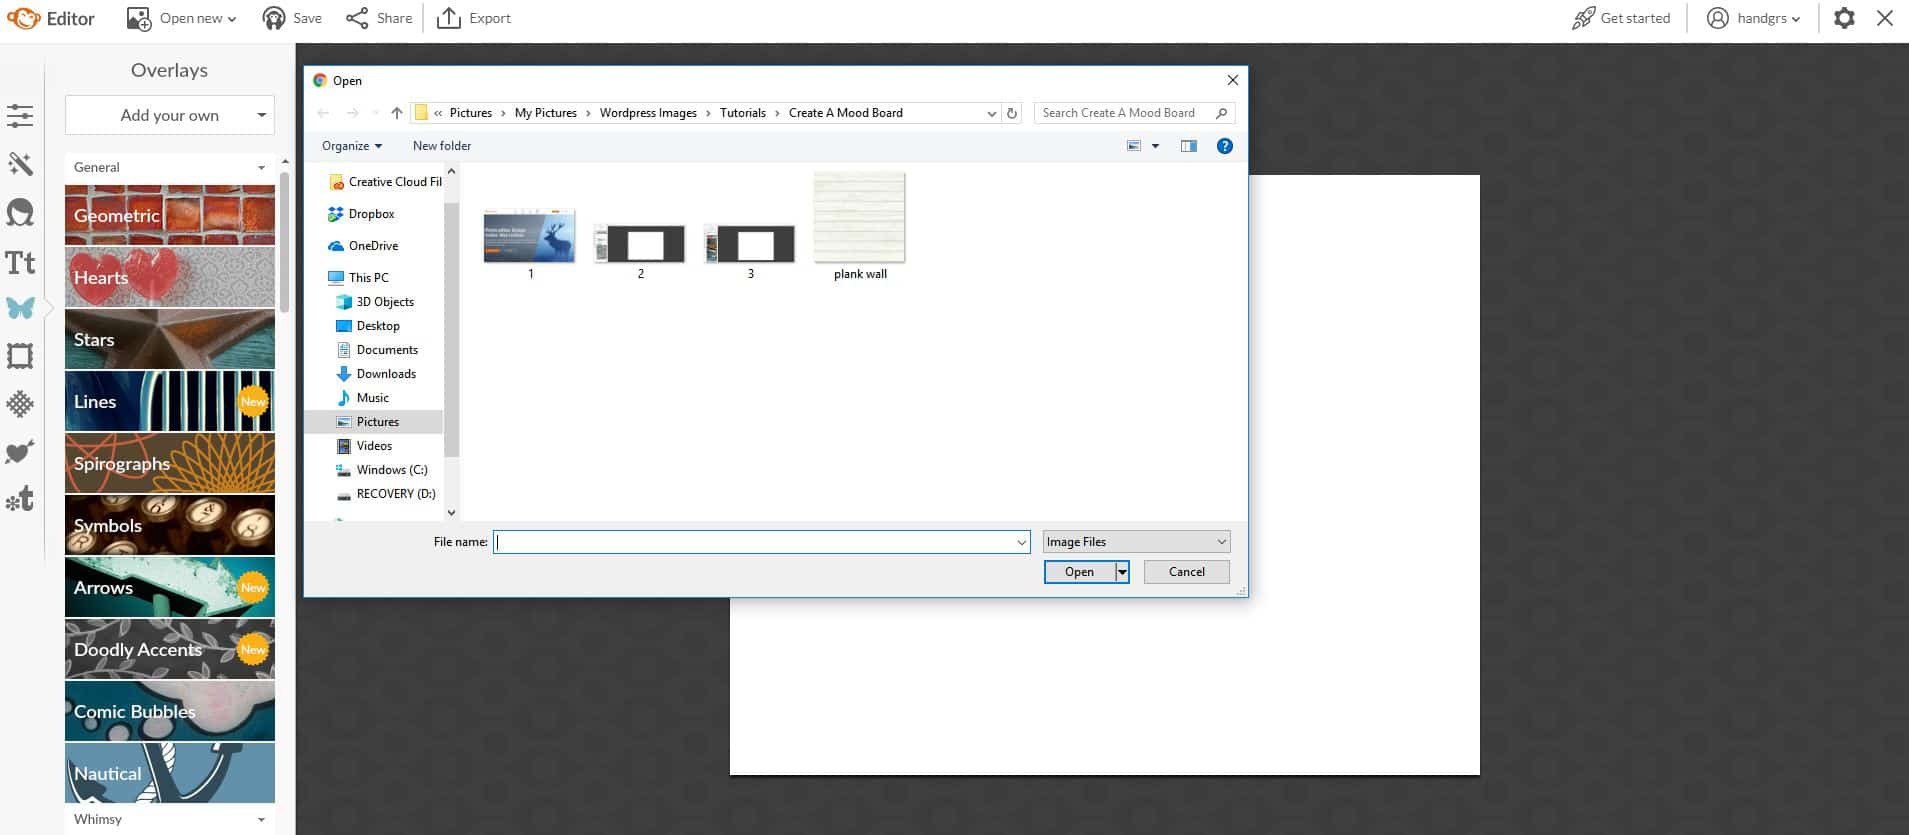
Click on the butterfly icon in the left sidebar to bring up a list of pre-loaded overlays you can add to your blank template or click on ‘Add Your Own’ up at the top of the sidebar. A drop down menu will appear. Choose ‘My Computer’ to upload the saved images from your computer of all the elements that you want to add to your space (see Step 5). You’ll add one overlay (image) at a time. Think of this step as layering. First you’ll add a wall overlay – paint color, wallpaper, board and batten etc., then overlays for furniture pieces, then lighting, accessories and so on.

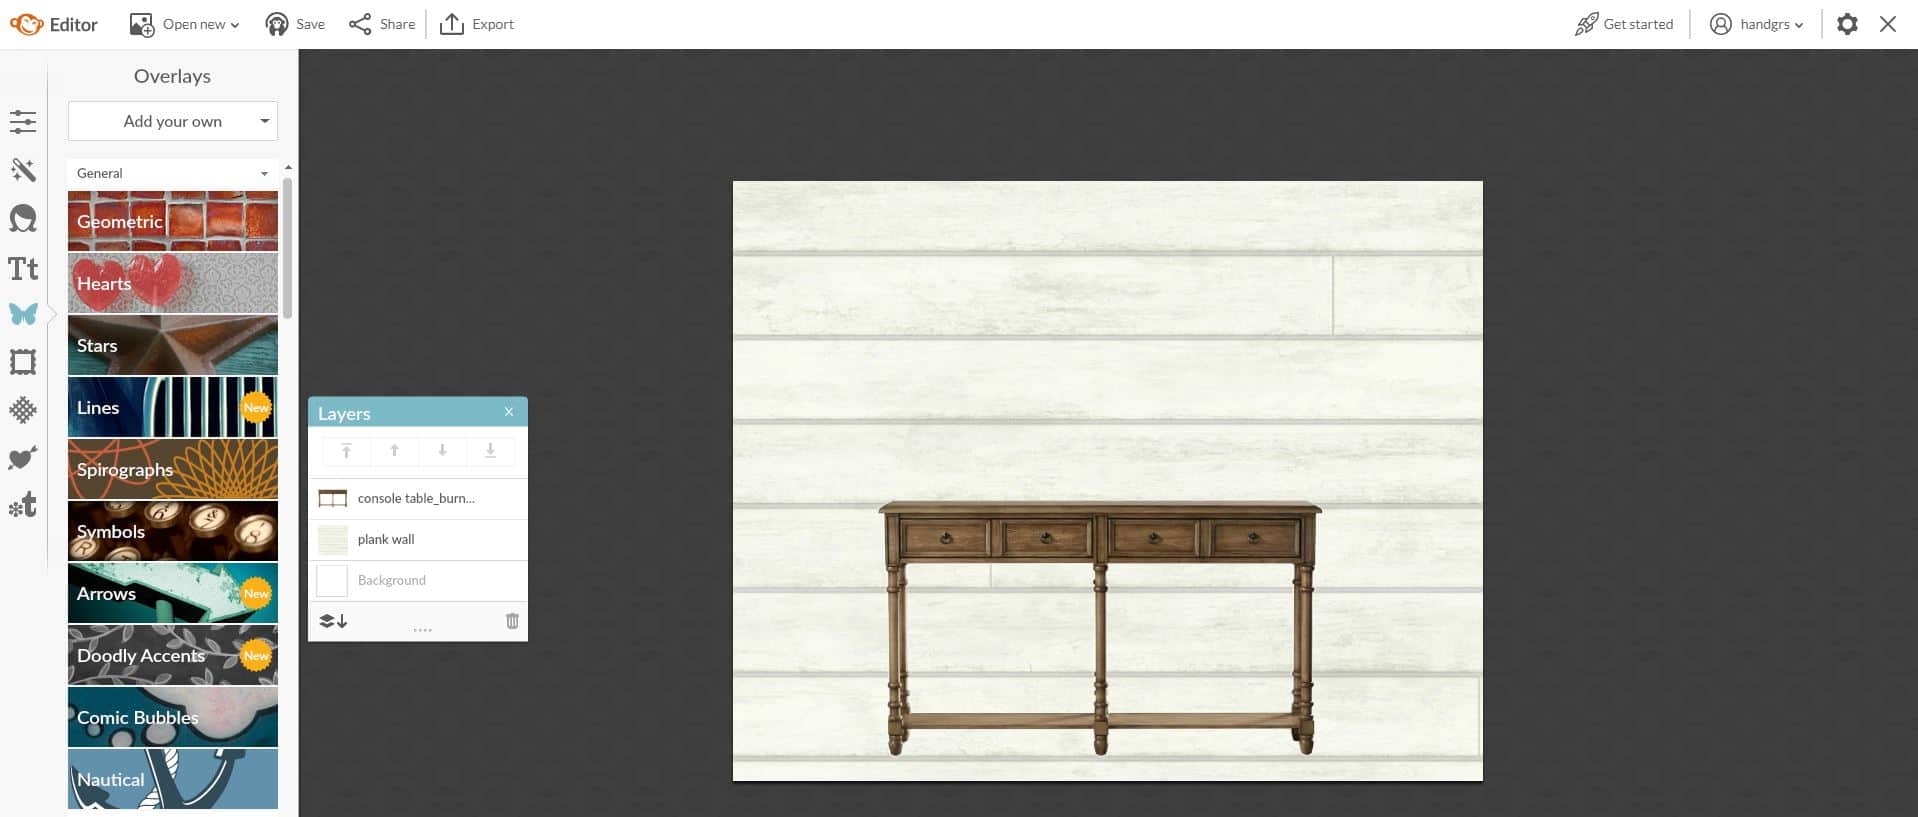
4. HOW TO ADD A WALL TREATMENT OR PAINT COLOR
In our imaginary living room, we’re going to have a white planked wall. I Googled ‘plank wall’, found an image that I liked and saved it to my computer. I added the plank wall to my blank template by clicking on ‘My Computer’ from the ‘Add Your Own’ drop down menu box.
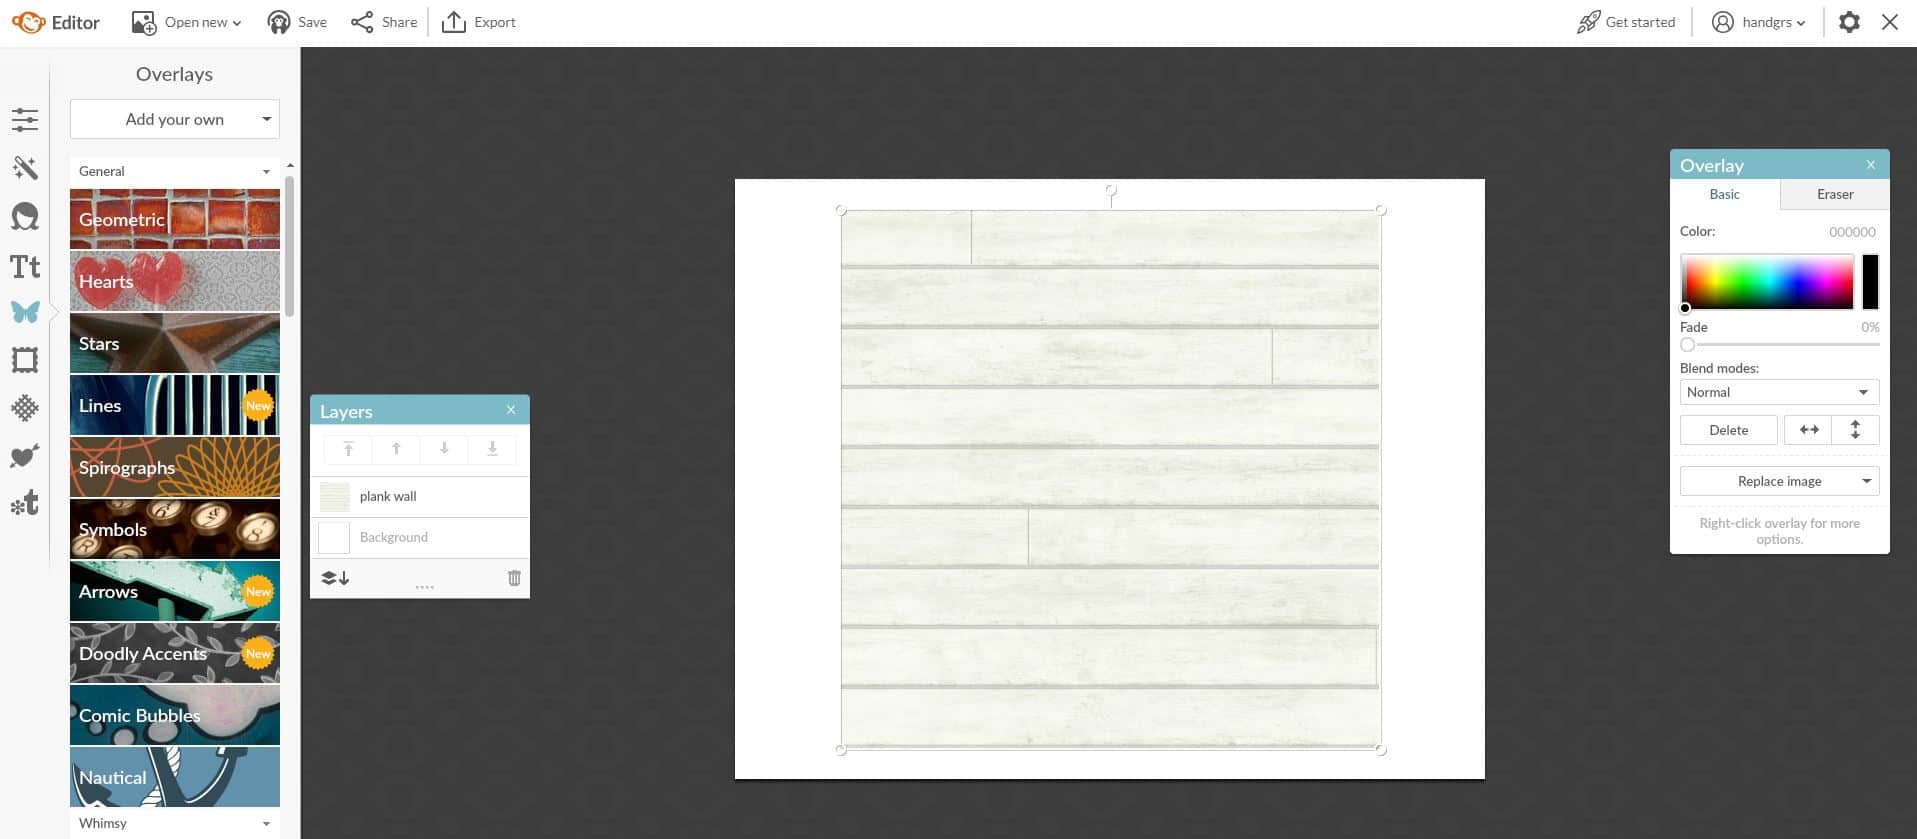
Nest, click on the corners or lines to enlarge the image to fill the blank template. Don’t worry if the enlarged image spreads over the black portion of the screen – it won’t show when you’re finished.
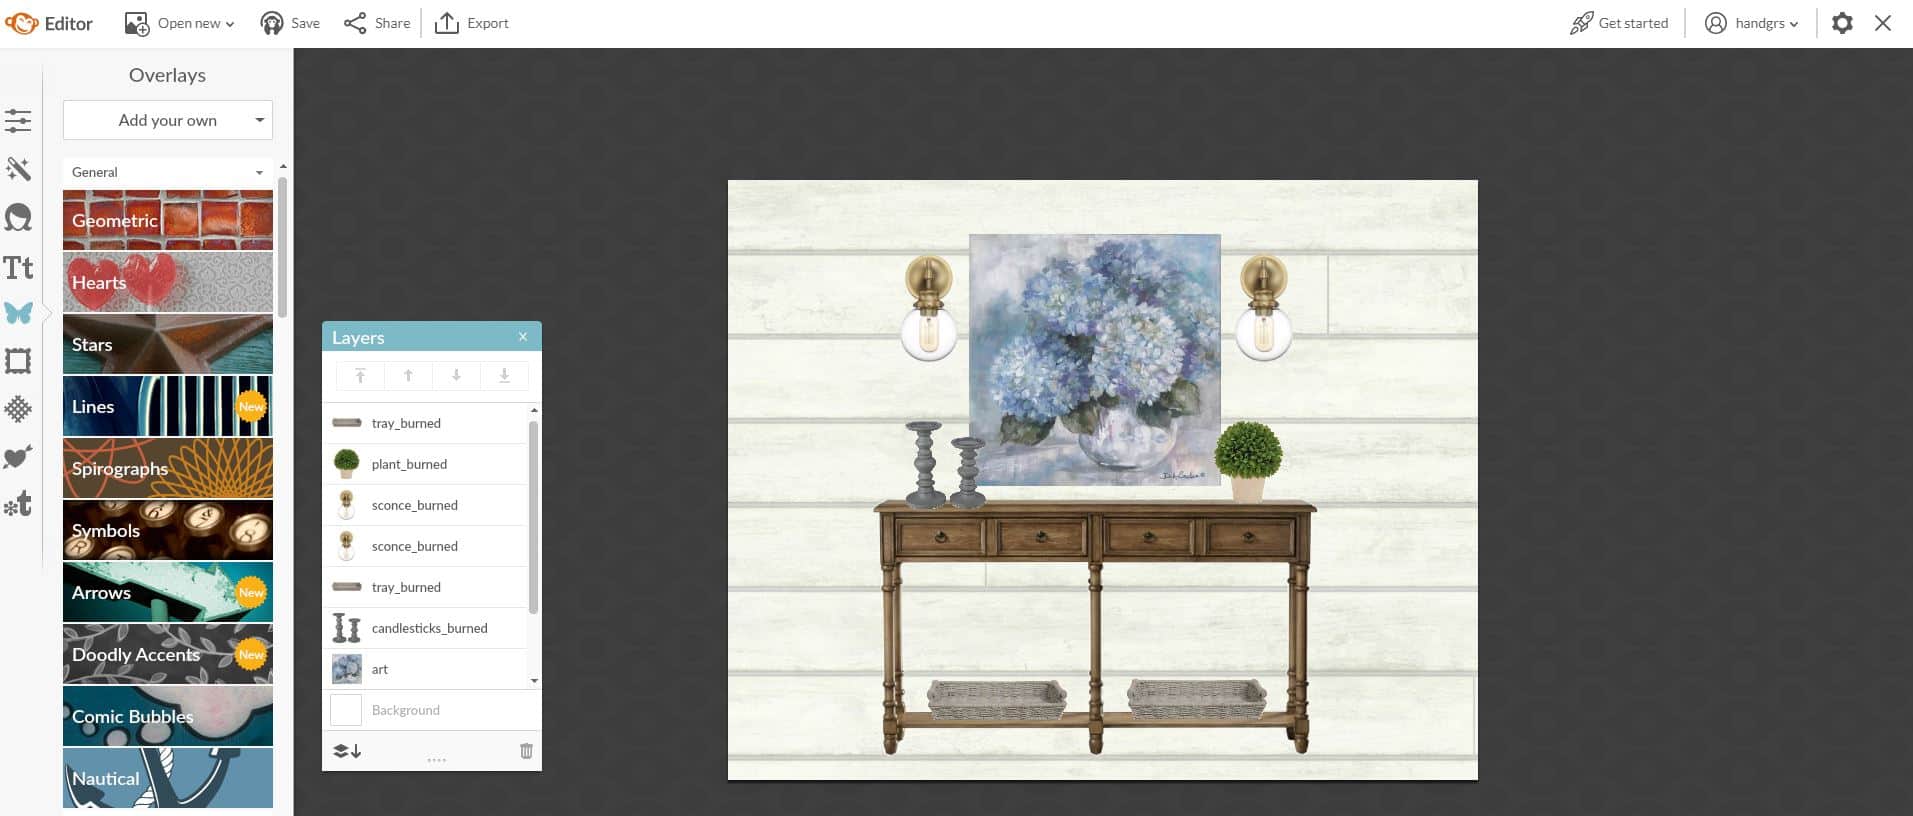
5. HOW TO ADD ALL THE PRETTIES
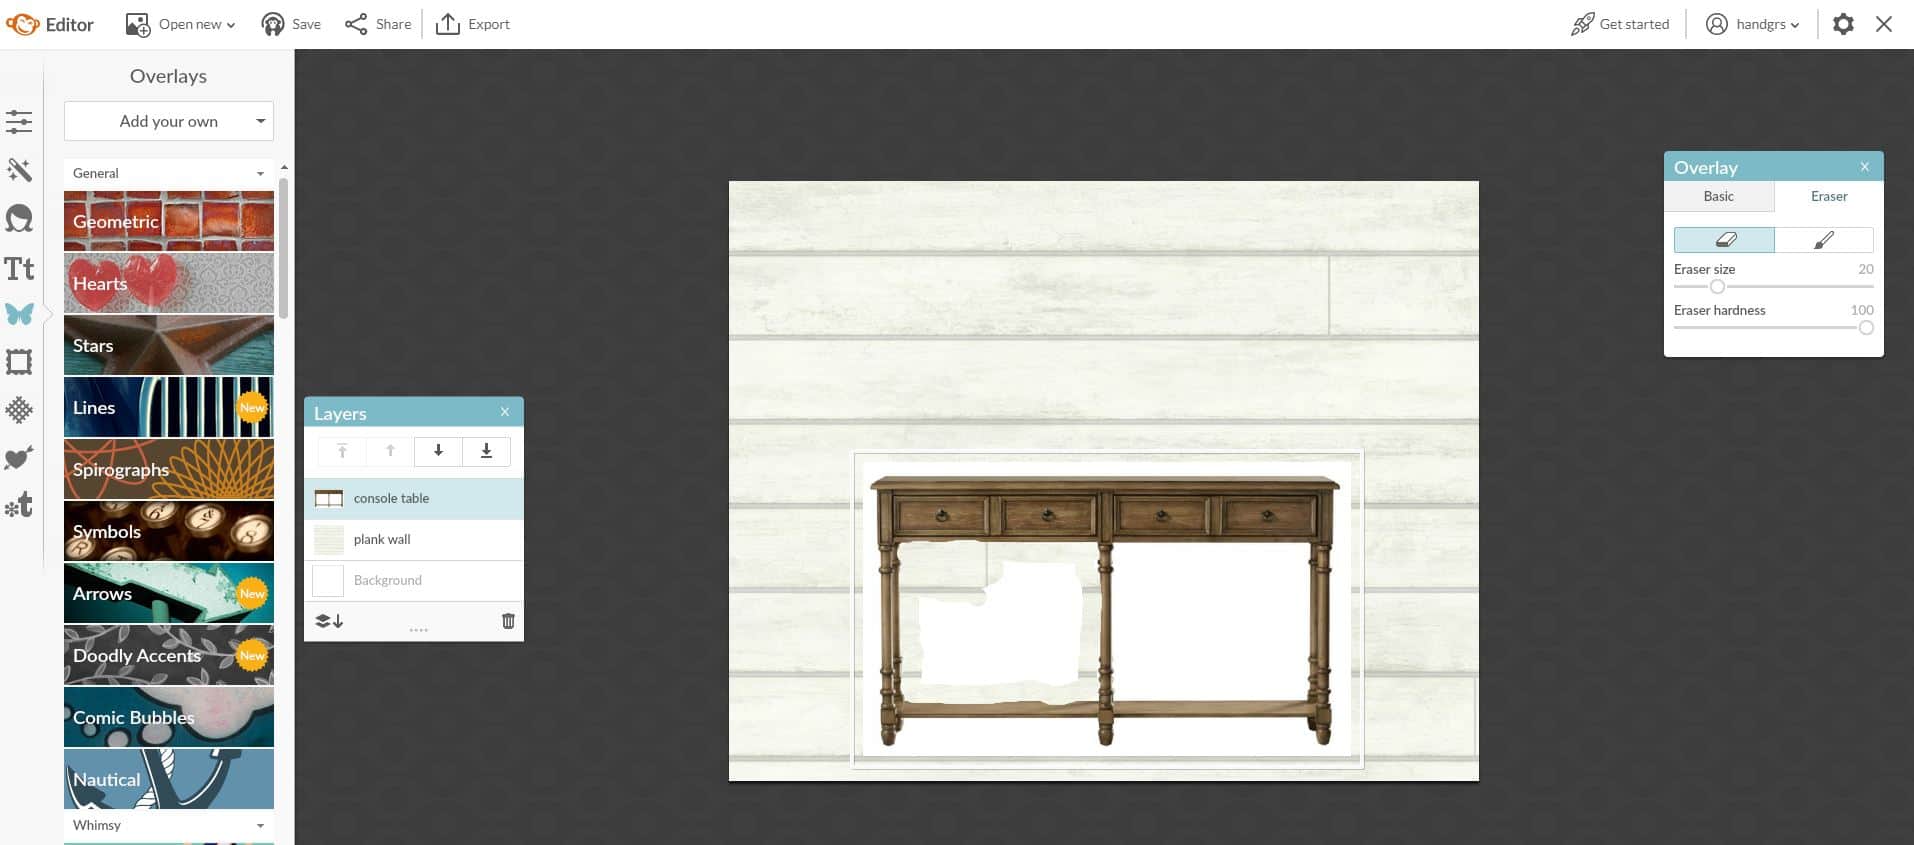
Explore the internet to find furniture, accessories and anything else that you would like to have in your room. Even if you’re going to use something you already own, you should be able to find something similar online that you can add to the mood board to help you visualize your space. Save the image(s) of anything you like to your computer and follow the directions in step #4 to add the overlay on top of the plank wall. To remove the white background from your overlay, click on the ‘Eraser’ tab on the ‘Overlay’ window that pops up. Use the sliding bar to adjust the size and hardness (I adjust it to 100%) of your eraser and move the cursor all around the parts that you want to remove.
Here’s the finished image with background removed.
Use these same steps to add more furniture, artwork, accessories or anything else that you might like to see to your space.
6. SAVE THE FINISHED PRODUCT
Now that you’ve created your design board, be sure to save it! PicMonkey has a great feature where you can save images to ‘The Hub’, so that you can come back later to make changes if you would like. I recommend saving your image to both ‘The Hub’ and to your computer.
I know this may look complicated, but it really isn’t! Just follow these steps and the more you use PicMonkey, the more comfortable you will get with it.

Hi Doreen. So glad you found this info useful! I know that there’s a PicMonkey app for ipad or that you could go to picmonkey.com on your Safari browser, but I haven’t personally used it so I can’t tell you exactly how it would work.
Suzy,
Thank you for your quick reply. I certainly will check this out and investigate now that you have introduced me to it. I have been reading your blog for several years and love it. I don’t comment as often as I used to, but I’m out here reading every one of your posts! ☺️
Oh my awesome information and I will have to try this Have a blessed week
This is the first time I’ve heard of PICMONKEY! Oh wow, I have instantly fallen in love with it. Thank you for telling us about it!!!!!!
OK. Another fun piece of advice I will use. Thanks, Suzi
Thank you for the details on creating a mood board.
This is so easy to do! Thanks for giving this easy-to-follow set of directions!
Thank you so much for explaining how to do a mood board. I would’ve never been able to figure it out on my own. I’m so excited to try this.
This was SO helpful to me, Suzy! Thank you!
Thanks for the info–I love this idea! I’m going to try this with a few rooms in our house!
THINK I will have to stick to the old fashioned way cutting out pictures in magazines and gluing to the paper. I am not very skilled at the computer! It would be fun to play with it, who knows, maybe I can learn something new.
THANKS, DENISE
This is a great tutorial!
Hey Suzy! Great post packed with a ton of practical tips. I love the design board idea. This is also great for all sorts of different projects. Especially if you’re a visual person like myself.
This is precisely why you were included in the top farmhouse sites to follow in 2019!
I just pinned this to our farmhouse board!
Thanks again!
Kyle