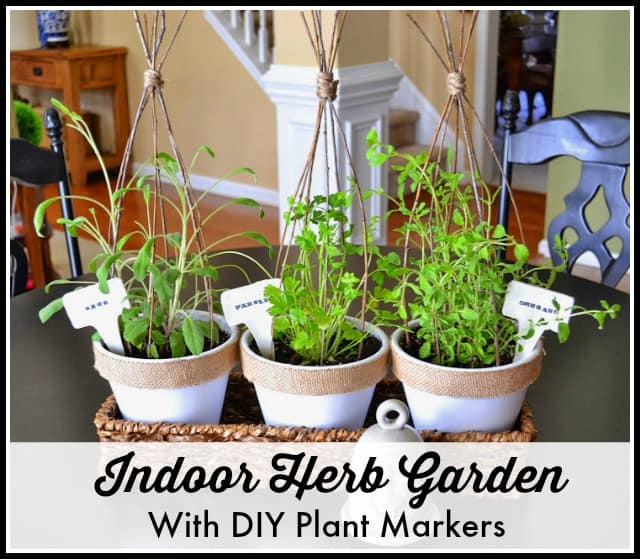
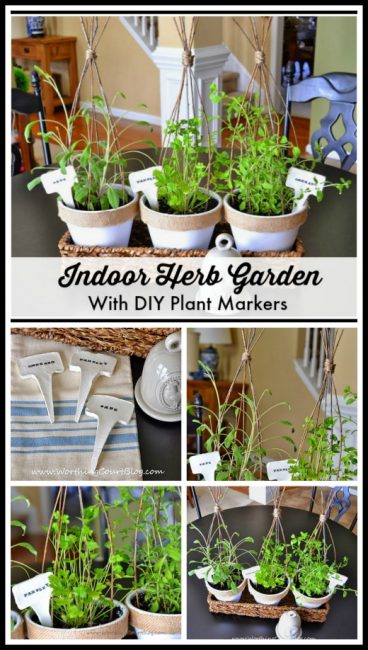
A Pretty Mini Indoor Herb Garden And DIY Plant Markers
Growing your own herbs indoors is delicious in your cooking and saves you money!
Do you cook with fresh herbs? Small packets of fresh herbs are crazy expensive at the grocery store, so I decided to grow some of my own indoors.
Since it’s too early for me to plant anything outside yet, I created an indoor herb garden to give me a jump start on the growing season.
Plain clay pots were spray painted white and embellished with burlap ribbon.
After adding the baby herb plants to each pot, I created a cage for each pot using small branches from a tree in my yard. Make sure you use “green” branches as dead ones aren’t bendable and will likely break.
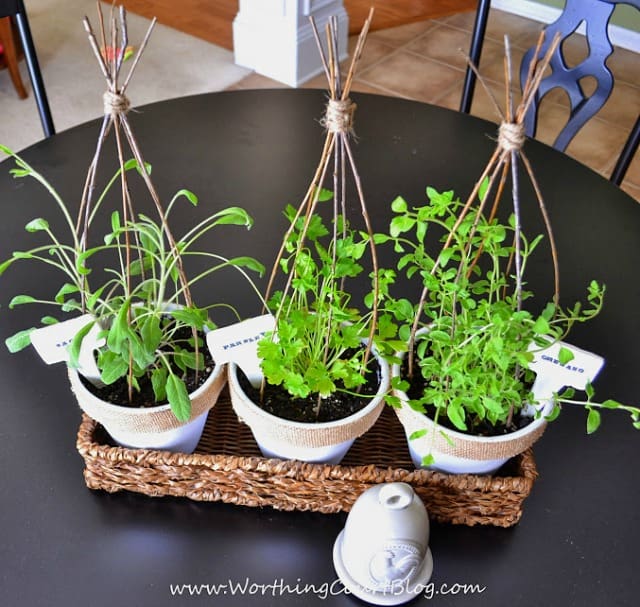
The branches were simply inserted down deep into the potting soil and wrapped with jute twine at the top. I cut the tops off evenly so that the cages wouldn’t look scraggly.
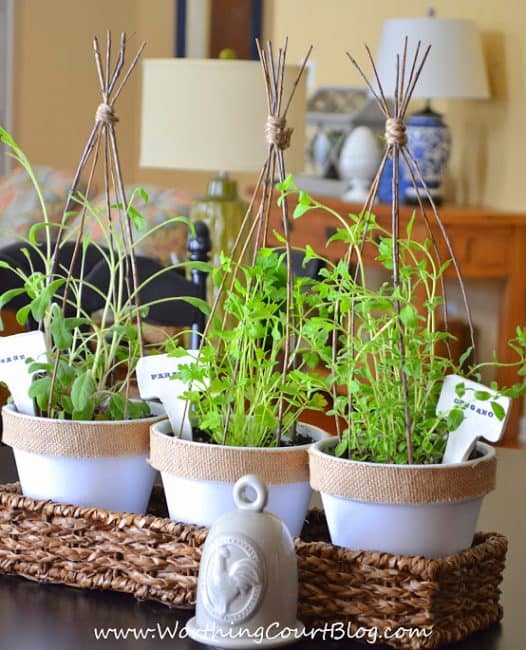
The cages really add a special touch to my garden!
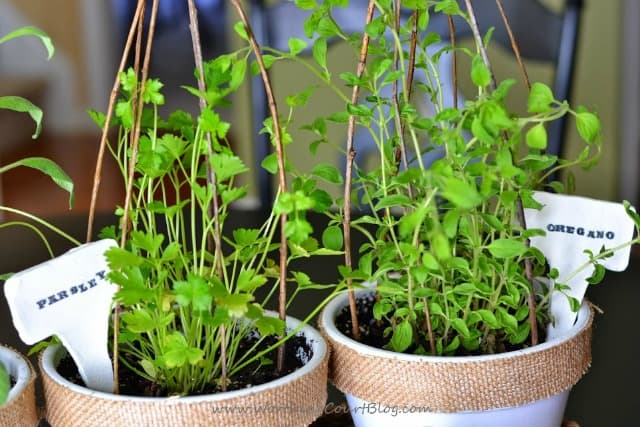
I couldn’t leave the ugly, plastic nursery markers in such a pretty display, so I tried my hand at creating some markers of my own.
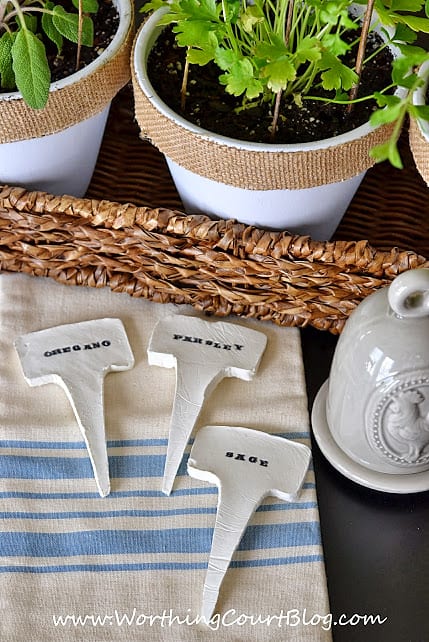
I used air drying, white modeling clay similar to this:
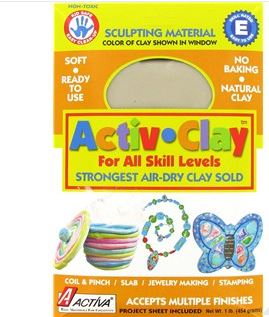
Oh my goodness, this stuff was so fun to work with! I got so carried away that I forgot to take pictures of the process, but it was super easy.
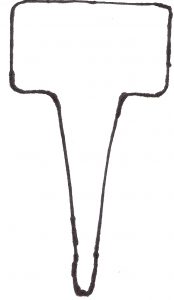
1. My markers measure 2.75″ wide x 5″ long. Click on the link or the image below to download and print. To make markers like mine, cut a block of the clay measuring roughly 2″ wide x 4″ long.
2. Handling the clay is much easier if you slightly moisten your hands prior to and during handling. I just kept a bowl of water nearby and occasionally dipped by fingers in it.
3. Place the chunk of clay between two sheets of wax paper. Spread the chunk out until it’s large enough to accommodate the template and is about 1/4″ thick, adding more clay if needed. A rolling pin works well for this step.
4. Remove the top layer of wax paper. Lay the marker template on top of the clay and cut around the shape using a knife. Remove the template and save for reuse.
5. Now is the time to stamp the name of the plant into the marker, before the clay dries. If you don’t own stamps, you could just write in the clay with a dull pencil and then trace the letters with a felt tip pen.
6. Allow the markers to dry for at least 24 hours. I flipped mine over once during that time.
7. Spray the markers with clear sealer before inserting into dirt.
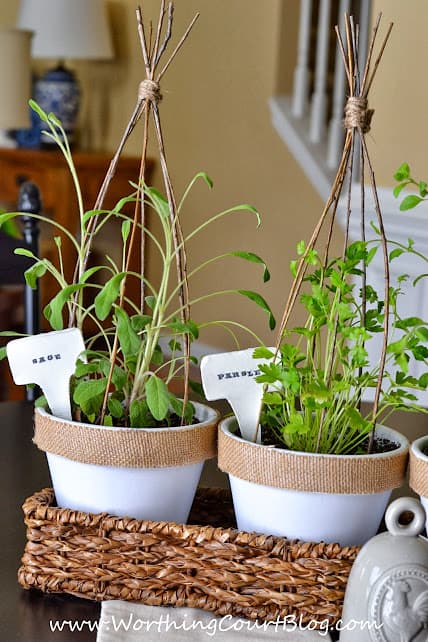
The final step in creating my indoor garden was to place all three pots into a wicker tray. It allows me to easily move my herbs around to make sure that they get even sunlight.

BTW – if you look closely, you can get a little peak at some changes going on in my family room in the background. More about that coming soon!
Have you ever planted any herbs indoors?
Too cute!!! And I see someone’s been painting : 0
Pookie says: I was wondering what was planted in there. Thanks to this post, I’ve read the nursery markers and know what you planted. When can we eat?
I love your herb pots! I am really looking forward to getting my raised beds done and getting my herbs and veggies planted outside.
Thank you, Penny. I sure do wish that I had good place to do some gardening outdoors. Right now, I’m pretty confined to using containers for everything.
Oh Suzy… I love love love everything about your beautiful indoor herb garden! You made those markers so special!
They are too darn cute..the pots and the markers!!!!…I spy something pretty in the background…can’t wait for the family room makeover!!!
I can’t wait to get it ready to share. Color me excited!
I love your herb garden and markers Suzy, especially with your plant cages!
Thank you, Mary. Those cages were so fun to put together.
I love these, Suzy! And, your markers are awesome … what a genius idea! Thanks for the tutorials … I just might have to add some to my kitchen now, too!
Thank you, sweet Becca. Just wait til you get your hands on that clay – you won’t want to put it down. Too fun!
I love this! I never seem to have fresh herbs on hand and this is perfect for what I need.
Thanks for a great tutorial
I don’t either, Sami. Plus the prepackaged ones in the grocery store are expensive! so glad you like my little garden.
I am always on the lookout for new plant markers. I just love the idea of making your own. Please stop by our link party and share with everyone! http://www.delineateyourdwelling.com/2014/04/link-it-or-lump-it-party-number-33.html
Love these pots Suzy! THey are super duper cute:)
I’ve never grown herbs, but I may just have to give it a try now! Love the cages!!!!!