Dining Room Makeover – How To Fill A Large Wall With Art For Under $75
UPDATE: The dining room makeover is complete! Click HERE to see the before and after reveal.
In the continuing saga of my dining room makeover, one of the dilemmas that I faced was what to do with this large blank wall to the left of the doorway into the kitchen. That part of the wall measures roughly 8′ wide x 9′ tall.
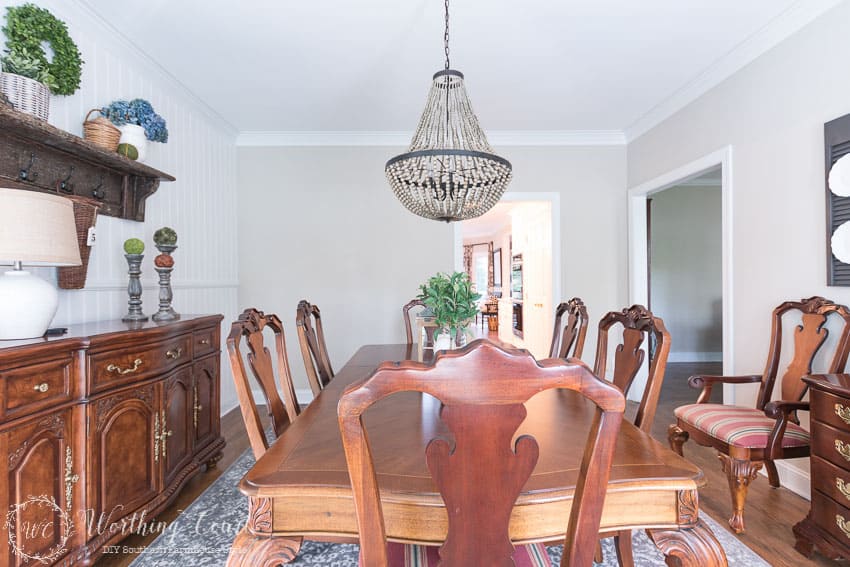
I originally thought that I would go with a diy farmhouse plate rack, so that I could display some of my favorite dishes and platters. But, I decided that I didn’t like the idea of looking into the side of a plate rack when you enter the dining room from the office (the opening on the far right side). Plus, I had already added a couple of plates to the shutters that flank the mirror and three more platters above the bay window. A plate rack filled with even more dishes would probably be overkill.
Naturally, budget was a consideration too. A plate rack wouldn’t have been very expensive to build and I probably already have most of the lumber that I would need on hand. But, remember – overkill. I shopped around and found a group of already framed prints that I liked for a good price, but the overall size of the grouping was a bit too dinky to properly fill the wall.
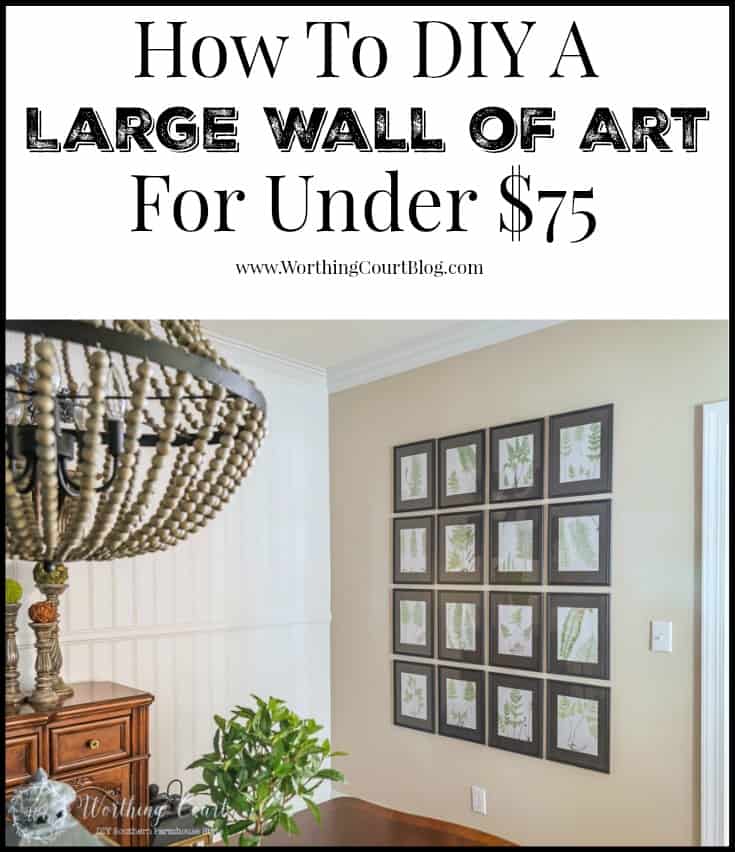
Sooo…enter free, downloadable, botanic fern prints and frames from Dollar Tree! Y’all already know that I love bringing my rooms to life with a little greenery, so the addition of the fern prints seemed like a no-brainer.
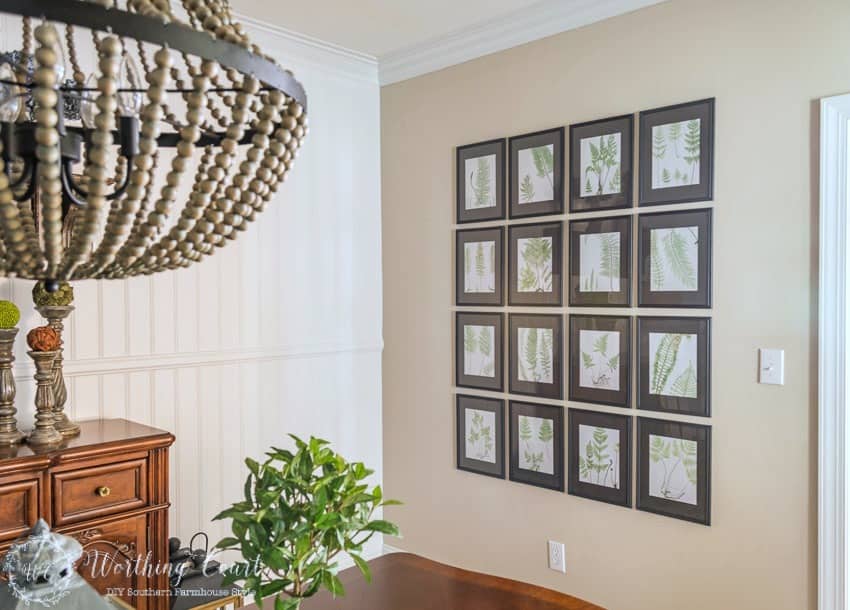
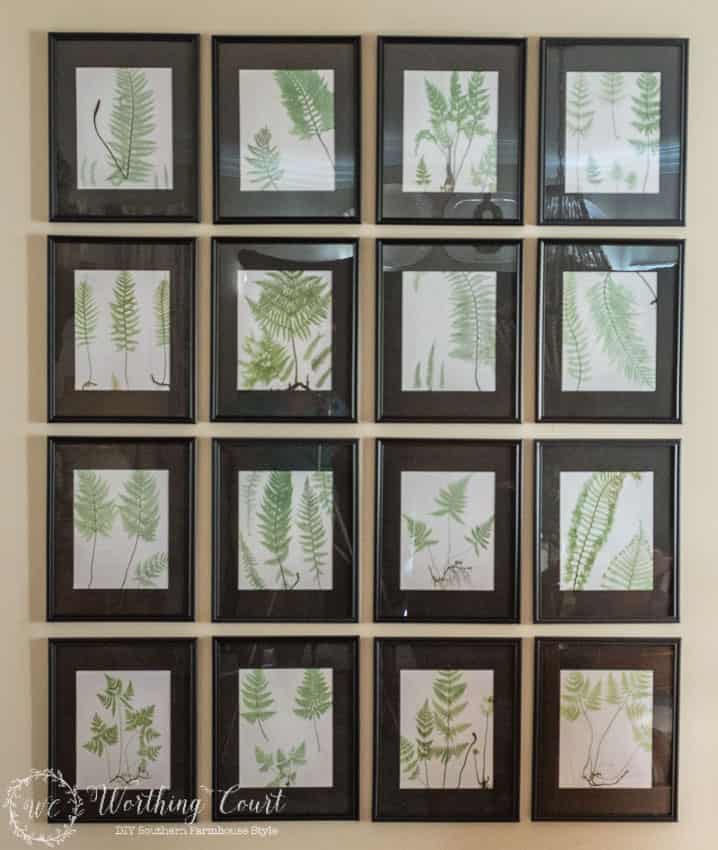
I filled my wall with sixteen gorgeous fern prints for under $75! I expect that I’ll always have at least a little bit of greenery in this room, so I love that these fern prints just reinforce that.
SUPPLIES:
Click on each link below to be taken directly to the product. Some affiliate links have been used at no extra cost to you. Thank you for helping to support this blog! See my full disclosure policy HERE.
11″ x 14″ PICTURE MATS WITH AN 8″ x 10″ OPENING
RUSTOLEUM SPRAY PAINT IN ANODIZED BRONZE
STEPS AND TIPS:
- Select the images that you want from the NYPL Digital Library and download them to a thumb drive. Take the images to an office supply store for printing. I had my images printed at a local FedEx for $1.38 each.
- I did not want white mats, but couldn’t find them available in the color I wanted, so I spray painted them with Rustoleum spray paint in Anodized Bronze. It’s the same color that the chairs in my kitchen breakfast area are painted.
- Once the mats have completely dried, assemble the prints and hang.
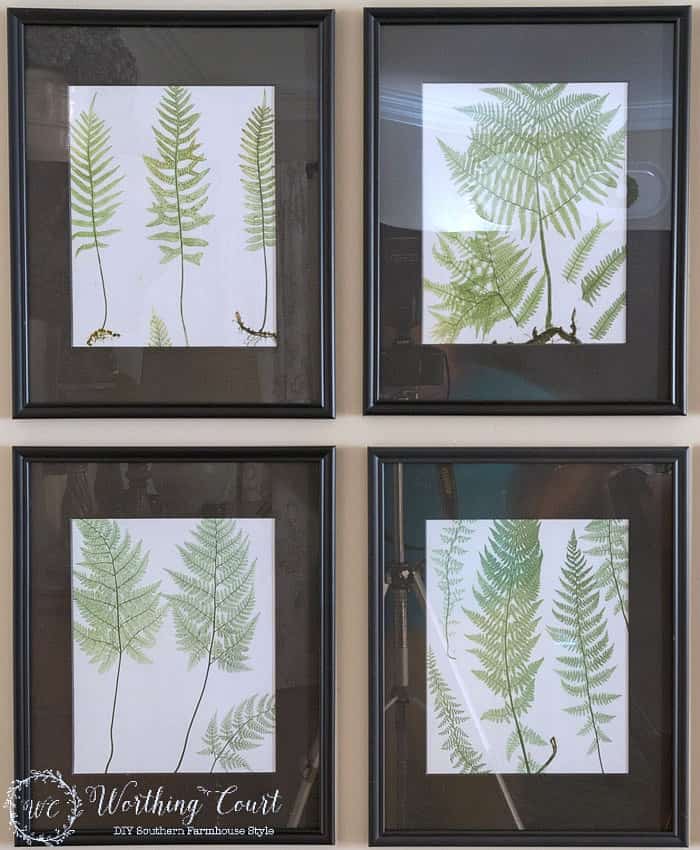
Here’s a little side note that may or may not interest you. The above photos are less than stellar and are filled with lots of reflections in the glass. Yeah – trying to get a decent photograph of this wall was nearly impossible! That’s because of the large bay window that is directly across the room. The window allows so much light into the room that you couldn’t even see what kind of prints were in the frames when I tried to photograph them. #bloggerlife You might be interested to see my solution. Not pretty by any means, but at least it worked well enough to allow me to get some halfway decent photos.
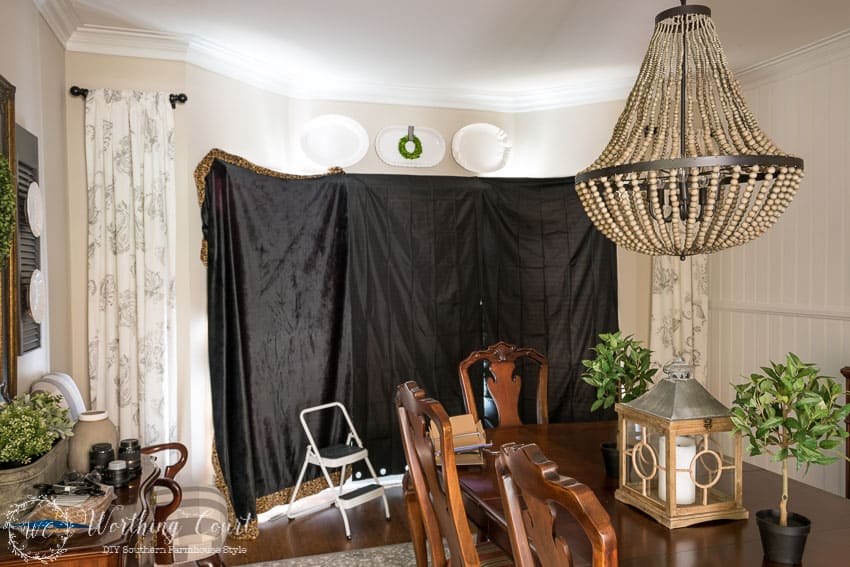
Here’s where a dslr camera is a must. You’d never know by the brightness of the photo that this room was almost completely dark when this photo was taken! There’s no way that I could have taken pictures with a point and shoot in this case. I’d love to know if any of you other photographers have a better solution to my problem!
Next on my agenda is to finally make a decision about the small cherry chest and mirror. Paint or not paint? I’ve made some changes to the chairs that flank it, so I’m hoping that will help me to decide. I’ll share those changes soon!
Catch up on all of my dining room makeover progress from conception to now by clicking on the below links:
PLANS FOR MY DINING ROOM AND MY DECORATING DISORDER
THE FASTEST AND EASIEST DIY PLANKED WALL IN THE HISTORY OF EVER
MORE DINING ROOM MAKEOVER PROGRESS – A NEW RUG
PIN IT FOR LATER!
Sharing at THESE great parties.
Suzy, your wall art is great! That was a clever solution. I never would have thought to spray paint the mats. You did a great job!
Thank you, Shenita! Glad you found a new tip!
Thank you for sharing your lighting trick. I recently had the exact same problem when taking pictures of my botanical wall. Like Shenita, I had no idea that you could spray paint mats. Great idea!
Glad you found a tip, Eilis! It didn’t work perfectly, but it was way better.
Beautiful selection of prints. Thanks for the lighting trick too! Happy 4th! Linda
Thank you Linda. Happy 4th to you too!
The fern artwork is beautiful.
Did you also paint the frames as well as the mats?
Hi Sheila. No, I didn’t paint the frames – they were already black.
Hi – love your blog!
Can you tell me where you got the beautiful lanterns on the wood slab? I’m trying to add some warmth to our new house and would love to do this.
Thank you,
Audrey
Hi Audrey. I made them and they were super easy! Here’s the link to the post with the step by step directions: https://www.worthingcourtblog.com/diy-hanging-lantern-tutorial/