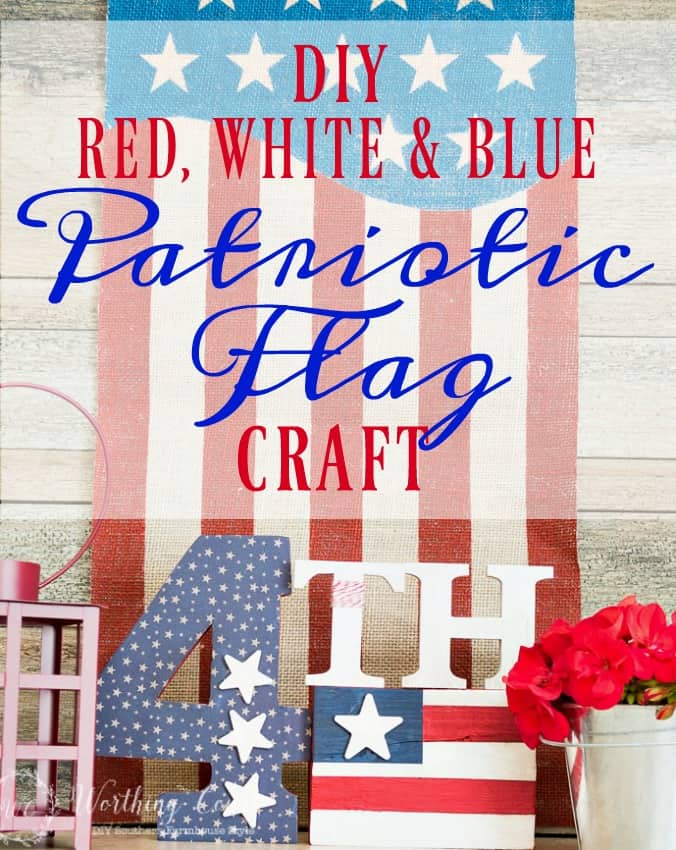
Patriotic Red, White And Blue Flag Craft
Time is flying by and we’re quickly approaching several patriotic holidays – Memorial Day, Flag Day and July 4th. Pookie and I are putting plans together for cookout at our house sometime before July 4th, so I want to deck my screen porch out in patriotic decor!
When it comes to American patriotic holidays, this girl loves her some red, white and blue! And she also loves easy peasy crafts that can be used for ALL the patriotic holidays – not just July 4th. For this week’s edition of The Best Of Worthing Court, let’s take a look at an easy idea that I came up with that can be used for any patriotic holiday.
I first started this craft with the intention of using it at July 4th. But, when it came time to assemble it, I left it in three parts so that I could make it work for any patriotic holiday.
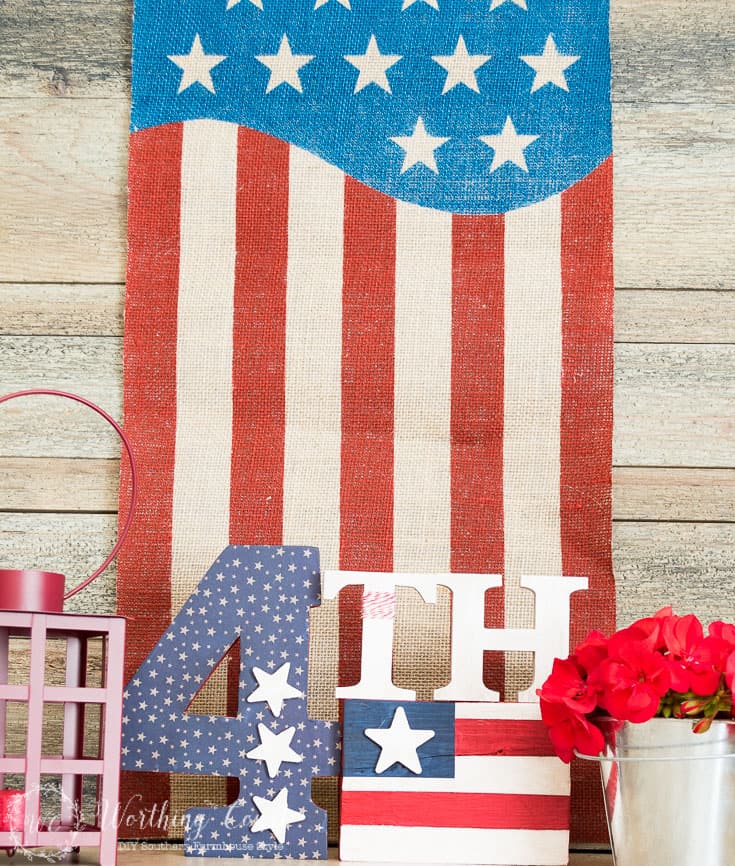
None of the display is glued together. I intentionally left the pieces unattached so that I could display just the flag for Memorial Day and Flag Day.
Let me show you how easy it is to make.
SUPPLIES :
Wood #4
Block of wood – from my stash
Assorted Size Wood Stars
Wood Letter T And H
Craft Paint – Red, White And Blue
Craft Stain
Craft Paint Brushes
1 Sheet Of Star Scrapbook Paper
Red & White Baker’s Twine
Stain Pen
Mod Podge
Painter’s Tape
Ruler
Glue Gun & Gluesticks
Scissors
DIRECTIONS:
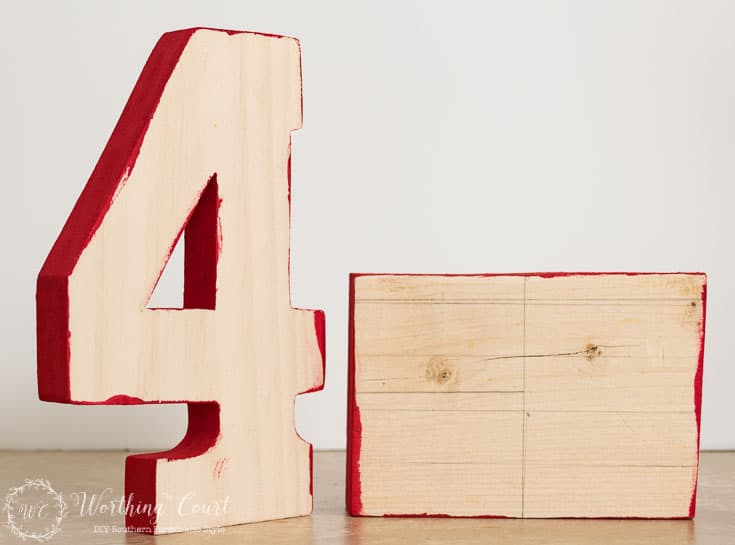
Step 1 – Cut a block of wood that is proportionate in size to the number 4 that you are using. My number 4 is 8″ tall and my block of wood is 4″ high x 5.75″ wide. Sand the edges.
Step 2 – Using a pencil and a ruler, draw the stripes and the section for the star on the block of wood.
Step 3 – Paint the edges of the number 4 and edges of the block of wood with red craft paint. It doesn’t matter if some gets onto the front as it will be covered up later.
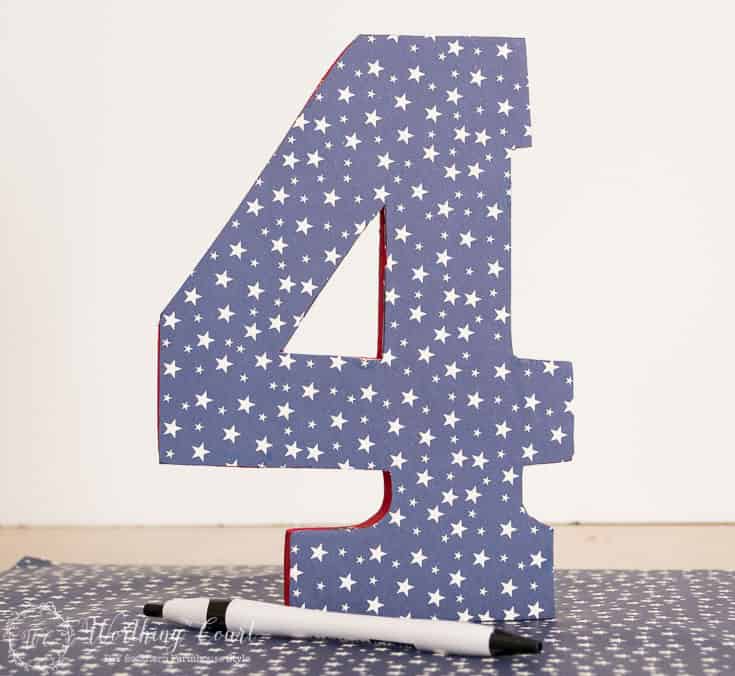
Step 5 – Lay the number 4 down onto the piece of star scrapbook paper. Trace around the number and cut it out. Line up the edges and glue the paper to the wood letter using Mod Podge. Allow it to dry.
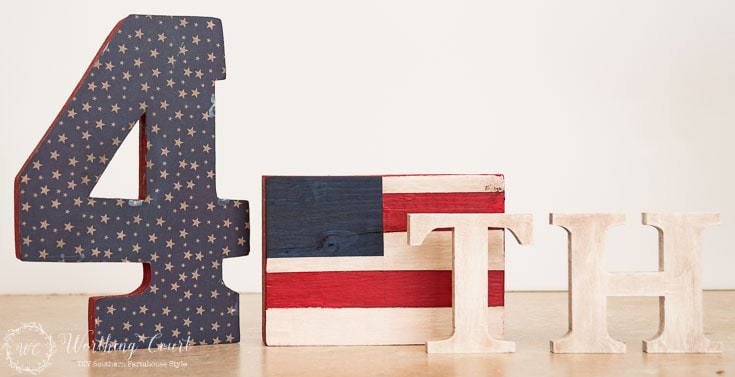
Step 6 – Using painter’s tape, paint the upper left corner with the blue paint and paint red and white stripes on the rest of the wood. Allow to dry in between colors.
Step 7 – Using the ruler and stain pen, draw a line where each red and white stripe meet. This will cover up any slight imperfections of the lines and will also add depth. Allow the stain to dry.

Step 8 – Paint the letters T and H and the stars white and allow to dry. Once dry, use a rag to wipe stain onto every piece – the 4, the painted wood block, the T and H and the stars. Wipe most of the stain off, leaving just enough to give the pieces an aged appearance. Allow to dry.
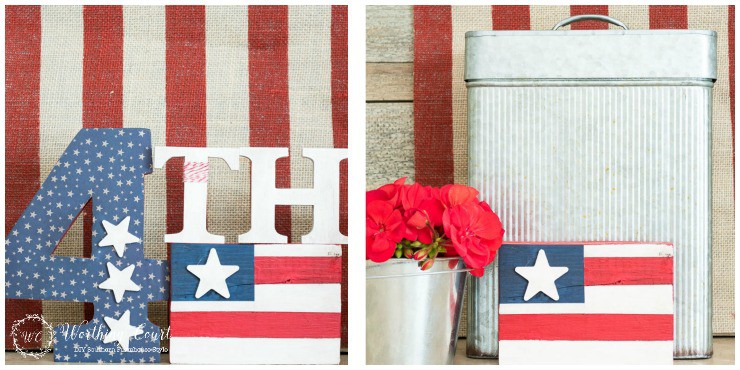
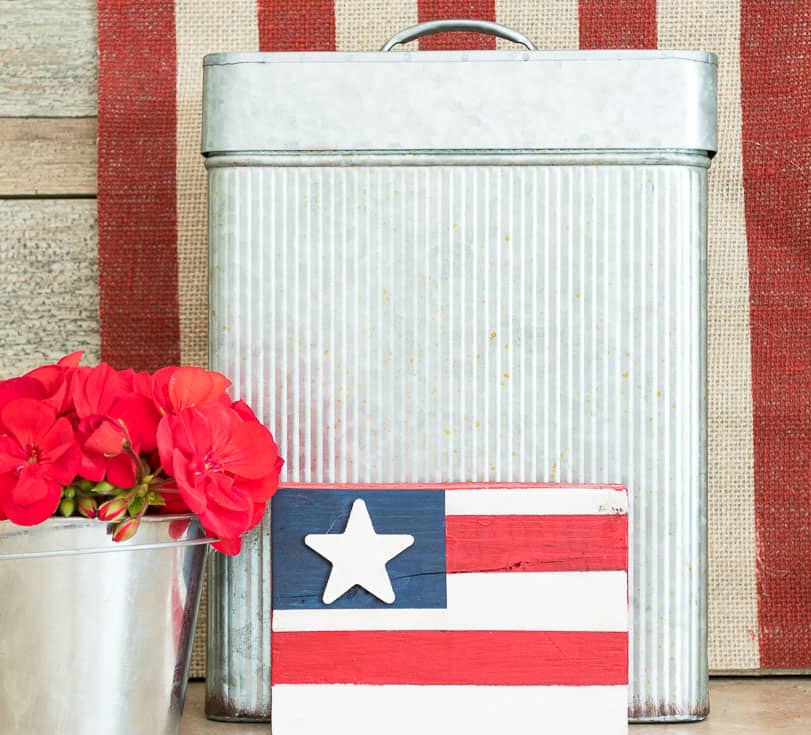
Step 9 – Wrap red and white baker’s twine around the upper part of the T, securing with little bits of hot glue on the back. Glue the stars to the 4 and one star to the flag using the hot glue gun. You’re done!
Now just stack your pieces as desired. Display just the flag for Memorial Day and Flag Day or the entire set for July 4th.
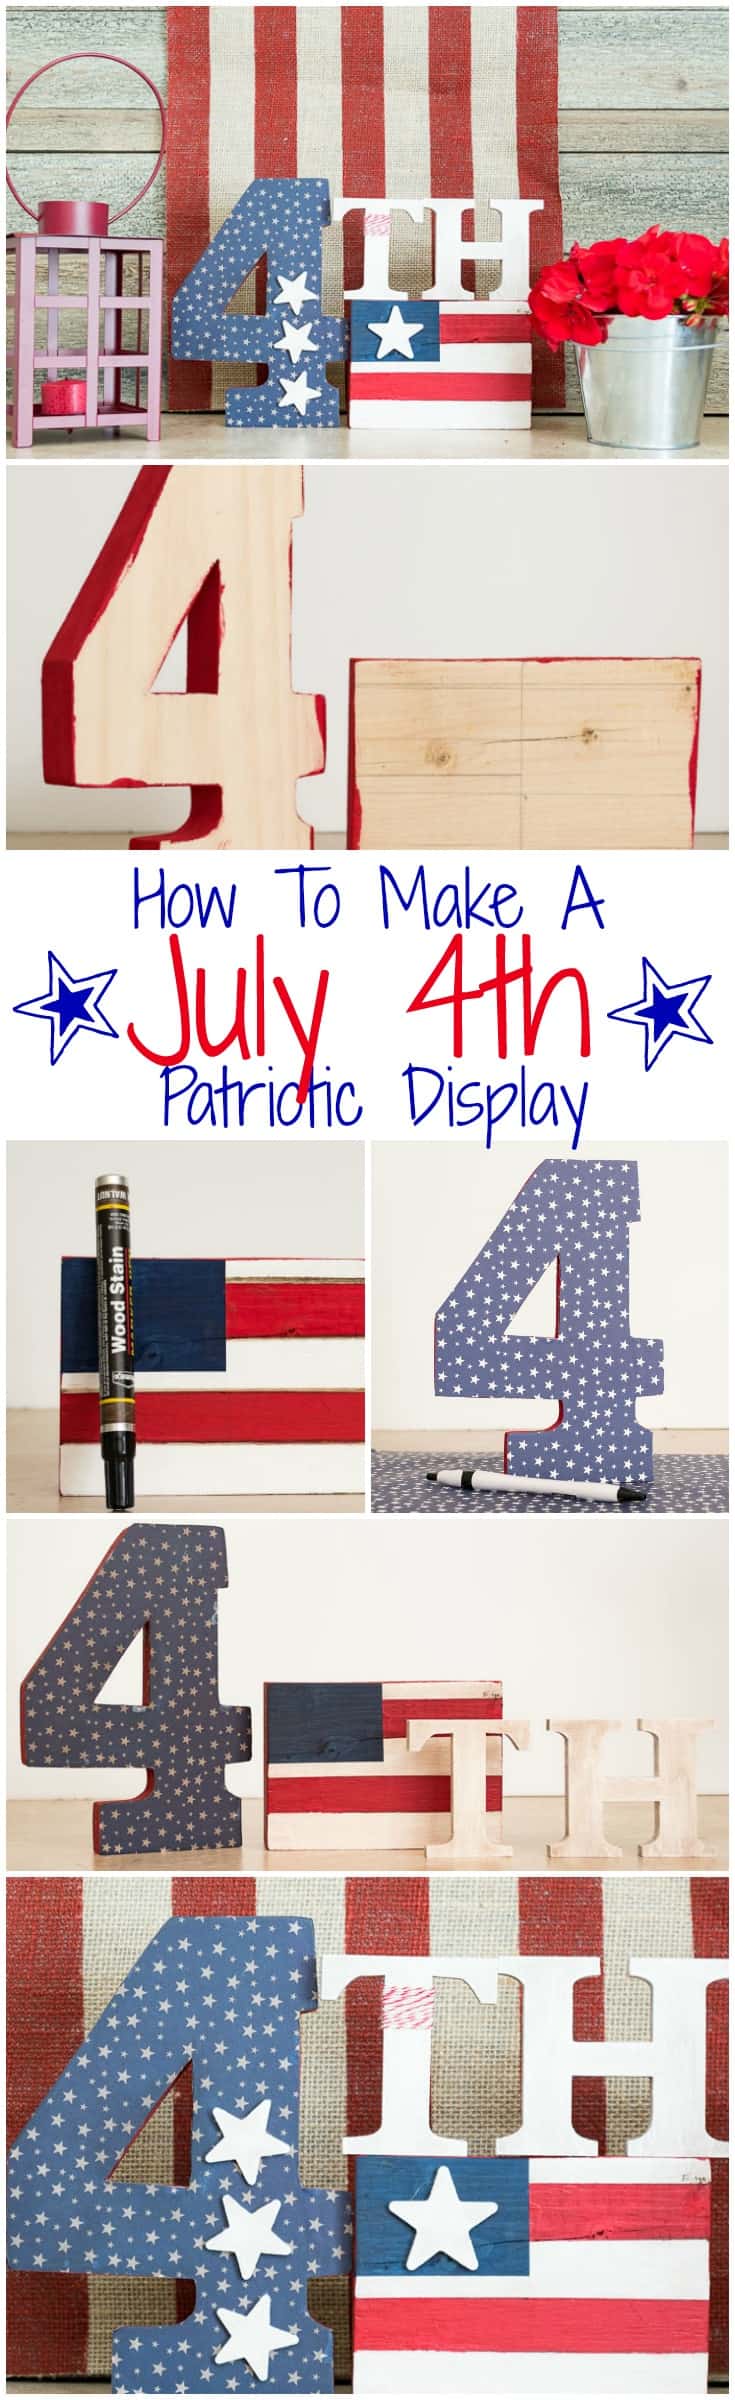
PIN IT FOR LATER!
Sharing at THESE great parties.
What a cute idea! So easy to do and yet full of little details that really make it special.
Really cute!!!!!!
Happy 4th to you Suzy! So cute!
I like it. You always have the best ideas. Thanks for sharing!!
Great idea.
Super cute!
So cute! I usually only decorate the outside of my home for July 4th, but I am going to try to recreate this for inside.
So cute!
Love the simplicity and ease of making this craft. Thanks mostly for step-by-step instructions.
How easy is this ! Will have to move this project to the top of my to do list.
Love this idea
Good idea being to use it for several patriotic days!
Great display! Thanks again for the inspiration!
Love this ideas! I’m off to Michaels…..
Thank you for all the patriotic crafts and decorating ideas. I really love decorating with red, white and blue starting at memorial day and going right through the 4th of July. It is so summery. 🙂
Very cute! Thanks for the tutorial! May need to modify it for other holidays, too!
Love the patriotism, we need it all over our homes!
This makes me get excited for the decorating of the 4th. Thanks so much for sharing such inspiration..
Love this ! Would be easy to make my own.
I love patriotic decor! This is super cute and seems quick and easy to put together.
Thanks for sharing!