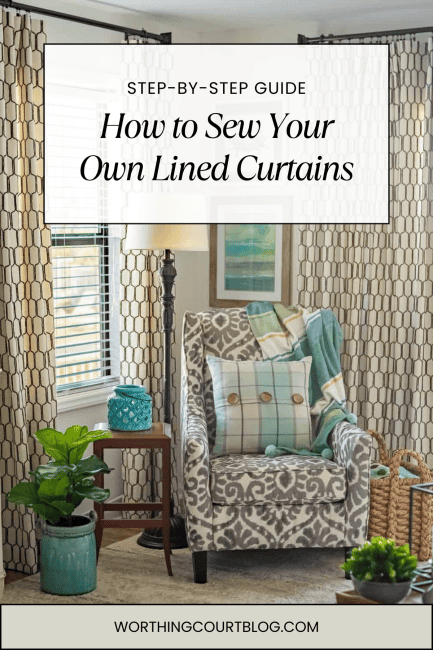
How To Make Simple Curtain Panels With Lining
A step-by-step tutorial for making lined curtain panels. This is a great project for a novice sewer with basic sewing skills.
My friends, you can literally save thousands by making your own custom curtains. If you can sew a straight line, you can do this!
This post and photos may contain Amazon or other affiliate links. As an Amazon Associate I earn from qualifying purchases. If you purchase something through any link, I may receive a small commission, at no extra charge to you. All opinions are my own. See my full disclosure HERE.
I want you to have confidence in this tutorial, so let me qualify myself by giving you a little background before we begin.
If you don’t already know, I owned and operated a custom window treatment business for several years. Even though I no longer have the window treatments business, I still make my own draperies and this is the exact method that I use for lined curtains.
Why am I telling you all this? Well….there are two reasons.
- I wanted you to know that because I have experience in this area, the directions that I’m giving you are valid.
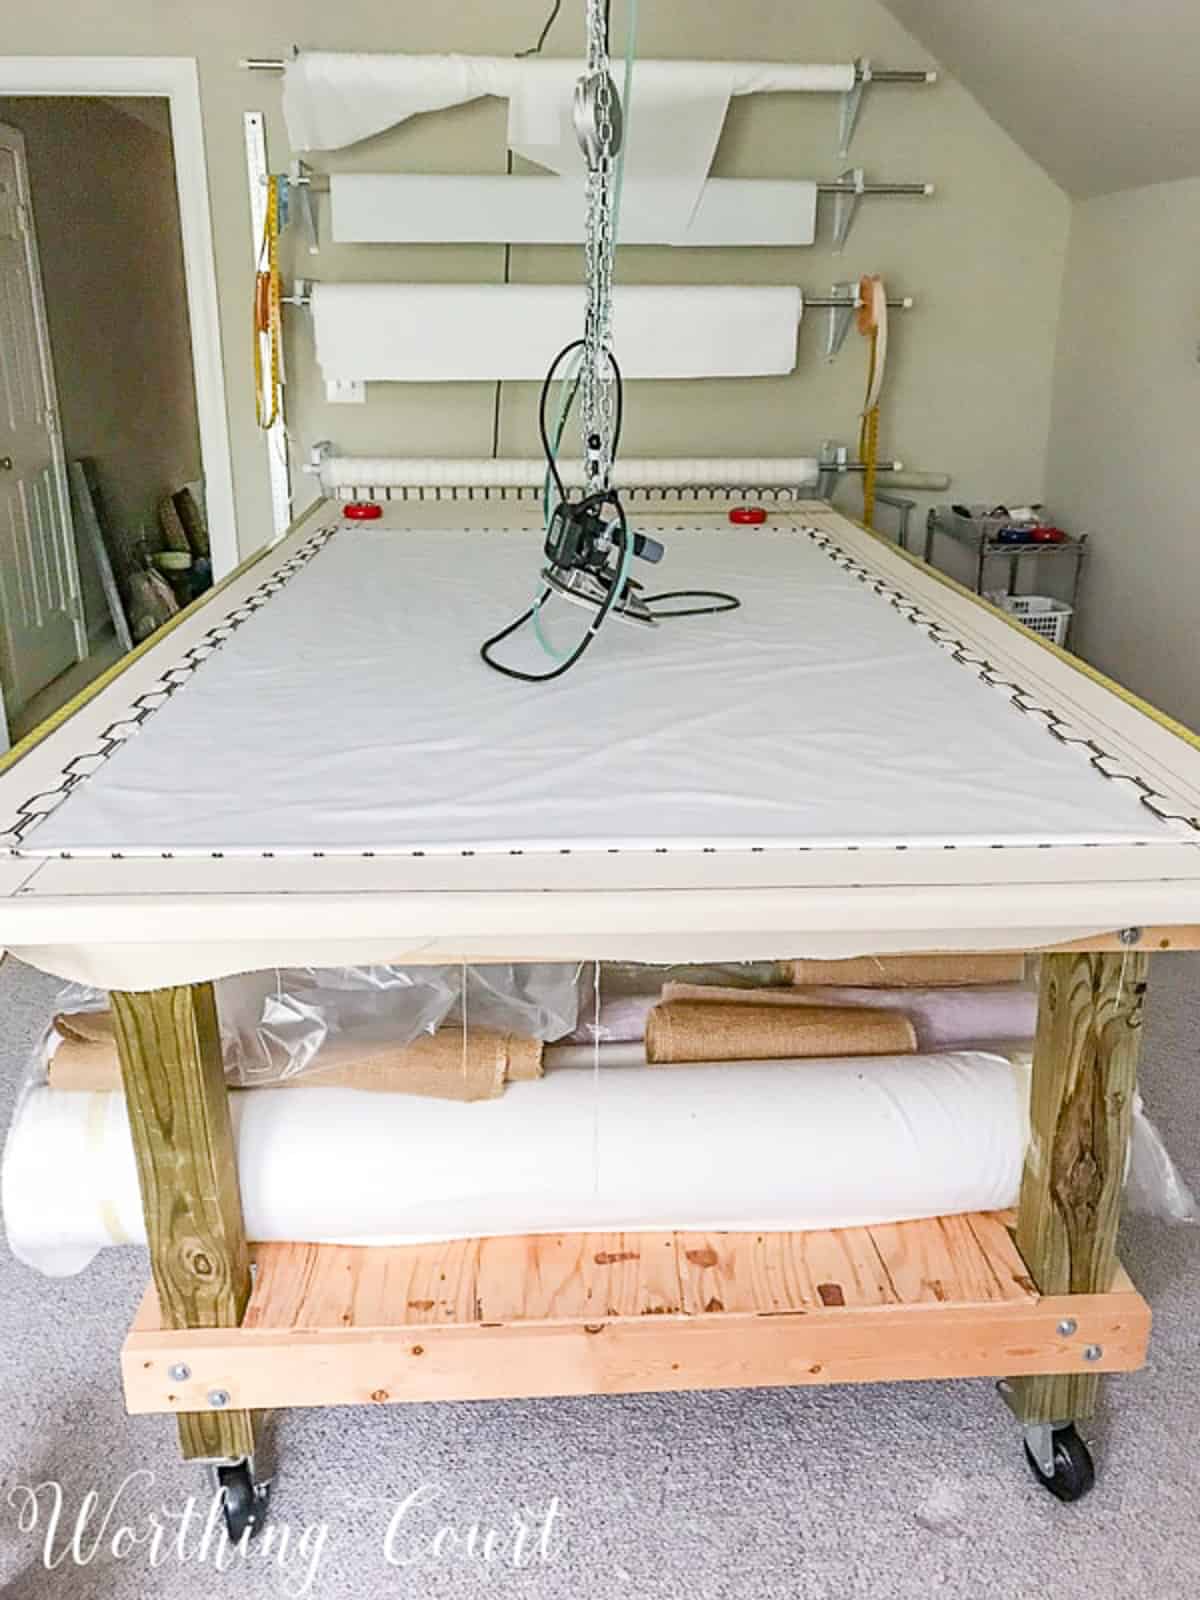
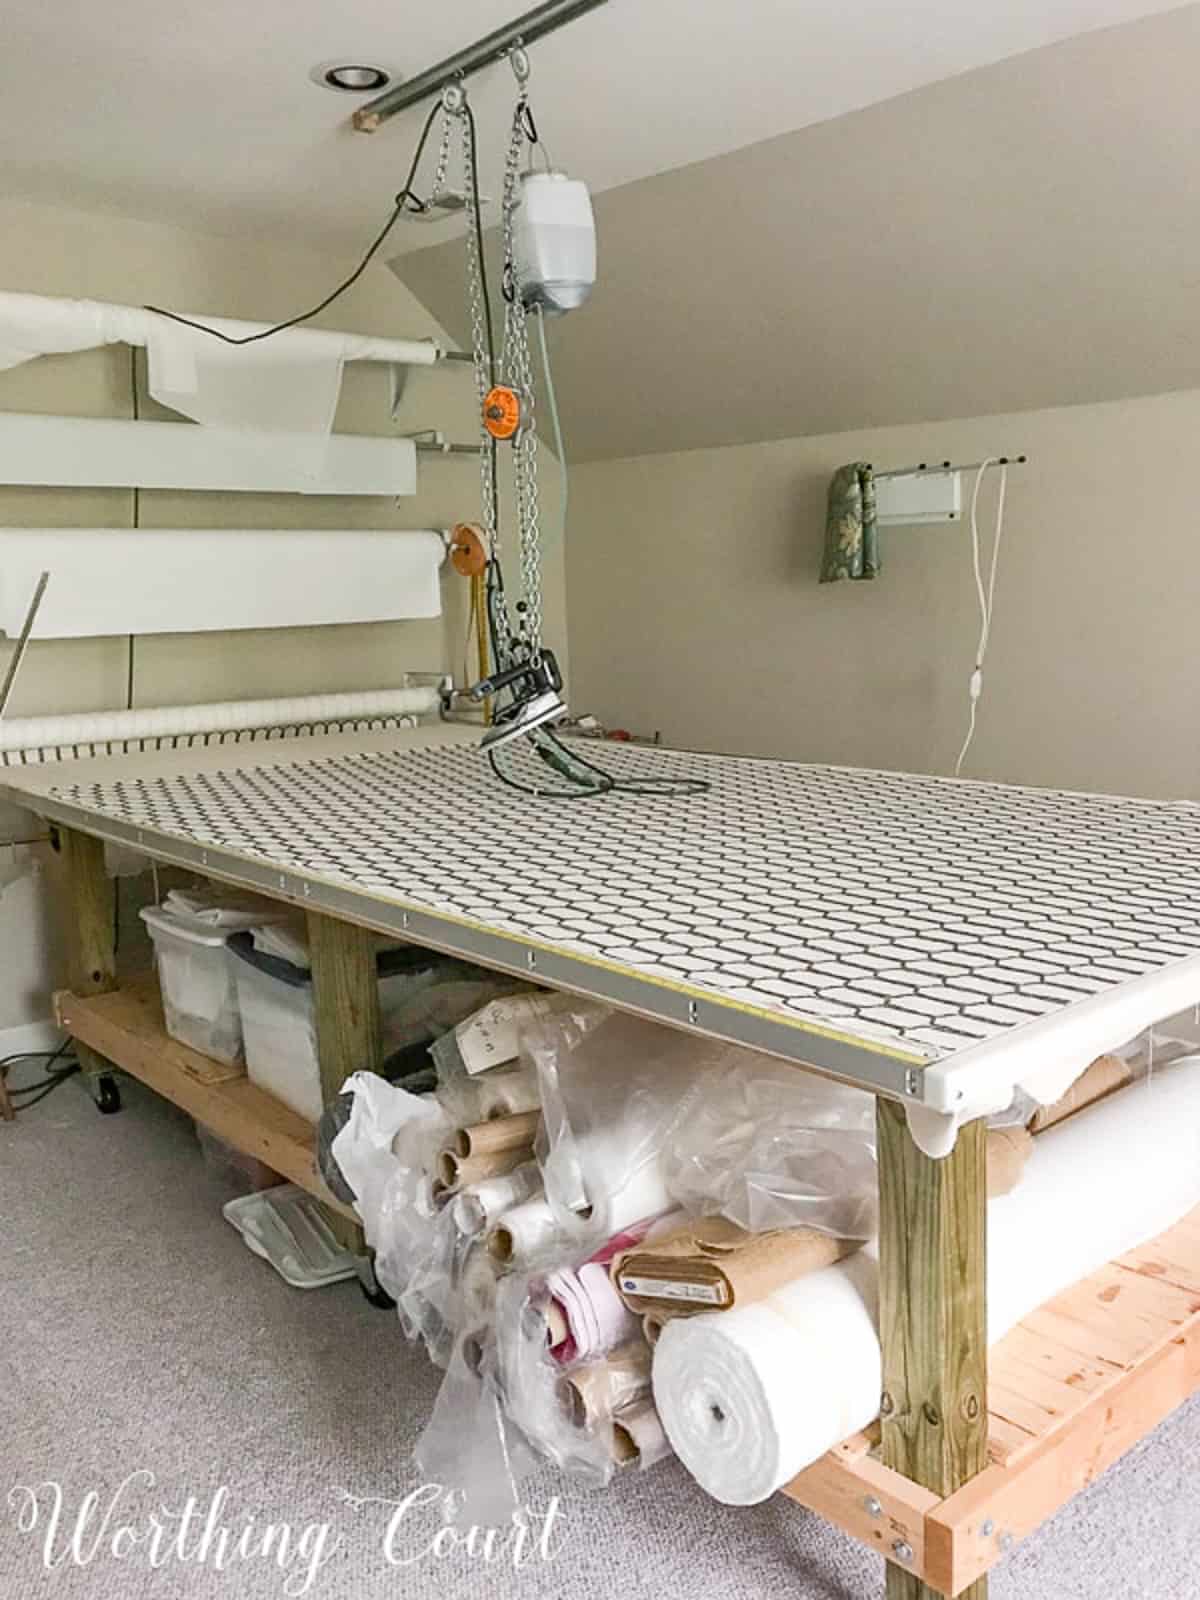
- Because of the fact that I had a professional window treatment workroom, you’ll see that I have a huge (5′ x 10′) worktable and a hanging/sliding iron above it. All of these photos were taken in my workroom/sewing room, but I want you to know that you TOTALLY don’t need workroom type tools to make professional quality drapes!
Today, I’m showing you how to make flat curtains from start to finish. Things are a little different if you’re making pleated curtains or rod pocket curtains, but these are the basic steps none the less.
Let’s go!
I’ve shared all of my favorite sewing tools and gadgets down below!
A thing or two you should know before we get started:
- Drapery fabric is usually 54″ wide, which is wider than most clothing or craft fabric.
- You’ll get a much better finished product working where you can spread the fabric completely out. If you don’t have a large table, I recommend working on the floor (which I’ve done many times), or two 30″ wide folding tables pushed together, or two sheets of plywood on sawhorses pushed together (be sure to cover the plywood with a vinyl table cloth or protective fabric to prevent snags) to spread your fabric on.
- A regular household iron works just fine – you’d don’t need one geared toward workrooms.
- When flat curtains are open, they mimic the look of pleated curtains. But they are much easier to make and use about one third of the fabric (if you want to completely cover a window).
STEP 1: CALCULATE THE YARDAGE REQUIREMENT FOR EACH CURTAIN
These calculations are to make ONE drapery panel that is one width of fabric wide. If your windows are wider than one width of fabric, you’ll need to join two (or more) widths together.
Before calculating how much fabric you need, you need to determine how high and wide you want the finished product to be. For example, I knew that I wanted my panels to hang a few inches above the window frame, which meant that I wanted the FINISHED length of each drapery panel to be 97″.
You may want a different length of drapery panel than mine, but you can still use this same formula to calculate how long each cut of drapery and lining fabric should be.
TIP: When calculating the finished length of your panels, don’t forget to take into account the height of the drapery rod and how far down the drapery rings will allow them to hang!
Formula for determining the amount of the main drapery fabric:
Finished length
Add 1″ for the top seam allowance
Add 8″ for the bottom hem allowance (it will be a double 4″ hem)
The total equals the yards of the main fabric needed to make one curtain and is also the length that you need to cut each panel.
Multiply the total by the number of curtain panels you’re going to make to get the total yardage needed.
Formula for determining the amount of lining fabric:
Start with the finished drapery length
Add 1″ for the top seam allowance
Add 6″ for the bottom hem allowance (it will be a double 3″ hem)
The total is how many yards of fabric you need to purchase per panel and is also the length that you will cut each piece of fabric.
Multiply the total by the number of curtain panels you’re going to make to get the total lining yardage needed.
Here’s the formula in chart form, if that makes it easier to understand.

STEP 2: SPREAD, MARK AND CUT THE FABRIC
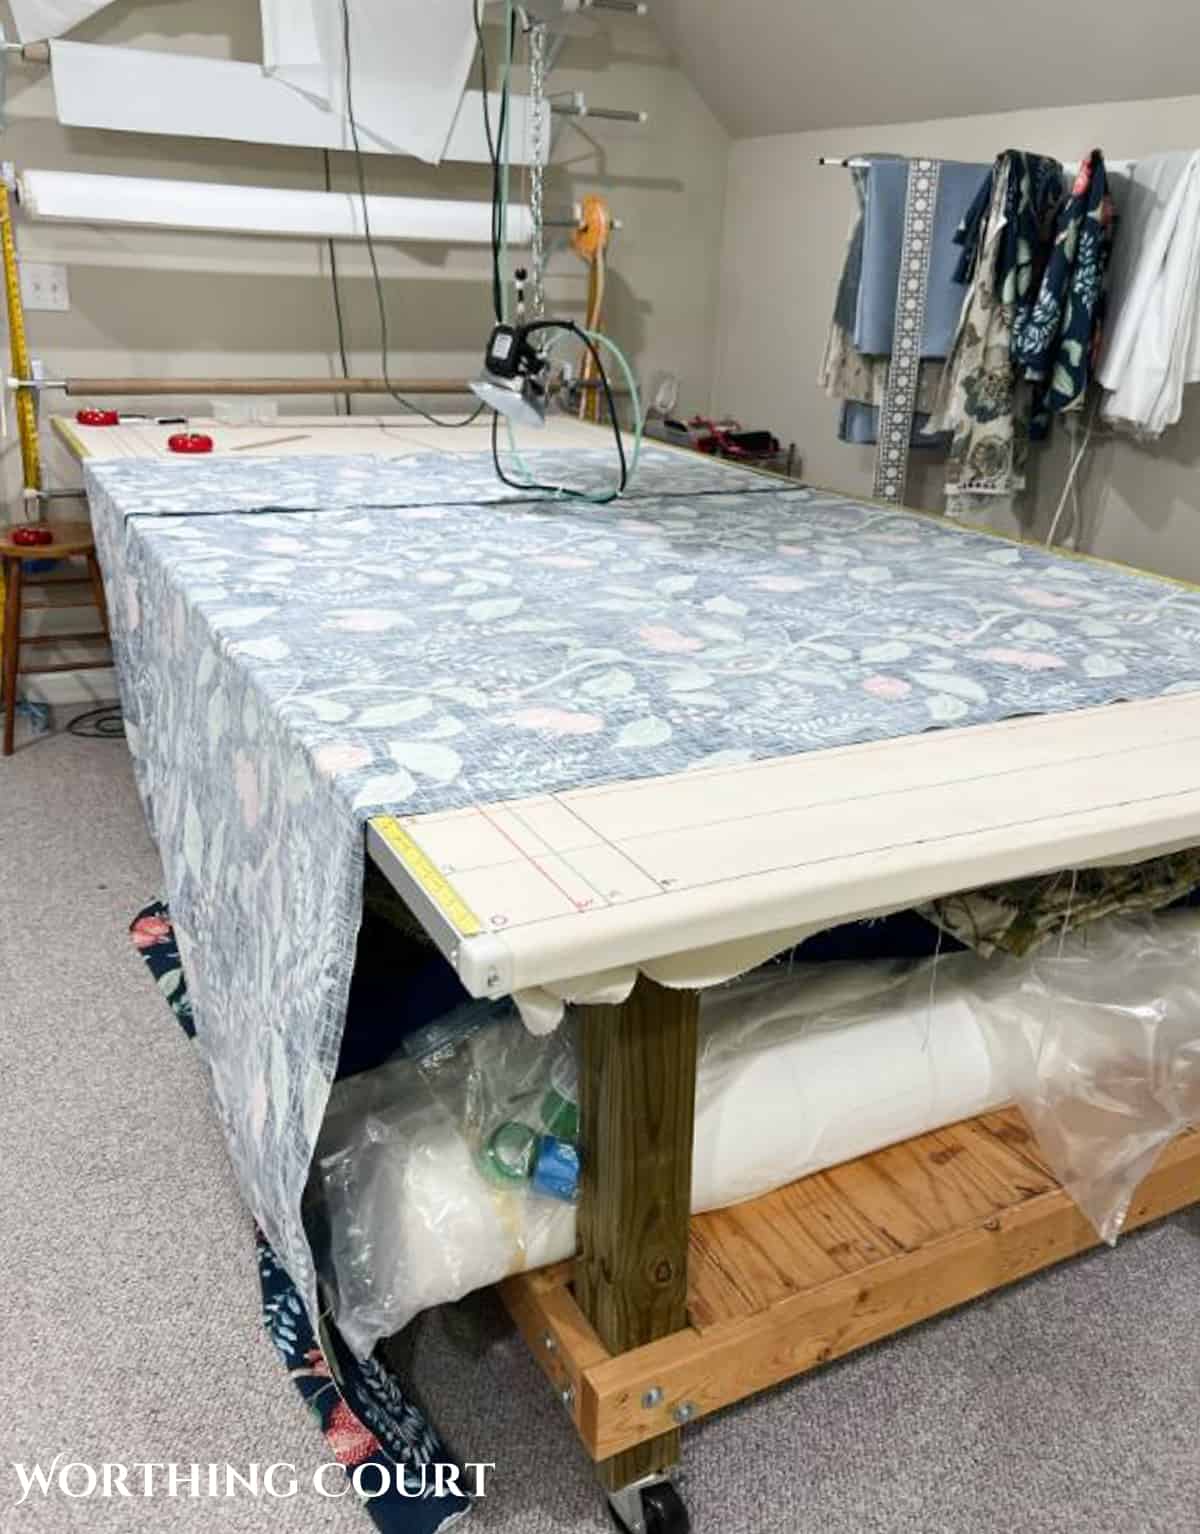
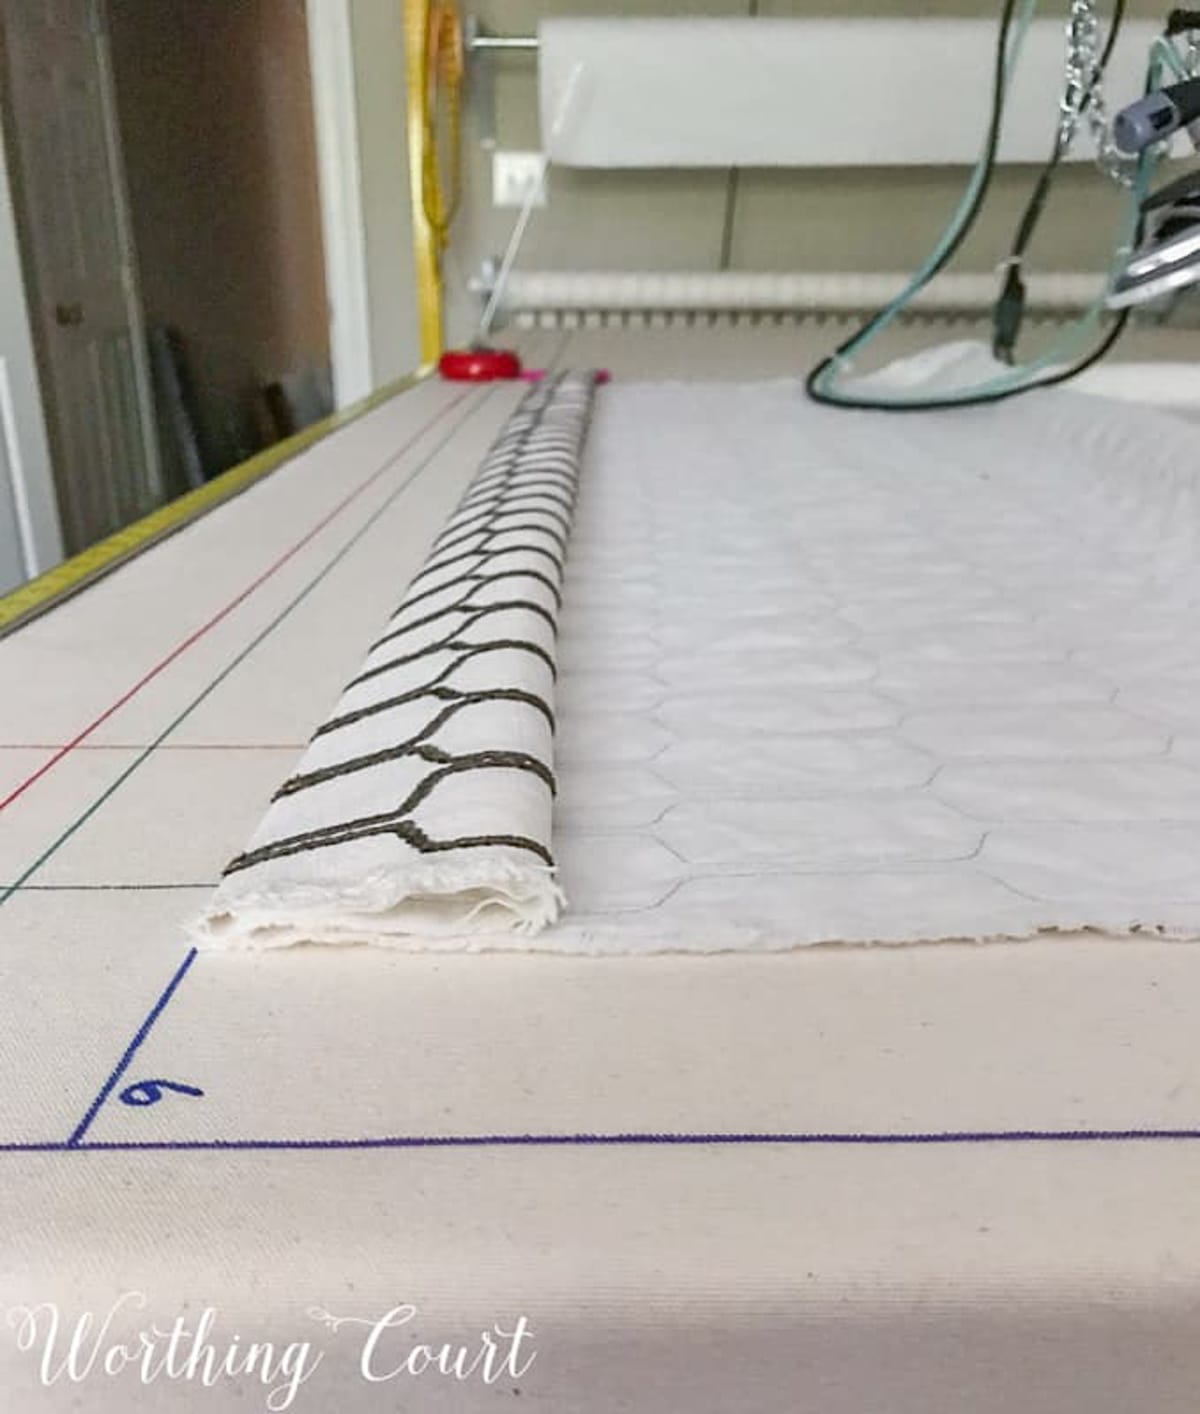
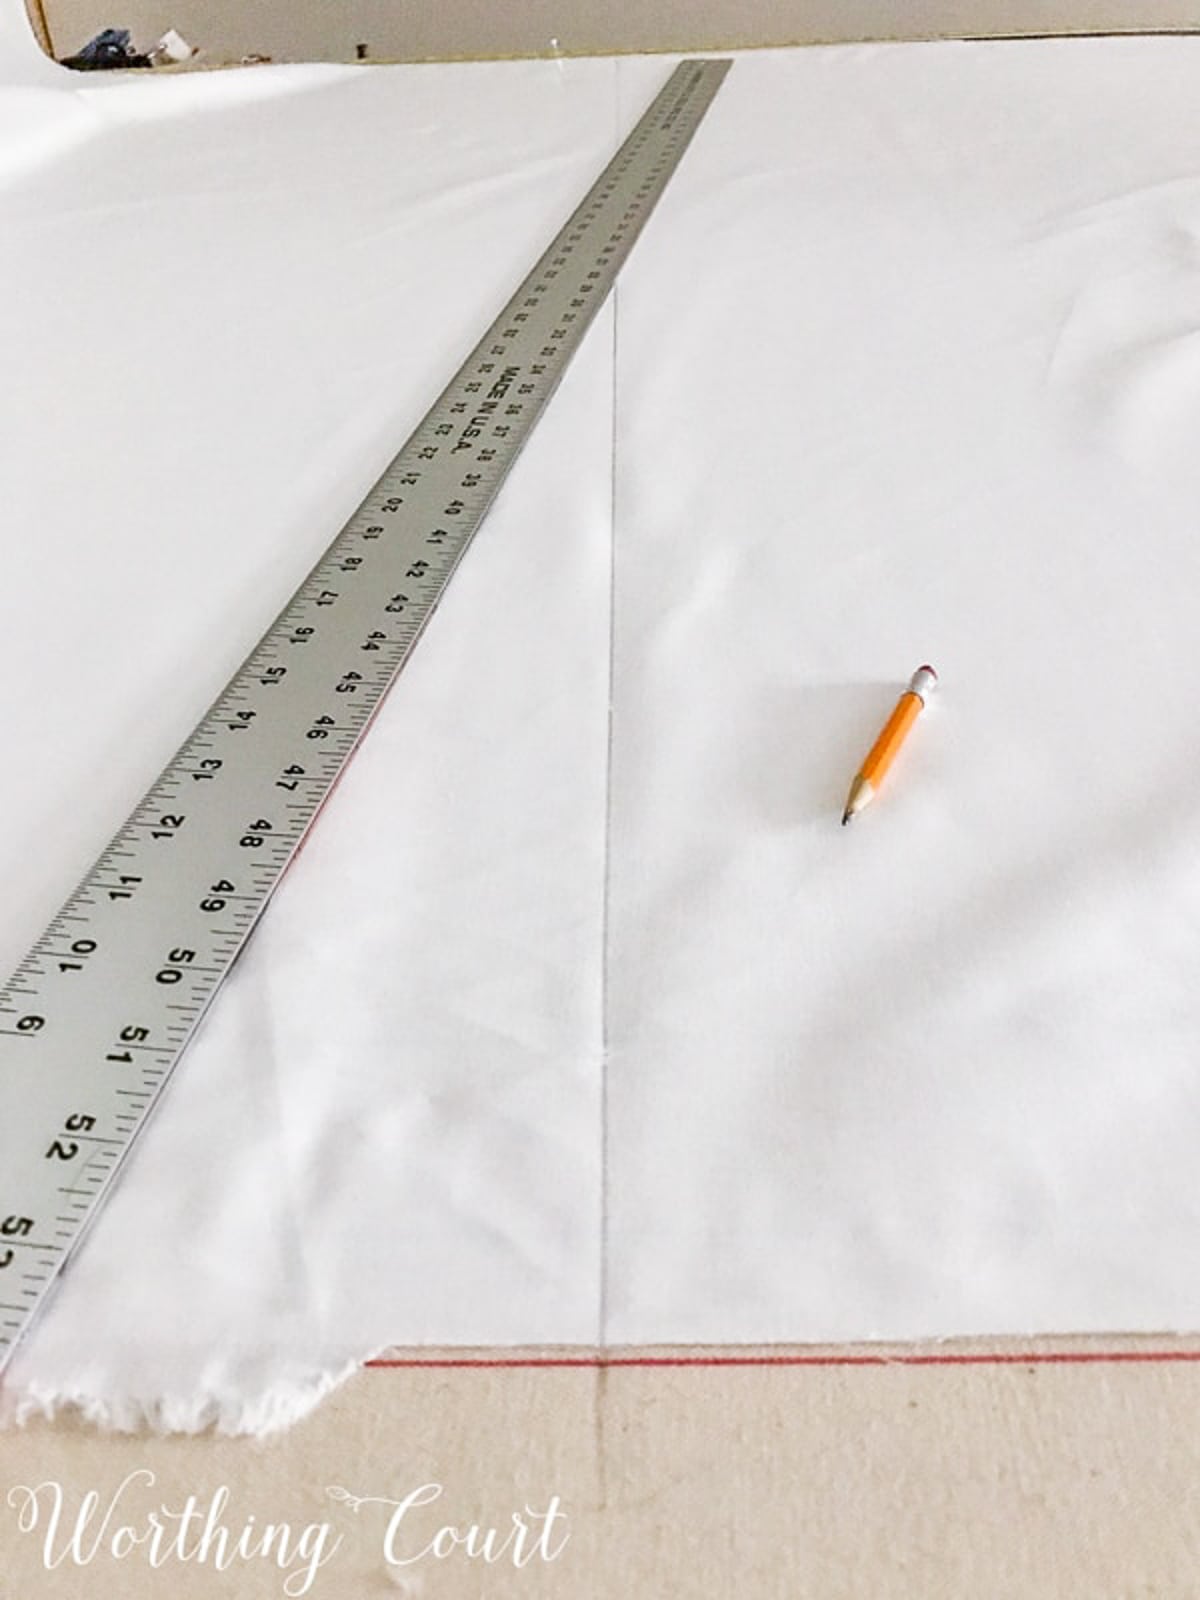
Unroll (or unfold) the fabric and spread it out smoothly. To get an accurate measurement, be sure that the fabric is square to the cutting surface. Iron out any wrinkles, but check the care instructions for the fabric before using any steam!
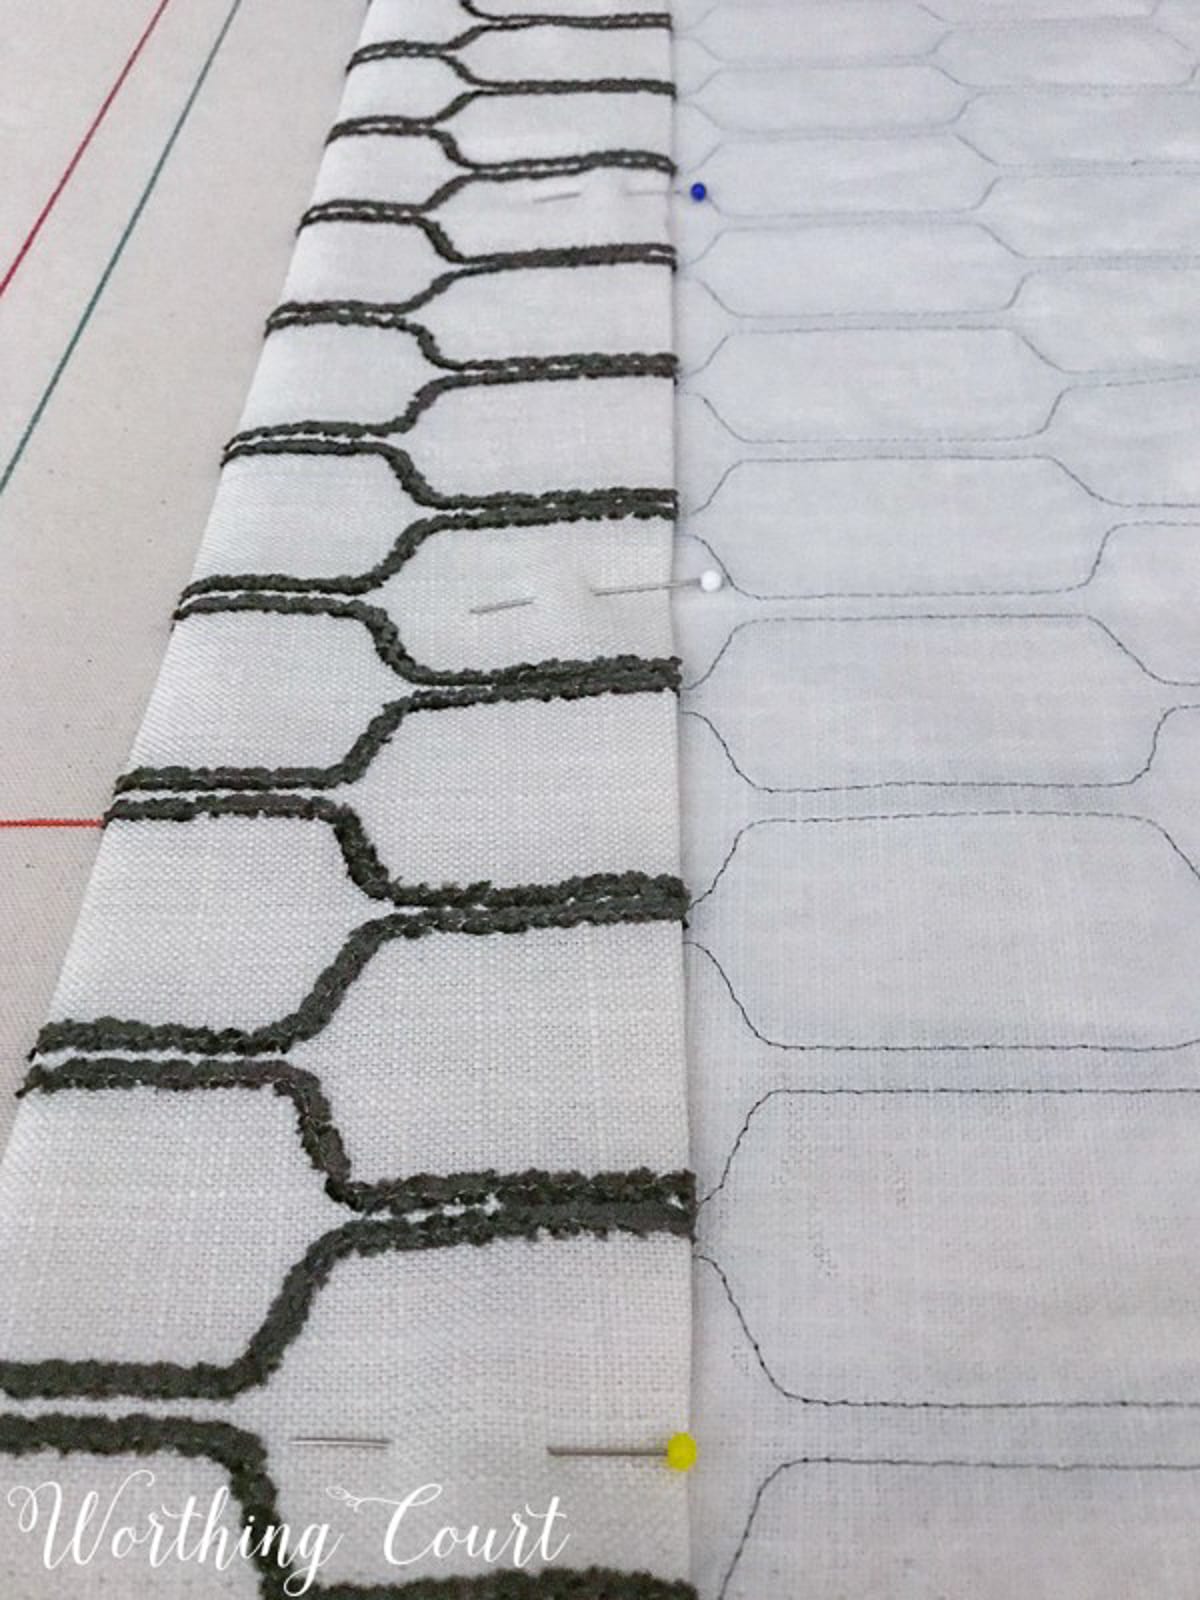
Strictly speaking, it doesn’t matter if the fabric is spread right side up or right side down. However, when working with a fabric that has a design (either printed or woven), I spread the main fabric right side up. This allows you to ensure that the pattern is running straight across the width of fabric.
I find that I frequently need to re-square and trim the top edge on fabrics with a design. You certainly don’t want to wind up with pattern that is crooked going across the finished fabric panel.
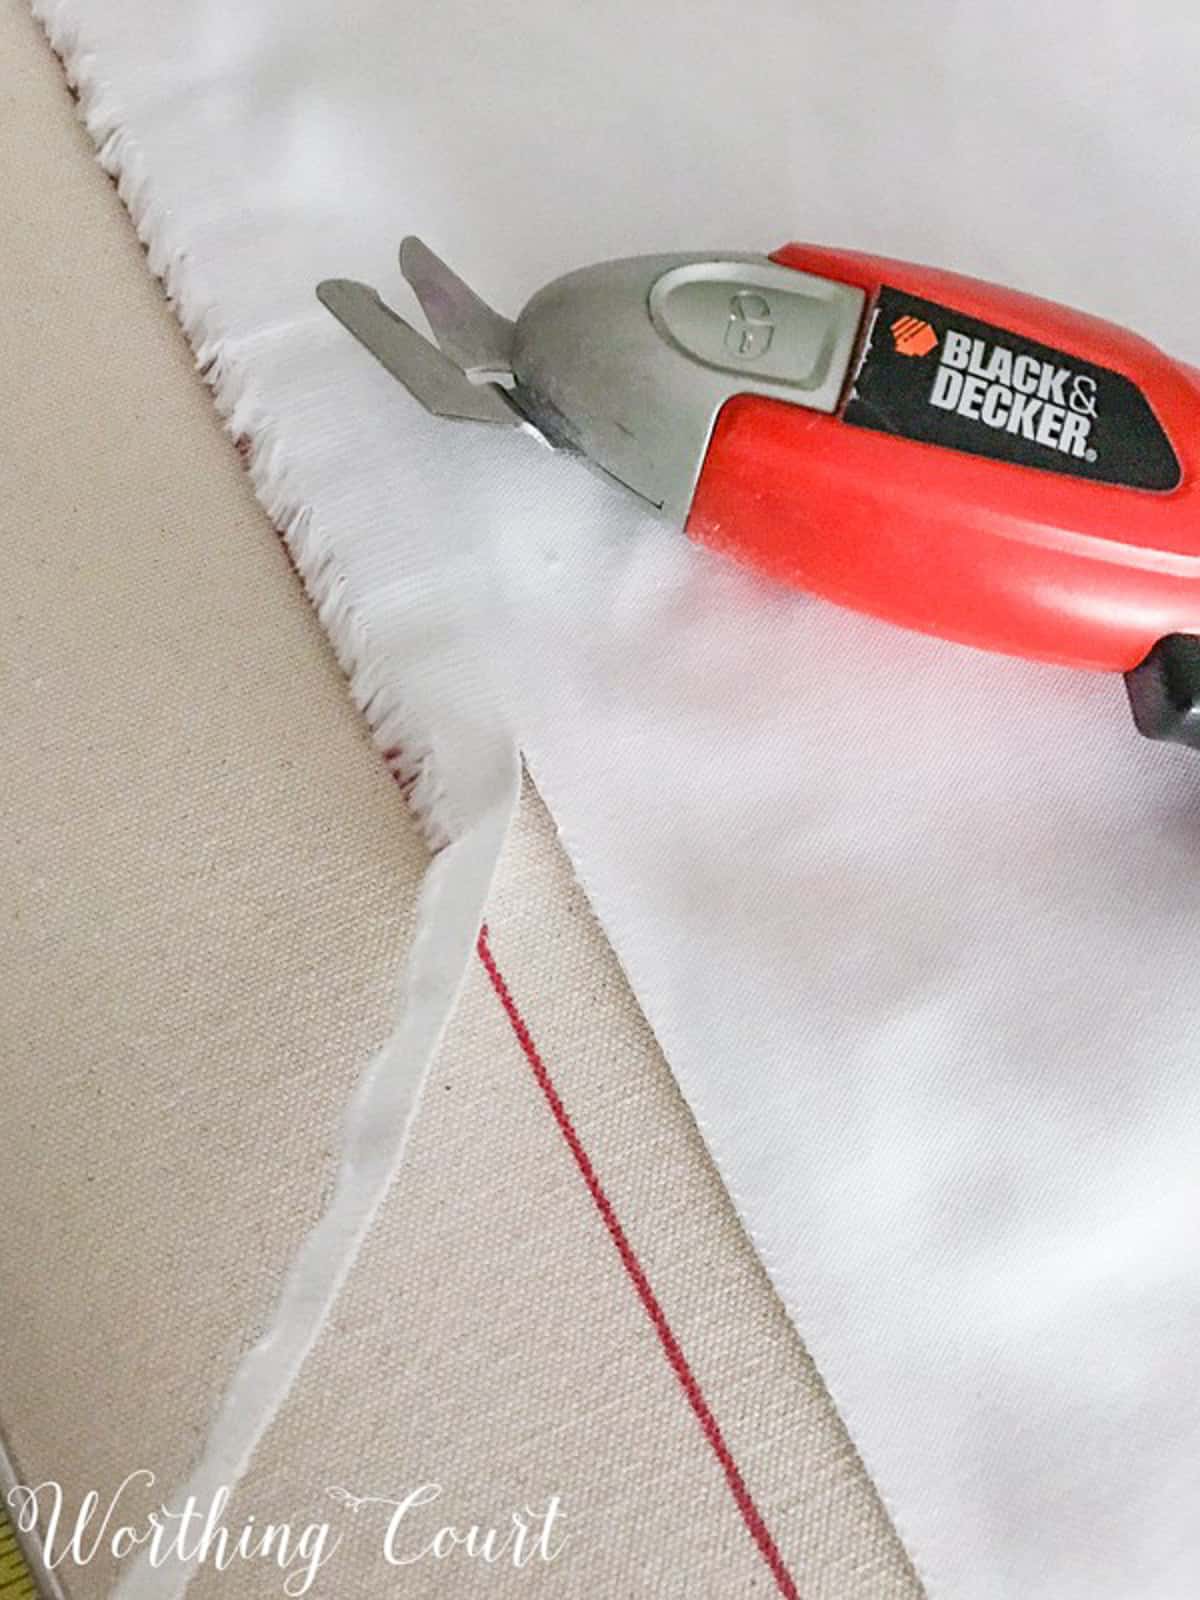
If your fabric has a selvage on either side, it’s best to remove it. The selvage is woven more tightly than the rest of the fabric and should be cut off prior to marking the final measurement for cutting the main fabric or lining panel.
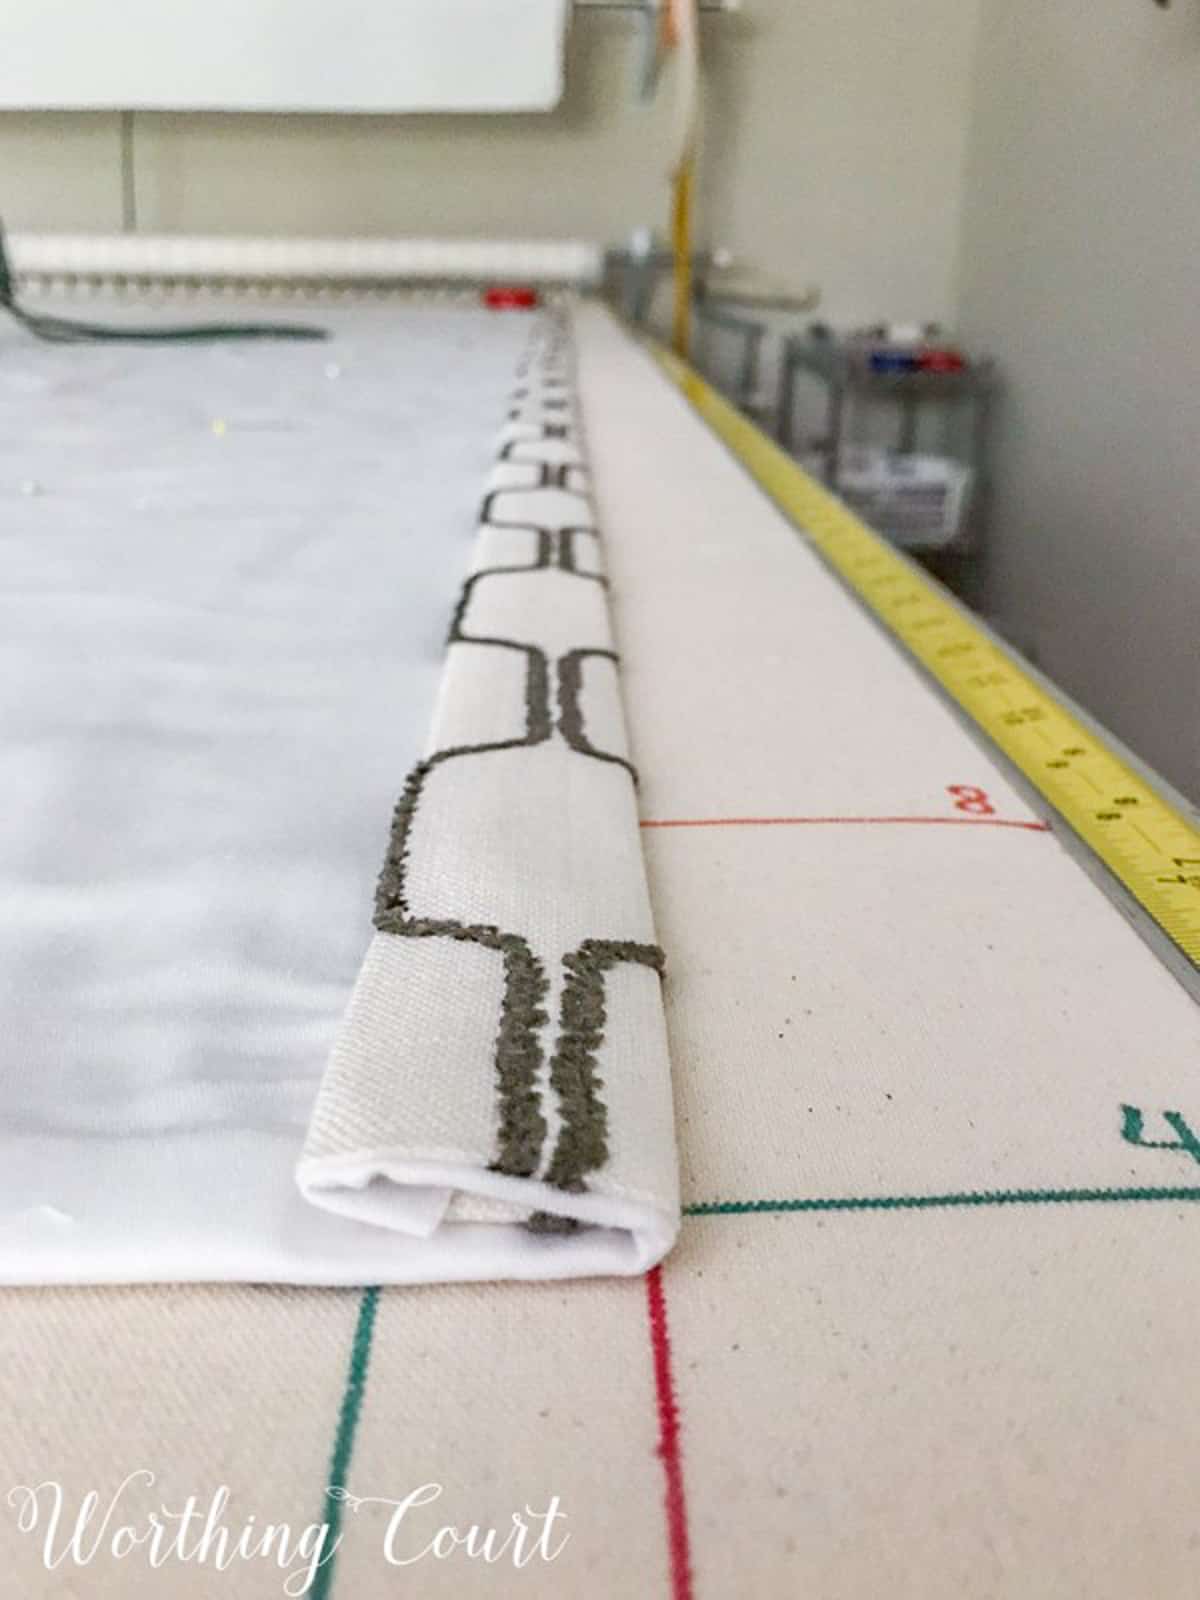
Mark the desired length and cut.
TIP: The easiest way to help smooth the fabric, is to use a yard stick going from one side to other. It cuts down on the number of times you’ll need to walk around the table.
STEP 3: HEM THE MAIN FABRIC PANEL
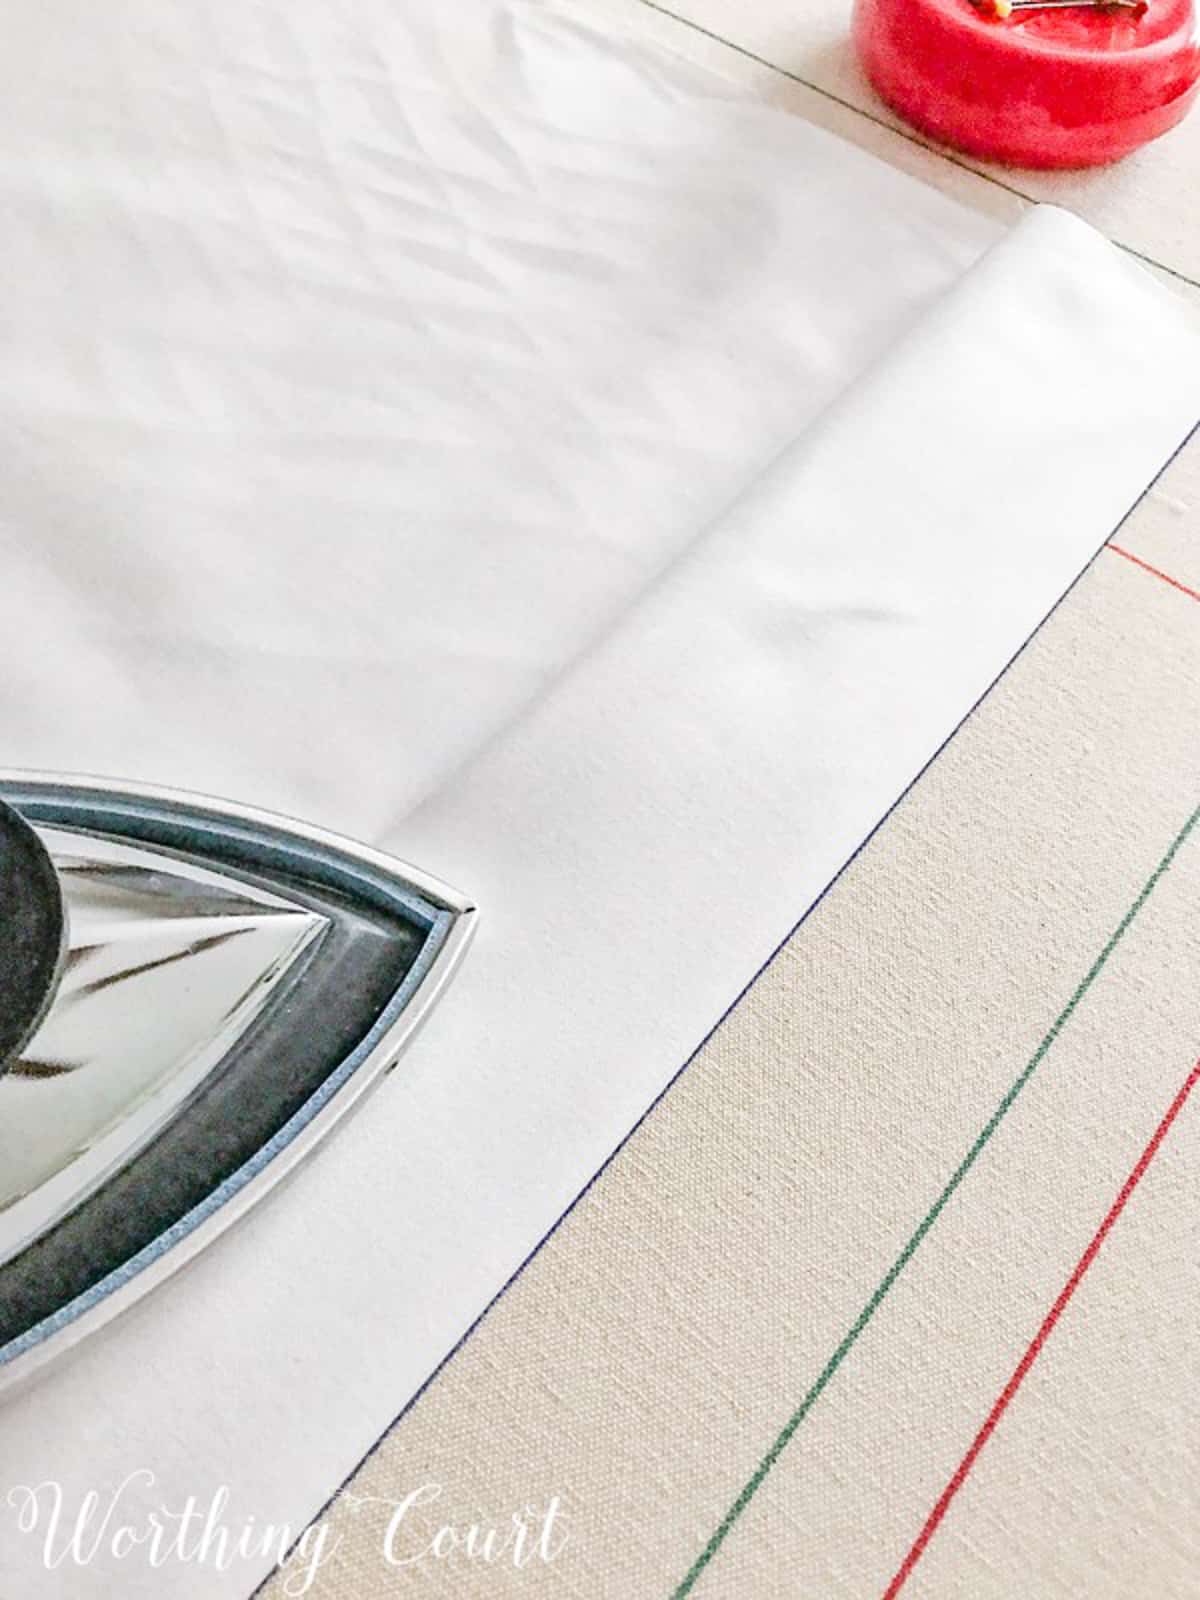
Lay the main fabric panel right side down. Professionally made draperies have a double 4″ hem. To create the hem, fold the bottom edge up 8″, then fold half of that under to create a 4″ double hem. Press and pin the hem into place.

Be sure to pay attention to which way the pattern is running on your fabric to determine what the bottom of the panel is!
TIP: Pay attention to the pattern in your drapery fabric. You may need to slightly shift the fold for the bottom hem so that the pattern remains evenly exposed on the front side. No one will notice if you don’t have an exact 4” bottom hem on the back of your panel, but they will notice if the pattern on the front isn’t even across the bottom of the panel.

You can sew the hem into place with a regular straight stitch on your machine – but for a professional-looking curtain, it’s best to do a blind hem stitch that doesn’t show from the front side of the panel.
I recommend hand sewing with a slip stitch, using a blind hem stitch foot attachment for your machine, or using a blind hem stitch machine.
Place the hemmed panel aside.
STEP 4: PREPARE, CUT & HEM THE LINING FABRIC
The lining fabric that I prefer to use is white, cotton sateen drapery lining fabric that weighs about 4.5 oz. But you can also use a 100% polyester or a poly/cotton blend.
Remove the selvage, square the fabric and smooth all of the wrinkles out before cutting.
The finished length of the lining panel should be 1″ shorter than the finished length of the drapery panel, which is reflected in the above yardage calculator.
Follow step 3 for cutting and hemming the lining panel, with the exception being to create a double 3″ wide hem – fold the bottom raw edge up 6″ (instead of 8″) and then fold in half.
Sew the hem into place using the regular straight stitch on your sewing machine.
TIP: The right side of the lining fabric is the side that’s shinier than the other side.
The requirements for blackout lining are a little different than when using regular white lining:
- Measuring and cutting is the same.
- Blackout lining may not have a selvage that needs to be removed.
- If you do not want pin holes to show, use Wonder Clips to hold the hem in place before stitching.
- Use a non-stick needle in your sewing machine. It will not heat up from friction like a regular needle, which will help to minimize the appearance of holes. Light shining through needle holes can be visible from the front of the curtain.
- Use a Mercerized COTTON or a Texturized Polyester thread when sewing blackout lining. These types of thread swell and will tend to “clog” up any holes left by the machine needle.
- Blackout lining tends to be thicker, so use a long stitch when sewing.
STEP 5: JOIN THE FRONT OF THE PANEL TO THE LINING
The way you lay out your fabric pieces is important when preparing to join the front panel and the lining together. You want to make sure that when the pieces are sewn together and turned, you wind up with the back side of the lining facing the back side of the drapery panel.
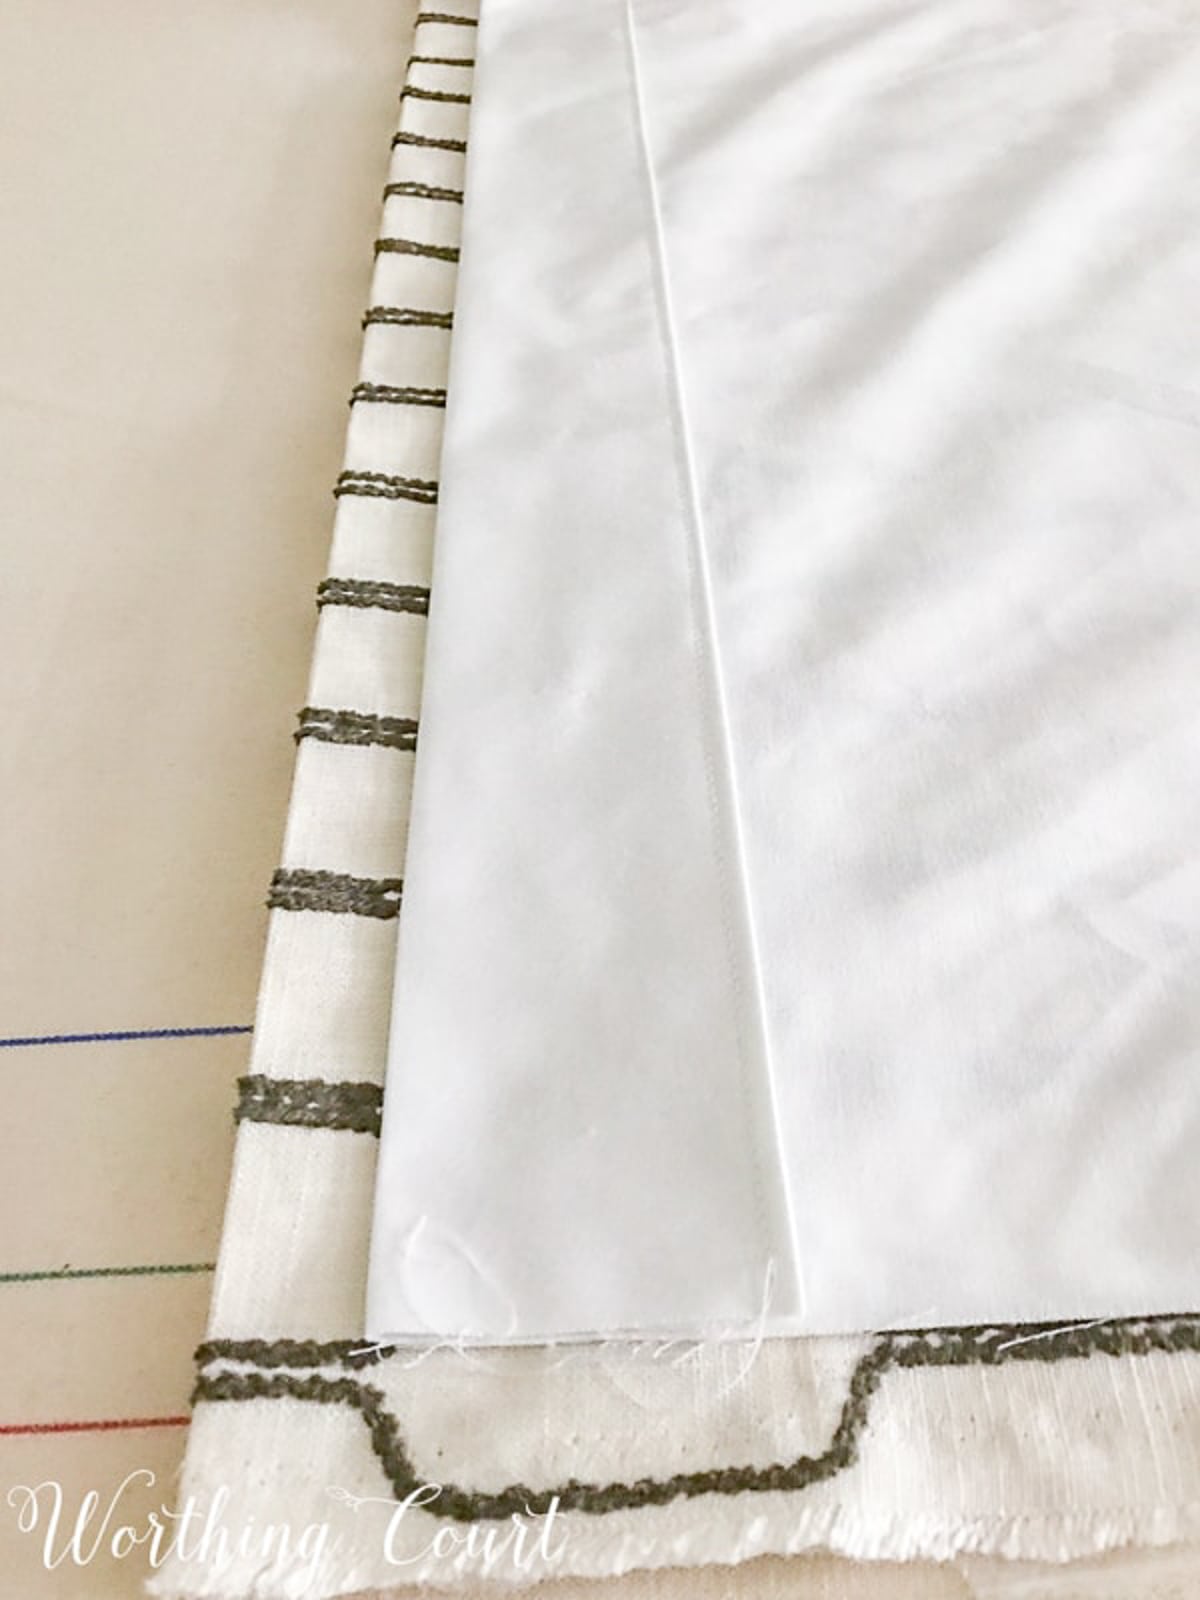
To join them – lay out the curtain lining and drapery fabric on your work surface with right sides together. Make sure that the top of the curtain fabric and the top of the lining fabric are lined up evenly. Pin the fabrics together and sew with a straight stitch, using a 1″ seam allowance.
TIP: The lining will likely be a little narrower than the drapery fabric, so be sure to center the lining. Don’t worry – the side hems will capture the narrower drapery lining.
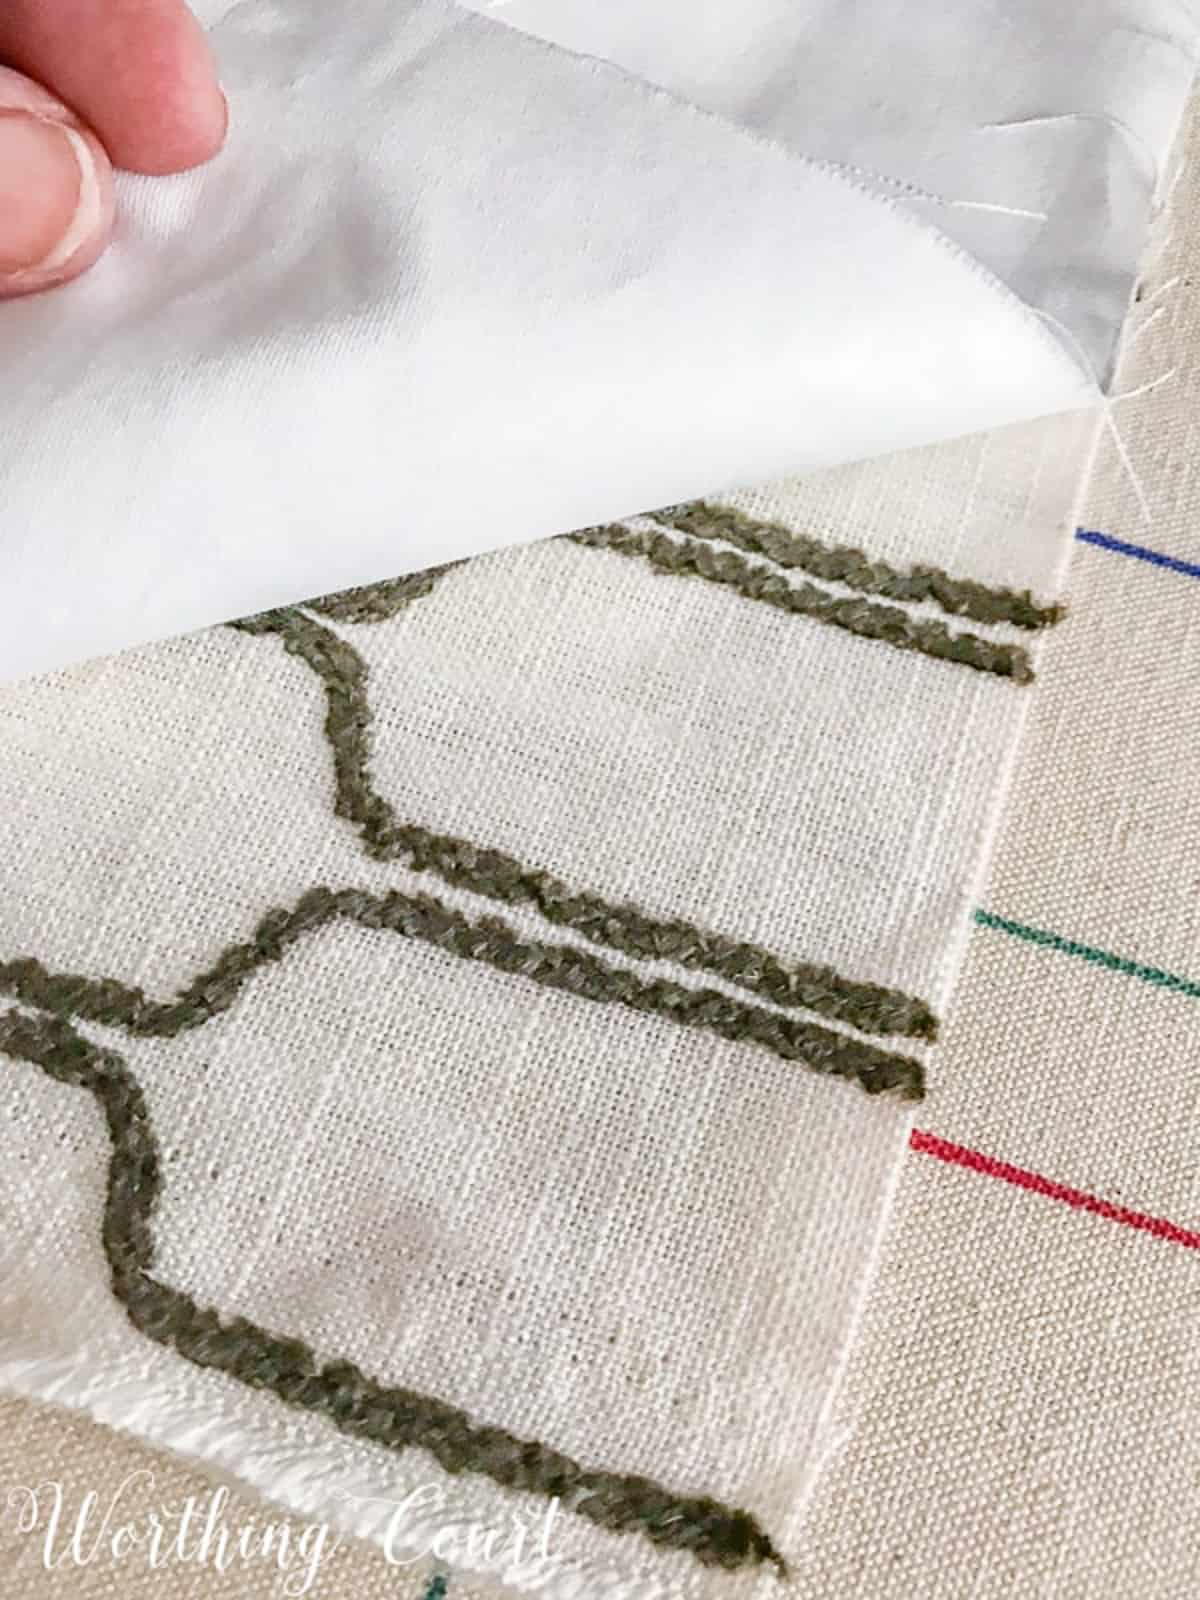
Open the joined pieces of fabric up and press the seam open. This might seem like an unnecessary step, but the result will be a nicer, crisper top edge.
Now, flip the fabrics over, so that the wrong side of the lining and wrong side of the drapery fabric are facing one another. Make sure the fabric in the seam is all lying in the same direction and press the seam closed.
STEP 6: HEM THE LONG SIDES
Place the joined fabrics together on your work surface, so that the right side of the drapery fabric is face down (the right side of the lining will be face up). Smooth both fabrics out so that there are no wrinkles in either layer and that the joined fabrics are lying straight.
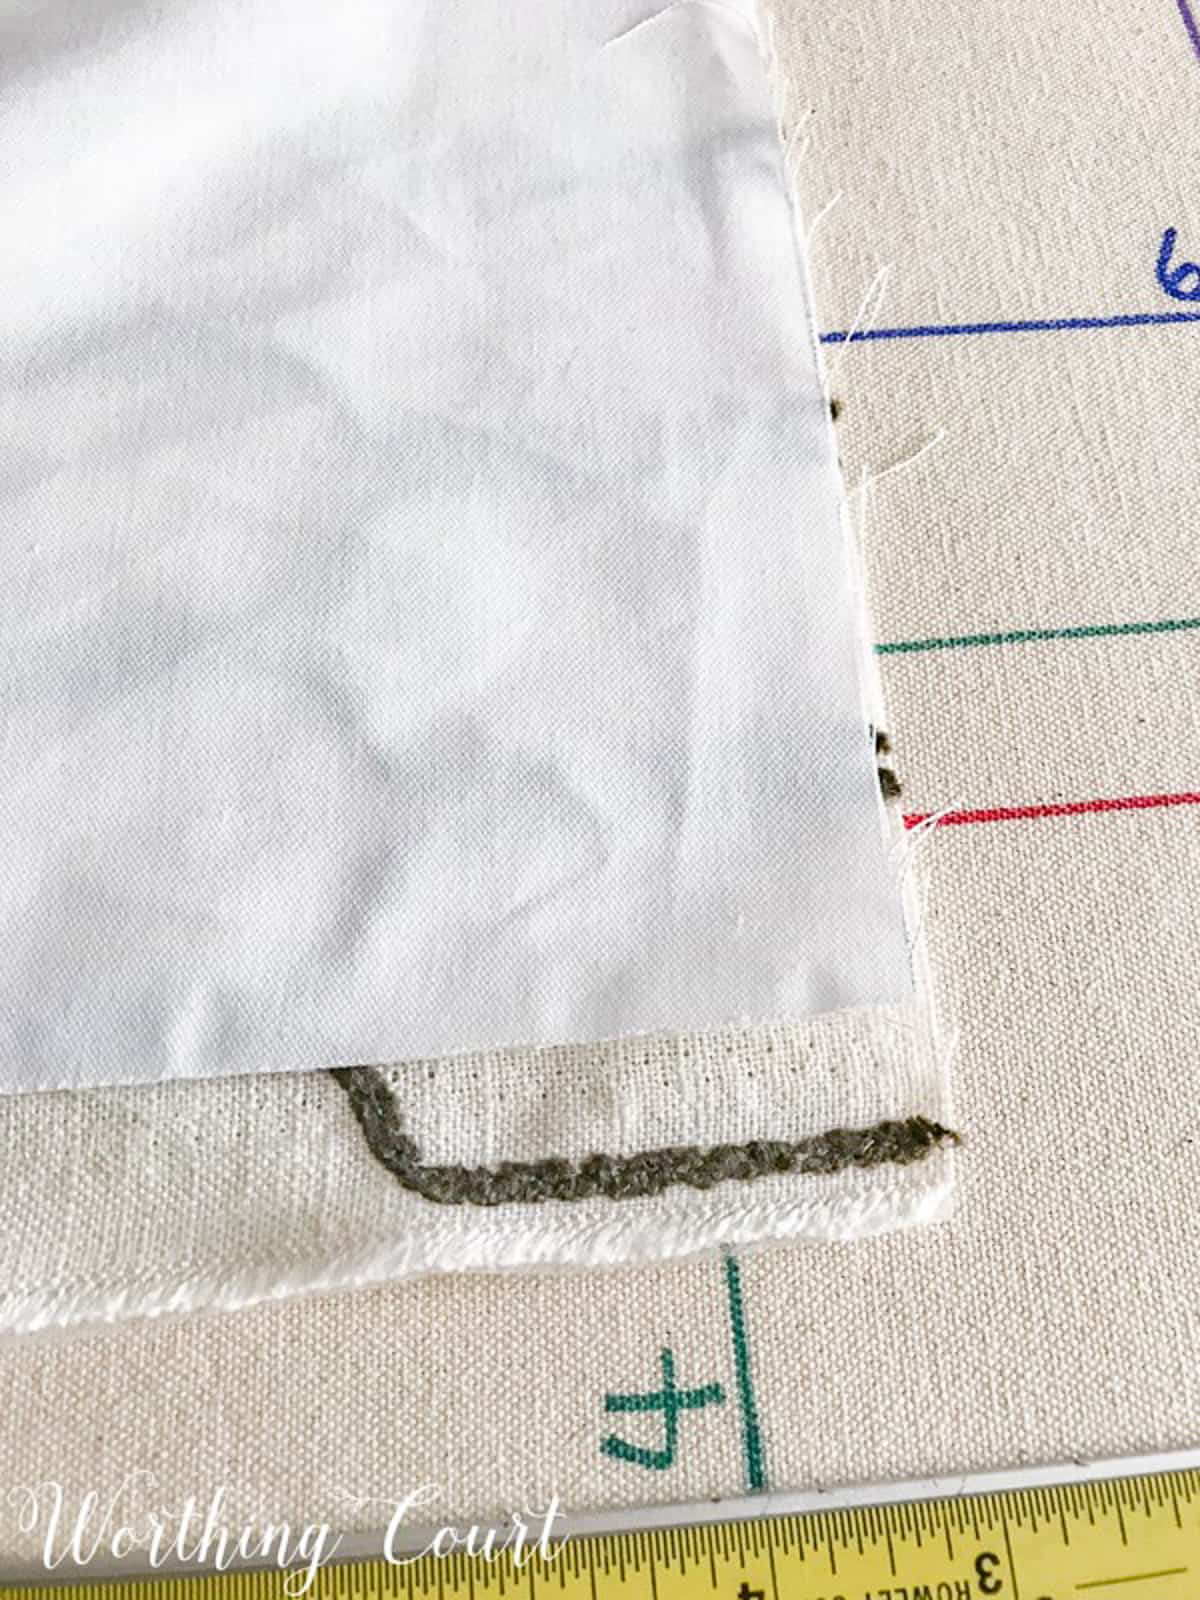
Assuming that you measured and stitched correctly, the hem at the bottom of the lining should be 1″ from the bottom of the curtain fabric.
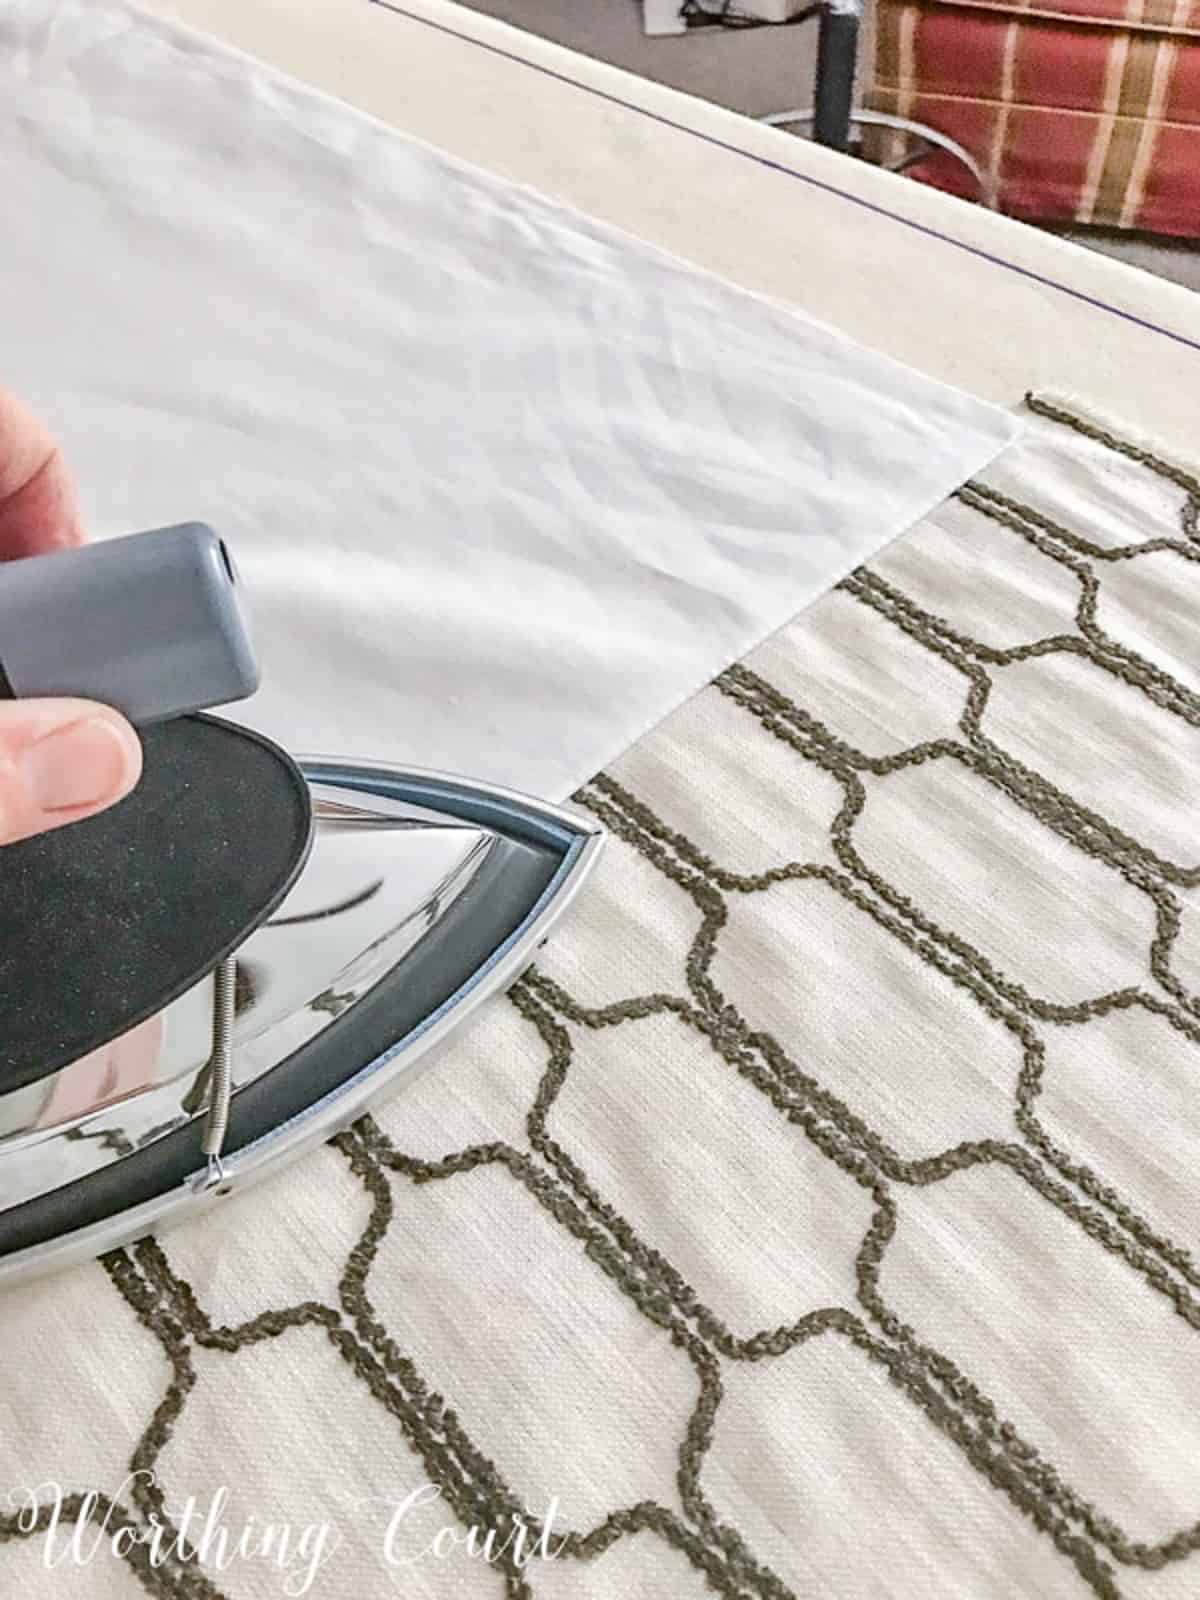
Professionally made draperies typically have double 1½” side hems. Keeping the drapery and the lining fabrics together, fold each side of the panel in 3″, all the way from the top to the bottom (including the hem). Press into place.
Now fold the fabric in half, press into place and pin (or clip if using blackout lining).

TIP: Pay attention to the pattern in your drapery fabric. You may need to slightly shift the fold for the side hem so that the pattern remains evenly exposed on the front side. No one will notice if you don’t have an exact 1½” side hem on the back of your panel, but they will notice if the pattern on the front isn’t even from the top of the panel to the bottom of the panel.
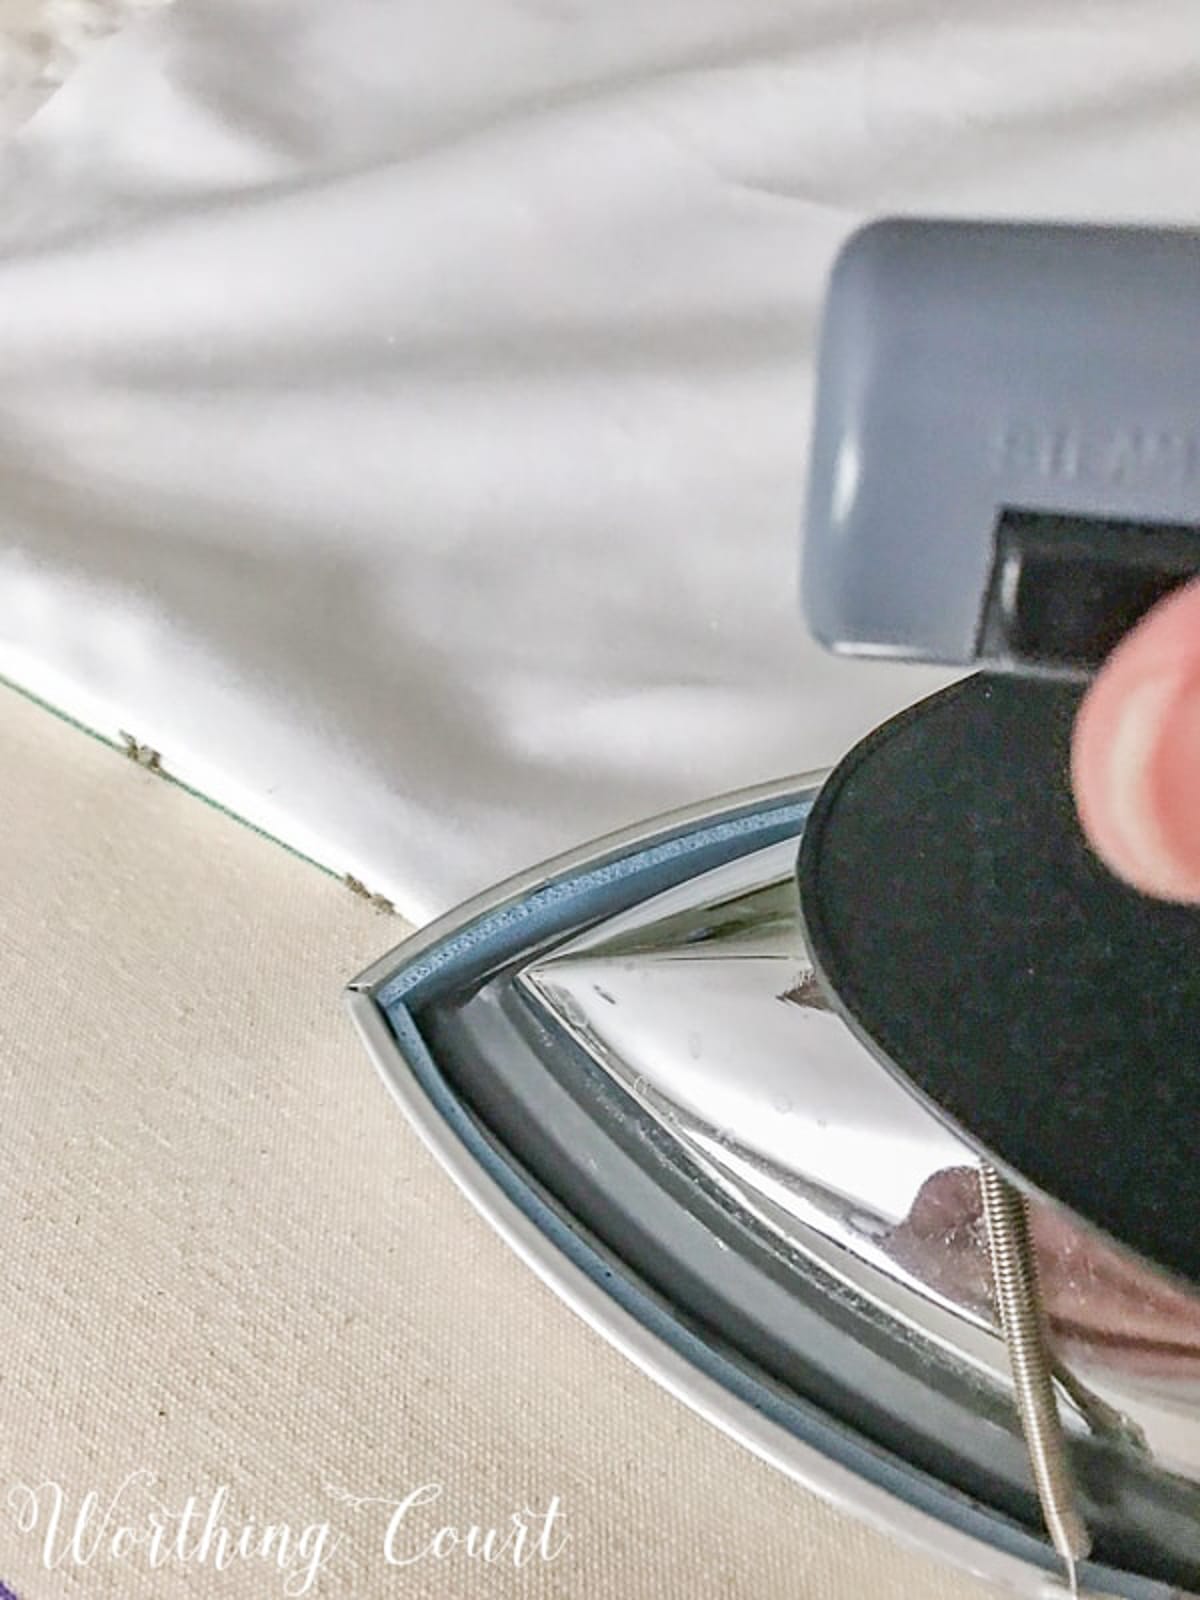
To avoid fly away drapes and to make your panels hang nicely, add a drapery weight to the bottom corners of the panel before stitching the side hems in place.
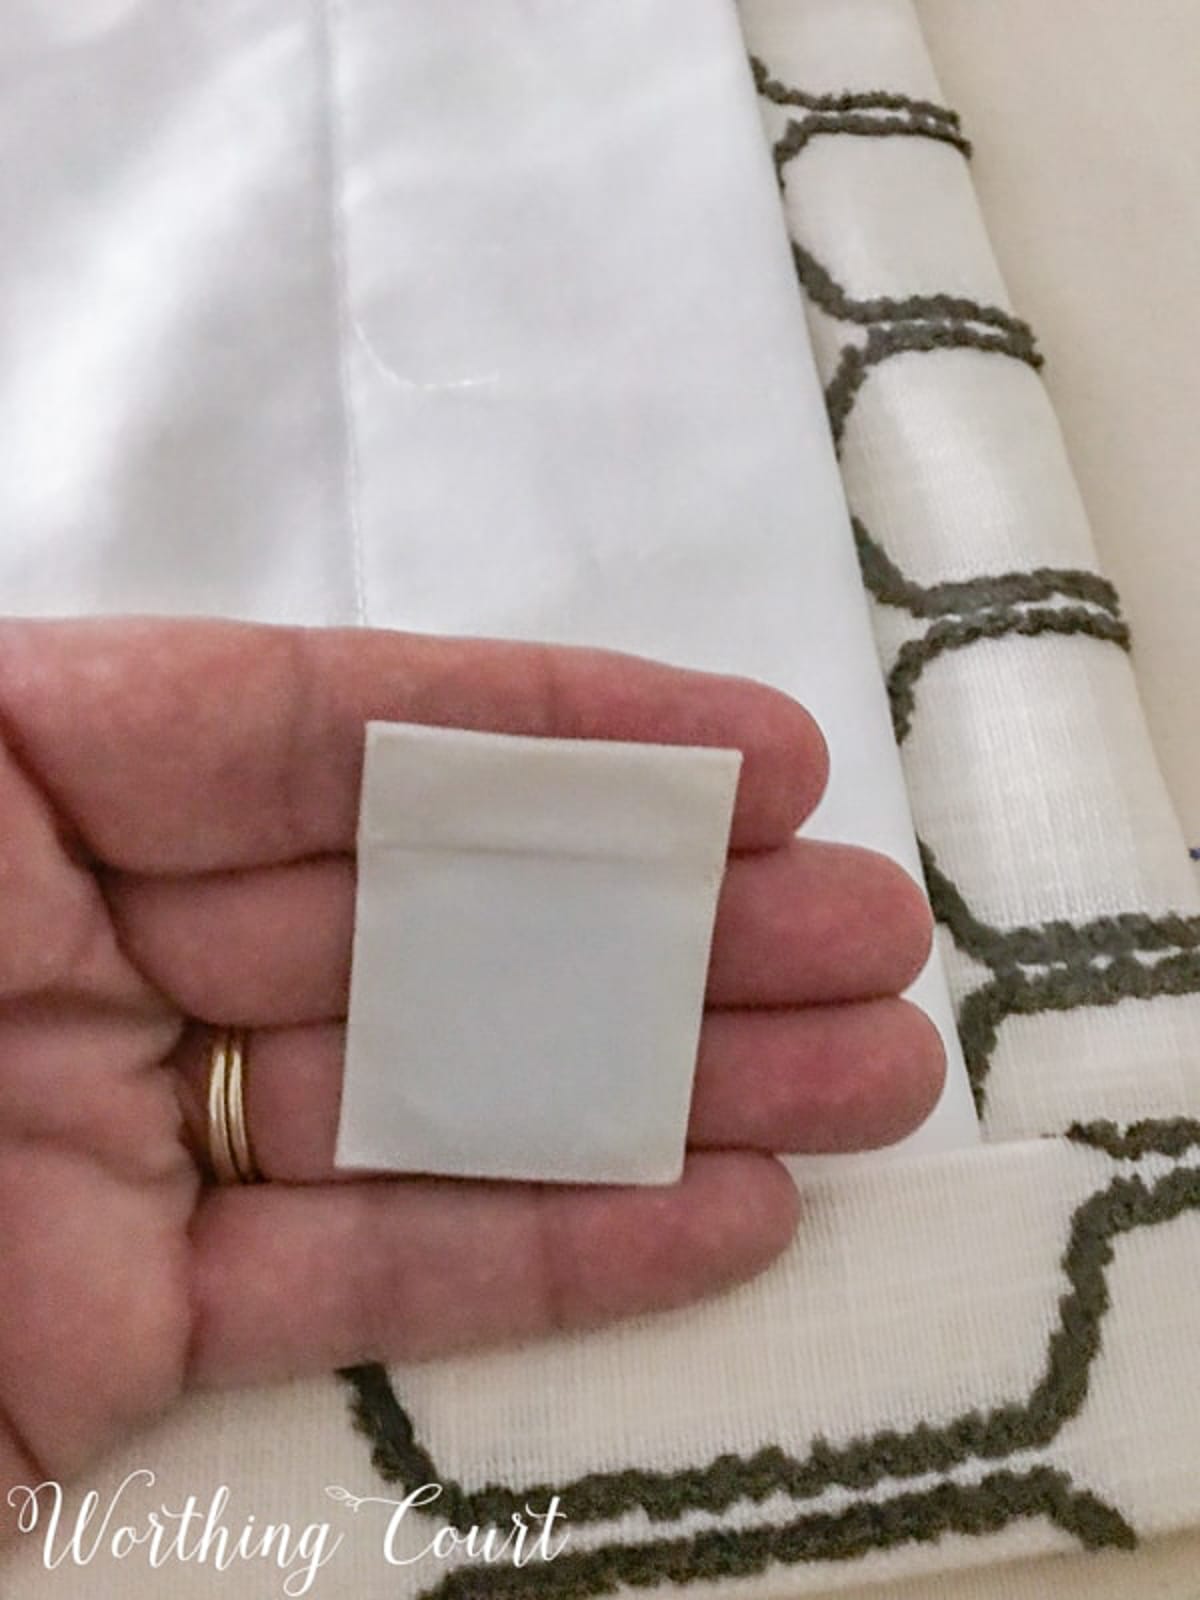
Open up the folded layers at the bottom of each side hem and tuck a weight into the fold. The weight will be held in place once the side hem is stitched.
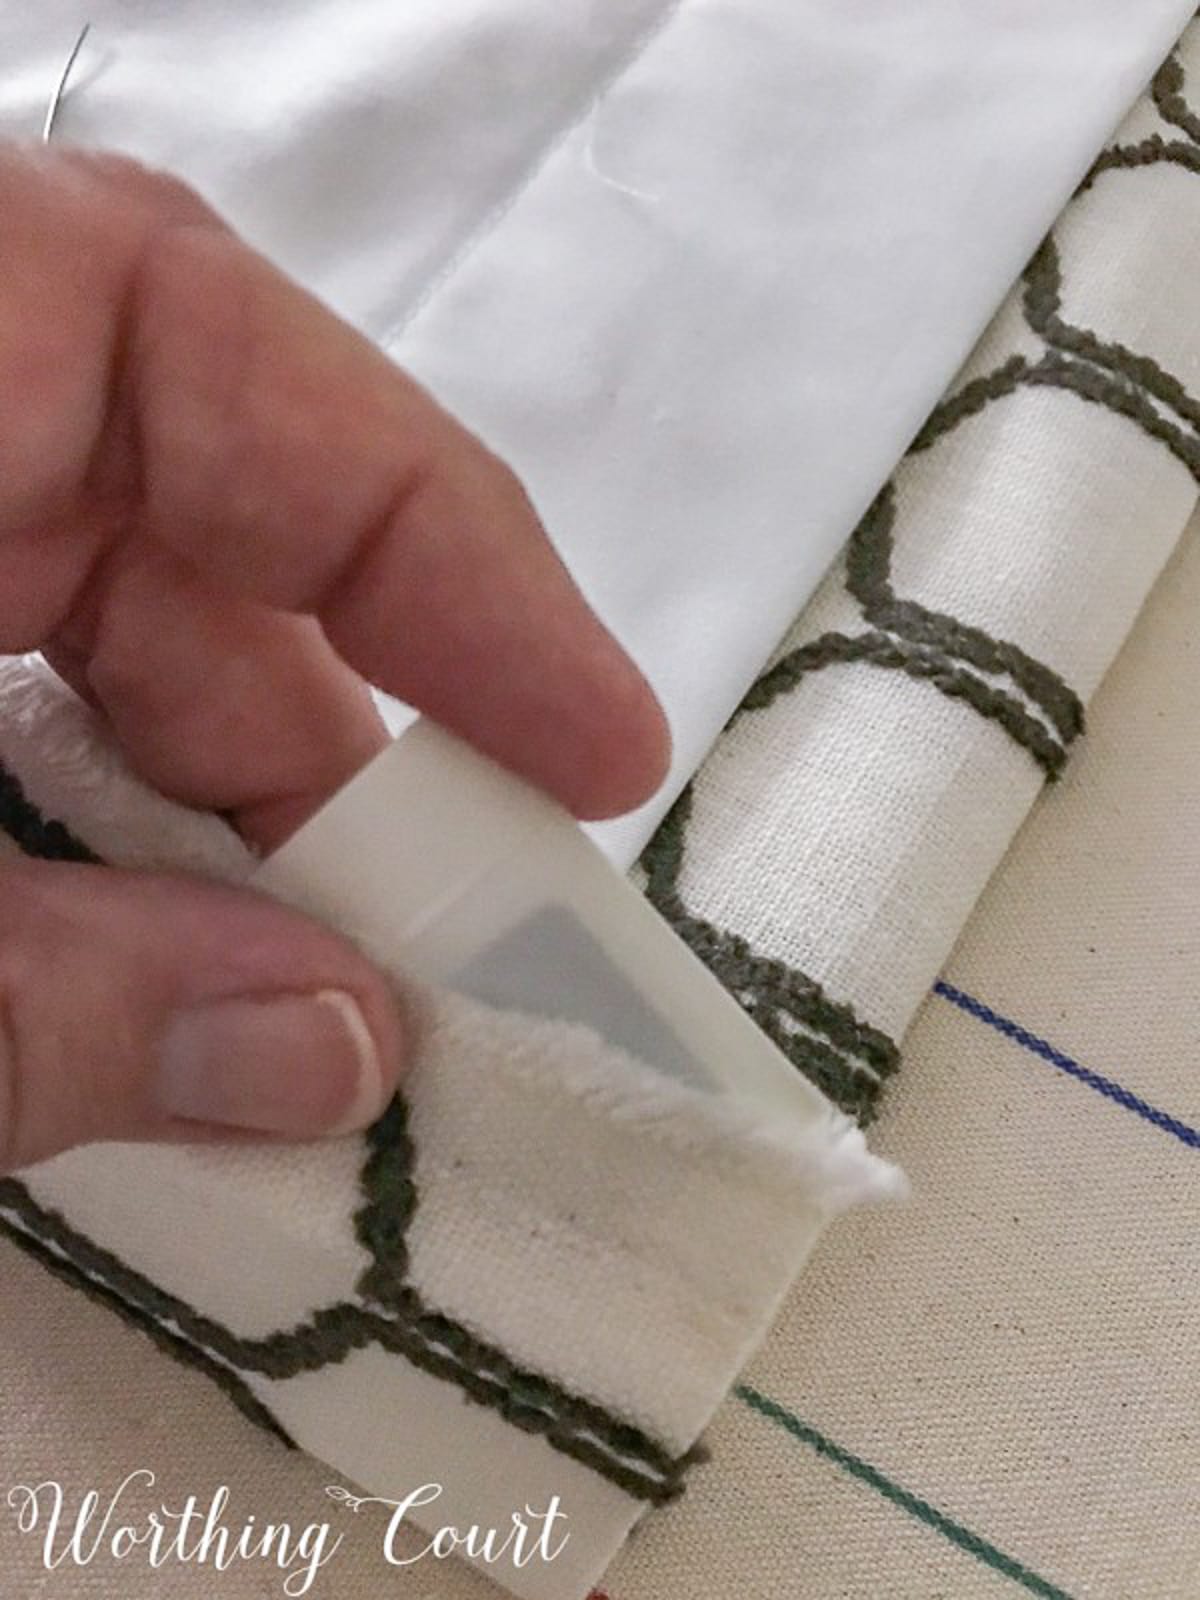
With the drapery weight inserted, press that area of the side hem again and pin. Remember: if you are using blackout lining, you should use Wonder Clips instead of pinning.
The side hems are another place where you do not want to see stitches on the front side of the panel. Stitch them into place using one of the same methods that you used for stitching the hem on the main fabric.
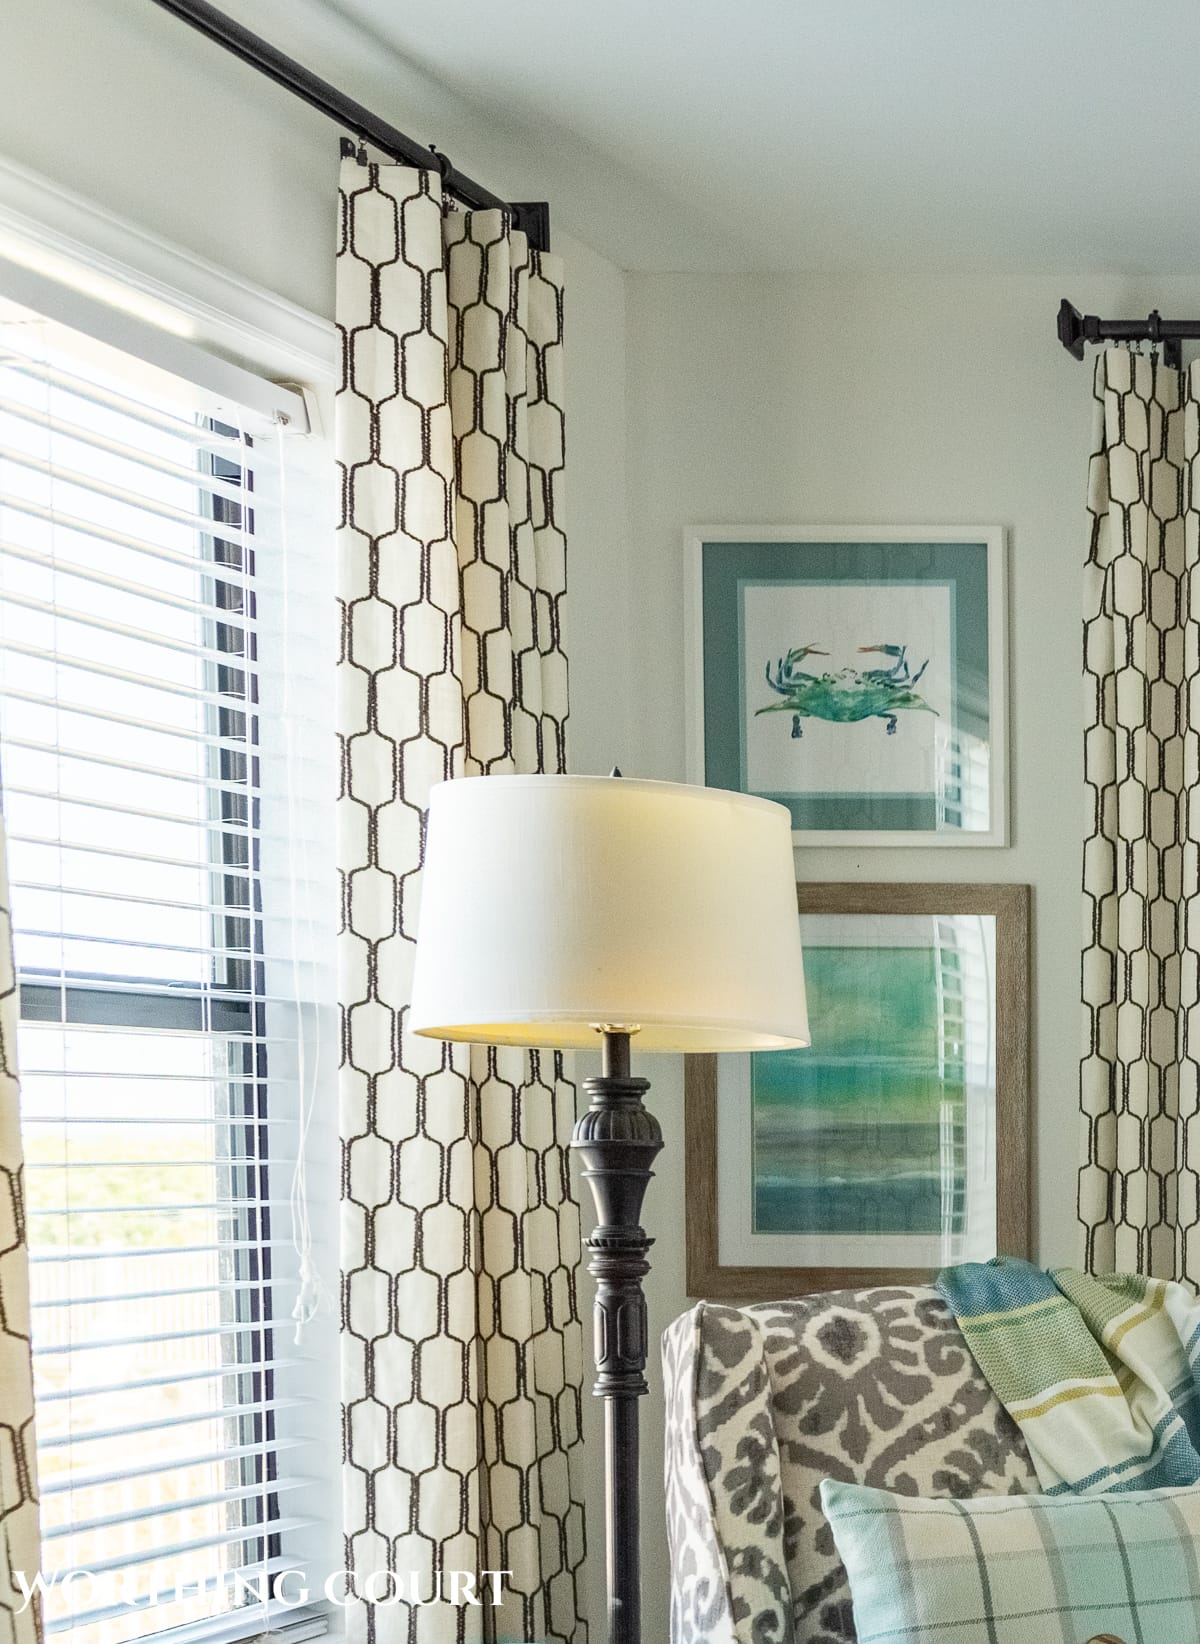
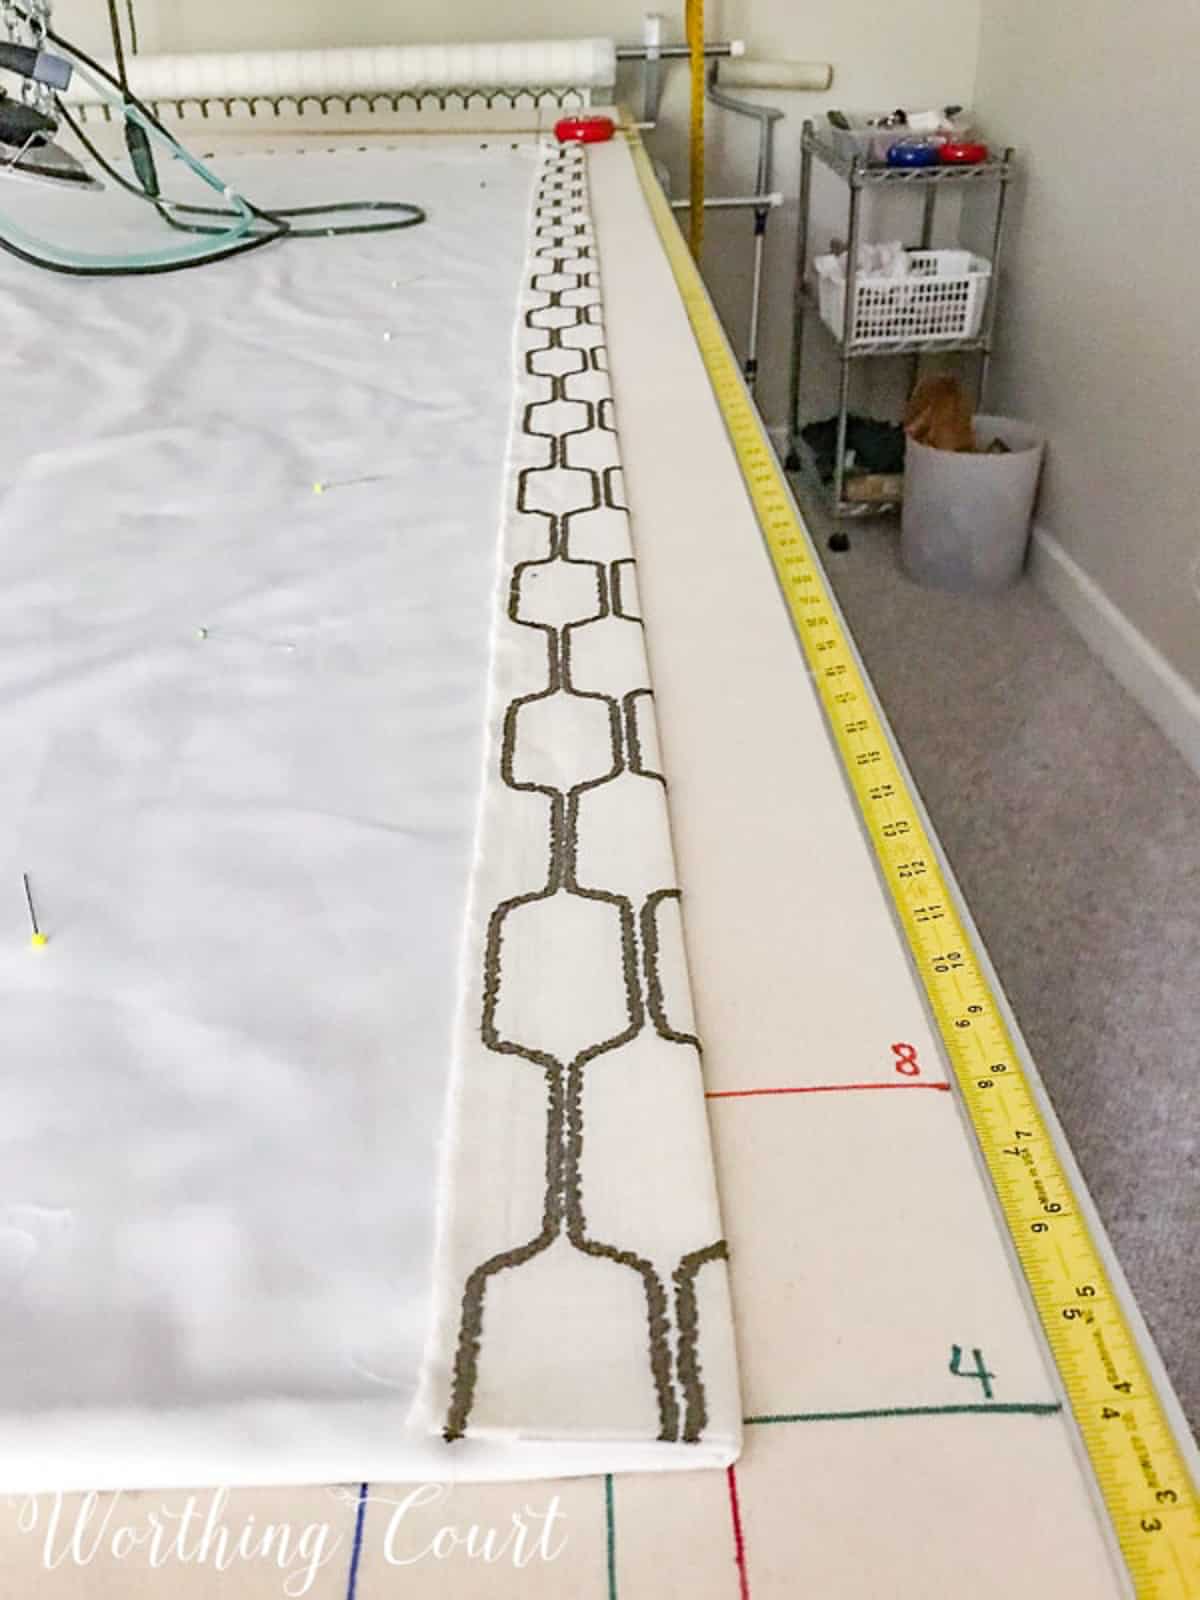
Here’s a look at the finished panel, after the addition of the side hems, lying on my work table.
Now pat yourself on the back because you’ve just completed making a drapery panel exactly like you would have paid a professional drapery workroom to do!
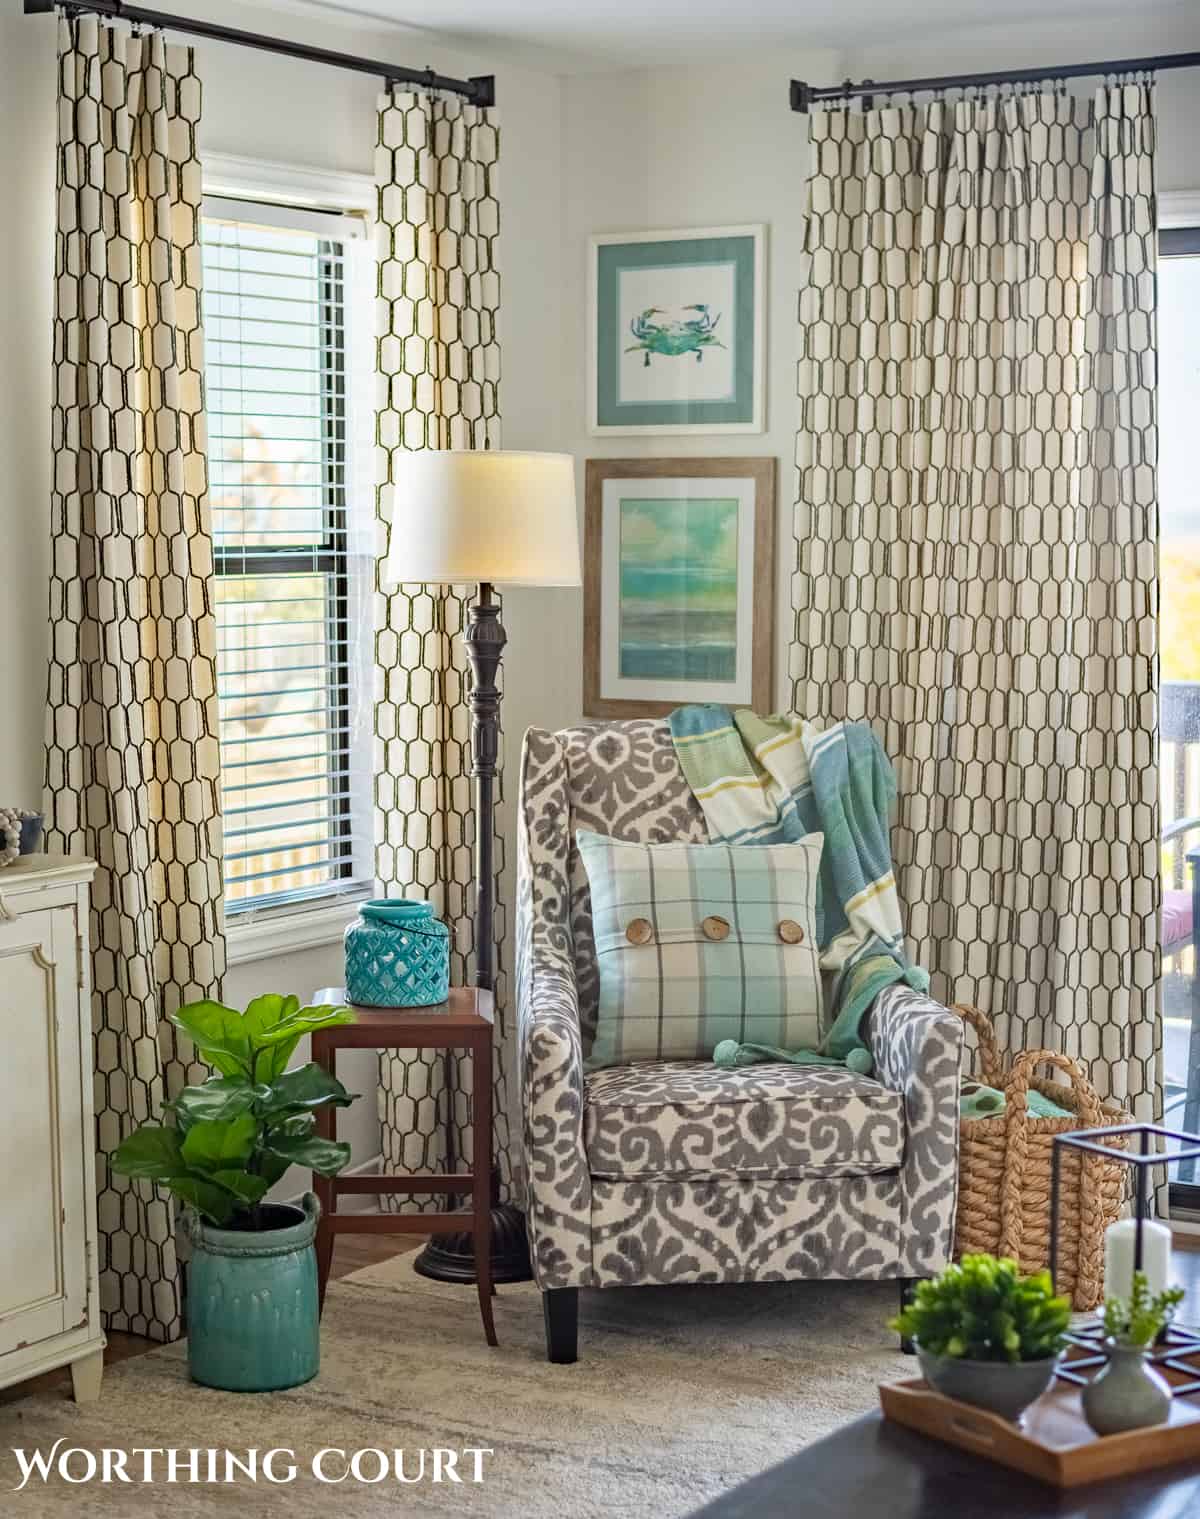
You have the option of hanging your flat panel drapes from a curtain rod using either sew-on or clip-on drapery rings. I think that they mimic the look of pleated draperies without the hassle of making pleats and I used about a third of the amount of fabric.
MY FAVORITE SEWING GADGETS

Looks easy enough. Thanks for the tip!
Your tutorials are amazing! I’m always learning from you, Suzy! 😀
This is a great tutorial – I love your decorating ideas! Please do more tutorials on window treatments!
Does this same method work if the lining is a blackout fabric or are extra steps required?
Hi Michelle. The method should be the same. Just know though, that tiny holes will be created any place that a needle penetrates the fabric. That usually isn’t a problem (in terms of being able to see light coming through from the front side) on draperies, but it’s something you should be aware of.
Is it always necessary to line draperies? I have a linen fabric and the drapes will be stationary on either side of the window. We won’t be closing them.
I love the chair in the photo. Where did you purchase it?
Thanks,
Richelle
Hi Richelle. The chair is from Ashley furniture. 😀
I love the fabric used in this demo. Can you tell me the name of it?
Do you have any information on how to build your drapery table?
Thank you so much .. can’t wait to get making these for our new home!
I’m sorry, but I don’t. We built it way before I started blogging. Is there any particular question you have that I might be able to help with though?
That was SUPER! So clear and easy to understand!! If you do more tutorials, I would love one on Roman shades (the stationary kind). Hope you have a great rest of the week!
Thanks for making this! I have a question – true beginner here – what is the slip stitch? I tried to find it via the course website, but couldn’t. When I did find it via google, I’m not sure I understand how the stitch still won’t show through on the “right” side of the fabric since you still have to grab a bit of that fabric when completing the hem. Is there another fold that is required to help hide it?
I follow these instructions very carefully and measure twice and cut once. And each panel, The outer edges ended up being about half an inch shorter than the middle. I can only assume this is due to the bulk of the lining fabric been folded up on the ends. Is there a fix for this? I fabric is a fairly thick cotton blend and I used a regular cotton lining fabric.
Hi Lisa. It’s possible that it’s the fabric bulk, but it’s more likely to be one of these two things:
1. Is the selvage still on the fabric and is it included in the sides? The selvage edge is usually woven more tightly than the body of the fabric – so it should either be cut off entirely or at least have small clips added going down the length of the panel.
2. You may have the tension on your machine set a little too tight for sewing through all of the layers.
I had actually hand-stitched the sides. I went back and re-did the sides with a much looser blind hem stitch and cut out the lining excess at the bottom and top. It allowed for enough ‘ease’ to even then out. Perfect!! Thank you for your guidance.
Oh thank you for the great detailed instructions!! If I ever make my own curtains again, now I will make them the correct way!!! LOL. Pinned and saved for future reference 😉
Perfect timing! I JUST bought decorator fabric today (at a 67 percent savings). After hiring a professional to make my living room draperies, which ended up short, I decided to make my own for the office. Thank you for giving me the confidence to do this! I’ve long loved your “how-to” blogs.
Thank you for this but your description is not at all clear on. how you completed the top.
Hi Suzy: The memories I have of making drapes is so bitter sweet for me. I’m 66 now and when I was in my 20’s my curtain/drape career started. Loved loved loved it and that ended when we started working with fabrics that had fiberglass included. My body went into full rejection and I was sick all the time. Luckily, I was switched to the design department and that was not where my heart was.
Now since retirement I am taking on a few jobs and I long for a huge cutting table with full a set-up like yours. Got the space and for now will keep my jobs that fit on my 4′ x 6′ table that hubby build 30 years ago. It does what I need and is perfect when I’m cutting clothing.
Reading your very detailed directions brought joy to me. Now days everybody cuts corners in manufacturing and I always love custom drapes when I see them because I know what needed to happen from ‘start to finish’. Those deep hems makes me smile!!!!!!!!!!!!
Your work is beautiful and please be proud of your finished products. Maybe with your detailed instructions someone will make their home beautiful.
Hi Kasey. Thank you for your sweet comment. It’s wonderful to hear from someone else who loves making window treatments!
Hi Suzy,
Thank you for such excellent instructions. I am hoping you can help me with a question. I am in the process of making two drapery panels for my dining room. The finished length of each panel will need to be about 106 inches. I have two cuts of fabric. ( long story) Unfortunately one of the cuts is only 111 1/2 inches long. The other cut is plenty long according to your instructions. Is there a way to modify either the top or the bottom of the fabric when I am hemming to make this work out? Or could I actually put a strip of fabric from the other cut of fabric to allow for the 8 inch hem on the bottom? If so how would I do that? I hope this makes sense. Thanks so much.
Hi Keli. Oh – I know first-hand how frustrating that is! If I understand you correctly, your cuts need to be 114″ long, which means one of your cuts is 2.5″ too short to be able to have a double 8″ hem.
If that’s correct, go ahead and fold the bottom up to the 106″ finished length and press in place. Instead of folding 4″ back under, only fold 1.5″ under and sew in place. That will give you the look of having 4″ hem from the front of the drapery panel. No one will ever know, unless your fabric is sheer. Let me know if you have any other questions. 😀
Where can I find the drapery fabric you used in the flat panel tutorial? I have a Roman shade using that fabric and would like to make matching flat panels or another Roman shade for my dining room. I’ve been searching for the fabric and can’t find it anywhere. Hopefully it’s still in production.
I purchased the fabric several years ago at a local fabric outlet. I’m sorry, but I don’t know who the manufacturer is.
Thanks so much for sharing your expertise. I’ve been going through many YouTube videos, but yours is the only one that told me the type of needles and thread to use for different liners.
Thank you for letting me know that! I try to be as detailed as possible when I put tutorials together. 😀
What a great tutorial, thanks! I have a question about drapery lining fabric. Is it best to cut or tear it? I did a test tear and the grain is slightly crooked. I was wondering if I cut the fabric instead, not paying attention to the grain, will the lining sag over time if its not the straight grain?
I’m used to quilting where the grain is important so we tear the fabric 🙂
Thank you!
Hi Wendi. I’m glad you found the tutorial helpful! I’ve never tried tearing my lining fabric and haven’t had any problems with the lining sagging that I’ve ever noticed.
Wow, this is an amazing tutorial! You are a pro and thanks for sharing. this is just what we need. God bless
I’m so glad to hear that and hope this helps you. God bless you as well!