All The Tips You Need To Create A Vignette Anytime of Year
Vignettes are decorating moments that you can put together in minutes to add seasonal touches throughout your home. Let me show you how easy it is to create one!
If you’re tired of dreary, gray winter days (like I am), adding an early spring vignette is a quick way to add a bright spot to your home and to celebrate the arrival of this most anxiously awaited season!
Spreading beautiful vignettes throughout the rooms of my home is one of my favorite ways to add seasonal decor because they can be put together relatively quickly and with minimal effort. That’s certainly a bonus considering how busy all of our lives seem to be these days.
Think of a vignette as a still life. While putting one together is super easy, there a few design principles you should adhere to for a design worthy display.
My favorite places to display a vignette are:
- coffee table
- shelves
- side table
- as a table centerpiece
- on a deep window ledge
- a bedroom dresser
- fireplace mantel
- on an entry table
- on a console or sofa table
- on top of a buffet or sideboard
STICK TO A THEME
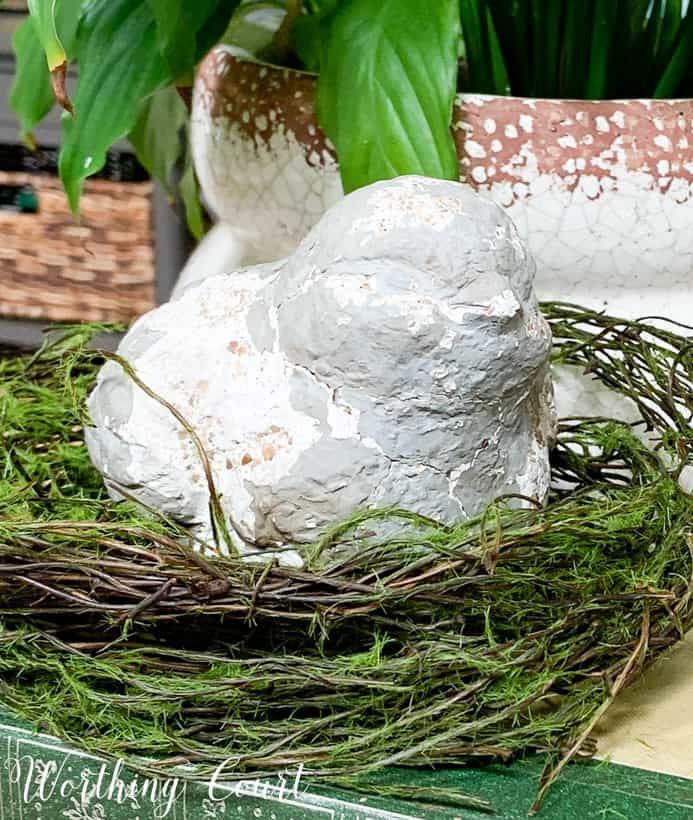
Since the theme of this vignette is spring, I’ve chosen objects that represent a fresh spring day to me. Don’t lose sight of your surroundings though – you’ll also want to be sure that the objects you use support the style and design of the rest of the room.
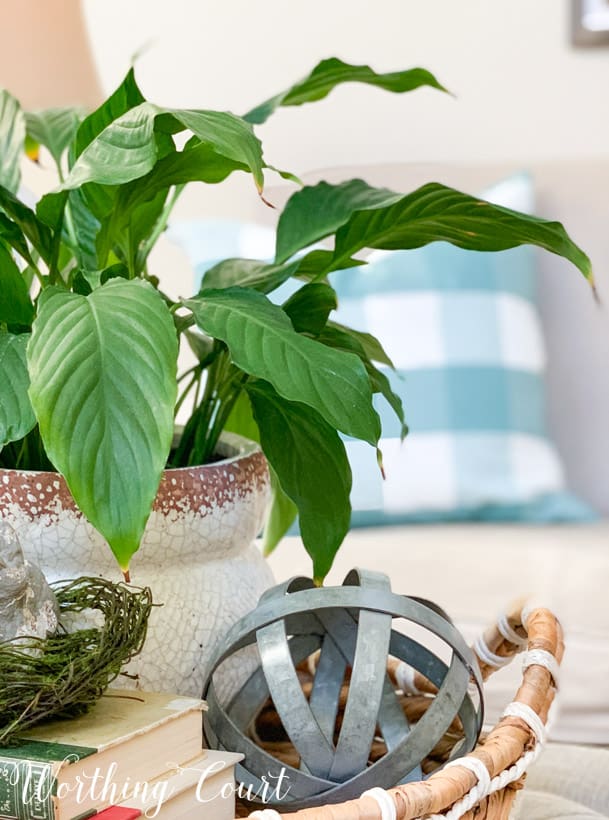
VARY THE HEIGHT & SHAPE OF OBJECTS
Use books, boxes or risers to vary the height of the objects within the vignette. Nothing would be more boring and uninsteresting looking than having everything at the same level.
Be sure to use a variety of shapes in the vignette too. Mix square or rectangular objects with round.
CREATE DEPTH
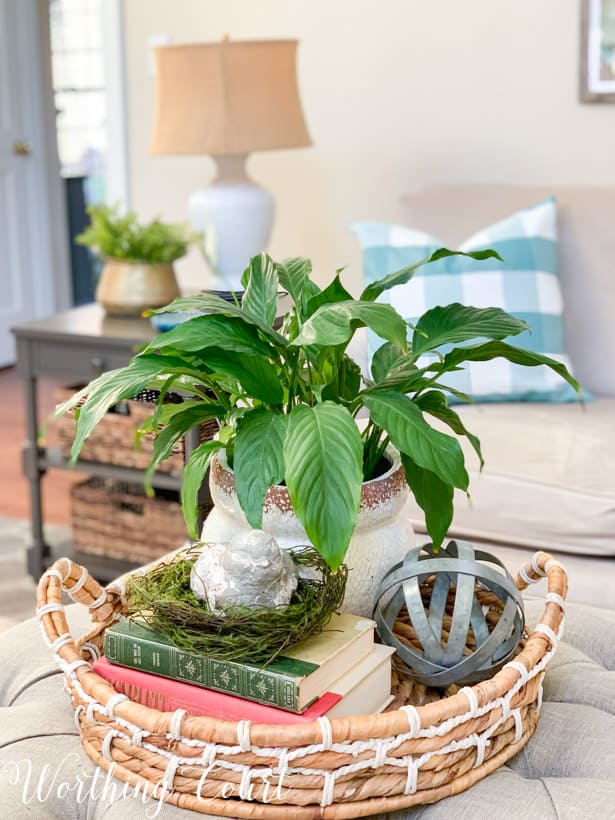
Create depth by placing the shortest items to the front, graduating to the tallest items in the back of the show stopping vignette. When organizing items on a surface that will be seen from all sides, I make the “front” of the vignette face toward the side that will be seen most often as people enter the room.
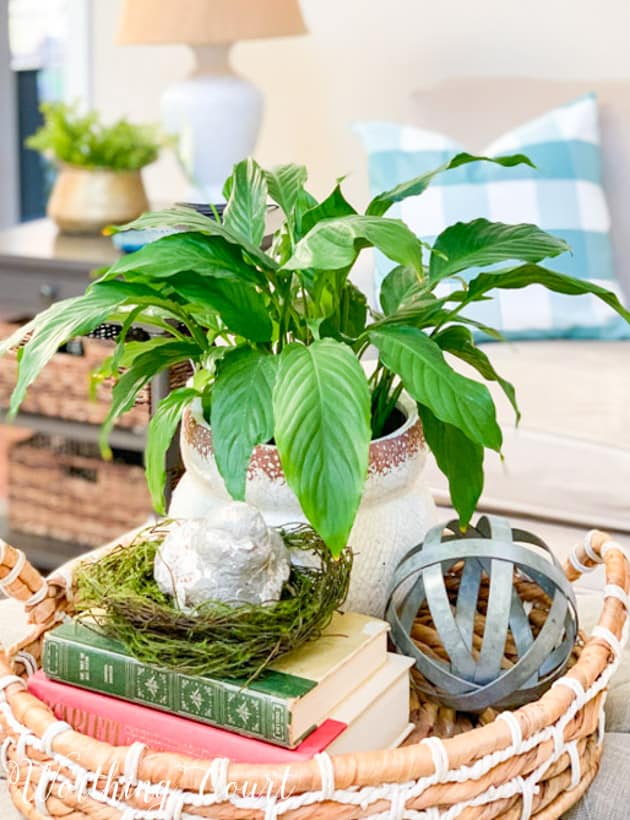
For example, this spring vignette on my coffee table is positioned so that the front side faces the entry into the room from the kitchen and the back side faces the couch.
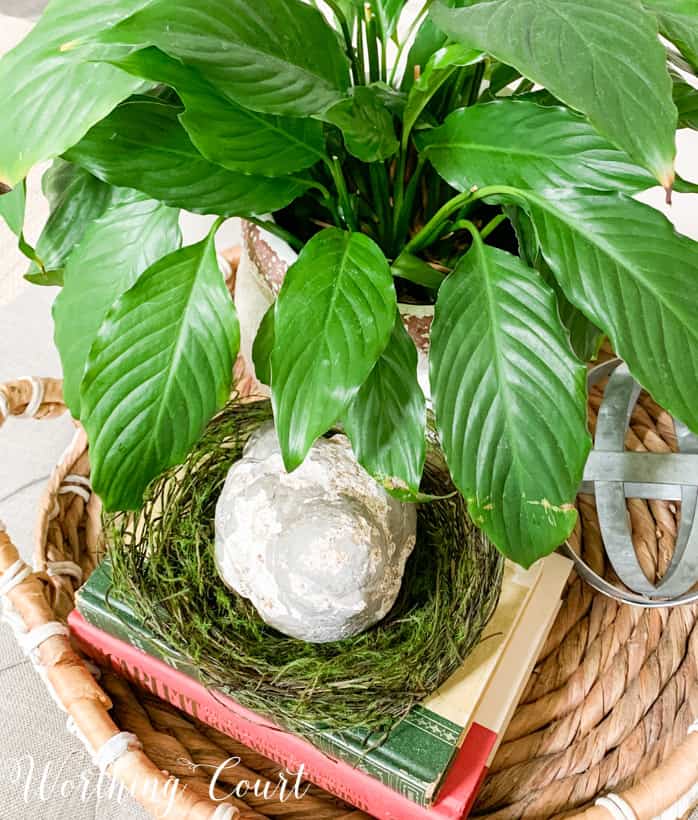
USE ODD NUMBERS
Using odd numbers of objects in a vignette is much more interesting and pleasing to the eye. Groups of three to five items seem to work best. Any more than that can look too cluttered.
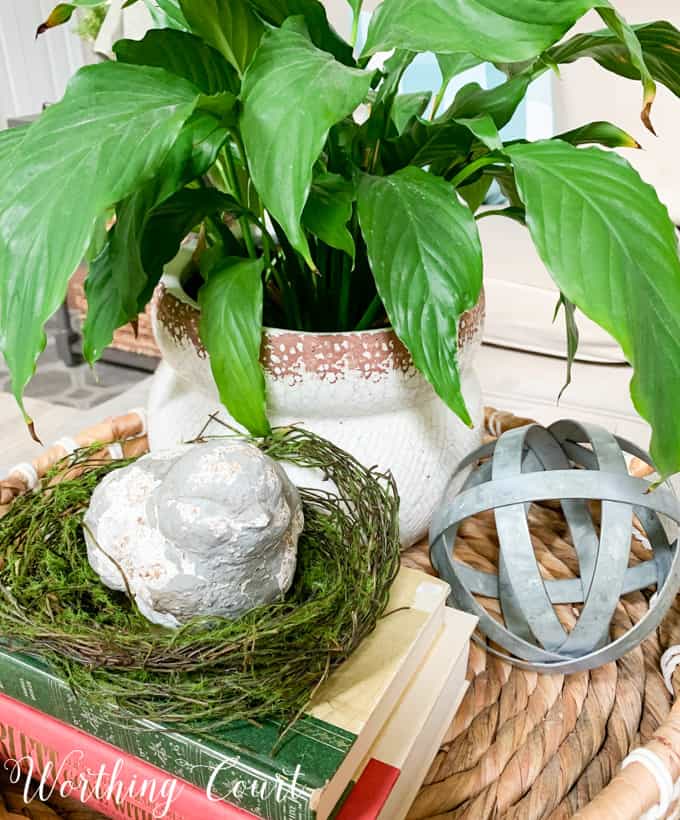
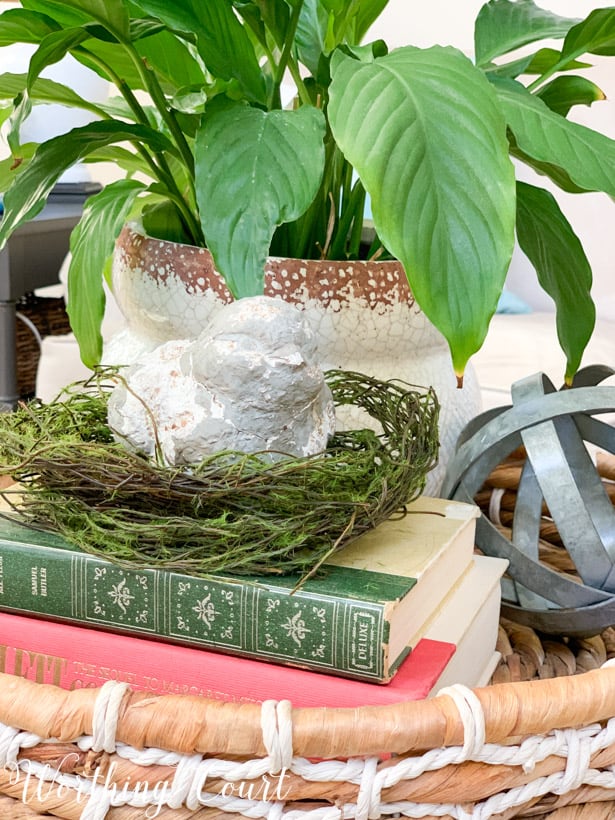
VARY THE TEXTURES
Be sure to use a variety of textures within the vignette. Mix hard and shiny accessories with rough and natural. Use weathered wood or iron architectural elements to introduce an unexpected texture.
CORRAL THE OBJECTS ON A TRAY
Placing all of the objects included in your vignette on a tray like this woven one gives it importance and helps to draw the eye.
DON’T INCLUDE TOO MANY SMALL OBJECTS
It’s a good thing to have blank space within your vignette. You don’t want to fill every available space or you’ll wind up with a cluttered looking jumble of stuff.
Do you enjoy creating seasonal vignettes for your home?