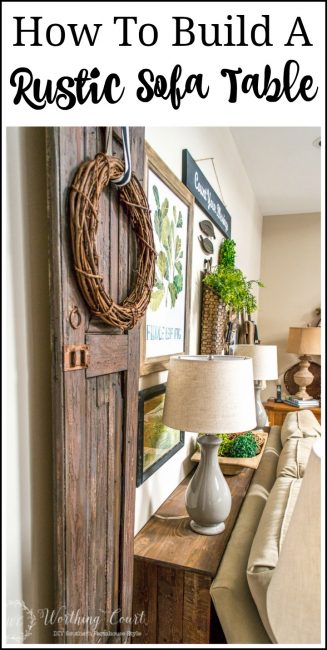
How To Build A Rustic Sofa Table
When I shared the gallery wall makeover in my family room a few days ago, I promised that I’d be back with a tutorial on how we built the table behind our sofa. Just like with all of my projects, this is an easy and inexpensive one.

Before I get started on the tutorial, let me talk a little bit about why I wanted a sofa table in this spot. Maybe you have some of these same issues too.
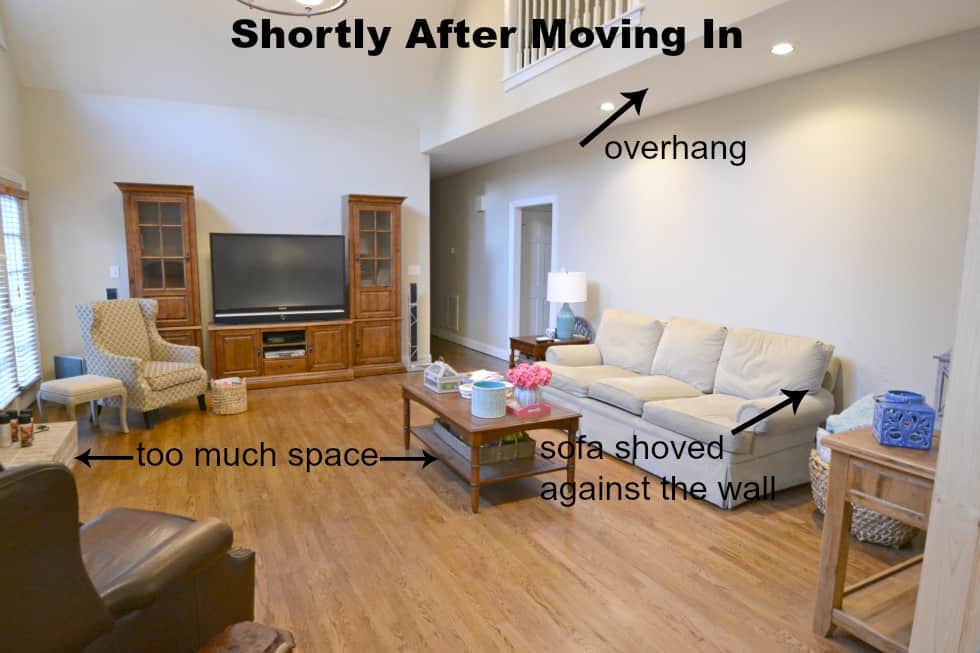
- It’s nice to have a generously sized family room, but my furniture felt too spread out. There was too much space between the fireplace (that’s located on the opposite wall) and the front of the coffee table. The room felt empty and wasn’t inviting at all.
- We have an overhang above the sofa and I just didn’t like the sofa shoved all the way up under it against the wall.
- Even with two lamps already located on this side of the room, it was still too dark for me.
Here’s a picture of the space shortly after we moved in – this should help you get an idea of what I’m talking about. The entertainment center isn’t put together, there’s no rug and there’s no gallery wall either. Oh, and there’s tons of sheetrock dust everywhere.
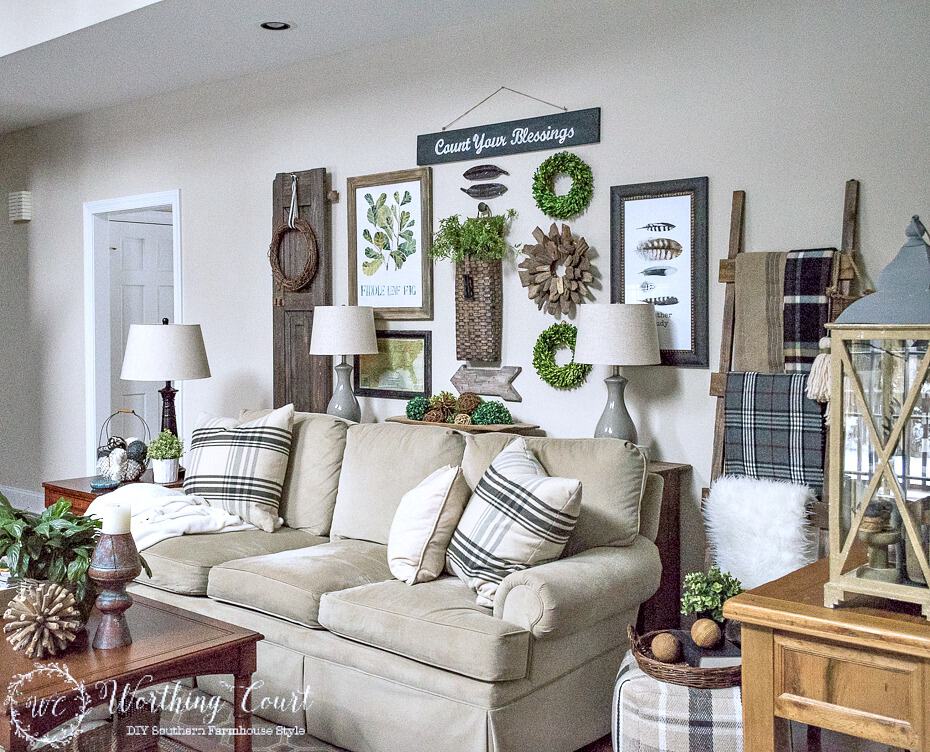
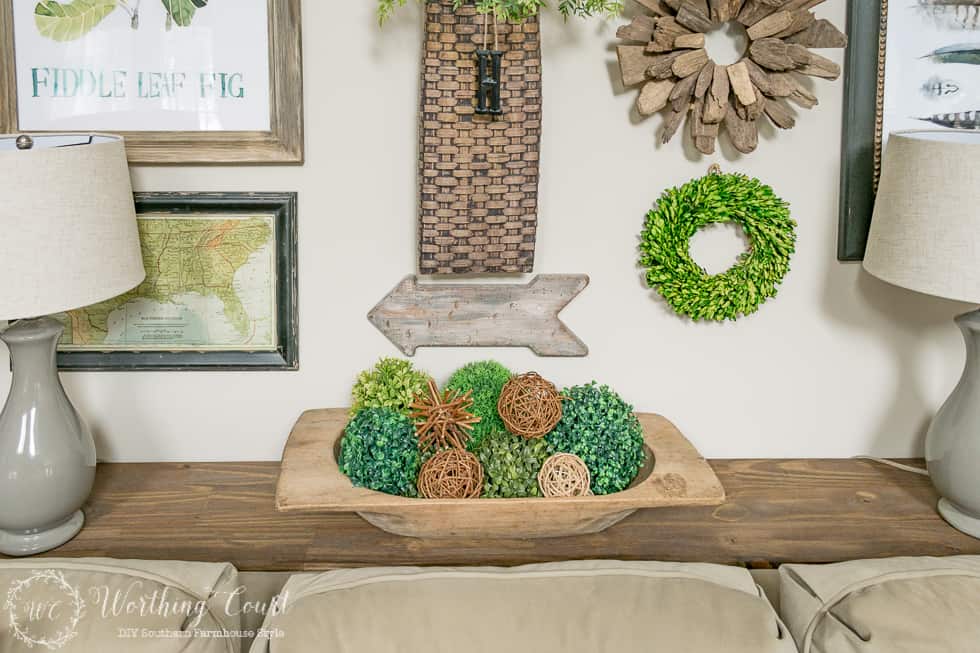
Here’s a shot of the sofa side of the room today. I’ll have a shot of the whole room when I do a full family room tour soon.
Let’s get started. The dimensions given in my tutorial are for a table that measures 32.5″ high x 78″ wide x 12″ deep. You can build any size table that suits your needs and adjust the dimensions of your cuts accordingly.
Supply List:
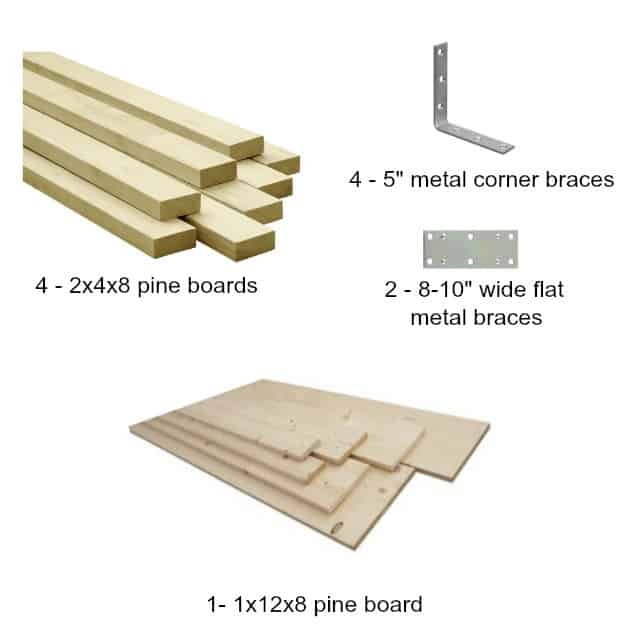
You’ll also need: wood stain in your choice of color (I used Minwax Special Walnut), a level, a drill or screwdriver, a saw (or ask the store to cut the wood to size for you), wood glue, a clamp or two and wood screws.
Remember – safety first! Wear protective eye gear when cutting the wood. You may also want ear plugs to protect your ears from the noise of the saw and a respirator mask to keep from inhaling the stain fumes.
Assembly:
Step 1 – Stain each of the wood pieces and allow to dry. I stained most of my wood on the front and back, but there were a few pieces that I didn’t stain until the table was completely assembled.
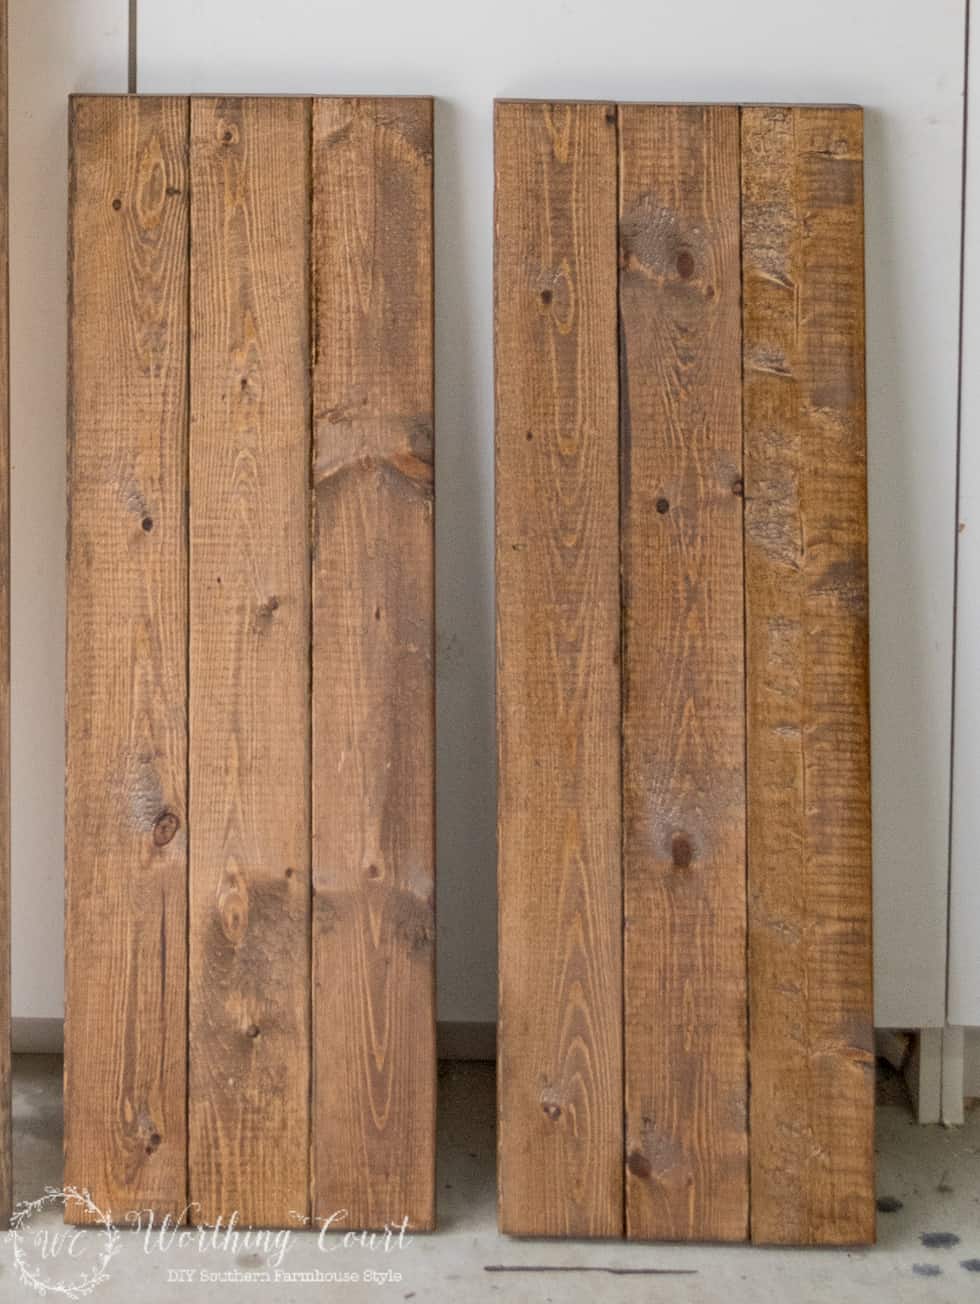
Step 2 – Make the legs for the table by cutting six 2×4’s to 31.75″ long each. Place three pieces of the cut wood side by side and run a bead of wood glue along the sides to glue them together. Make sure that the legs are straight and even across the ends. Clamp the glued pieces of wood together and allow the glue to dry according to the directions on the glue bottle.
In this photo, you see two sets of legs, one for each end of the table, that have been stained and glued together.
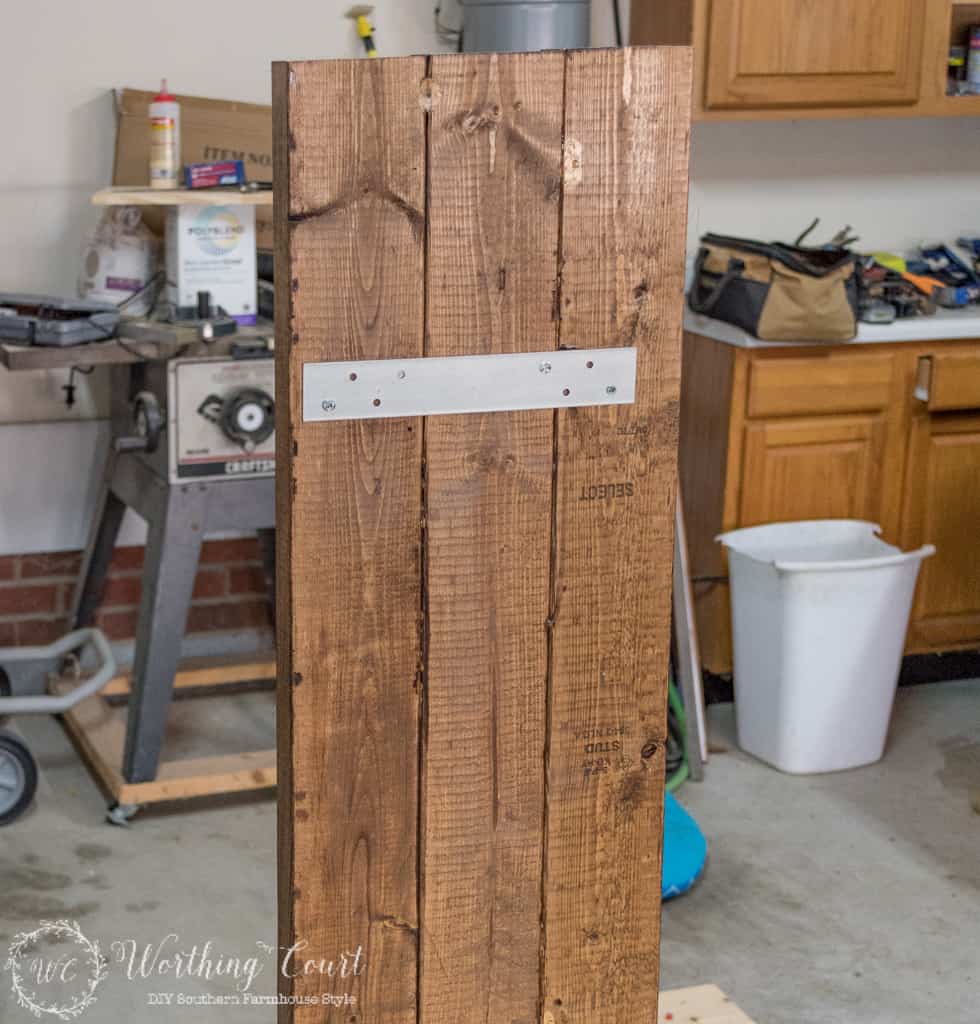
Step 3 – Attach one of the flat metal braces to what will be the inside bottom of each leg using wood screws. Make sure that the screws aren’t so long that they go all the way through the wood. This just gives added stability to the legs.
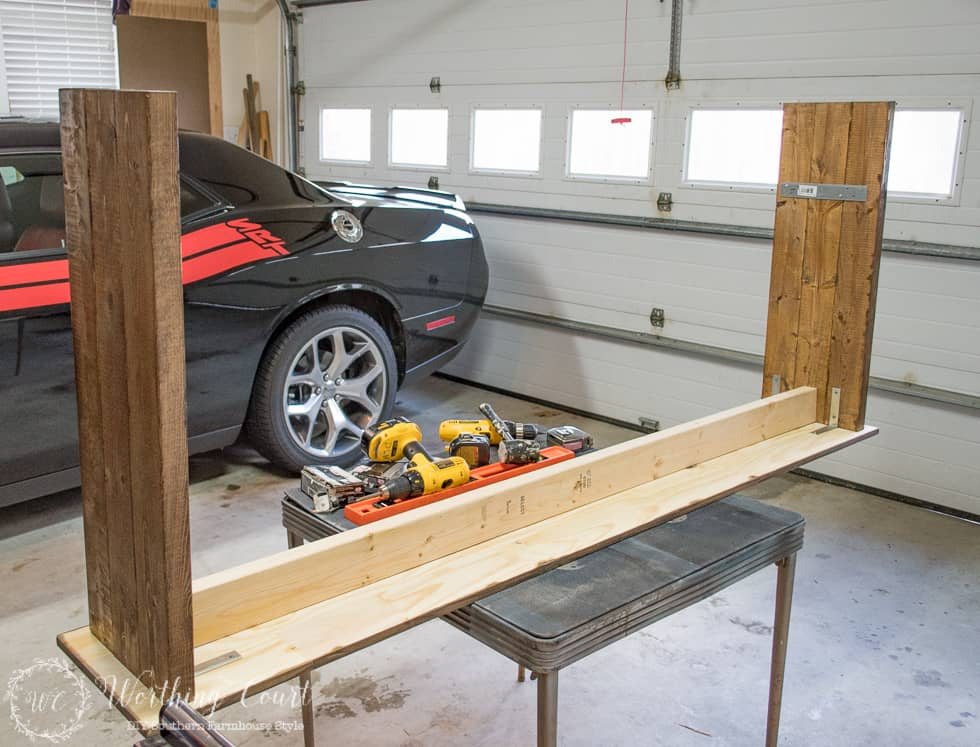
Step 4 – Lay the long 1×12 board upside down and attach each of the legs to the ends using the L shaped corner brackets and wood screws. Position the braces so that you leave room to add a center brace. I set each of my legs in from the end of the board by 1.5″. Remember to turn the legs so that the side of the legs with the attached flat brace is to the inside. Make sure that the wood screws are short enough that they do not go all the way through the wood.

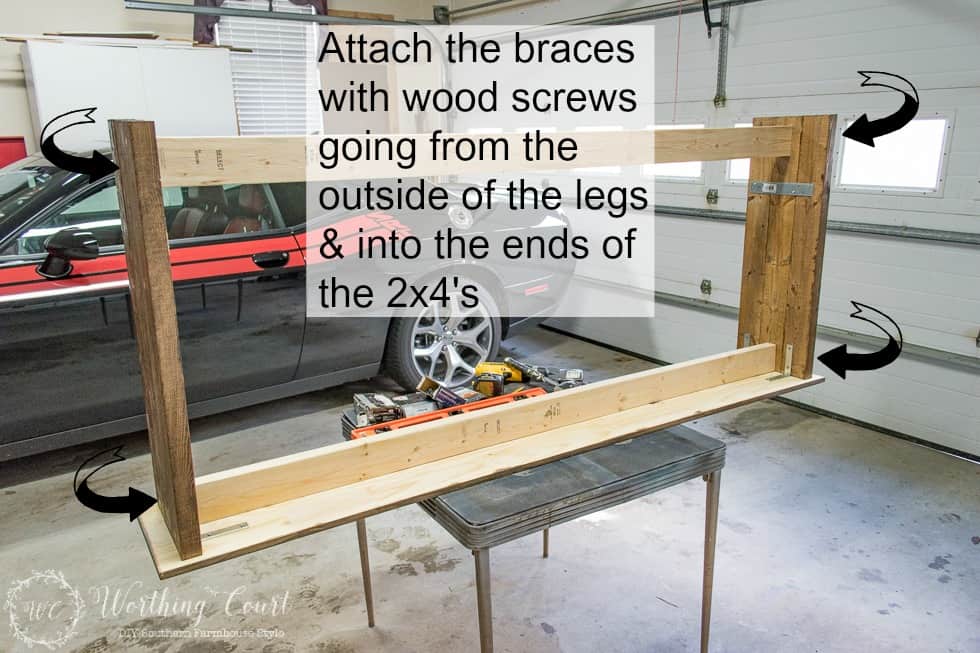
Step 5 – There are two center braces. Cut each of the remaining 2×4’s to fit in between the inside of the legs. The first brace goes under the table, against the bottom of the top. Position the brace in the middle of the table top. Turn the 2×4 on its side and attach it with two wood screws that go through the outside of the table legs and into the brace. BTW – Pookie is more than happy for you to get a look at his pride and joy.
Step 6 – Attach the second brace down toward the bottom. Cut the last remaining 2×4 to fit in between the legs. Use the level to make sure the brace is level from side to side and attach with wood screws going into the end of the brace from the outside of the legs.
Step 7 – Apply stain to the rest of the surfaces and allow to dry. I also swiped the stain across the metal pieces to dull them down a little. I chose not to apply polyurethane to the table after it was stained, but that is certainly something that you can do.
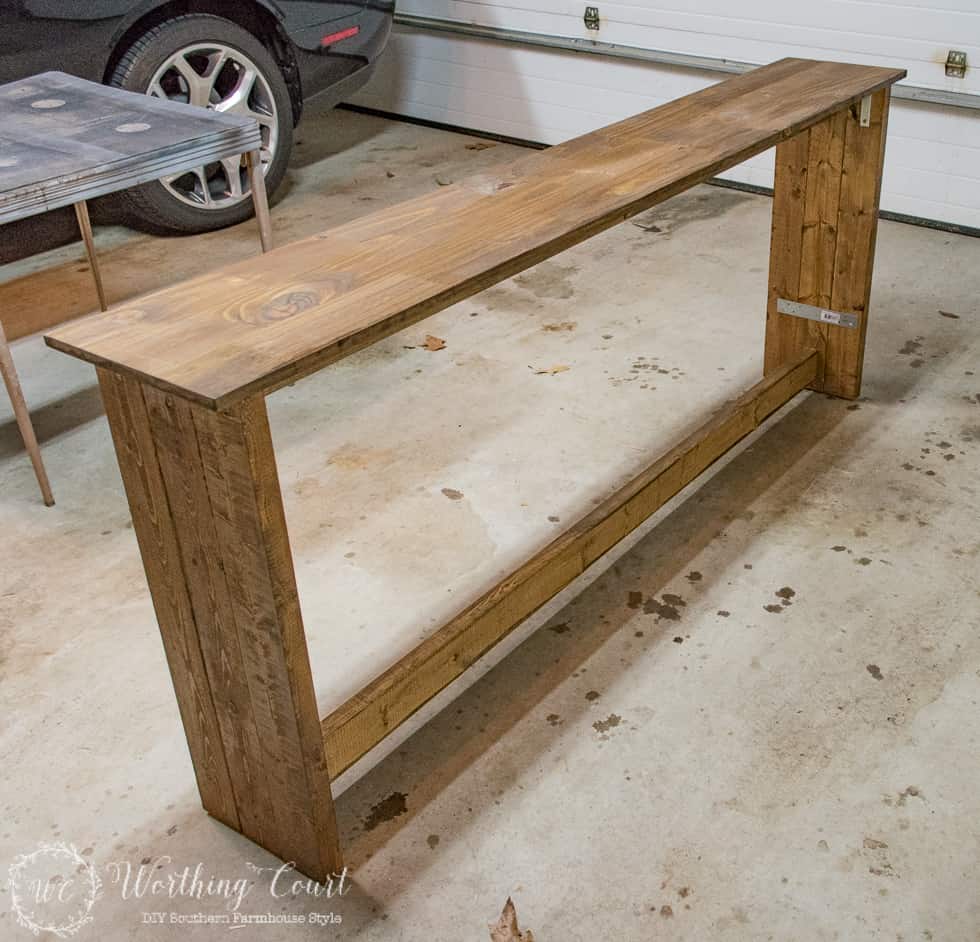
I love the addition of the sofa table to our family room. Now the whole rooms feels as cozy and inviting as it should!
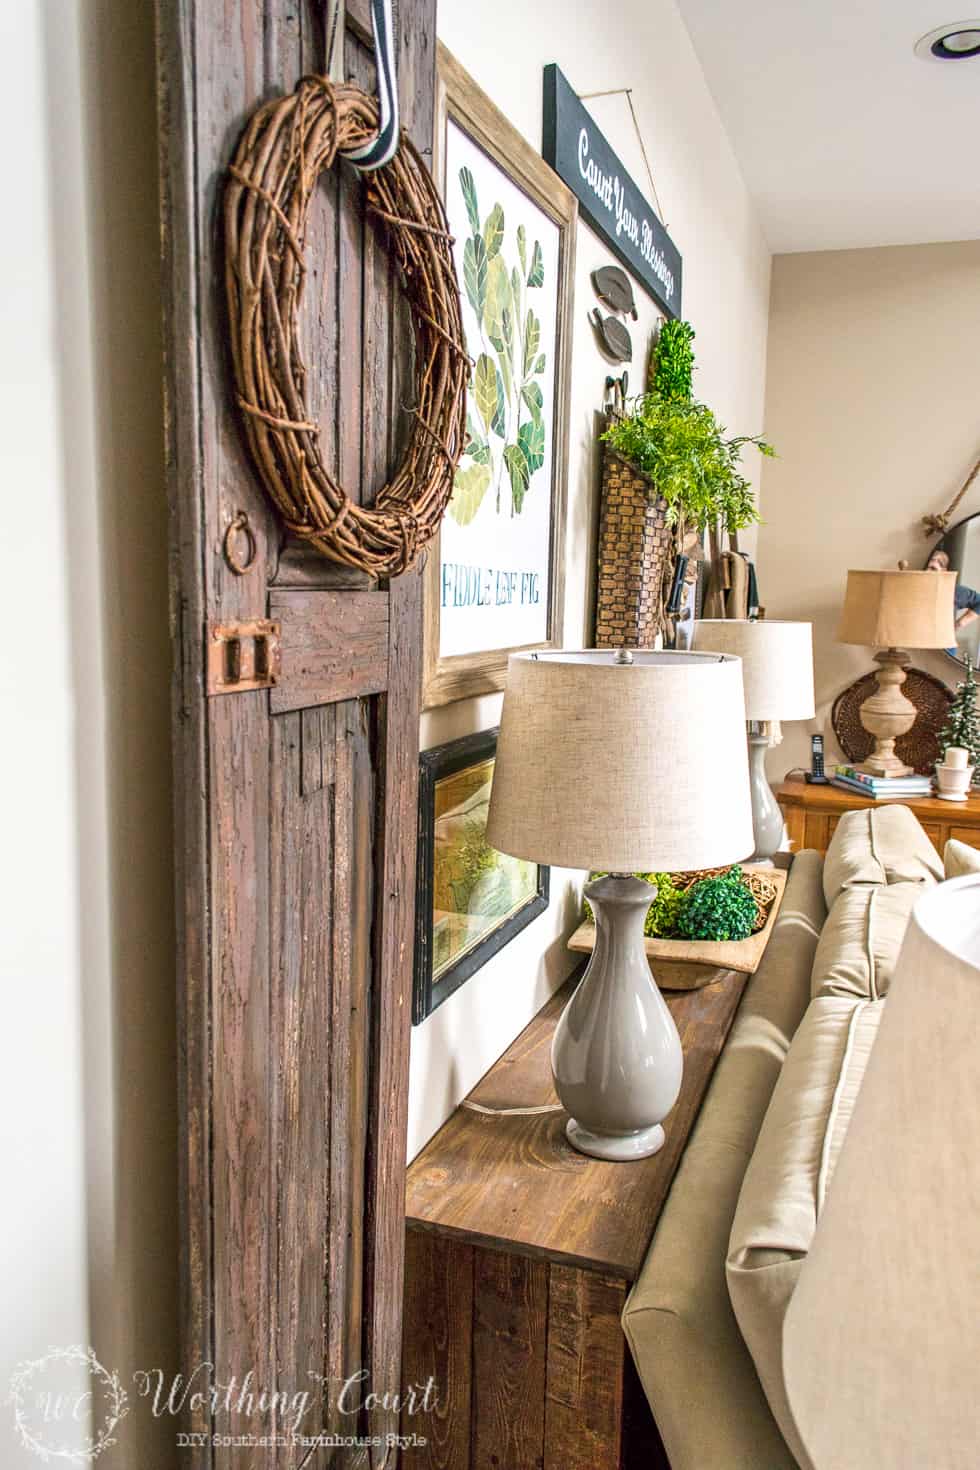
I’m really looking forward to changing what I display on the top for the different seasons and holidays.
Pin it for later!
Sharing at THESE great parties.
I love the warm look of your room. Everything works together so well. It is beautiful! I was wondering where the gray lamps with the beige shades are from? I’m looking for something like that and have not been able to find it.
Hi Barb. So glad you like my room! The gray lamp bases came from Lowes and the shades came from Target. Hope this helps!
Thank you Suzy! I found your post on Maison de pax, and I love your style! I will check back on your blog for more inspiration!
I love this easy to make sofa table. I think it was a great idea to have the closed sides – then you don’t have to worry about any dust! Or at least an dust that would show…very practical.
Thanks from all of us at Throwback Thursday for linking up to us this week! We can’t wait to see what you’ll bring next week. 🙂
Mollie
The shutter/rustic door on the wall… gotta luv em. There’s always a place for those pieces. They belong with us.
Your gallery wall is beautiful!! The sofa table is a great idea and looks like an easy project. I think I have good taste in what I like, my problem is I’m not good at
putting it together like that. Thanks for the lovely ideas!
Wow, just wow! This makes a great difference and the wall behind the soft is so well done too. You are a real talented decorator!! Love every bit of this room.
I am so doing this! It won’t be against a wall, but I have a small living room, so this will be a perfect size and I always need surface tops to decorate and set my pretties!
Thank you!
Hi Suzy,
I love this idea of the sofa table behind the couch. I also love your Challenger. Very nice!
Thanks for sharing Suzi! Sometimes things just don’t come together in our rooms–you really showed a great and inexpensive way to make a room look more cozy and inviting which is what most of us really want. Thanks again for a another great idea!
Superb, what a web site it is! This weblog provides valuable
facts to us, keep it up.