How To Build And Upholster This Easy Farmhouse Bench – Part 1
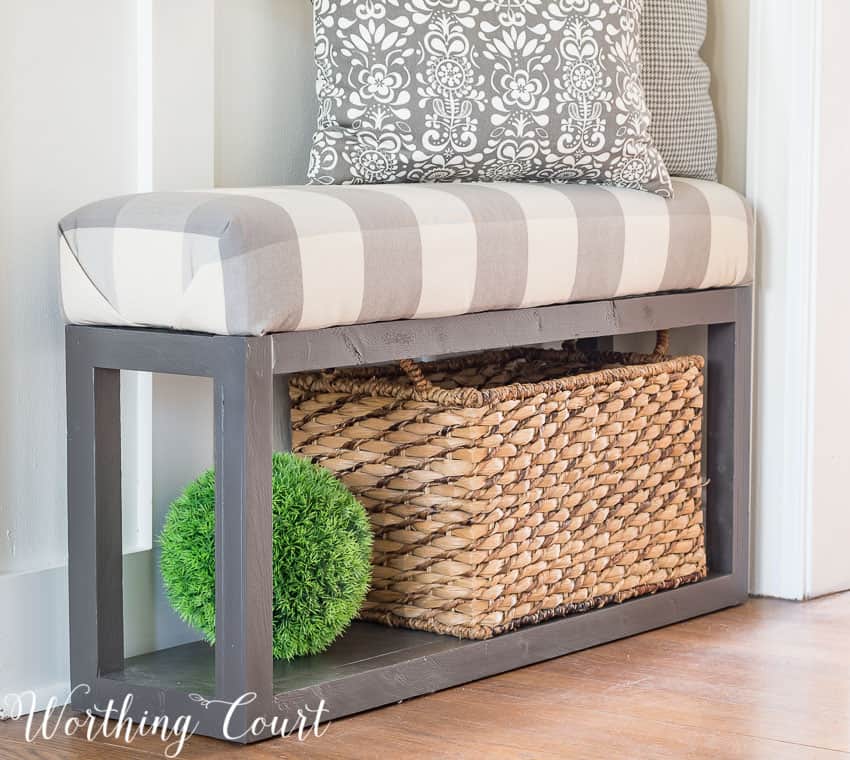
There is something very satisfying about building your own furniture! Here I am sharing an easy tutorial on how to build and upholster a farmhouse bench!
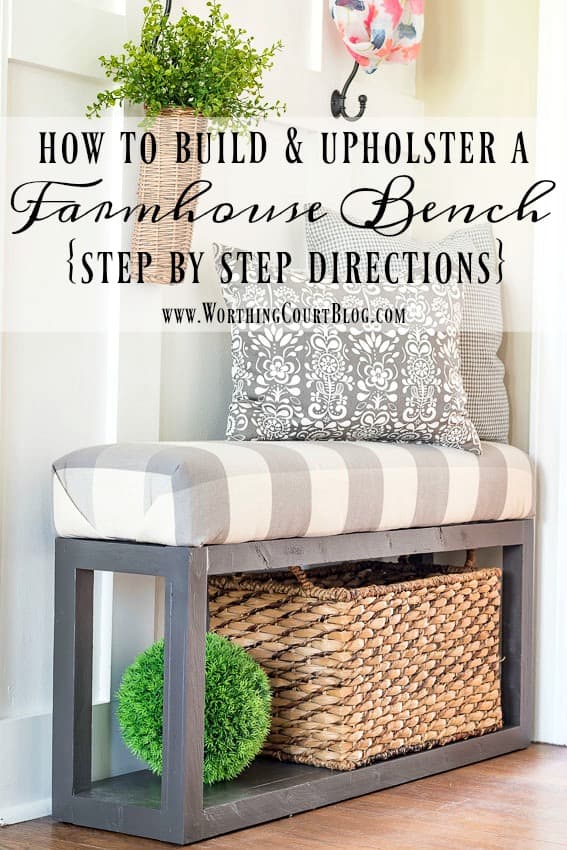
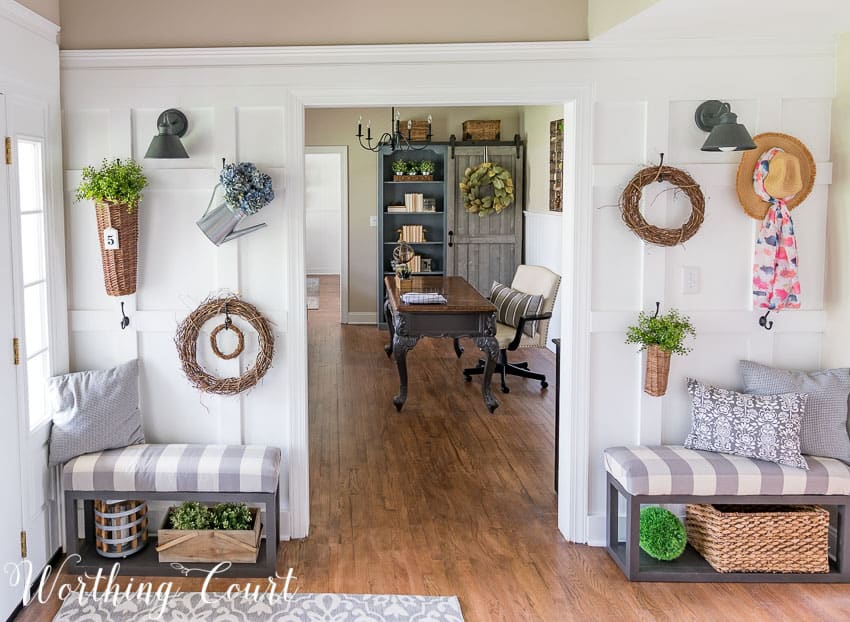
As promised, I’m back today to give you the step by step tutorial for making the farmhouse upholstered benches that you saw when I shared the new board and batten wall in our foyer last week.
This isn’t a difficult project at all, but a detailed start to finish tutorial turned into such a long post, that I’ve split it into two parts. Here in Part 1, I’ll show you how to build the base of the bench and in Part 2, I’ll show you how to upholster the bench seat and put it all together. 😀
UPDATED TO ADD: CLICK HERE FOR PART 2 OF THE TUTORIAL.
SUPPLIES TO BUILD ONE BENCH BASE:
Enough 2″ x 2″ boards to build a bench base that measures 36″ wide x 15″ high x 9″ deep. (The finished bench height will be 20″ when the upholstered top is added.)
One ¾” thick piece of plywood
One 1″ x 2″ board – you only need about 14″ total
Drill and Drill Bits
Chop Saw
Circular Saw or Jigsaw
Screwdriver (if not using a drill)
Putty Knife
Palm Sander or Sandpaper
2½” – 3″ Wood screws
Wood Glue
Wood Filler
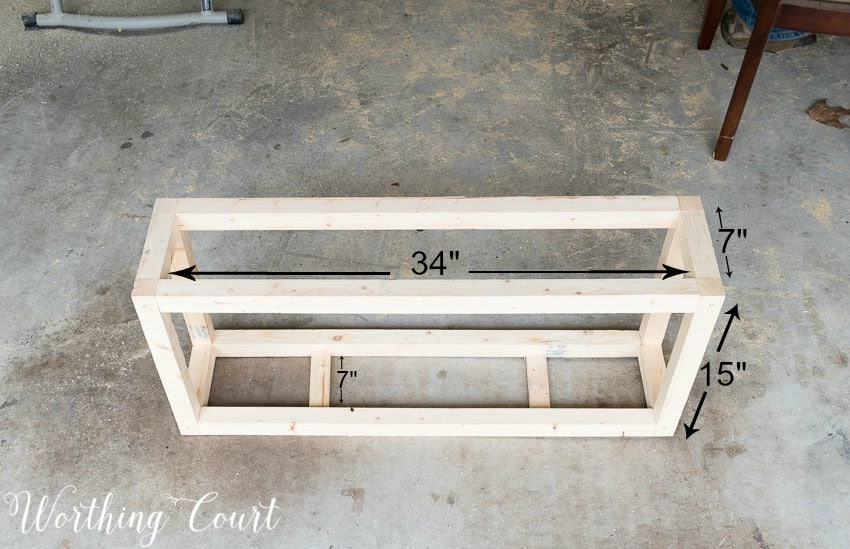
Before I start with the directions, let me show you the finished bench frame giving you all of the board measurements.
TIPS:
When buying your lumber, make sure you get the straightest pieces possible. Wood that has waves or curves in it won’t make a nice finished product.
We recommend that you countersink every single one of the screws as you are attaching the pieces together. Fill the holes with wood filler and sand for a more polished end result.
We found it handy to have two drills – one that is holding the drill bit for drilling the pilot holes for the screws and one that is holding the screw bit for screwing the screws into the wood.
Make sure that all edges are square and that the ends of each piece of wood line up with one another.
For extra sturdiness, we recommend applying wood glue to every joint before it is screwed together. Make sure to wipe any excess glue away before it dries.
You’ll find it much easier to assemble the bench if you have another person helping you hold the pieces as you attach them together.
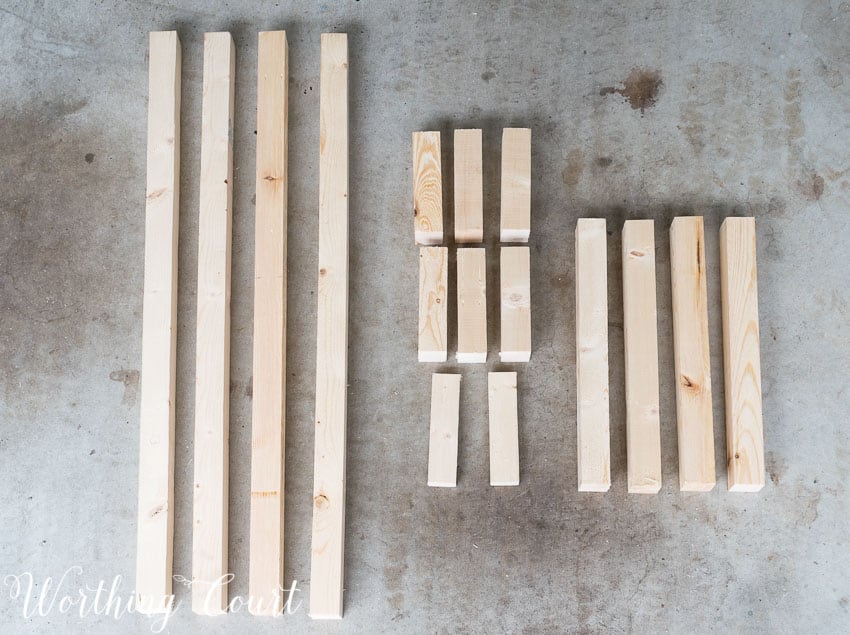
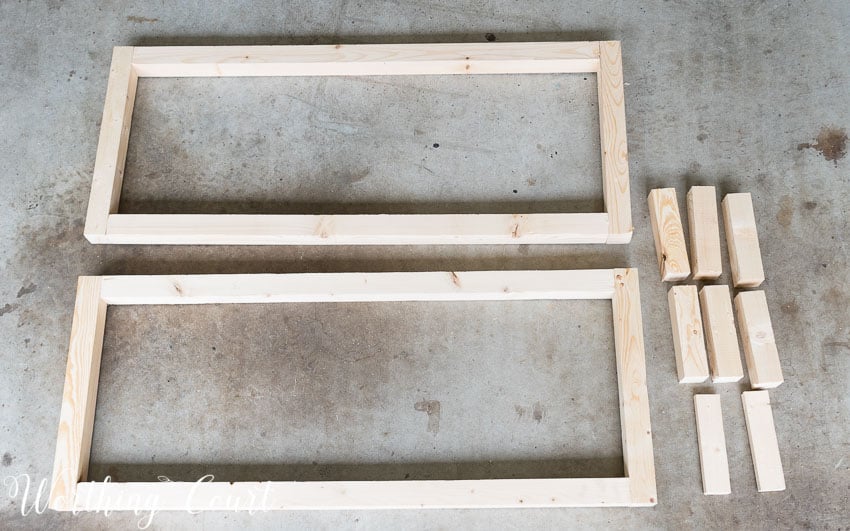
STEP 1: Cut all of the wood for the base – this doesn’t include the wood for the seat.
To build a bench that’s the same size as mine, (36″ wide x 15″ high x 9″ deep), you need to cut:
4 – 34″ long, 2 “x 2″
4 – 15” long, 2 “x 2″
6 – 7” long, 2 “x 2″
2 – 7″ long, 1″ x 2”
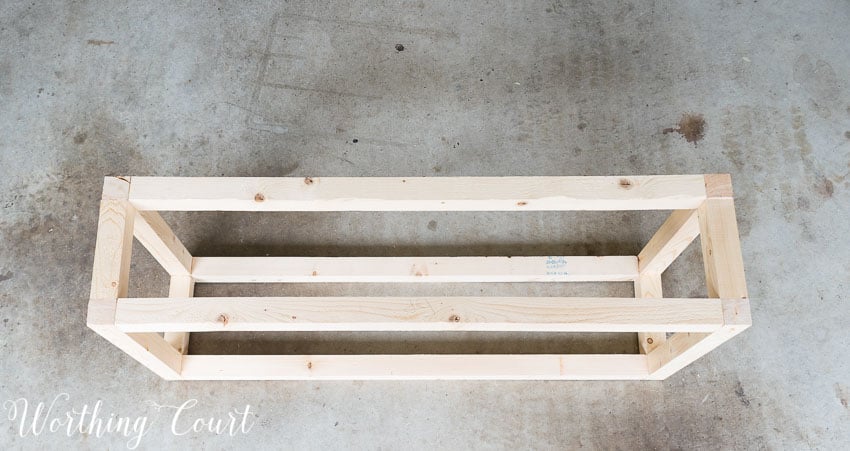
STEP 2: Assemble what will become the front and the back sides of the bench.
You should be able to look at the photo to tell how we assembled the two boxes that will become the front and the back of the bench.
STEP 3: Assemble the rest of the base.
Stand the front and back boxes up. Holding them parallel to one another, attach the 7″ long, 2″ x 2″ pieces of wood between them. Attach one at the bottom and one at the top, on each end. This is how the base will look when all the pieces have been attached together.
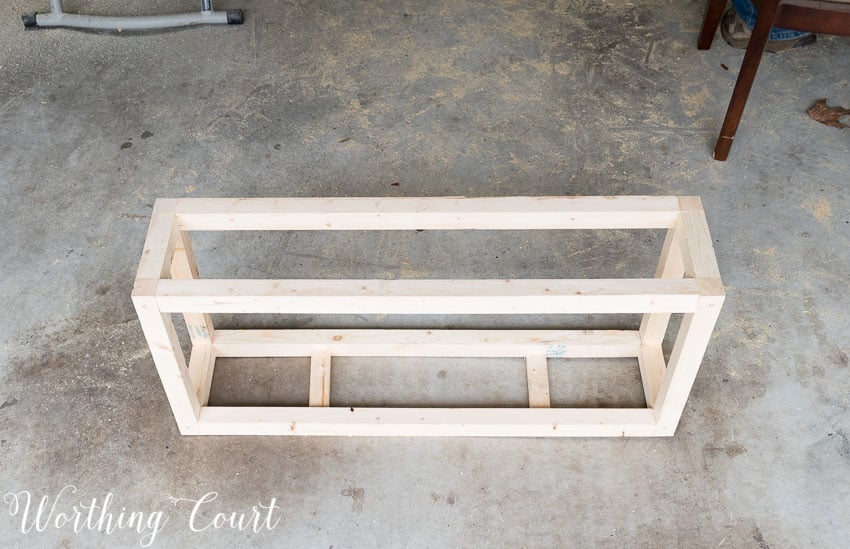
STEP 4: Add the bottom shelf.
Insert the two, 7″ long, 1″ x 2″ wood pieces in between what will be the bottom of the bench. The bottom of each piece should be flush with the bottom of the bench front and back. These pieces will support the bottom shelf.
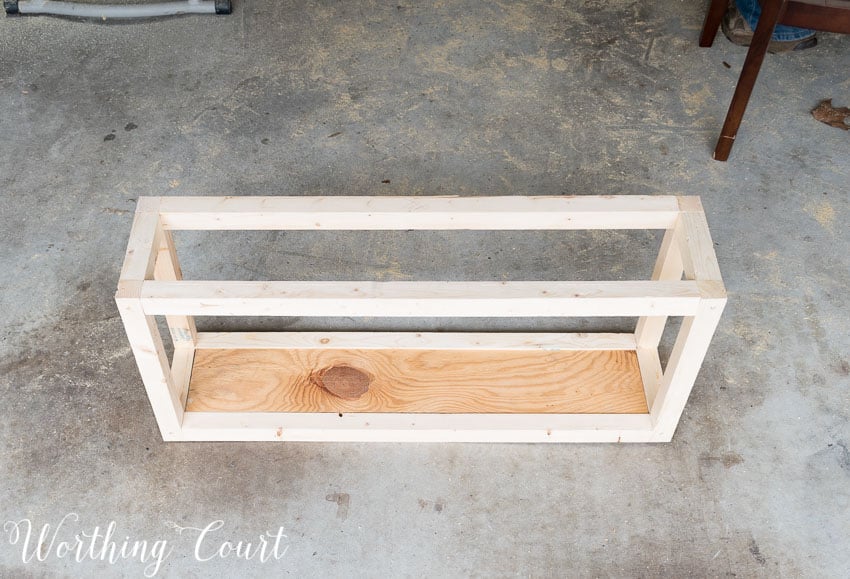
Cut a piece of plywood, that measures 34″ long x 7″ wide and place it on top of the 1″ x 2″ pieces of wood. attach it, lying over the 1″ x 2″ spacers. We simply glued ours in place.
STEP 5: Add supports for the seat.
Add 2 of the 7″ long, 2″ x 2″ wood pieces in between the front and back boxes of the bench. The tops of them should be flush with the top of the front and back boxes. I don’t have a photo of this step, but basically it should look like the spacers that were added to support the bottom shelf.
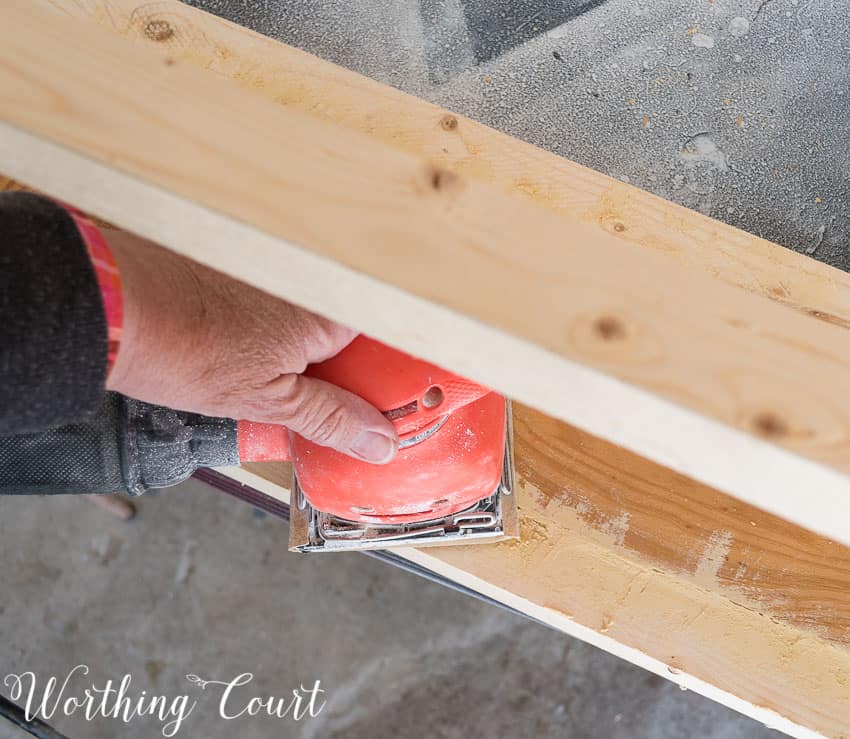
STEP 6: Fill all holes and seams with wood putty.
Fill all holes and joints with wood putty and allow to dry. Once dry, sand them all until you have a smooth surface. I recommend giving the entire bench base a light sanding as well, to remove any splinters or rough spots.
And now you have your completed bench base! Click HERE for Part 2 of the tutorial, where I cover building and upholstering the seat.
Sharing at THESE great parties.
This looks like a fun project! Thank you for sharing the tutorial!
Your place looks so nice. It’s so inspiring to see how much you have been able to do yourself and on any budget. Also, thanks for such easy to follow instructions.
Loved how this bench turned out! You’re really so talented! Thanks a lot for joining us at the Family Joy blog link up party! Pinned 🙂
I love the look. It is so cute. You are talented…love your blog.
Love it! I need to get/make something like this to put baskets with shoes in the entryway of our house. It is always so cluttered with shoes and coats. Thanks for sharing! 🙂
Awesome, Suzy! You are so good at giving precise, articulate and sequential directions! I think I’ll make a mini-version my little mudroom-area in my kitchen (make it 17″, instead of 34″). Looks like you used your fave paint color, too! 😉
Thank you for sharing your wonderful post at #OverTheMoon. I look forward to what you will share next week! Like someone in person today! We hope you’ll come back again next Sunday when we open our doors at 6:00 PM EST. Pinned and tweeted!
Thank you for sharing at Inspire Me Monday. I wanted to let you know that you will be one of my featured picks this week. Come check it out at http://www.farmhouse40.com/inspire-me-monday-127.
I am not good with building but seems easy enough for a someone with some skill. I love it I wish I was better with tools.
What a cute idea!
An easy project that makes such a big impact. Thanks for sharing!
Love this bench. I am a diyer that needs step by step instructions. Yours are so easy to follow. Thank you for giving me projects I would never try to make on my own.
Great tutorial and it turned out awesome!
This is on my to do list. It’s adorable!
Thank you for the step by step. Great idea for an entryway, could also work well in the mud room, or using cedar or redwood you would make some for an outdoor patio area.
I have been wanting something like this for quite some time. Your directions make it so simple! Thanks for sharing your expertise!
Love this bench! I think even I can do this
Can you tell me the manufacturer’s name on the gray buffalo check you use? I’ve ordered several samples, but having no luck finding it. By the way, how is the fabric holding up on your dining room chairs?. You have inspired me to redo the 3 front rooms of my house that are all open to one another! Thank you sooooo much!
The fabric is upholstery weight, so it has held up very well. I’m sorry, but I don’t know who the manufacturer of the fabric is. I purchased it at a local fabric store called Printer’s Alley in Greensboro, NC. They also have stores in Wilmington, NC, Raleigh, NC and Winston Salem, NC. They are good about shipping, so if you were to contact them, I believe they’d ship it to you, if they still have it in stock.