How To Build And Upholster This Easy Farmhouse Bench – Part 1
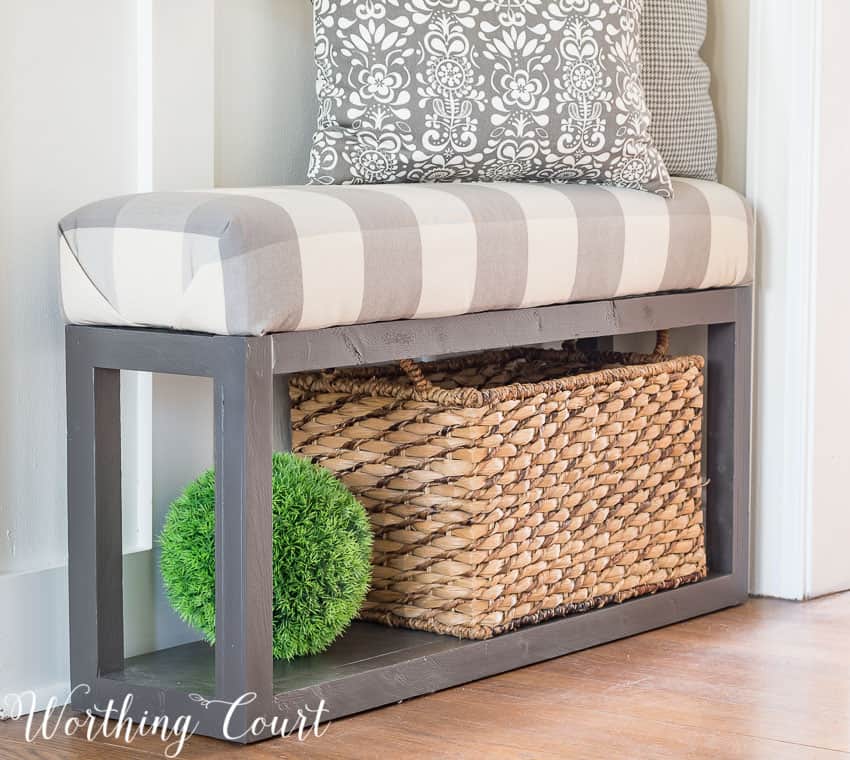
There is something very satisfying about building your own furniture! Here I am sharing an easy tutorial on how to build and upholster a farmhouse bench!
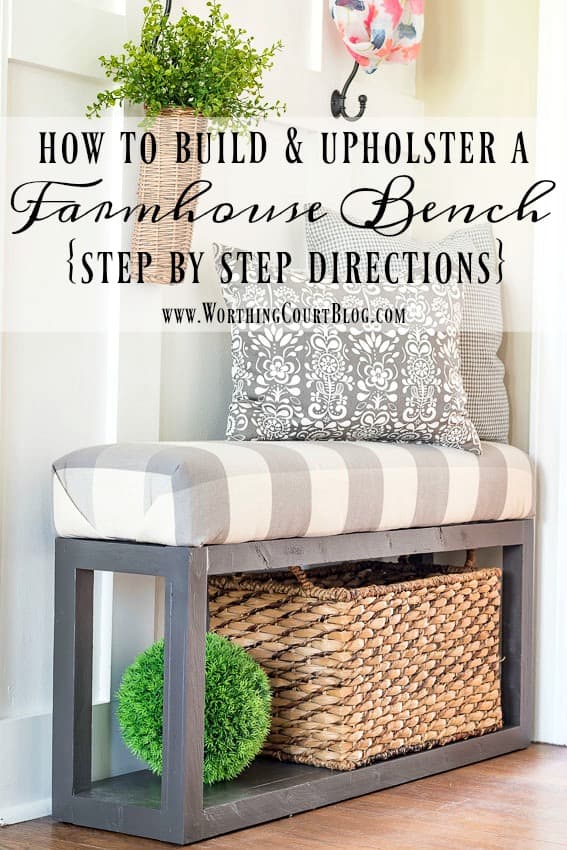
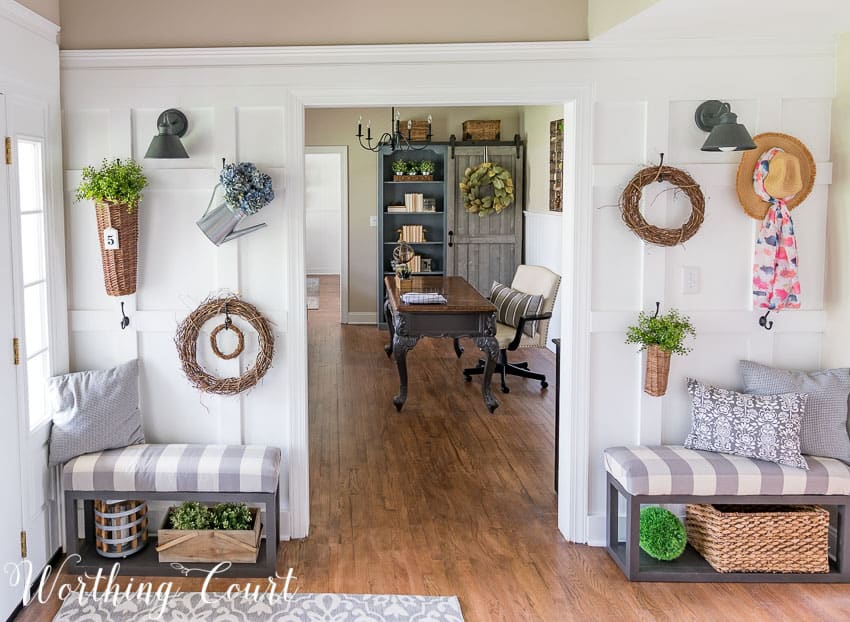
As promised, I’m back today to give you the step by step tutorial for making the farmhouse upholstered benches that you saw when I shared the new board and batten wall in our foyer last week.
This isn’t a difficult project at all, but a detailed start to finish tutorial turned into such a long post, that I’ve split it into two parts. Here in Part 1, I’ll show you how to build the base of the bench and in Part 2, I’ll show you how to upholster the bench seat and put it all together. 😀
UPDATED TO ADD: CLICK HERE FOR PART 2 OF THE TUTORIAL.
SUPPLIES TO BUILD ONE BENCH BASE:
Enough 2″ x 2″ boards to build a bench base that measures 36″ wide x 15″ high x 9″ deep. (The finished bench height will be 20″ when the upholstered top is added.)
One ¾” thick piece of plywood
One 1″ x 2″ board – you only need about 14″ total
Drill and Drill Bits
Chop Saw
Circular Saw or Jigsaw
Screwdriver (if not using a drill)
Putty Knife
Palm Sander or Sandpaper
2½” – 3″ Wood screws
Wood Glue
Wood Filler
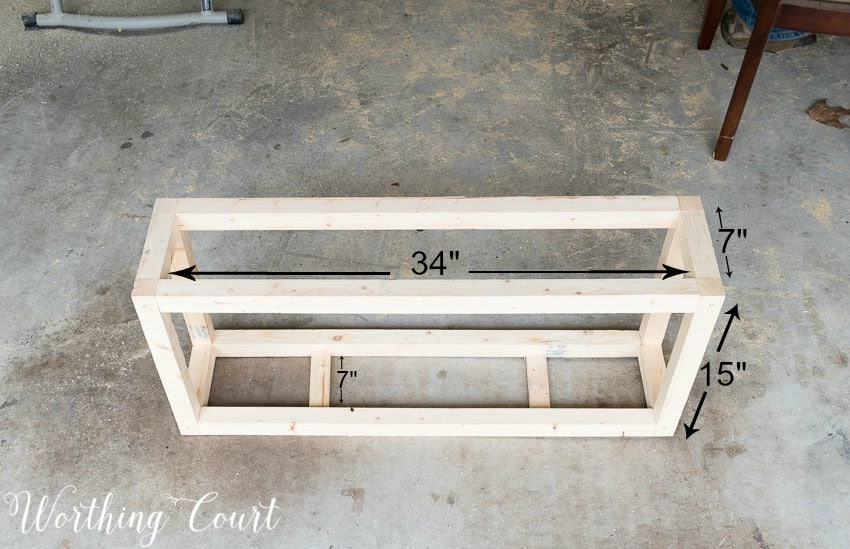
Before I start with the directions, let me show you the finished bench frame giving you all of the board measurements.
TIPS:
When buying your lumber, make sure you get the straightest pieces possible. Wood that has waves or curves in it won’t make a nice finished product.
We recommend that you countersink every single one of the screws as you are attaching the pieces together. Fill the holes with wood filler and sand for a more polished end result.
We found it handy to have two drills – one that is holding the drill bit for drilling the pilot holes for the screws and one that is holding the screw bit for screwing the screws into the wood.
Make sure that all edges are square and that the ends of each piece of wood line up with one another.
For extra sturdiness, we recommend applying wood glue to every joint before it is screwed together. Make sure to wipe any excess glue away before it dries.
You’ll find it much easier to assemble the bench if you have another person helping you hold the pieces as you attach them together.
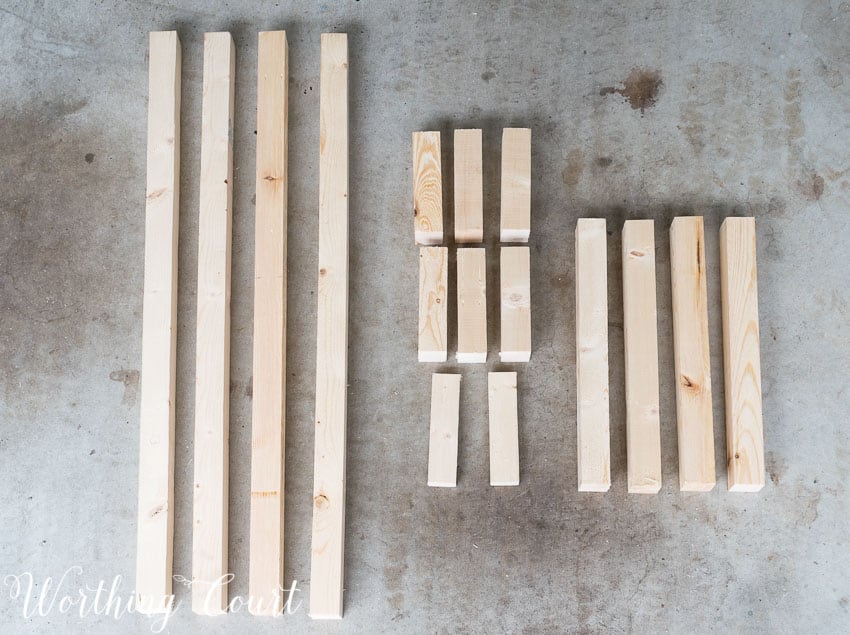
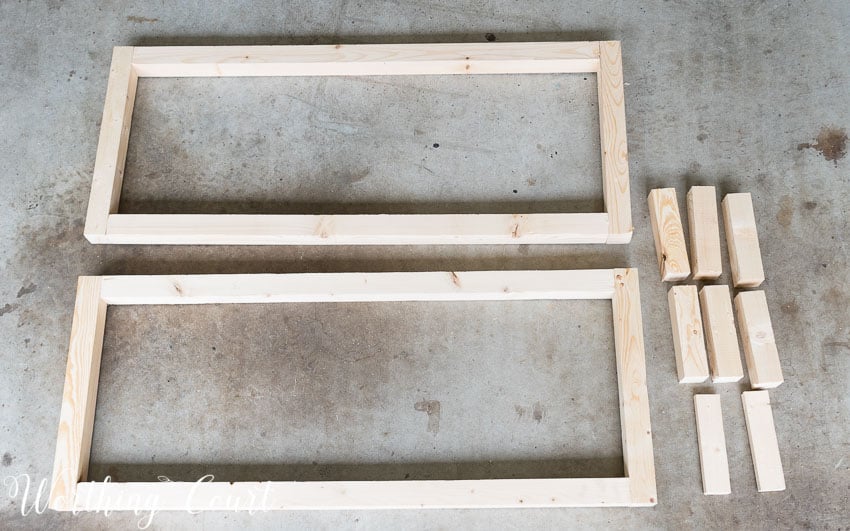
STEP 1: Cut all of the wood for the base – this doesn’t include the wood for the seat.
To build a bench that’s the same size as mine, (36″ wide x 15″ high x 9″ deep), you need to cut:
4 – 34″ long, 2 “x 2″
4 – 15” long, 2 “x 2″
6 – 7” long, 2 “x 2″
2 – 7″ long, 1″ x 2”
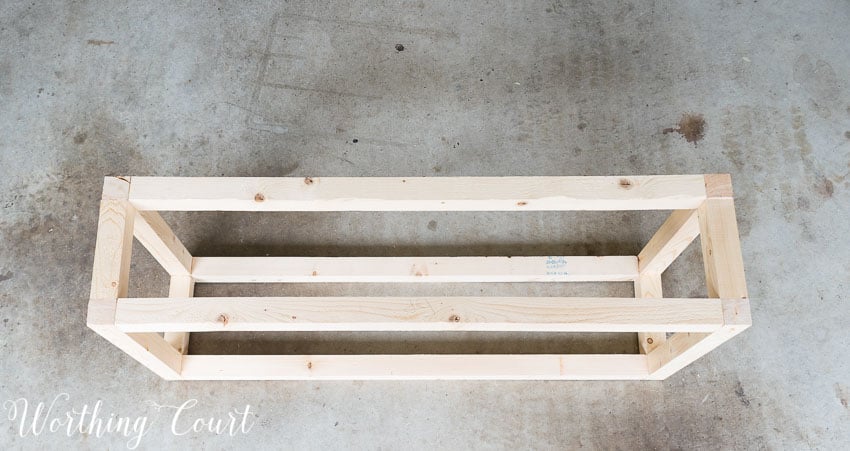
STEP 2: Assemble what will become the front and the back sides of the bench.
You should be able to look at the photo to tell how we assembled the two boxes that will become the front and the back of the bench.
STEP 3: Assemble the rest of the base.
Stand the front and back boxes up. Holding them parallel to one another, attach the 7″ long, 2″ x 2″ pieces of wood between them. Attach one at the bottom and one at the top, on each end. This is how the base will look when all the pieces have been attached together.
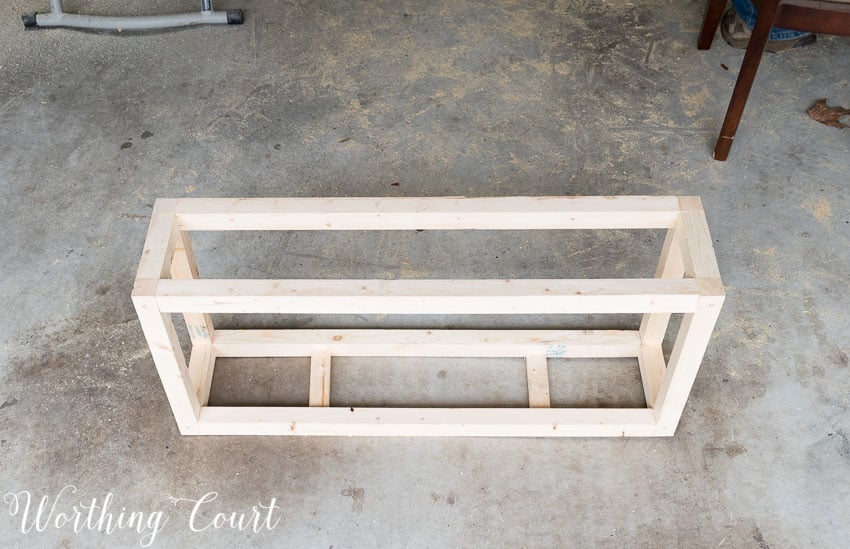
STEP 4: Add the bottom shelf.
Insert the two, 7″ long, 1″ x 2″ wood pieces in between what will be the bottom of the bench. The bottom of each piece should be flush with the bottom of the bench front and back. These pieces will support the bottom shelf.
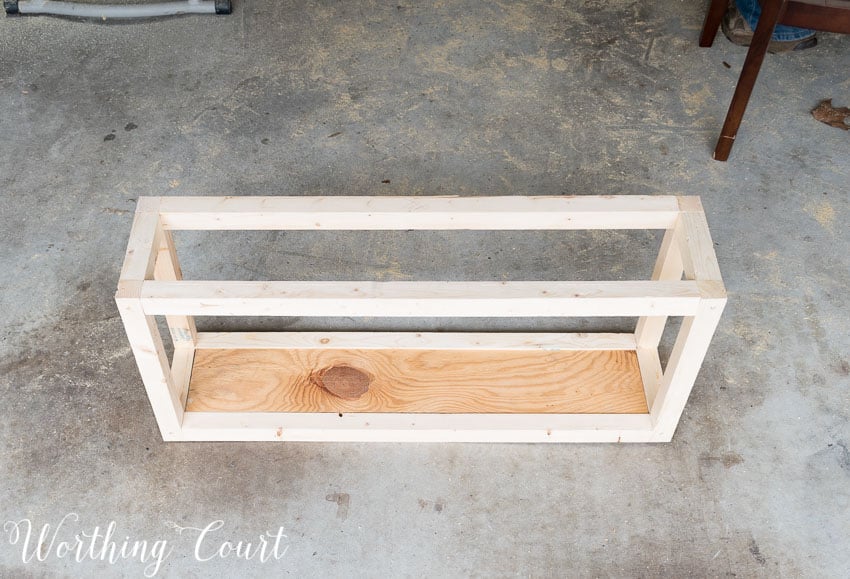
Cut a piece of plywood, that measures 34″ long x 7″ wide and place it on top of the 1″ x 2″ pieces of wood. attach it, lying over the 1″ x 2″ spacers. We simply glued ours in place.
STEP 5: Add supports for the seat.
Add 2 of the 7″ long, 2″ x 2″ wood pieces in between the front and back boxes of the bench. The tops of them should be flush with the top of the front and back boxes. I don’t have a photo of this step, but basically it should look like the spacers that were added to support the bottom shelf.
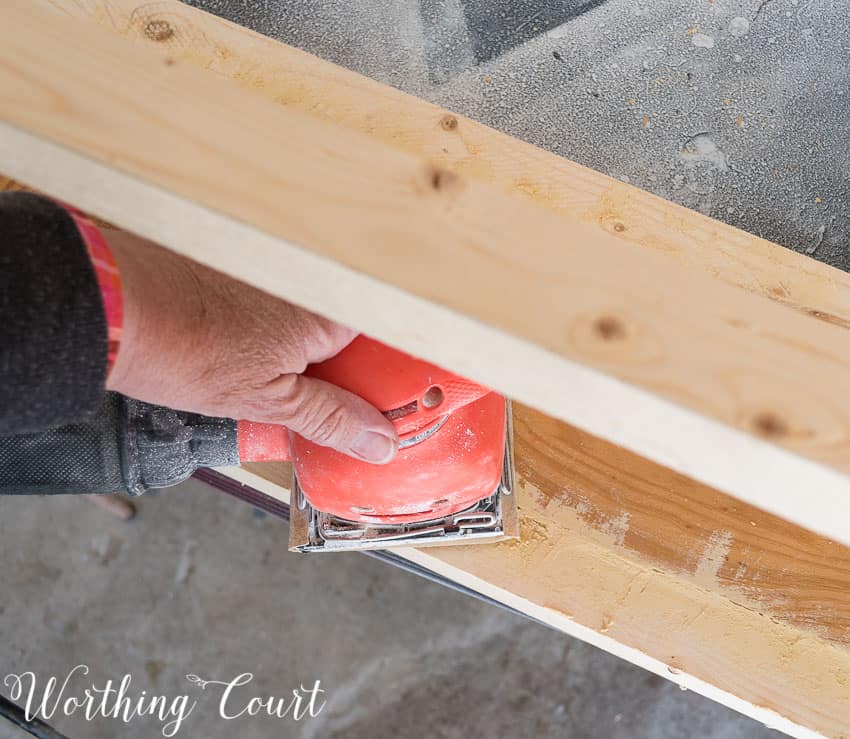
STEP 6: Fill all holes and seams with wood putty.
Fill all holes and joints with wood putty and allow to dry. Once dry, sand them all until you have a smooth surface. I recommend giving the entire bench base a light sanding as well, to remove any splinters or rough spots.
And now you have your completed bench base! Click HERE for Part 2 of the tutorial, where I cover building and upholstering the seat.
Sharing at THESE great parties.
So easy! And, so darn cute! Plus, I like how you offer great tips!!!!!!
Great tutorial! Thanks for sharing and inspiring us.
Wow you are talented.
This is such a timely post, I’m re-doing an entry way closet into an open one that will include a sitting bench and this tutorial is so helpful. Thanks! Can’t wait to see part 2.
Thanks! I will be sharing this one with the hubby! I love the diy posts you share!
Thanks for the tutorial! I’m just wondering how much gray paint you’ve used throughout your home, lol. Love it!
I have little skill when it comes to hammer and nails, but this looks like something I could do!
Thanks for sharing.
Your bench looks great and it is something that I could do, I think. I am going to pin this and give it a try.
Thanks for sharing this tutorial. Your directions are always easy to follow and understand.
I love these. Benches!!
Thanks! It’s not only cute…but handy too! ;
Thank you for posting the directions for this! Spring break is next week so I’m going to give this a shot!
Thanks for the great tutorial! I love these benches in your home and the color and fabric choice are fantastic!!
Thank you for a beginner project! I never quite know where to start when it comes to building something. Think I might be able to handle this.
What an easy and fantastic project. I love everything about those benches. the color and the fabric . will definitely give it a try. Thanks for sharing…
Looks like a great project for a beginner like me. Thanks for the helpful instructions.S
Thank you for sharing your tutorial on how you built the entry way bench. I love the step by step instructions.
What a cute bench! Thanks for the tutorial!
The benches are so cute and I really like the buffalo check material on them.
Great project!