How To Decorate A Christmas Garland – Directions From A Pro
Create a beautiful festive Christmas garland with directions from a pro!
So far the pros at Total Bliss have shown us step-by-step directions and secrets for Decorating A Christmas Tree and Decorating A Christmas Wreath. We’re going back today so that the owner, Nancy, can show us how to decorate a gorgeous Christmas garland.
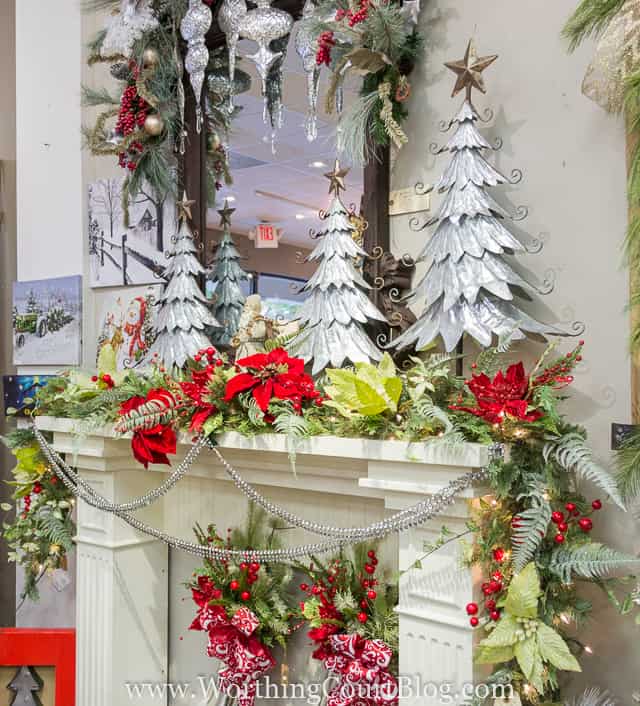
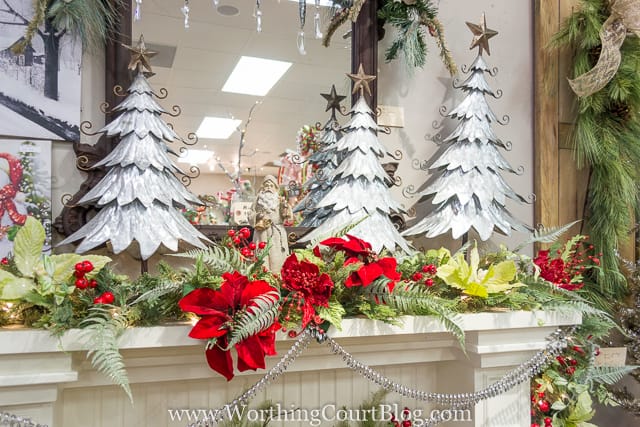
This is the stunning finished Christmas garland placed on the faux fireplace in the shop. It has been further embellished with gorgeous silver trees and light catching crystal beads.
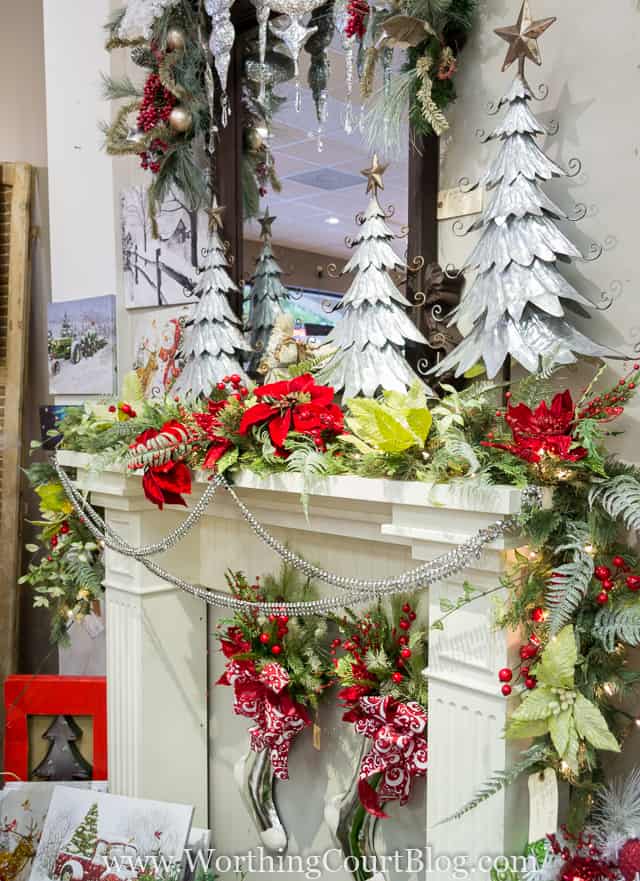
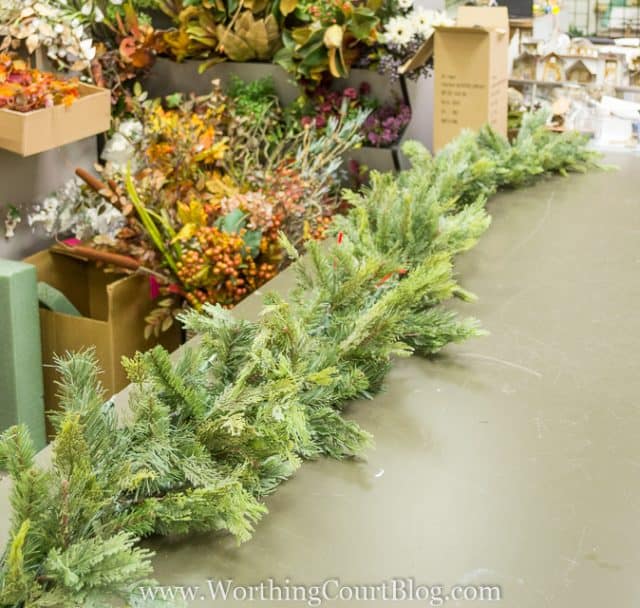
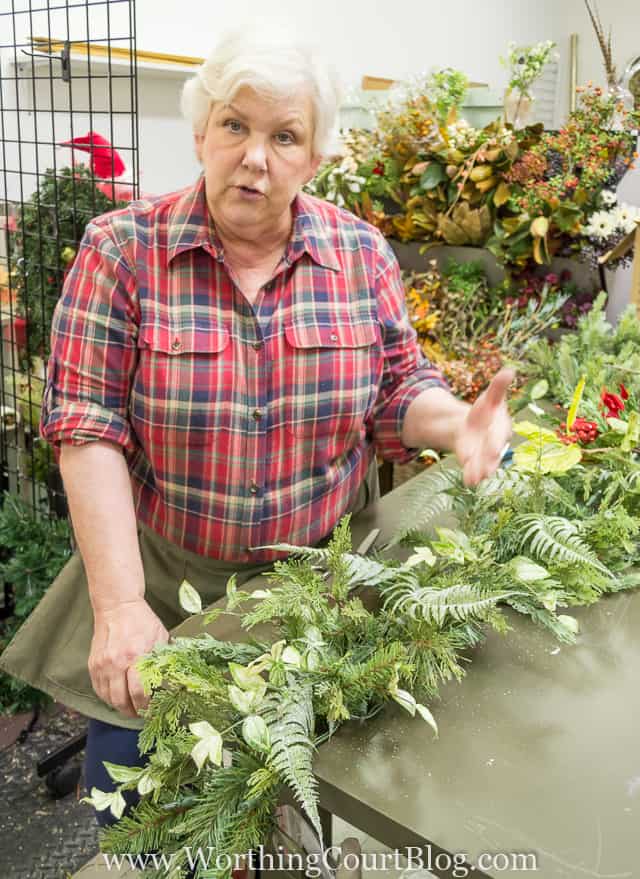
But it didn’t always look like this. Just like a faux Christmas tree, a holiday garland needs to be fluffed before getting started. If your garland has lights, be sure to test those before decorating too.
Nancy recommends decorating one half of the garland at a time, beginning in the middle and working your way toward the end. That way you get a better idea of how it’s going to look before you spend time decorating the whole thing.
Step 1 – Gather Supplies and Decorations
Depending on what you’re going to decorate your Christmas garland with, supplies you may need are cable ties, green floral wire, pipe cleaners, wire snips, scissors and a hot glue gun and glue sticks. But believe it or not, you won’t need any of these unless the decorations you’re using are heavy or might possibly fall off and break.
Nancy recommends color coordinating the garland with the other Christmas decor that is in the same area.
Step 2 – Find the Center
Find the center of the garland and mark with a piece of ribbon or something else.
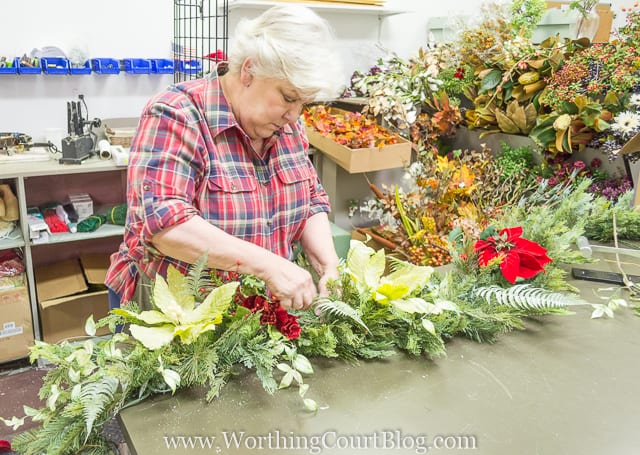
Step 3 – Add Dimension
It’s best to add dimension to a garland with the addition of stems and picks. Start with something leafy or twiggy before adding large flowers. You can cut them apart to make them go farther.
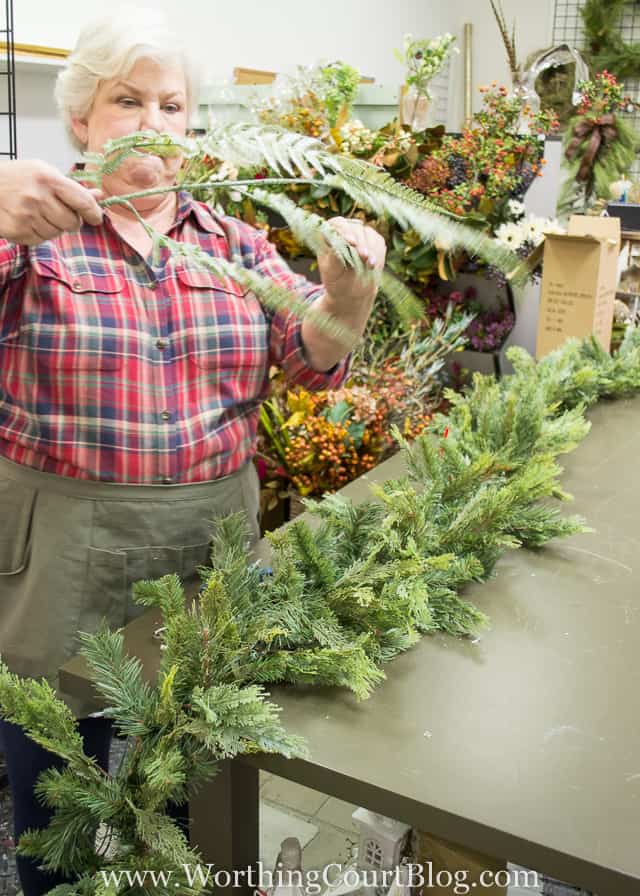
Fluff them, bend them, shape them. Make them look natural. And then tuck them into the garland. No need to use anything to hold them in place, unless they’re heavy.
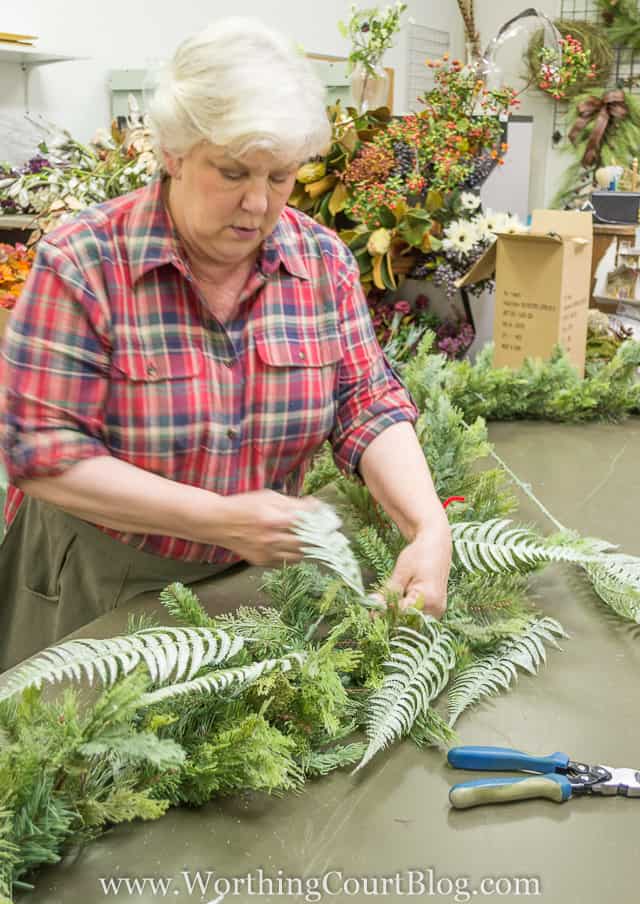
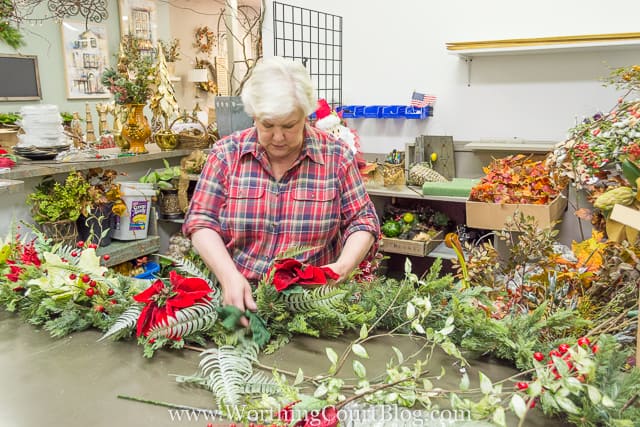
You don’t need to use all the same type of stems. Add a lot of variety by using one or more types.
Taper off the amount of stems and other decorations the closer that you get to the tip of the garland.
Step 4 – Add Larger Elements
Now is the time to work in larger elements, such as pretty flowers.
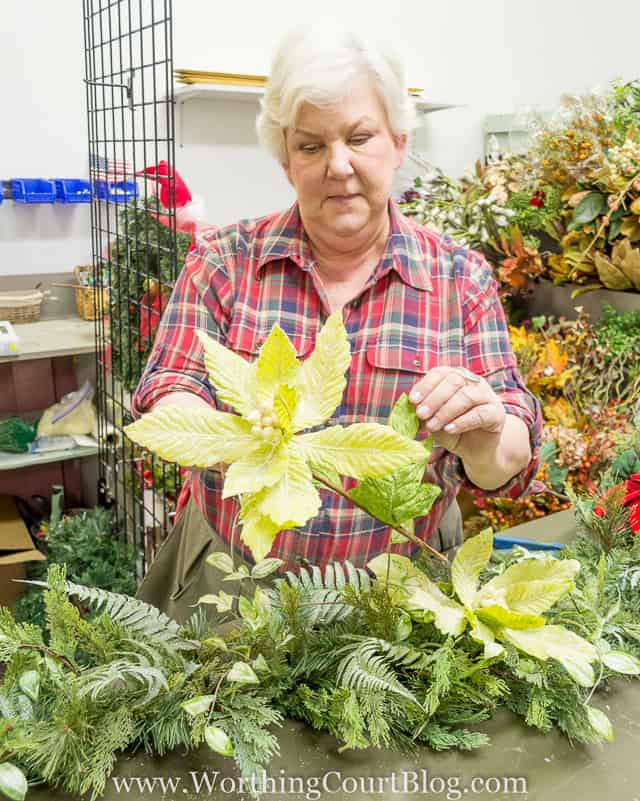
Just like with the stems – add a variety. The Christmas flowers don’t all have to be the same.
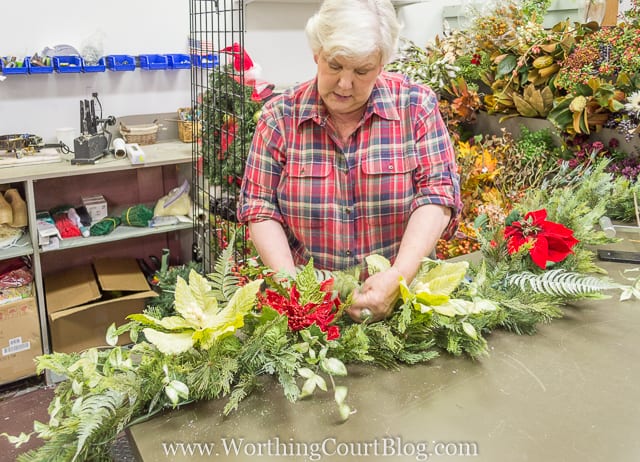
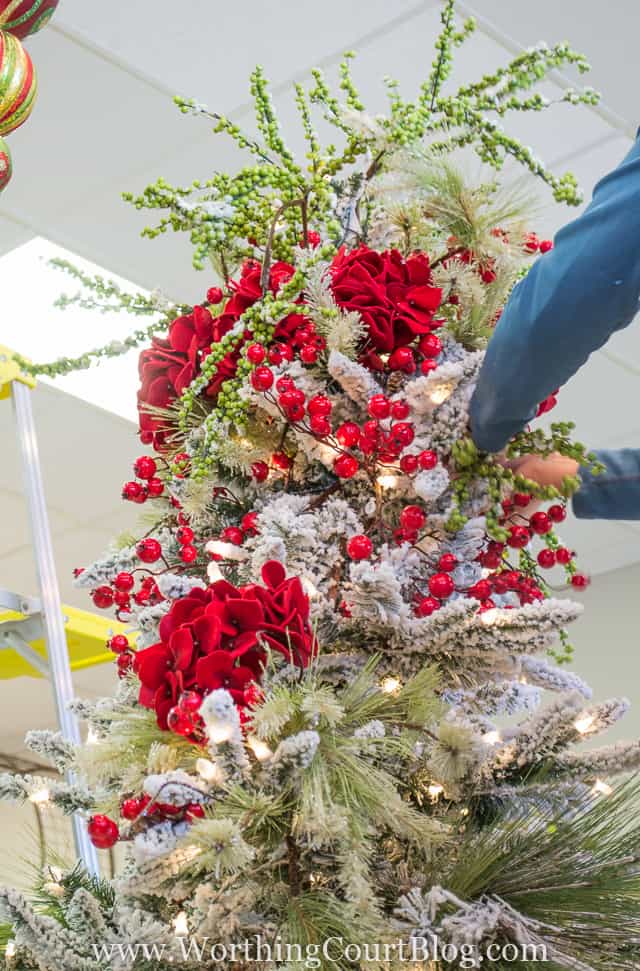
Wiring multiple floral picks together will make more of a statement. Below, Nancy has grouped together a large poinsettia, a leafy pick and berry pick.
Continue tucking the larger elements into the garland, remembering to taper them off toward the ends.
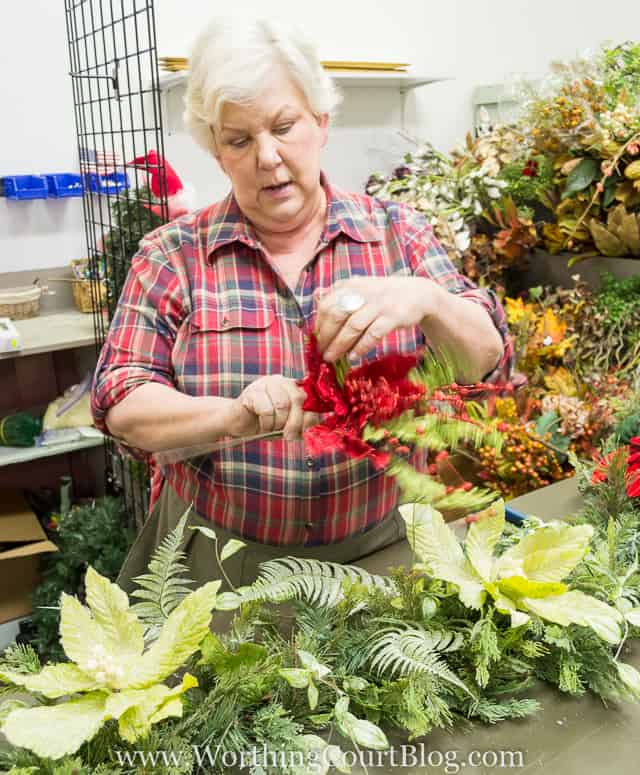
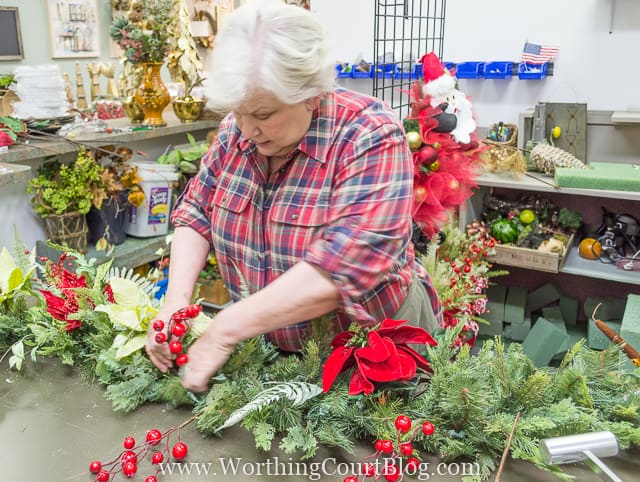
Step 5 – Add Finishing Touches
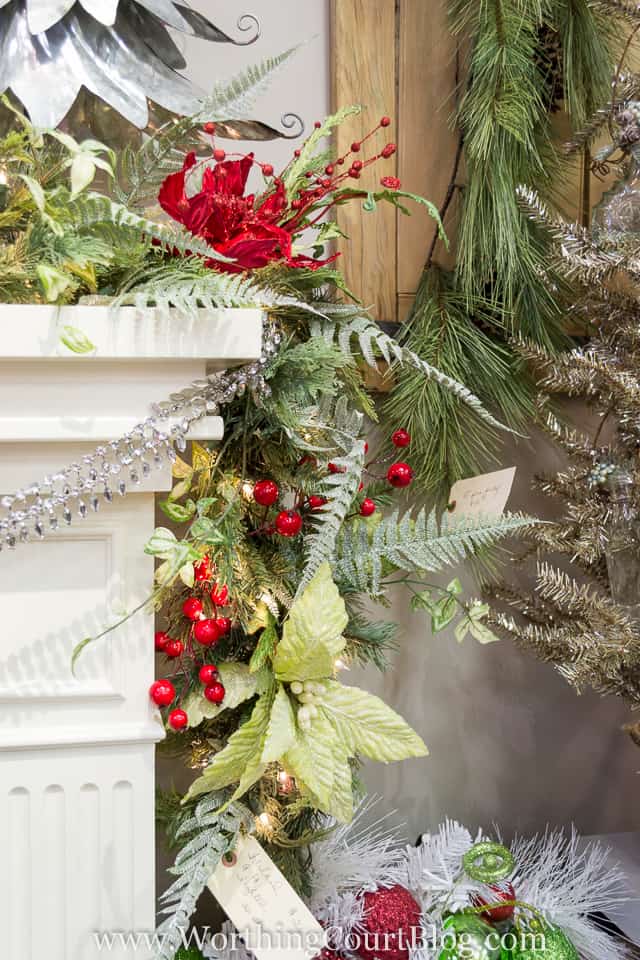
The garland really started coming to life with the addition of large red berries. They started out as one large bunch, but Nancy cut them apart before tucking them into the garland.
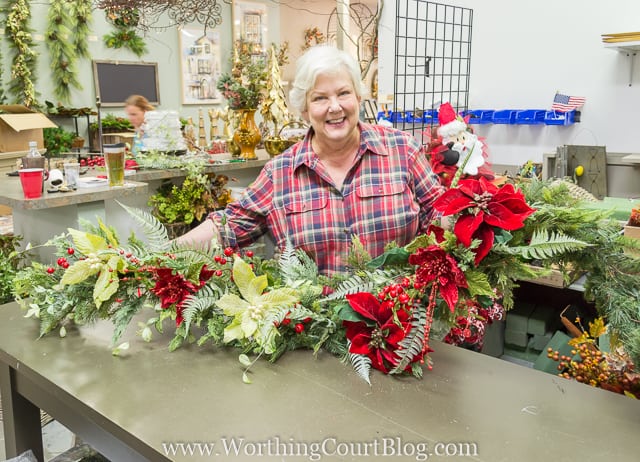
Step 6 – Highlight the Center
Sometimes, you see a bow placed in the center of a garland. But Nancy used a grouping of large poinsettias, fern leaves and berries as the focal point for this garland.
Beautiful, Nancy! And so is the garland!
Step 7 – Repeat
Repeat the decorations on the other end of the garland and you’re done!
If you enjoyed these tips from the pros at Total Bliss, you won’t want to miss these tutorials.
Step-By-Step Christmas Tree Decorating Directions From The Pros
How To Decorate A Christmas Wreath – Directions From A Pro
Sharing at THESE great parties.
wow.. thats beautiful..
thanks for sharing that with us Suzy. I learned a lot about what to do Next year… I spend this coming year looking for the different elements I’ll need.
Holiday Blessings
Sonny
Hi Sonny. Glad you were able to get some tips. And you know that next year will be here in a flash! :/
that whole set up is just beautiful – the wreath is gorgeous, but the silver christmas trees and ornaments just enhance the whole thing – it’s easy to see that you have an excellent eye for home decor!
Thank you for sharing so many decorating and designer tips. Everything in Total Bliss is absolutely gorgeous, and this year’s Open House had me wondering about decorating garland! Now I have a step by step! I can’t wait to see your decorations this year!
How do you successfully attach a garland to the top and sides of a mantle?
Hi Virginia. Most of the time, my garland is just lying across the top of the mantel, without anything holding it place. However, if I want to hang something from the front of the mantel, I’ll use Command Strips, if it’s lightweight enough. For heavier garlands I’ve used either tacks or small nails to hold the garland and then come back later to patch and paint (or touch up with stain).