How To Make A Fast And Easy Winter Wreath And DIY Snowflake Display
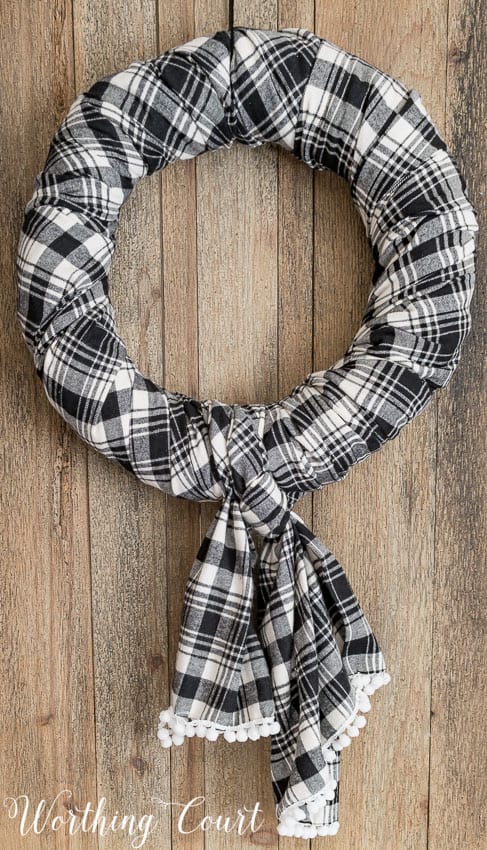
This beautiful winter wreath is super easy to whip together in 10 minutes!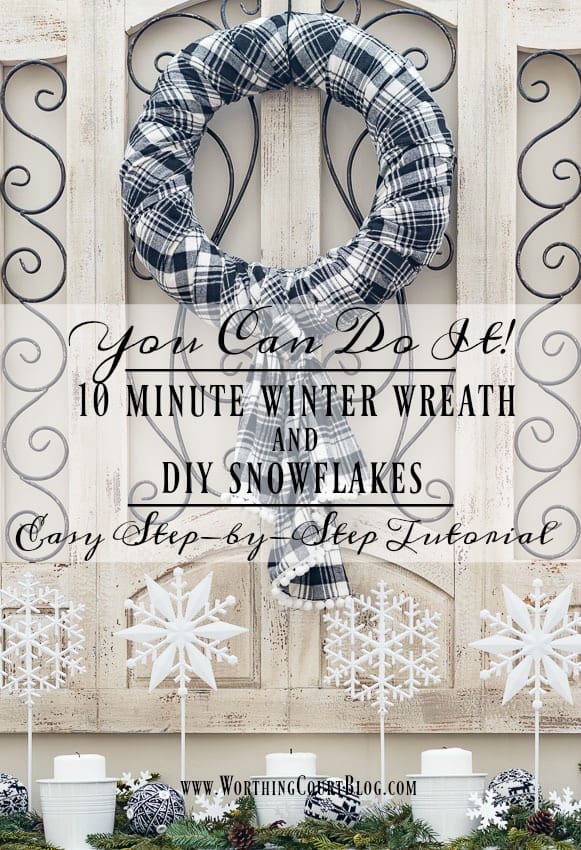
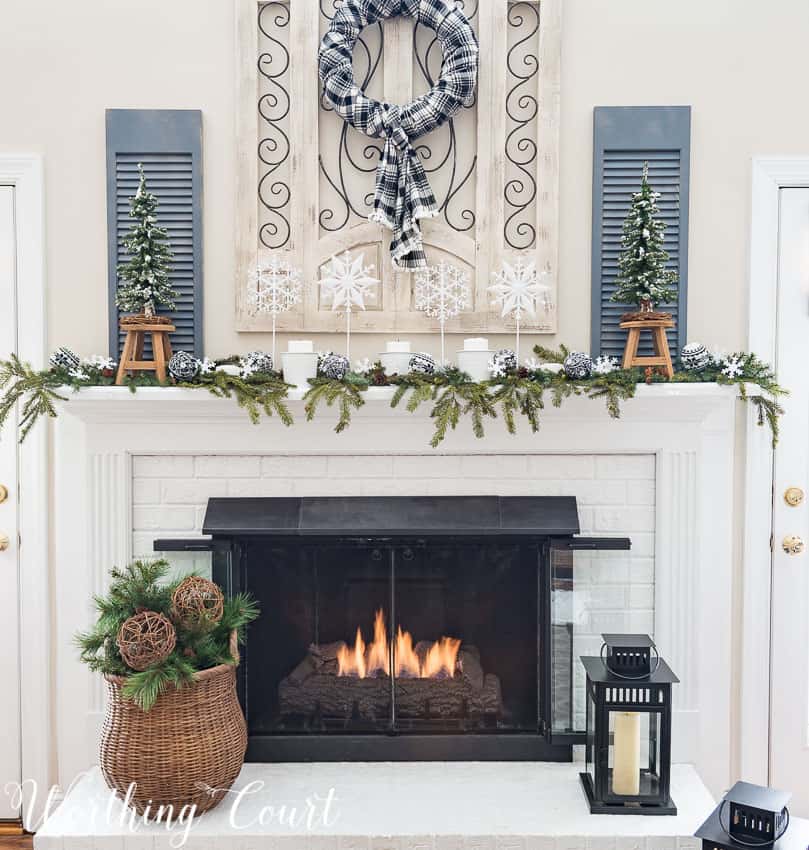
Did you happen to catch the reveal of my snowy winter fireplace for this year? If not, you can take a look at it HERE.
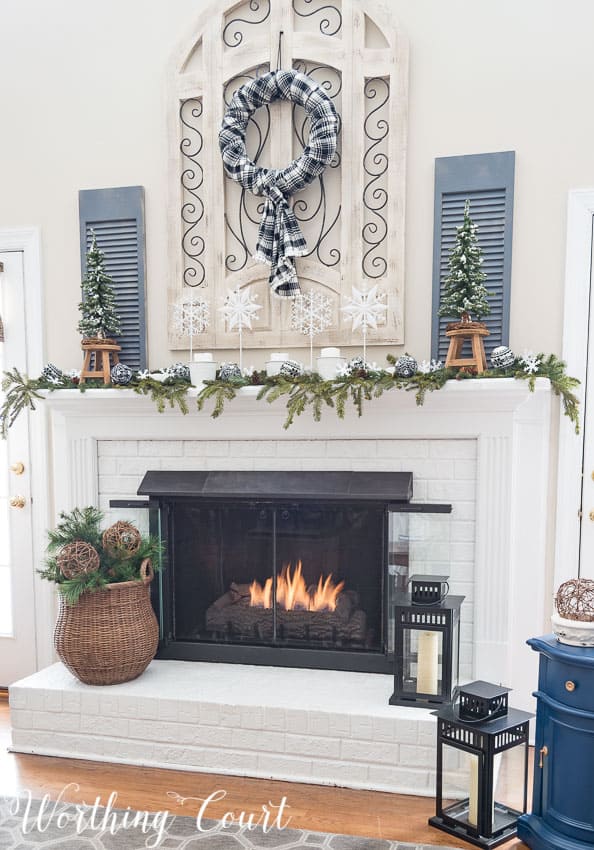
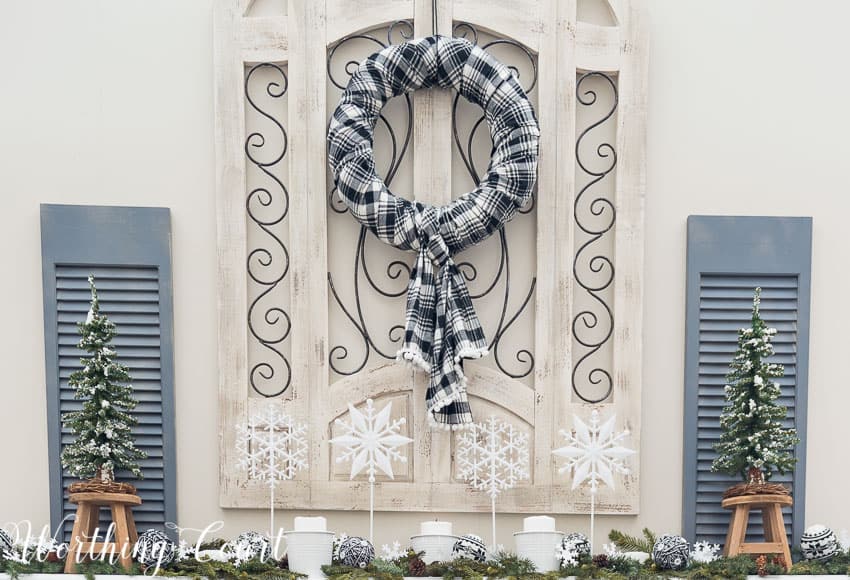
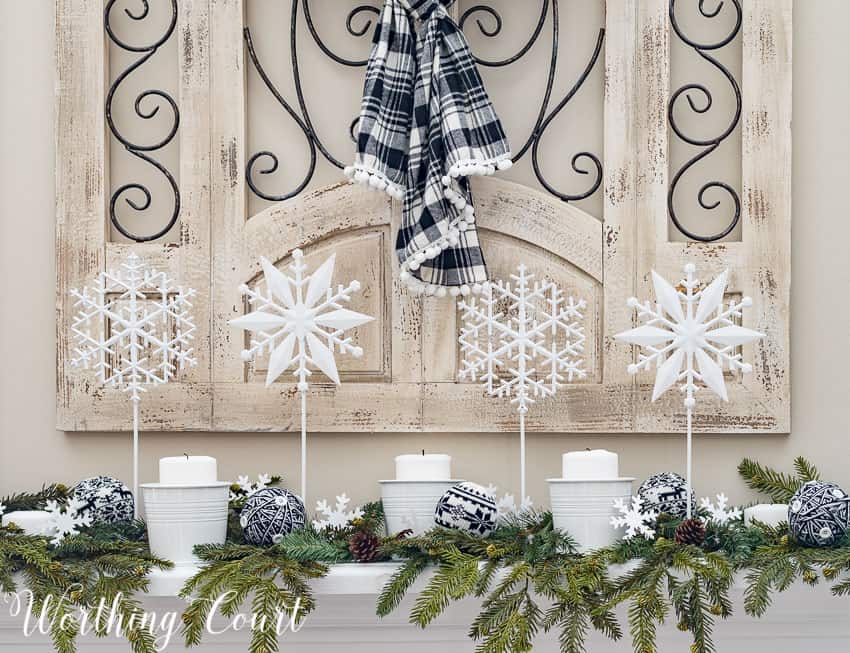
There are lots of things that I love about my winter fireplace this year, but one of my most favorite elements is the winter wreath. Of course, I’m kind of in love with those snowflakes too!
These two DIY projects are so super easy – I know that you can do it! First, I want to show you how you can make this super easy wreath. It only took me about ten minutes – from start to finish!
(Some affiliate links have been used in this post, at no additional cost to you. See my full disclosure HERE.)
WREATH SUPPLIES USED:
- Hot Glue Gun and Glue Sticks
- Hot Glue Finger Tip Cap Protectors (optional)
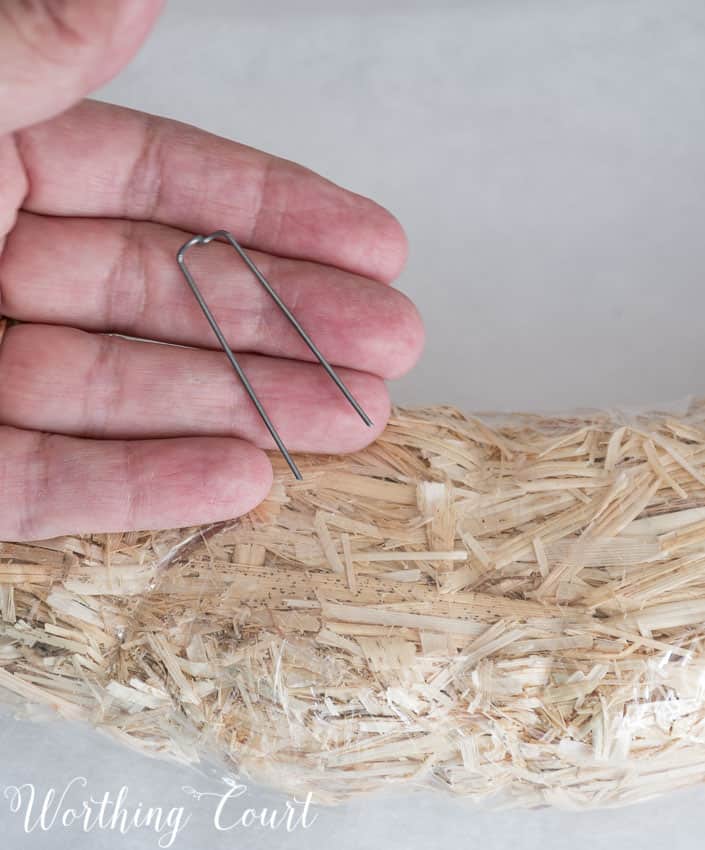
- 18″ Straw Wreath Form – do not unwrap the plastic
- Greening Pins
- Light Weight Batting – two yards.
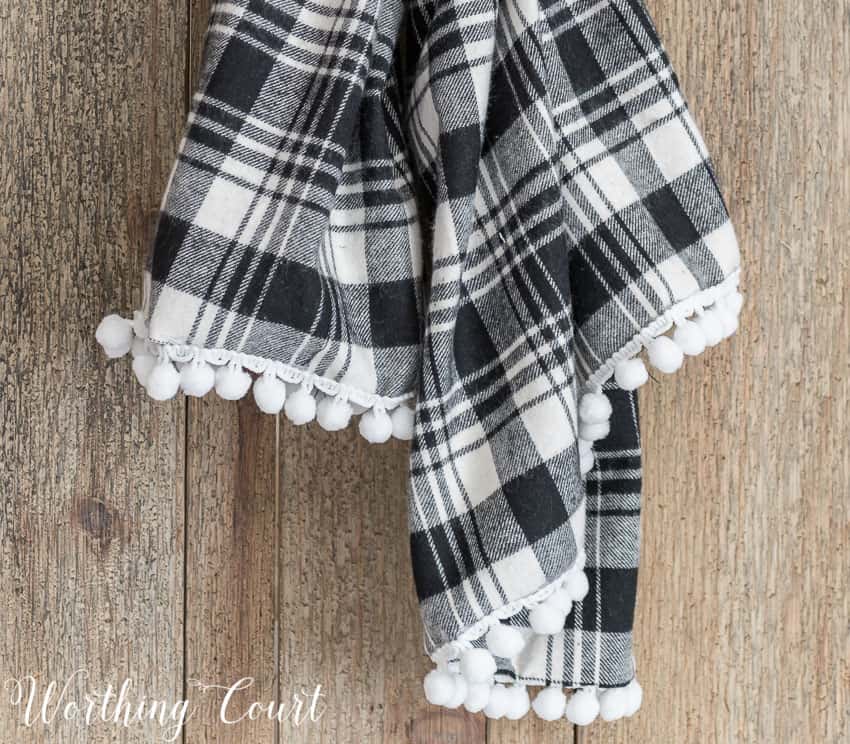
- Black and White Flannel Shirting Fabric
- White Mini Pompom Trim – 1 ¼ yards
STEP 1: Cut a two yard piece of batting in half (lengthwise). Attach one end of the batting to the wreath form using several greening pins.
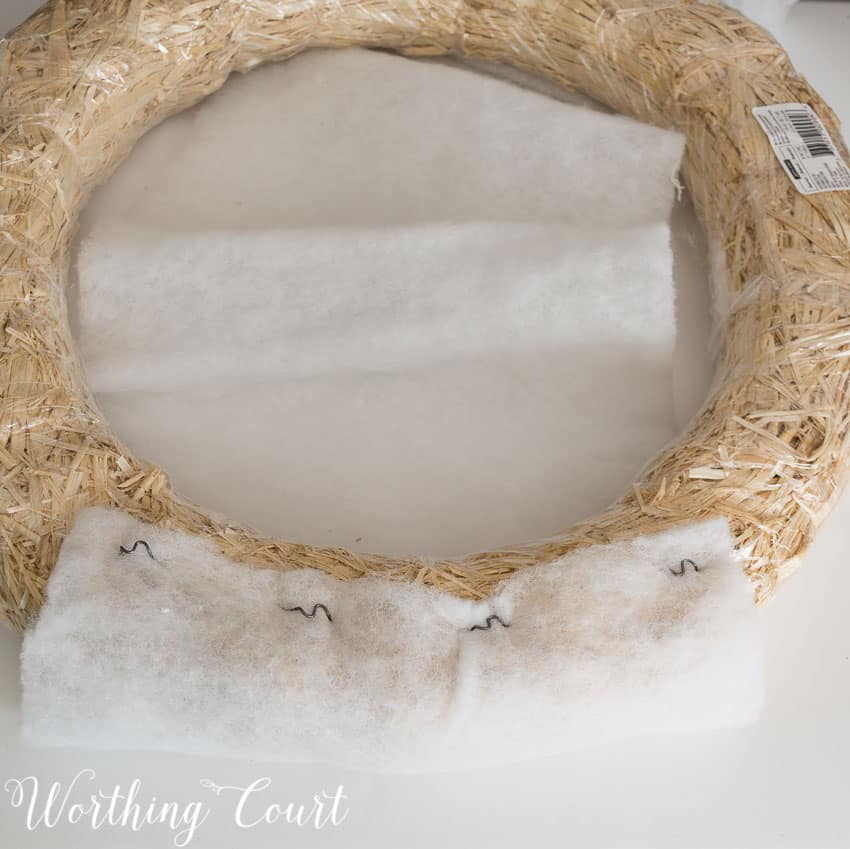
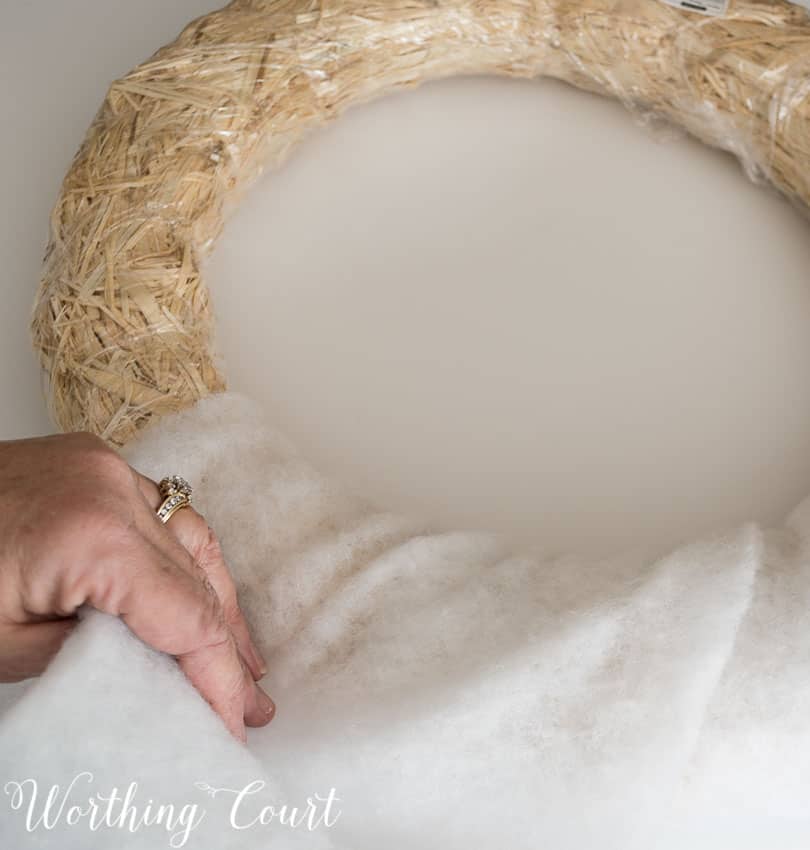
STEP 2: Wrap the first strip of batting tightly around the wreath form. When you reach the end of the first strip of batting, lay the beginning of the second strip over it and attach with more greening pins. Continue wrapping tightly and attach the end with greening pins. If you have sections where your batting bunches up or won’t lay flat, insert a greening pin to hold it in place. Two yards will likely be more batting than you need, so cut away any excess and save it for a future project or discard.
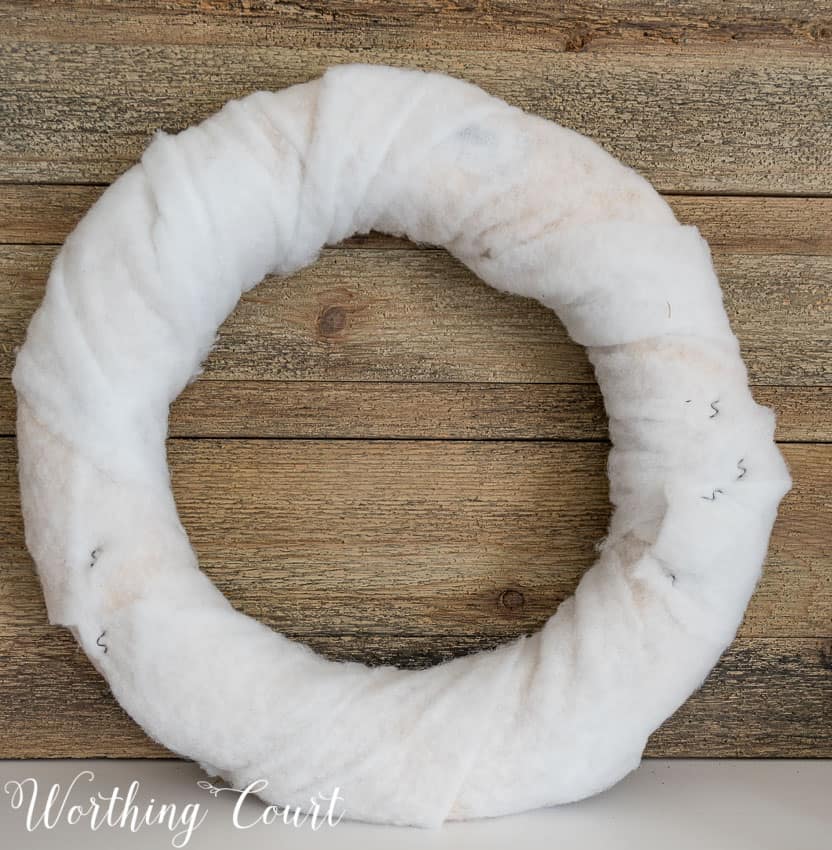
Here’s the backside of the wreath, completely wrapped with batting. See the pins?
STEP 3: Cut the two yard length of flannel fabric in half (lengthwise). Leaving an 8″ – 10″ tail (this will become the part that hangs below the wreath), wrap the first strip of fabric around the wreath using the same method as with the batting, making sure to cover the raw edges of the fabric as you wrap. You don’t need to actually attach the first strip of fabric to the wreath – all of the wrapping and your tie at the end will hold it in place. If you have any areas that won’t lie flat or bulge where you don’t want it to, use a spot of hot glue to hold it down.
Attach the second strip of flannel fabric to the back of the wreath with hot glue, where the first strip ended. Make sure to completely cover the end of the first strip. Continue wrapping the fabric around the wreath until you meet the place where you started with the first strip of fabric. You should have several inches of fabric leftover. Tie the two lengths of fabric together with a single loop.
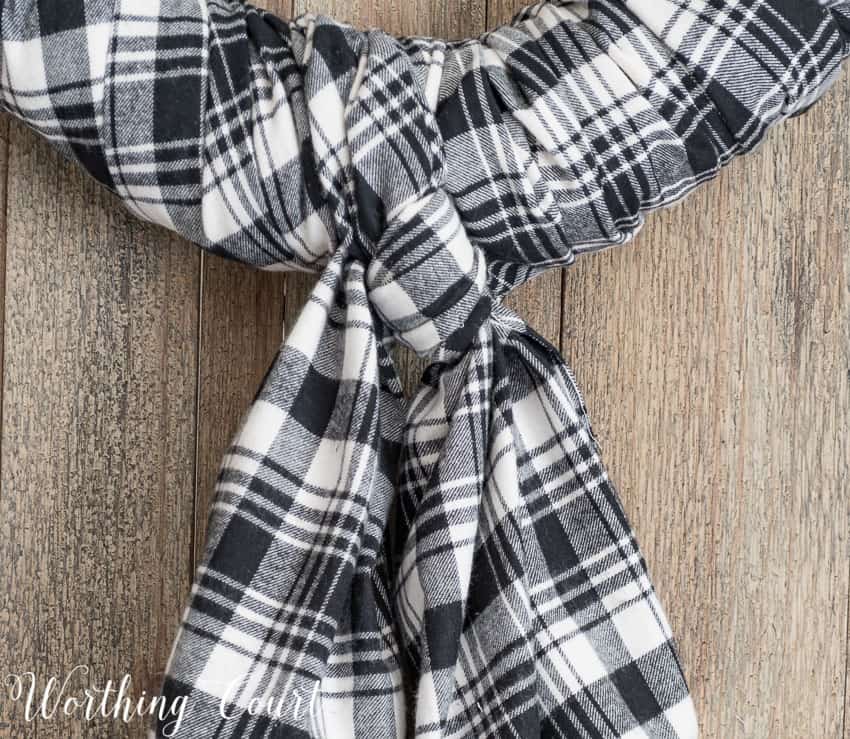
STEP 4: Trim each end of the hanging down fabric at an angle. I trimmed one side to be shorter than the other. Attach the mini pompom trim to the ends using hot glue.
Enjoy your finished winter wreath!
SNOWFLAKE SUPPLIES USED:
- Hot Glue Gun and Glue Sticks
- Hot Glue Finger Tip Cap Protectors (optional)
- Cutting Pliers
- White Spray Paint
- Snowflakes – I found mine at the dollar store, but you could use THESE, THESE or THESE
- 2″ Wooden Toy Wheels, With ¼” Center Hole
- ¼” Diameter Wood Dowel
- Tac Putty
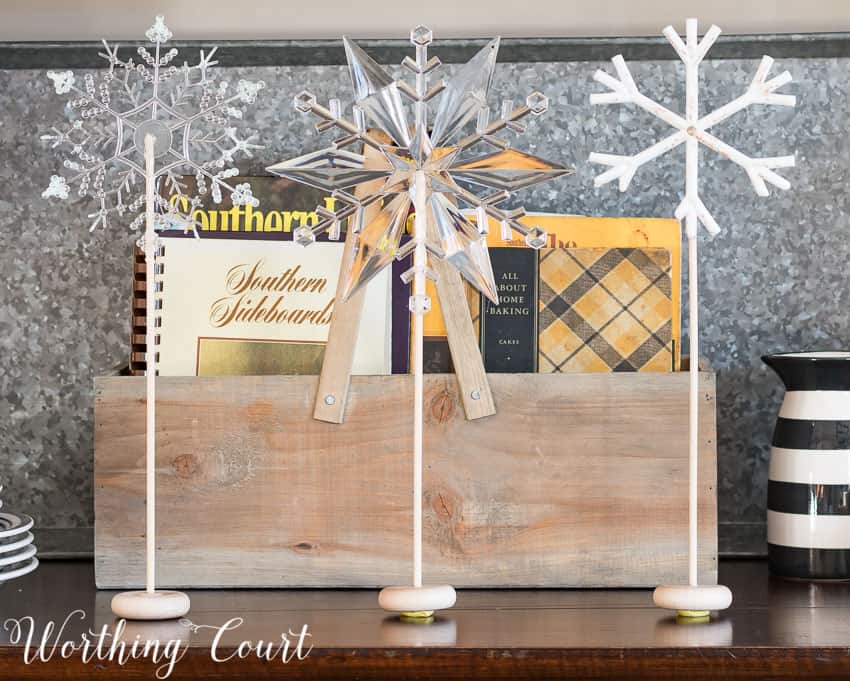
STEP 1: Using the cutting pliers, cut each dowel to the length that equals the height that you want your snowflake stand to be.
STEP 2: Apply a blob of hot glue to one end of a wood dowel, then slide a toy wheel over the dowel until it reaches the bottom. Stand up and allow to the glue to dry.
STEP 3: Apply the dowel to the back of a snowflake, using hot glue. Here are my snowflake stands all glued together. The yellow spot under two of them is a piece of tac putty that I used to help hold it upright, since these two snowflakes were a bit heavy.
STEP 4: After the glue has dried on snowflake, paint the entire thing with white spray paint. I painted right over the glitter that was on some of my snowflakes.
STEP 5: If necessary, use a piece or two of tac putty underneath the snowflake to help it stand upright.
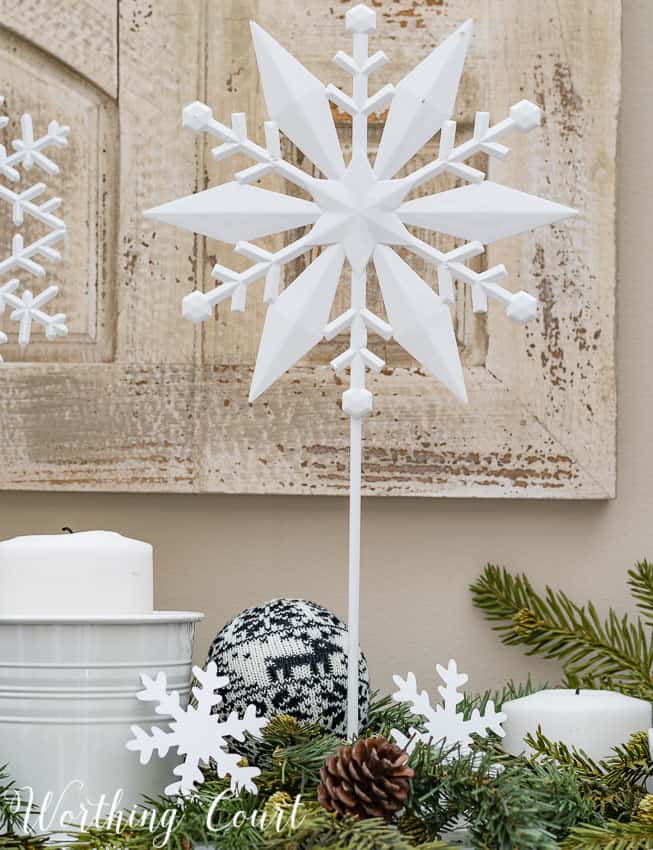
All done – super simple!
Sharing at THESE great parties!
I love both of these projects! I’m going to check the dollar store for snowflakes today. Thank you!
Thanks. I think that I will make the snowflakes and the wreath for my fireplace mantle. I am always looking for new mantle ideas
I just love both projects. I am making a trip to the craft store today before the bad weather comes in. Thanks!
I am making the wreath for sure! I hope I can find snowflakes too! My mantle has the greenery from Christmas with small round lights and hanging snowflakes. They are clear, but I’m painting them white. That looks soooo much better!
Very pretty – I am making snowflakes with my k-1st grade class this week!
Thank you for such a great idea! I have all the supplies to make the wreath!
What a lovely mantle – thanks for the wreath tutorial.
I love this, thank you for sharing!
Adorable! The wreath looks just like a warm winter scarf! Thanks!
I love, love, love your wreath!!! I am so going to try this.
Love your wreath!
Love this idea – am going to make a wreath with musical note fabric if I can find it!! Would go perfect in my living room!
The after Christmas pre-spring decorating season is always challenging to me. I want simple and stylish, but not stark. Your wreath and snowflakes are a wonderful solution, soft, sleek, and so versatile. Thanks for the great ideas!
The wreath is darling. Thanks for the tutorial.
yes, I love it as well. Will look for fabric at my favorite thrift shop!
So happy to see that someone left winter greenery and trees on their mantel, as did I. Mine are glass and mercury glass, with mercury glass pinecones, as well as real ones. your mantel is quite pretty.
Very cute, love the wreath, it’s so versatile!
The snow flakes are very unique! Thanks for sharing the tutorial. Love the wreath as well!
Suzy, you learn something new everyday from other creative people. Those hot glue finger protectors are a must have. You have such a tendency to take your finger and push down only to burn your finger. I try to use a popsicle stick or something, but you forget. Talk about “having some skin in the game” LOL
Love the mantle vignette.
Love all your fireplace decor!!!!!
Love the wreath! I think I can making it.