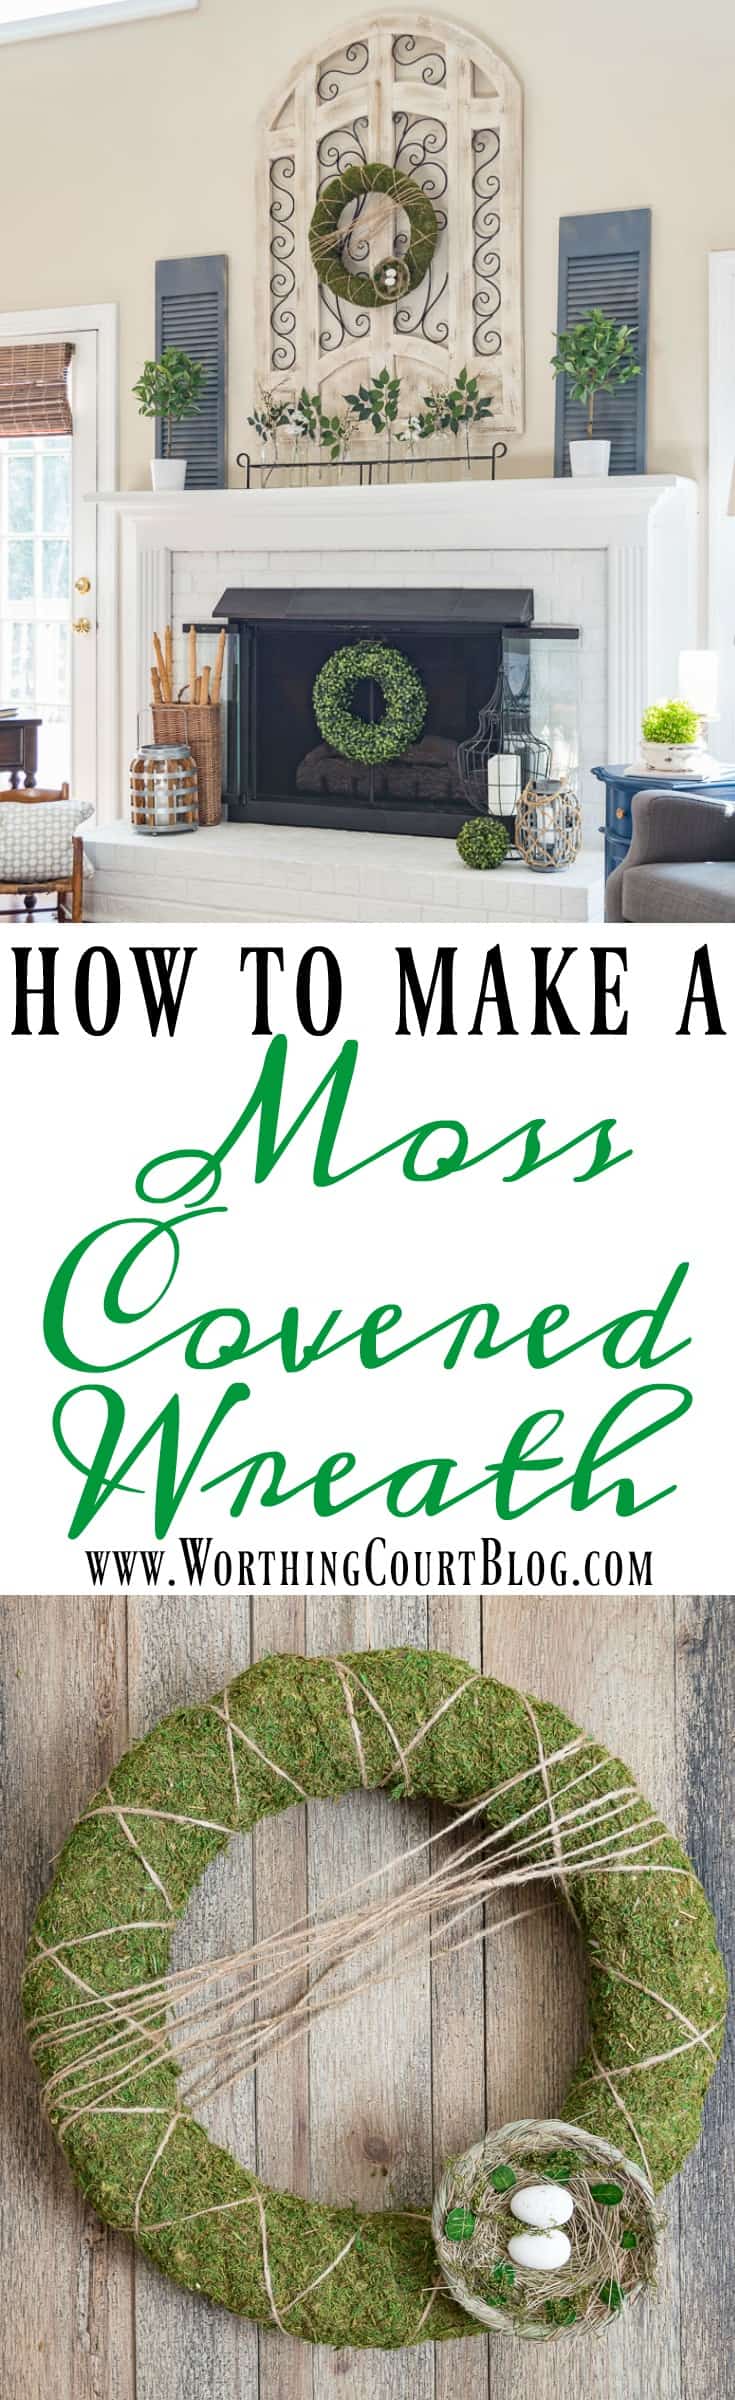
How To Make A Moss Covered Wreath
My moss covered wreath creates a big impact in my decor and is easy to make. Let me show you how!
One of the things that I love about spring is the return of lushness to the carpet of moss that we have on one end of our home. In spite of our struggle to get grass to grow in the rest of our yard, this is one place where I don’t want any! I love to take off my shoes and walk around there. That shady spot with its soft, cool blanket of moss is exactly what I was thinking of when I made this wreath to go above my spring fireplace mantel.
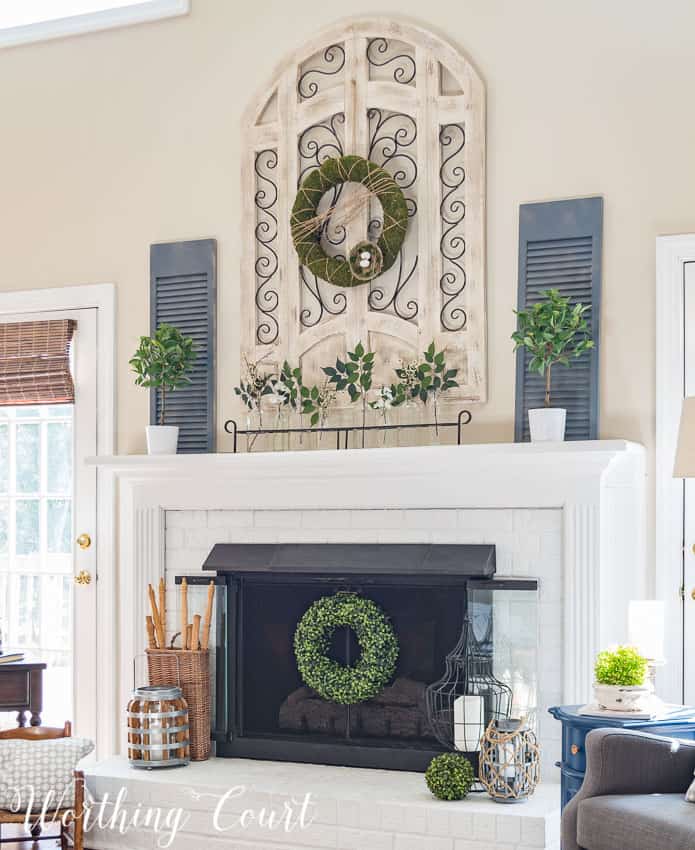
My friends, making this pretty wreath is sooo easy! It’s a little messy to construct, so keep that in mind when choosing your crafting location. Let me show you how I did it.
SUPPLIES:
Affiliate links for all supplies have been added for your convenience. See my full disclosure policy HERE.
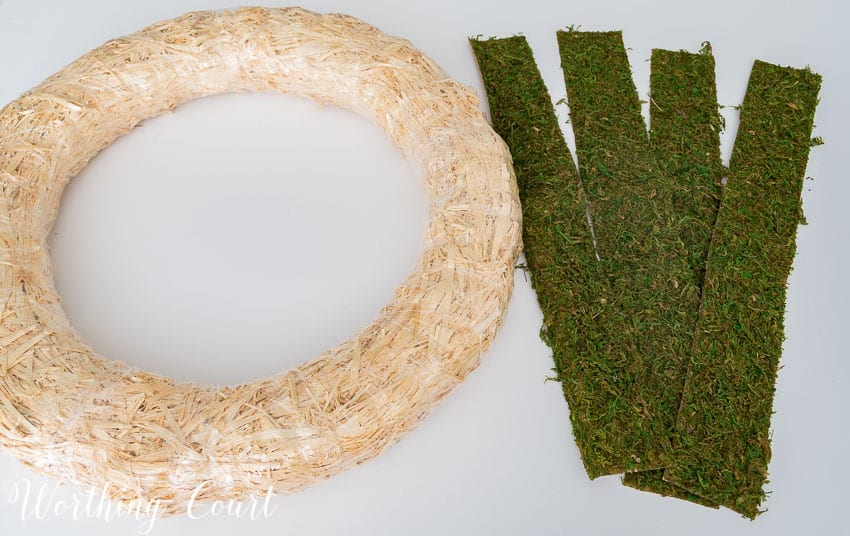
3 packages – peel and stick sheet moss
STEP 1:
Cut the sheet moss into strips roughly 3″ wide. Do not remove the paper backing.
TIP: Cut the moss with the paper side up to keep from gumming up your scissors.
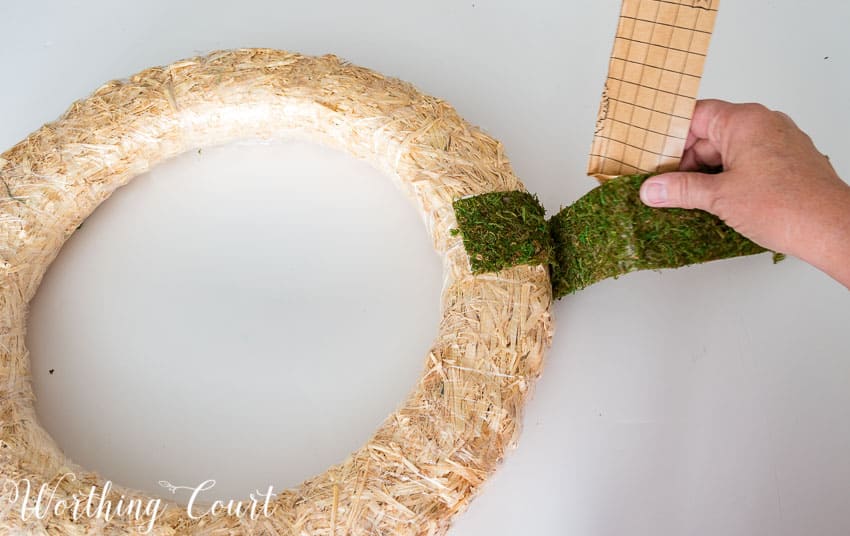
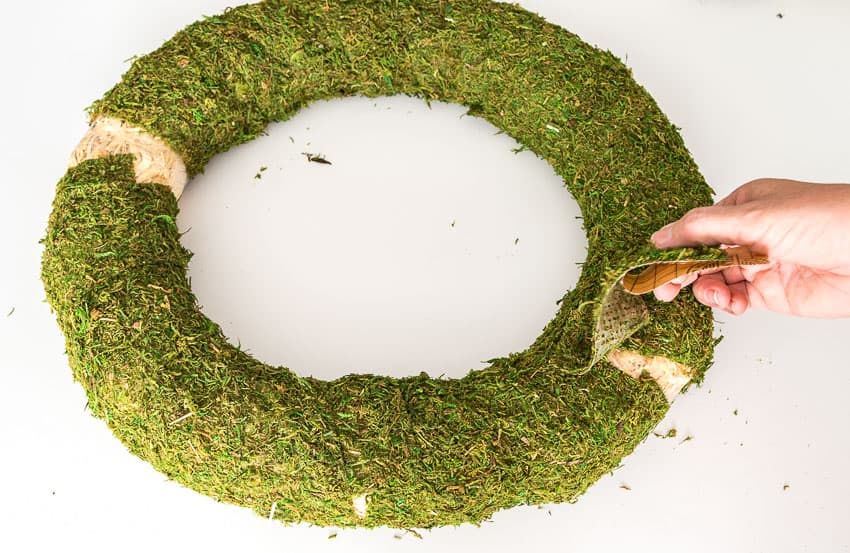
STEP 2:
Begin wrapping the moss strips around the wreath form. Don’t remove the plastic! Apply the moss directly to it.
TIP: Remove the paper backing from the moss as you go, not all at once.
STEP 3:
Continue cutting strips of moss and wrapping them around the wreath until it is completely covered with moss.
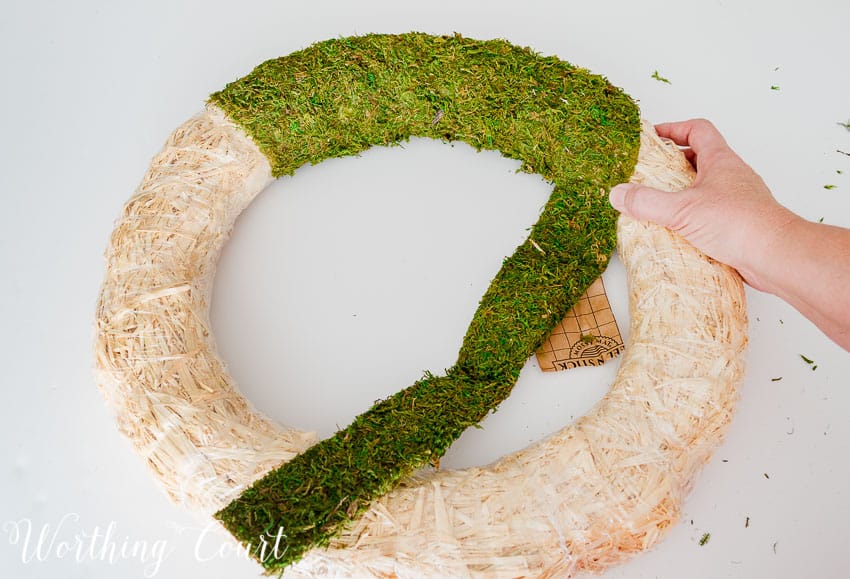
Any spots that aren’t completely covered can be patched with small pieces of moss cuttings.
TIP: You may wind up with gaps or raised up areas of moss on your wreath. Simply press them down and they will disappear!
STEP 4:
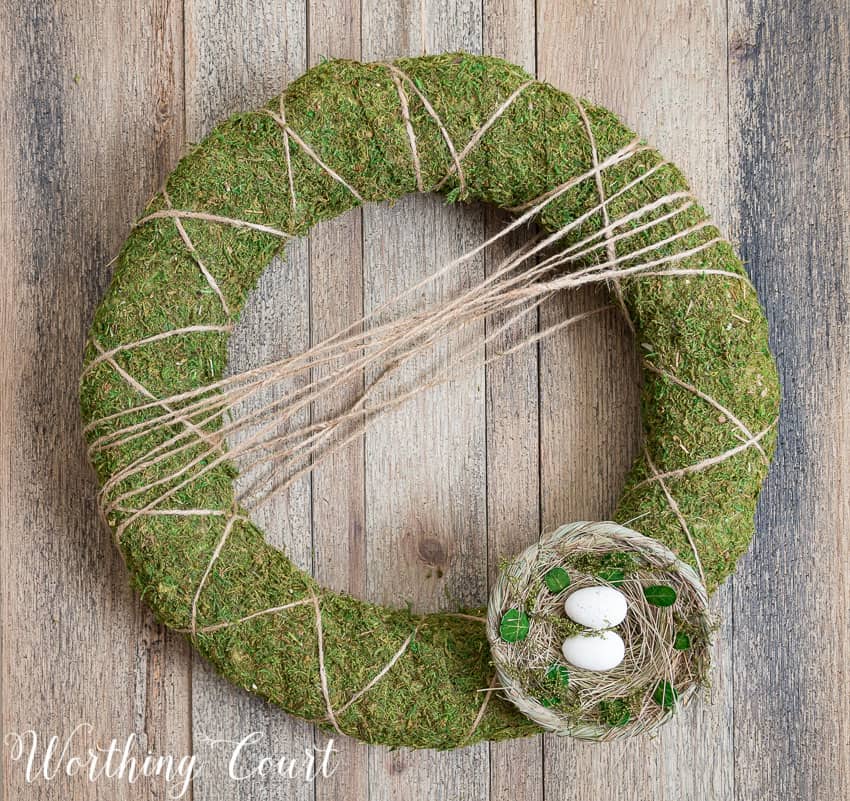
Wrap twine around the moss covered wreath in one direction. I started with a long tail of twine (that is what my wreath will hang from) and tied a loop around the wreath. I just eyeballed the spacing as I went.
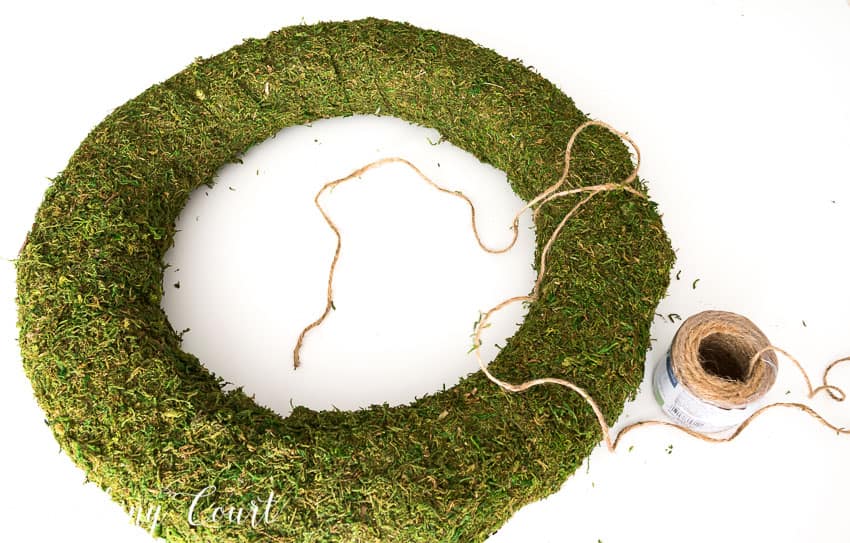
Tie a second loop, leaving another long tail, and wrap the twine around the wreath in the opposite direction. This will give a crisscross affect when completed.
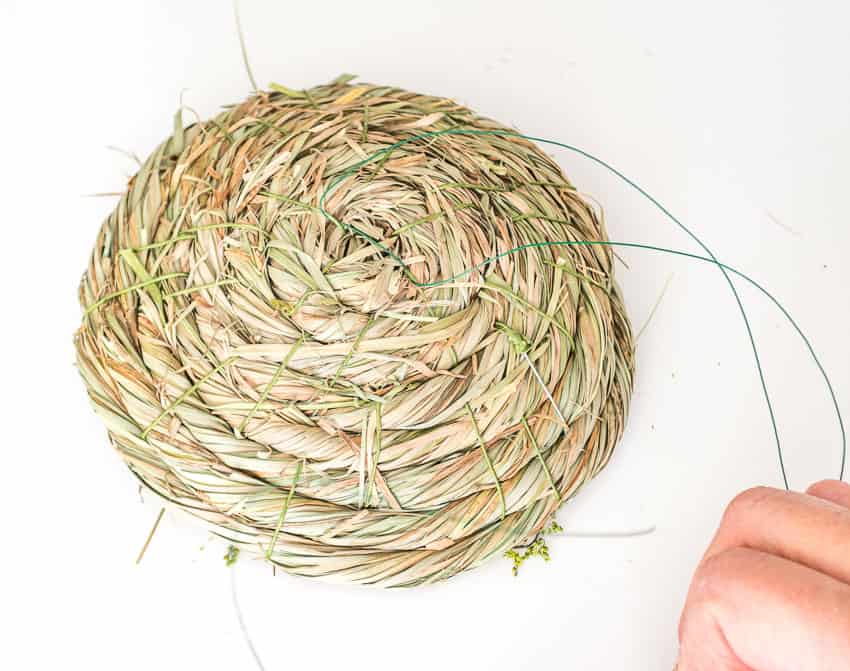
STEP 5:
Run a piece of floral wire, that is long enough to wrap around the wreath, through the straw on the bottom of the bird’s nest. Position the bird’s nest in your desired locationand attach it to the wreath with the wire.
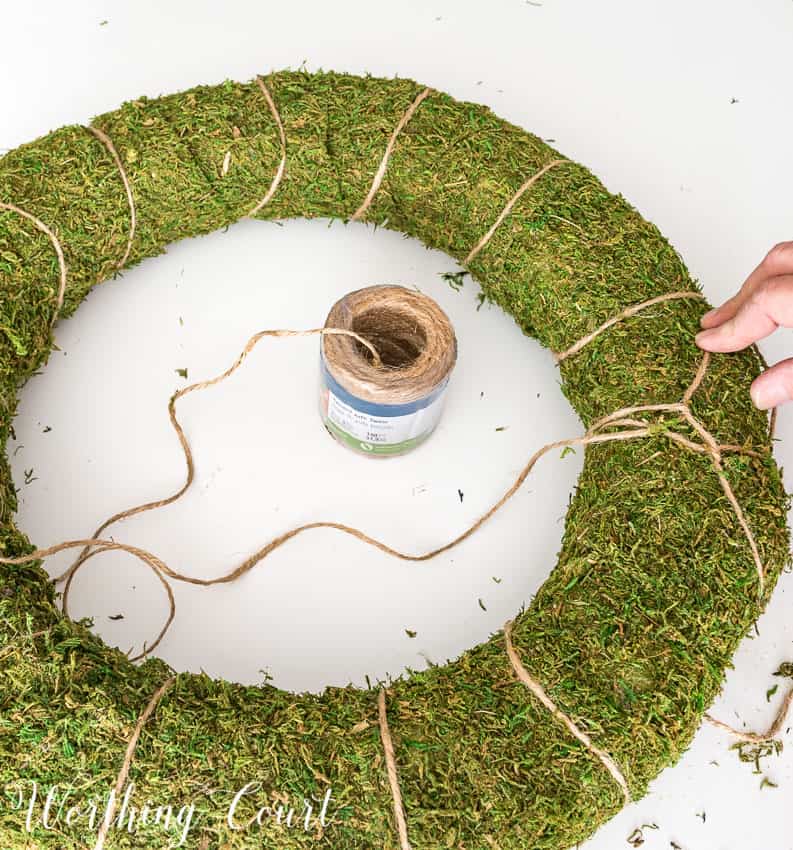
STEP 6:
You can see that I chose to wrap a few additional strands of twine diagonally around my moss covered wreath. I chose to add the twine because I wanted to give the wreath more presence based on where I planned to hang it. You can skip this part if you don’t care for the look.
TIP: Spray the entire wreath, front and back with a good coat of spray sealer to help prevent shedding.
Enjoy your moss wreath – it will be the perfect addition to your spring decor and will last for many years to come!

PIN IT FOR LATER!
Sharing at THESE great parties.
So darn cute!!!!! I especially appreciate your tip about cutting the sticky-back moss! I cut a lot of sticky-back velcro for boat projects, and am always fussing about “gunking-up” my scissors!!!! Thank you, thank you, thank you!!!!!
I love the light airiness of your rooms. I harvest moss from my yard every year and this is a wonderful way for me to use it. The twine makes the difference and helps secure the real moss.
The moss wreath is adorable! I may just have to make myself one!!! Too cute ?
I love this look! Thanks for a great idea!
Thanks for the tutorial on this lovely moss wreath! I appreciate your sharing where the materials needed for this project can be found.
Thanks for the tutorial. I will have to look for this moss in my craft store. I didn’t realize that you used a straw wreath either. I am hoping ,one looks as good as yours.
I am going to make one of these, so cute. Thanks for the inspiration.
Great wreath & easy to make too! Who knew there was such a thing as peel & stick sheet moss?!
Cute!
Love your wreath.
So simple and inexpensive. Thanks for sharing!
Thank you! GREAT tutorial!
I had no idea you could purchase peel and stick moss. Thanks for the inspiration.
I love the moss wrapped wreath look. I made one years ago, adding other faux branches. It must have looked inviting , as a small bird made her nest in it!
A.
What a beautifully simple wreath, I LOVE it! Thank you for the tutorial.
Thanks for the tutorial on the wreath. I love it!
Linda O.
I love this! definitely going to try it! Keep the great ideas coming!
That wreath is really nice. I had not idea that you could purchase packages of sheet moss to use when decorating.
I had no idea there even was such a thing as sticky-back moss–thanks for the info–the wreath is lovely
This wreath is perfect! Just what I was envisioning in my head but wasn’t sure how to make it happen…
I don’t usually like to fuss with making wreaths, but this looks so easy I’m going to try it!