Bookcase Makeover – Traditional Cherry To Farmhouse Fab!
I am sharing my step-by-step directions for giving an old cherry bookcase a farmhouse fab makeover.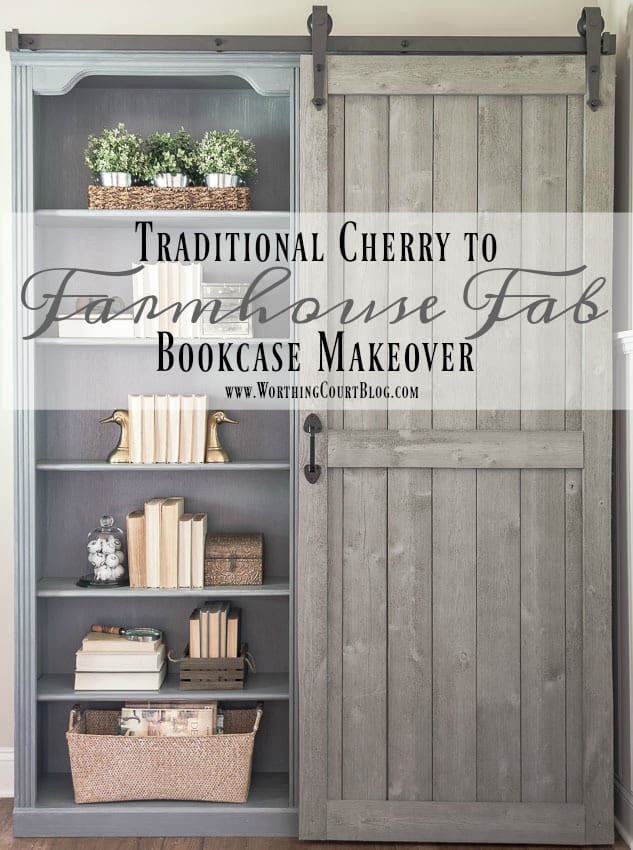 Affiliate links have been used in the post. See my full disclosure HERE.
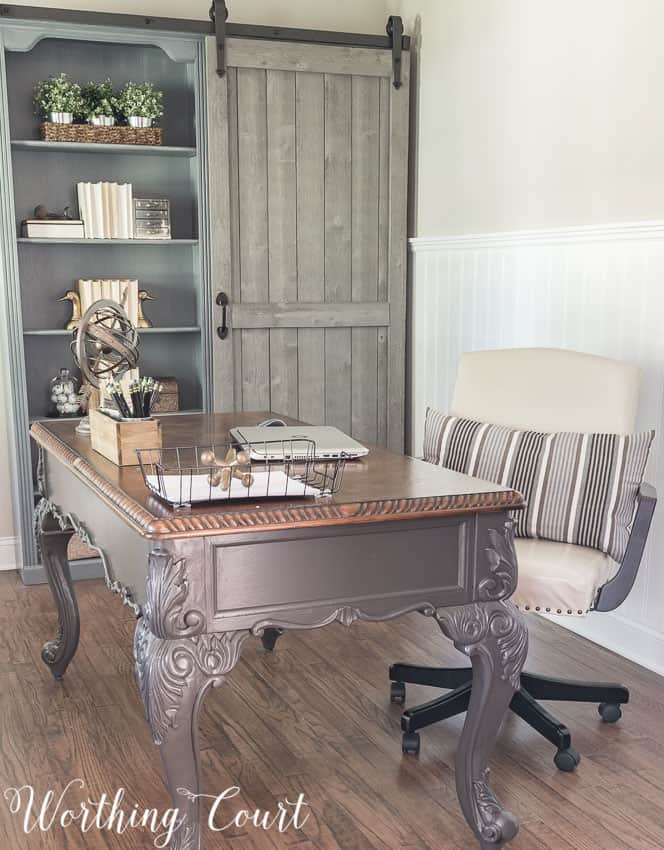
I usually don’t put an exclamation mark in my blog post title, but y’all – I am so stinkin’ thrilled with the bookcase makeover for our home office! A few weeks ago, I mentioned that I was working on the bookcases and was concerned with how they were going to turn out. Thankfully, I’m in love with the end result and find myself stopping often just to stare at them!
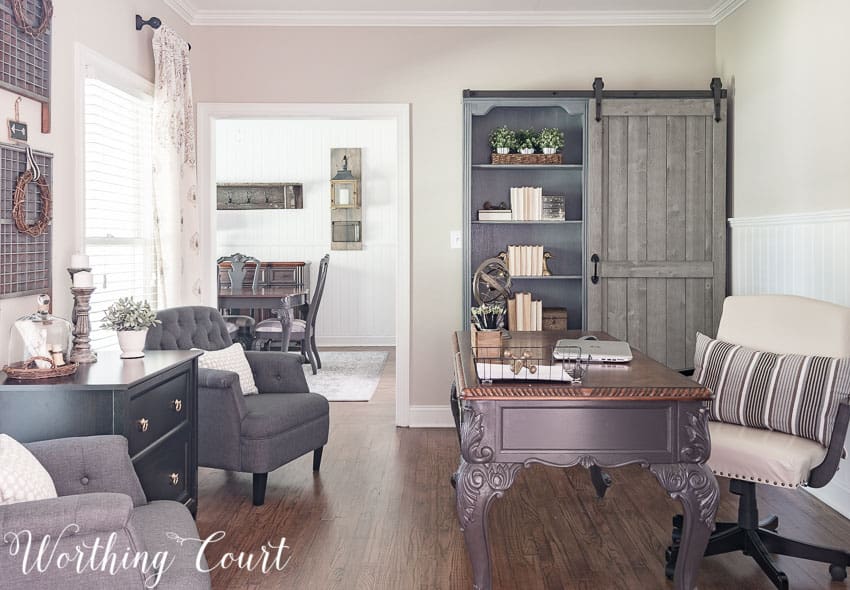
Did you notice that the dining room is striped bare of all its fall finery? That’s because Christmas is in the house! LOL I’ll be sharing my Christmas dining room soon!
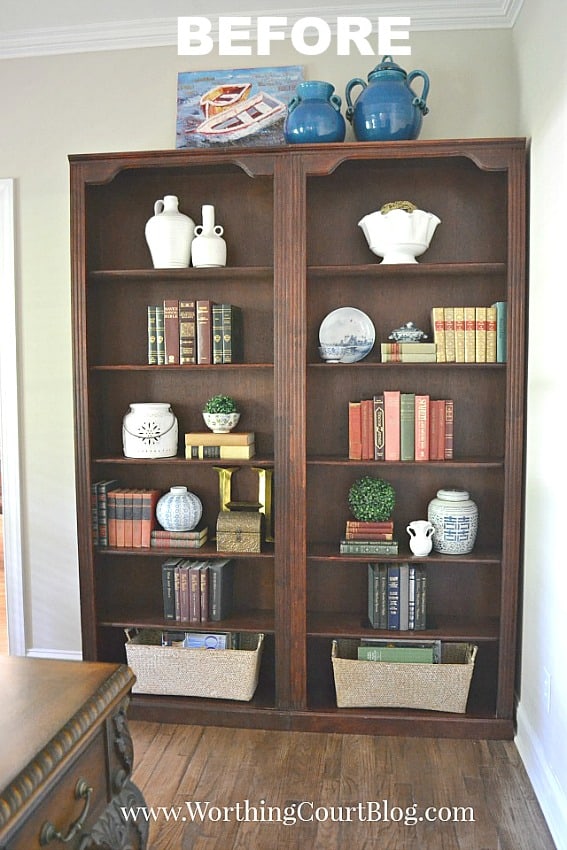
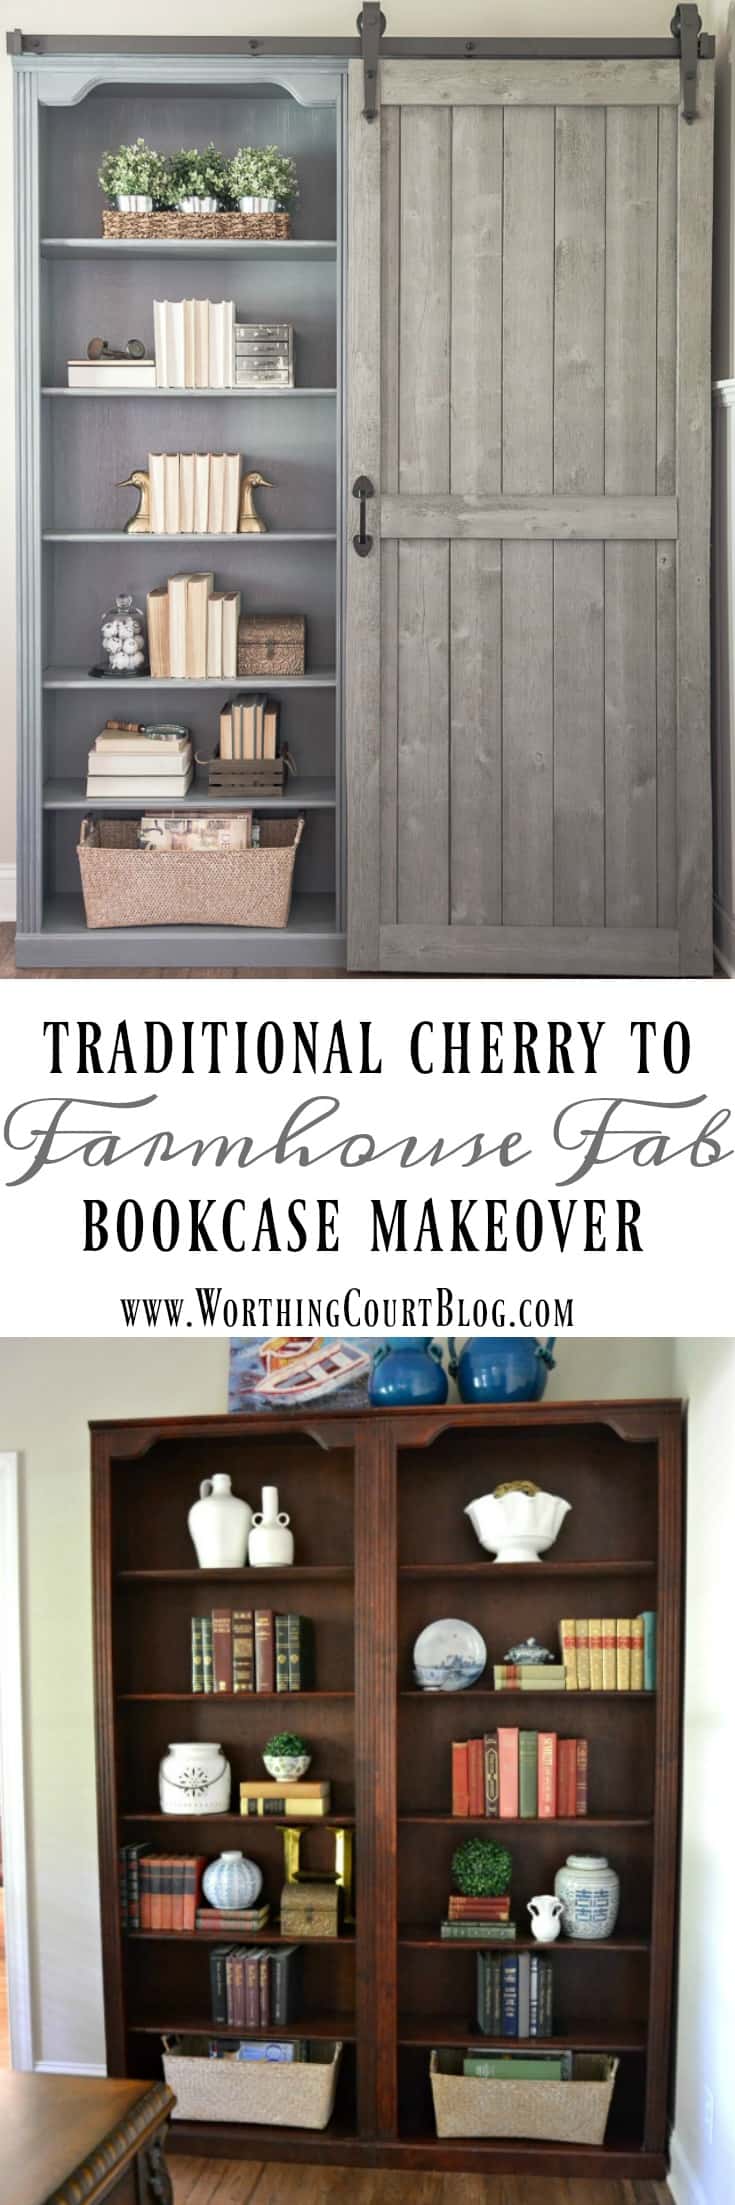
To fully appreciate the change in the bookcase, take a look at the before picture. These are cheap-o bookcases that had a waxy, fake looking cherry stain on them. Their most redeeming quality is that the open shelves are solid wood, so they don’t sag under the weight of a lot of books.
Here they are today, after giving them a couple of coats of primer paint (to completely cover the red’ish stain) and brushing on gray stain. I used one of those cheap chip brushes to apply the stain and allowed it to dry without wiping any of the stain off. Primer paint used: Kilz 2 Latex Primer in Gray. Stain used: Rustoleum Ultimate Wood Stain in Weathered Gray.
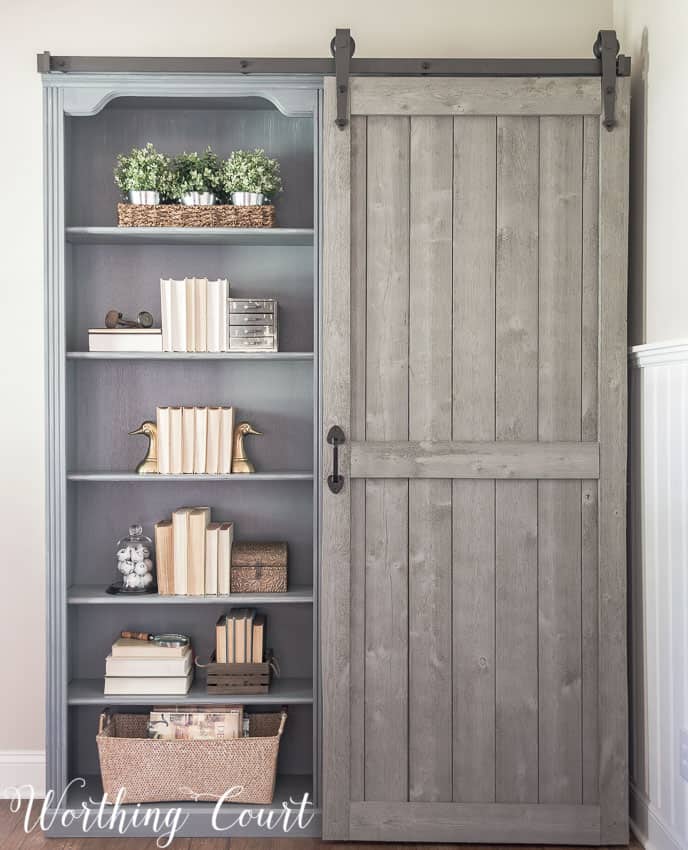
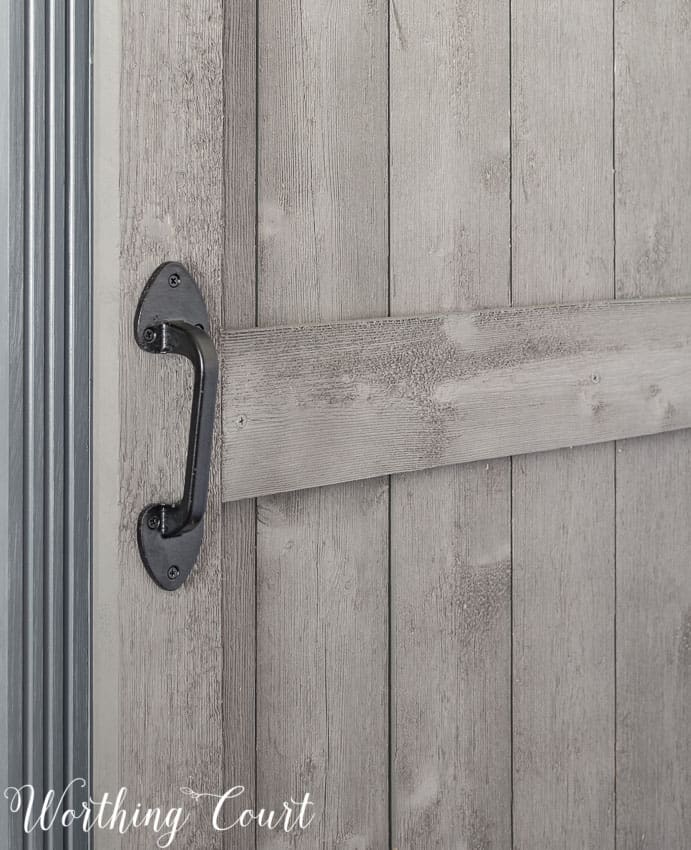
This closeup shows the weathered looking finish that was created by brushing the stain on top of the wood and allowing it to dry without wiping it off.
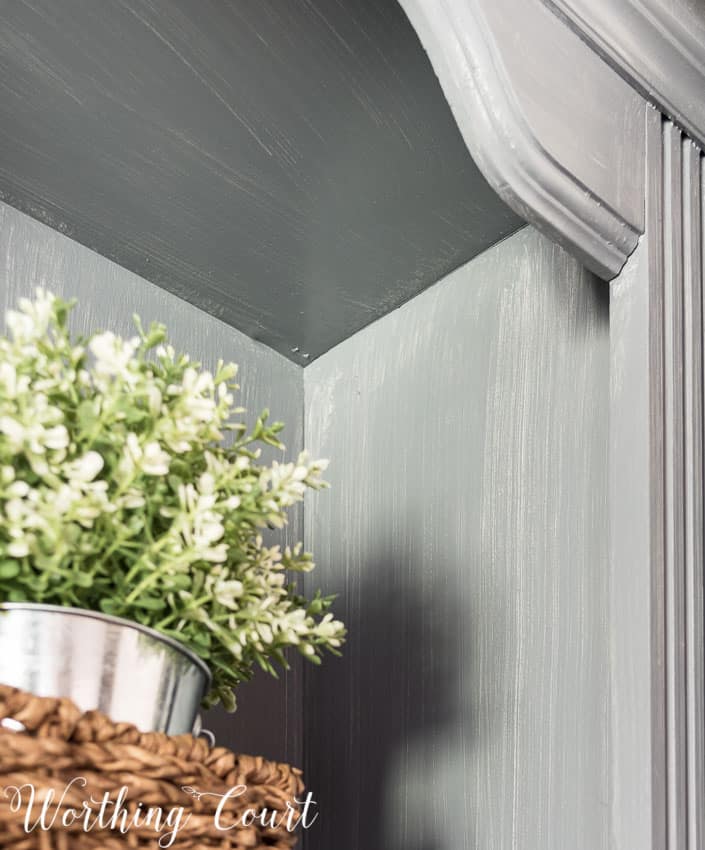
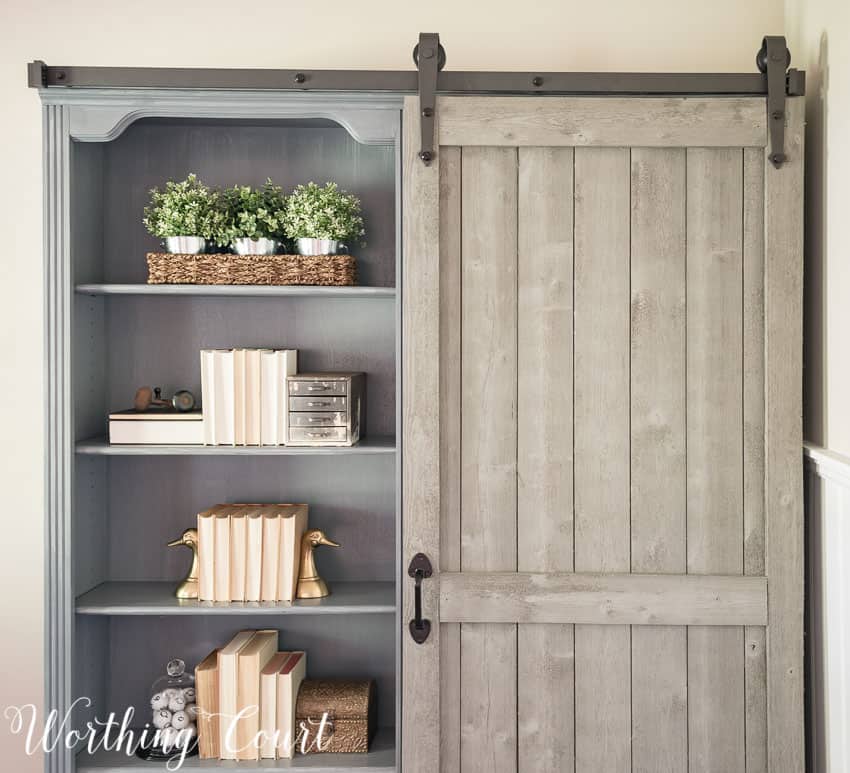
I know that the gray of the barn door and gray of the bookcase doesn’t match, but I think that it makes the door look more authentic.
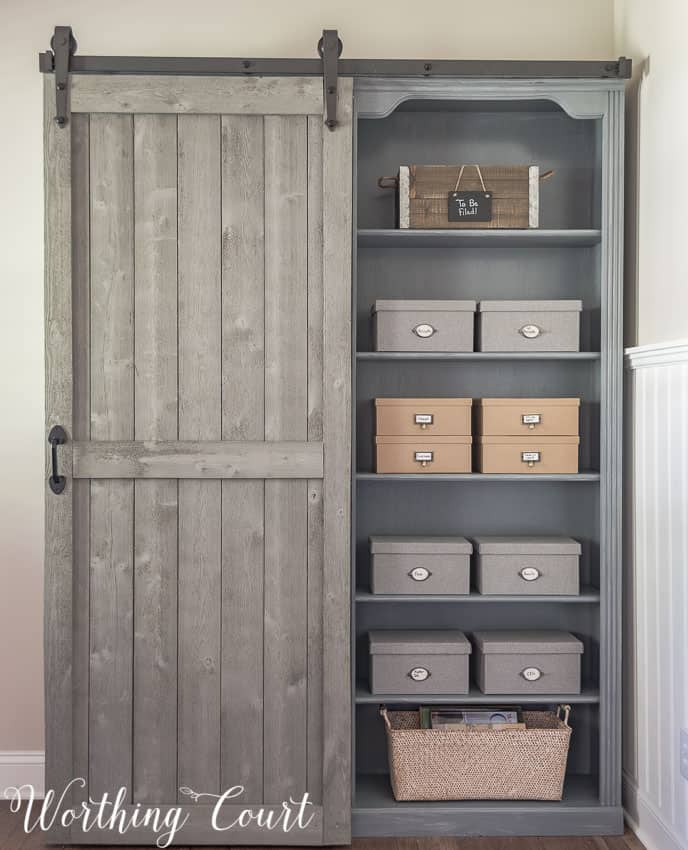
You might wonder why I chose to cover half of the bookcases with a sliding barn door. Well, it’s because I needed more storage space, not more space to display tchotchkes. The shelves behind the sliding door are filled with boxes that hold all sorts of home office paraphernalia. This side of the bookcase is only open when we need access to something in one of those storage boxes.
I was a little scared of the door, because I was convinced that installing the sliding door hardware was going to be complicated. Nothing could have been further from the truth! After much research and shopping around, we ordered the hardware from Home Depot. CLICK HERE TO ORDER THE SAME HARDWARE.
The smallest size available was a few inches longer than what we needed, so the hubs used our Dremel to cut the slider bar down to the correct length. I touched the end up with a black magic marker and now you’d never know that it had been cut.
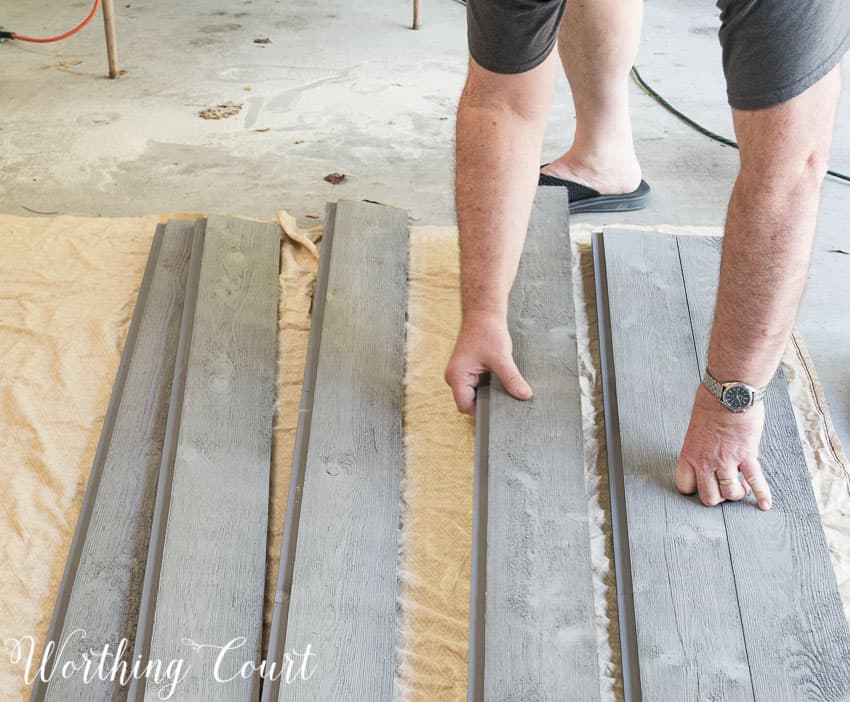
We built the barn door out of pre-painted rustic lumber which is sold at Home Depot. Each piece of lumber was 8′ long and had a rabbited edge on each side. One rabbited edge faces the front and other faces in the back.
I was unable to find the lumber online, but our store had it in stock the last time that we were there.
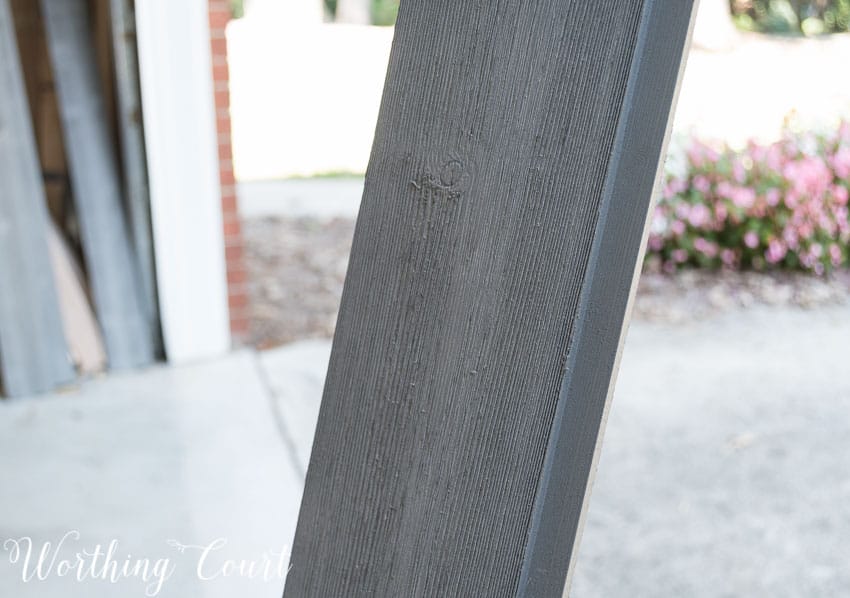
Having those rabbited edges made building the door a dream! First, we determined how wide we wanted our door to be. Then the hubs laid the lumber out on the floor of our garage, using wood glue along each rabbited edge, and allowed it to thoroughly dry. No nails or screws were used in this part of building the door.
After the glue had dried, the door was cut to the length that we wanted and other boards were cut down to be used to frame out the top, sides and for a middle brace. Those boards were attached with wood glue and wood screws.
Thankfully, Home Depot had a label on the backside of each of the pieces of lumber with the paint formula that was used to paint the wood. I had a small container of that mixed at the store and used it to touch up the few places that needed it after the construction was completed. A wrought iron gate handle, also from Home Depot, finished the door off.
Unless I come up with something else, this office makeover only has one project left to do and that’s getting some artwork up on that wall behind the desk chair! You can catch up on all of the projects that have gone into this makeover, from start to finish, HERE. UPDATE! CHECK OUT THE FULL BEFORE AND AFTER OFFICE REVEAL HERE!
Just fabulous Suzy! What a transformation! May I ask how the track maintains it’s stability? Is it screwed down into the top of the bookcase?
Hi Laurie. We added a strip of wood to the top of the bookcases (with screws) and painted/stained it to match. The wood is long enough to span the length of both bookcases, which ties them together and adds stability. The track is attached to the wood that we added.
Oh my goodness it looks absolutely GORGEOUS! Love the color and the door – I can’t believe it’s the same set of shelves!K
They look great. What a transformation! Love the new look.
Love the new look of the bookcases and the door. I think you should keep Pookie,
he does a great job as well.
Wow! I love this makeover! Great job! 😉
SO CLEVER!
This is brilliant…but your “bad” side looks so good too…way better than the shelves in my office. Great job!
Mary Ann
Gorgeous makeover, really fabulous! Thanks for sharing on craft schooling Sunday!
Wow! This is absolutely beautiful! I can’t figure out where to do this in my house but I think I need to find a way.
The bookcase is really beautiful, what a transformation.
The entire office makeover is a stunner! Love the changes to the bookcase. I have a similar set and you have motivated me to be brave and try the same! Thanks!
Hi Suzy – Oh my goodness, this is GORGEOUS! Hugs, Holly
OMGoodess this is amazing! I don’t even know how you thought of it. So creative!
Absolutely love this. I have 3 bookshelves I purchased some years ago from Target for $99 each that my daughter keeps telling me to get rid of because they are outdated. Now I know how to update them! Perfect. Also, what is the type of wood and finish on your floors? It is such a perfect color I love it.
Hi Andrea. Our floors are white oak hardwood stained with Minwax Special Walnut. Have fun with your bookcases!
Your farmhouse bookcase is just beyond beautiful Suzy!! I love it so much!!
This turned out so beautiful. I love the colour! I am inviting you to share it with us at The Crafty Corner link party if you wish. A new party started today 🙂
Love, love, love this! I wish I had seen this before I bought my bookcases!
I am more than impressed!
Everything looks SO nice and coordinated!! Love it!
Thanks for sharing your beautiful Bookcase Makeover at Inspire Me Monday. I am featuring you as one of my favorite picks this week. I hope you will stop by http://www.farmhouse40.com/inspire-me-monday-108