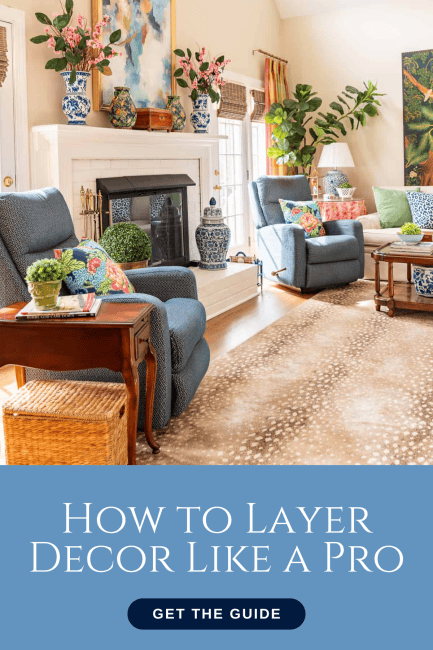
The Secret to Layering Accessories Like a Pro
Interior design layering is the secret to a polished, designer look. Use this simple guide to start layering accessories like a pro.
Learning how to layer decor is one of the most important interior design concepts you can use to give your rooms a finished and pulled together look. It’s a decorating gem that makes all the difference between a flat space and one that feels warm, welcoming, and thoughtfully styled.
Welcome to chapter 6 of the Simply Decorating Series; a free resource designed especially for the diy decorator who is eager to transform their home into a place that reflects their personal style and needs. Each post breaks down complex design ideas into simple, actionable steps. If you’re just beginning the series, start with chapter 1, How to Decorate a Room – Where To Start.
This simple 7-step guide will walk you through how to use interior design layering in every room of your home. If you’re wondering what layering accessories really means, think of it like getting dressed on a cool day. You start with your basics, maybe jeans and a cozy sweater, then add a jacket, a scarf, and a little jewelry to pull it all together. Every piece has a purpose, and together they create a complete look.
Layering in interior decorating works the same way. You build your room from the ground up, starting with foundational pieces like furniture and rugs, then adding in layers of texture, color, and personality with items like pillows, lamps, artwork, and accessories. Each layer brings depth, interest, and a lived-in look that feels stylish but not overdone.
It’s one of my favorite ways to make a room feel complete without starting from scratch.
Beginning from the floor up, here’s a breakdown of the many elements in a room where layering comes into play:
- Flooring: carpeting, area rugs, area rugs layered over one another
- Walls: paint, wallpaper, framed artwork, mirrors, decorative wall hangings
- Windows: draperies, valances, shades, blinds
- Furniture: sofas, chairs, tables, beds, coffee tables, end tables
- Lighting: overhead lighting, table lamps, task lighting, accent lighting
- Textiles: pillows, throw blankets, bedding
- Decorative Elements: greenery and flowers, books, containers, tchotchkes
Consider each one of these elements as a different layer. Once you’ve determined your decorating style, focus on building the room by adding each layer, one at a time.
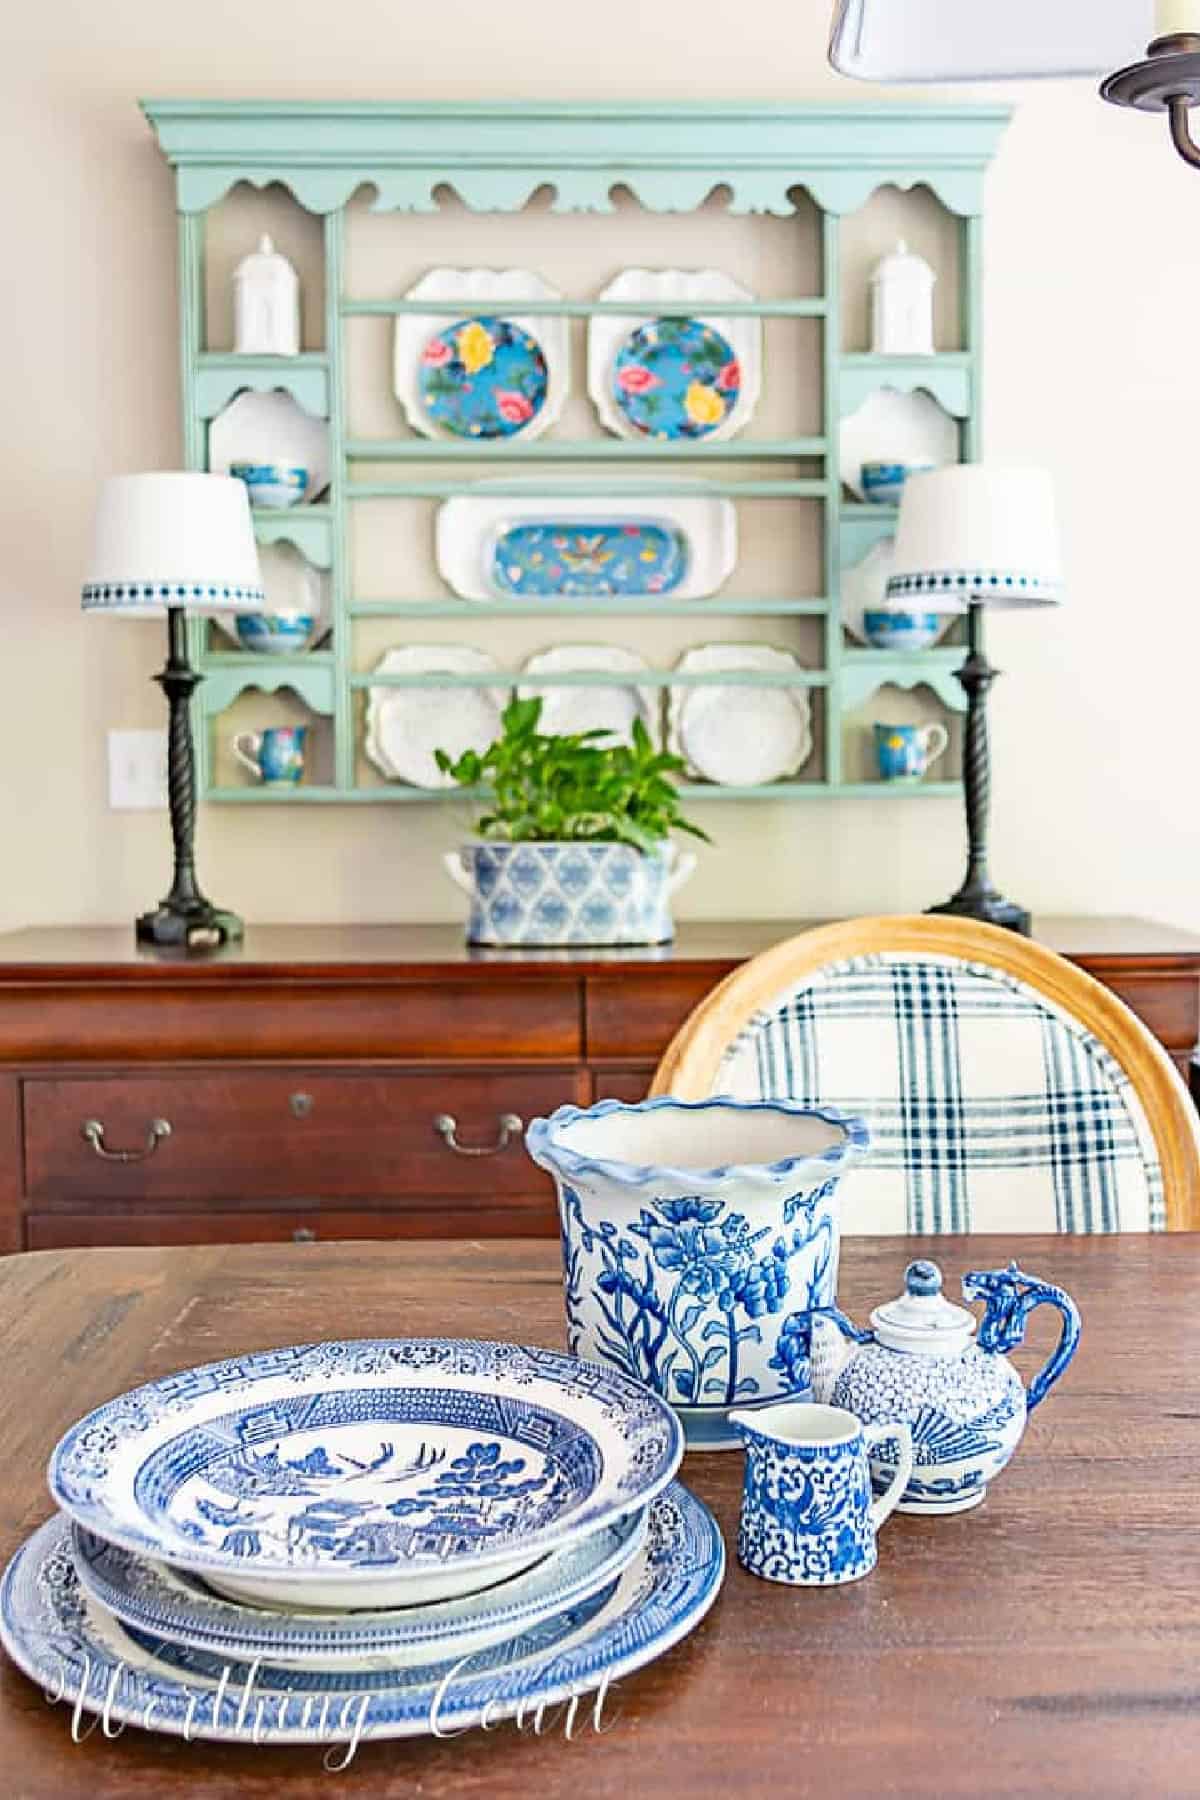
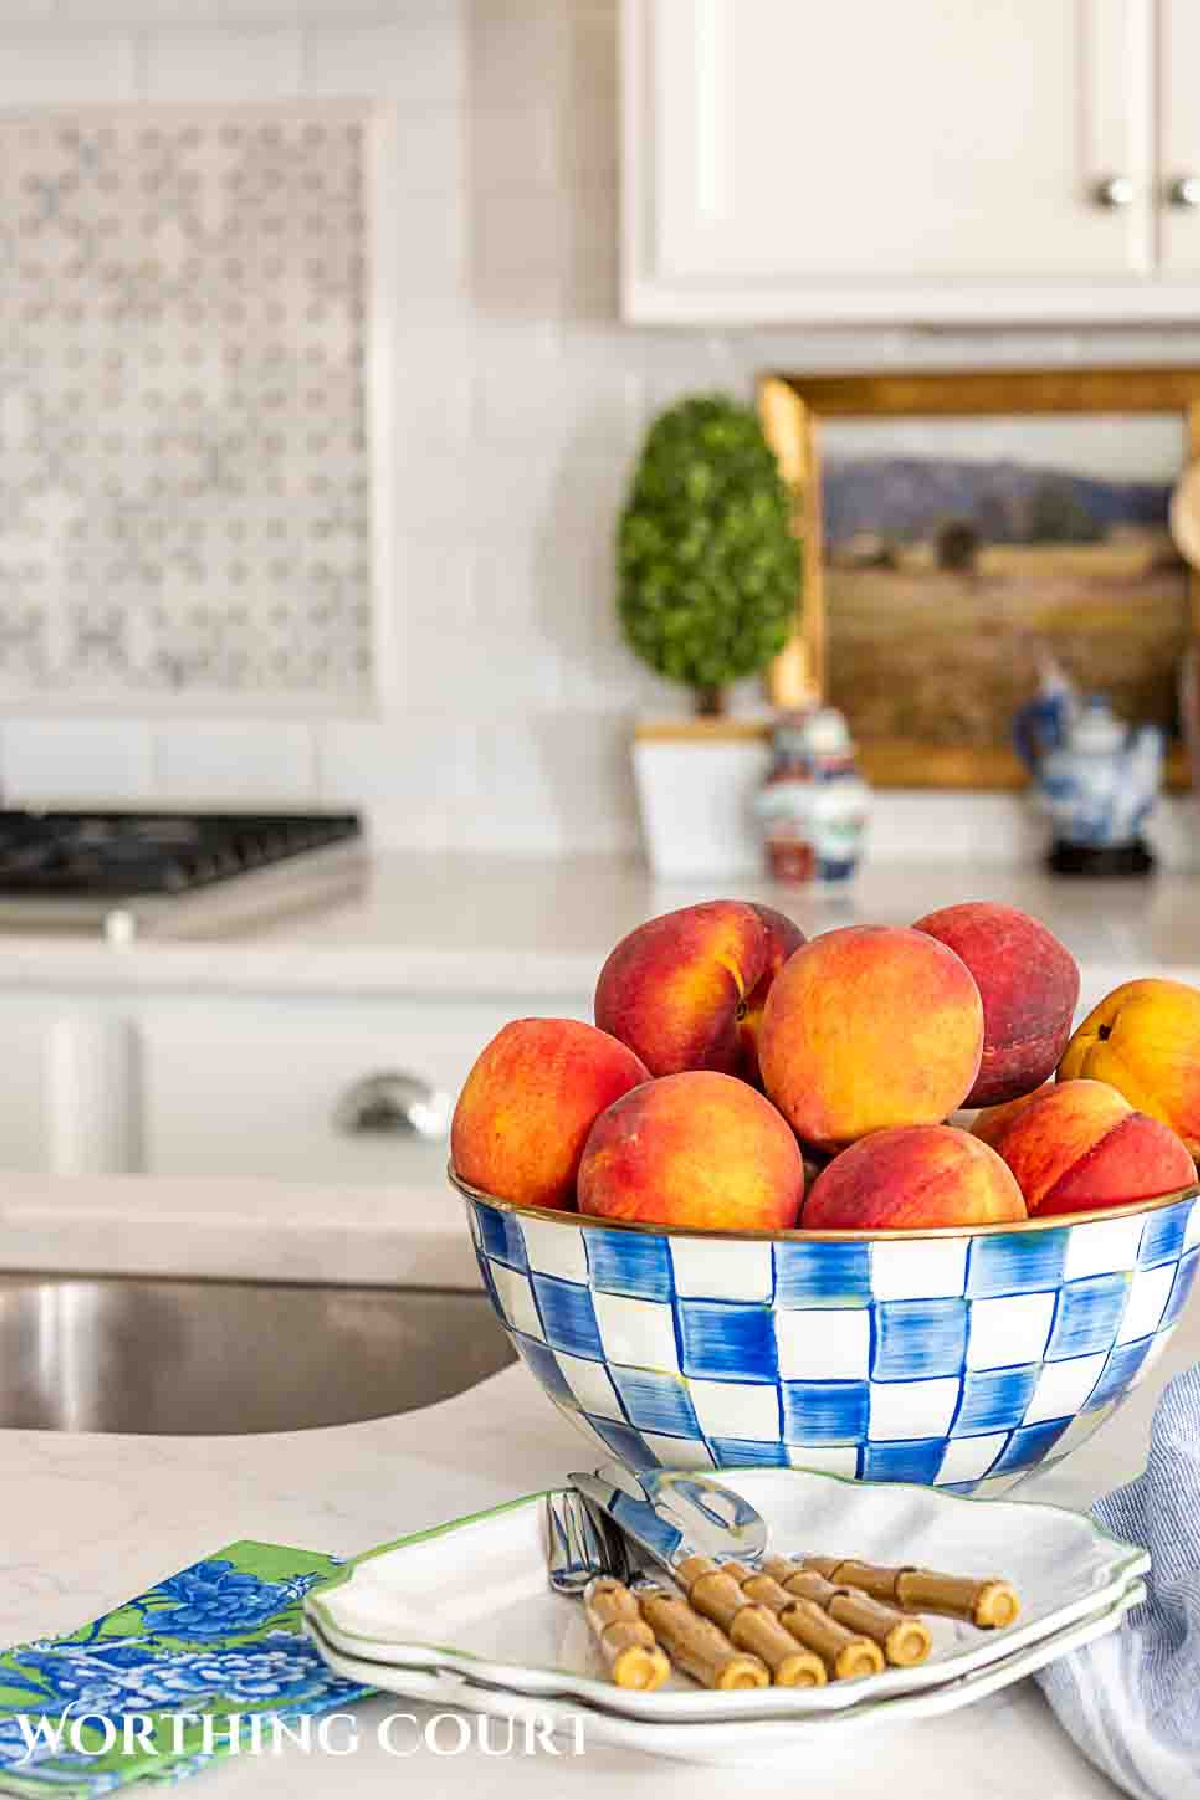
Let’s take a look at layering in action in some of the rooms around my house.
Flooring
I have hardwood floors in all of the living areas of our home. Most of the rooms have area rugs, but for various reasons, some do not.
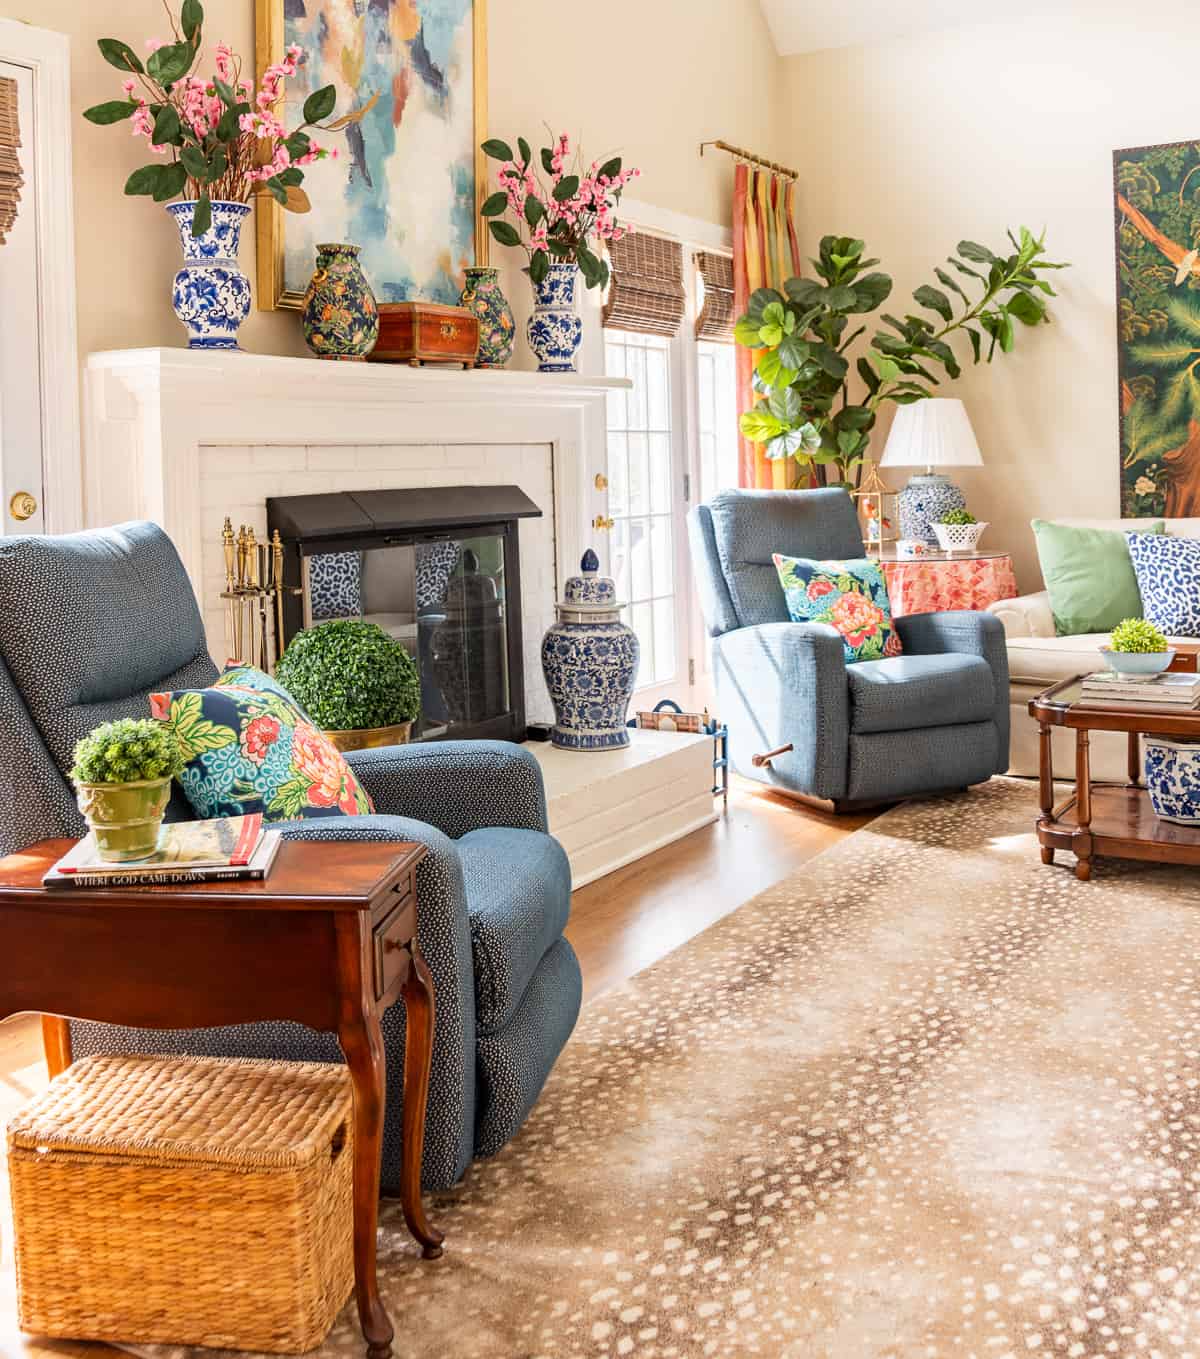
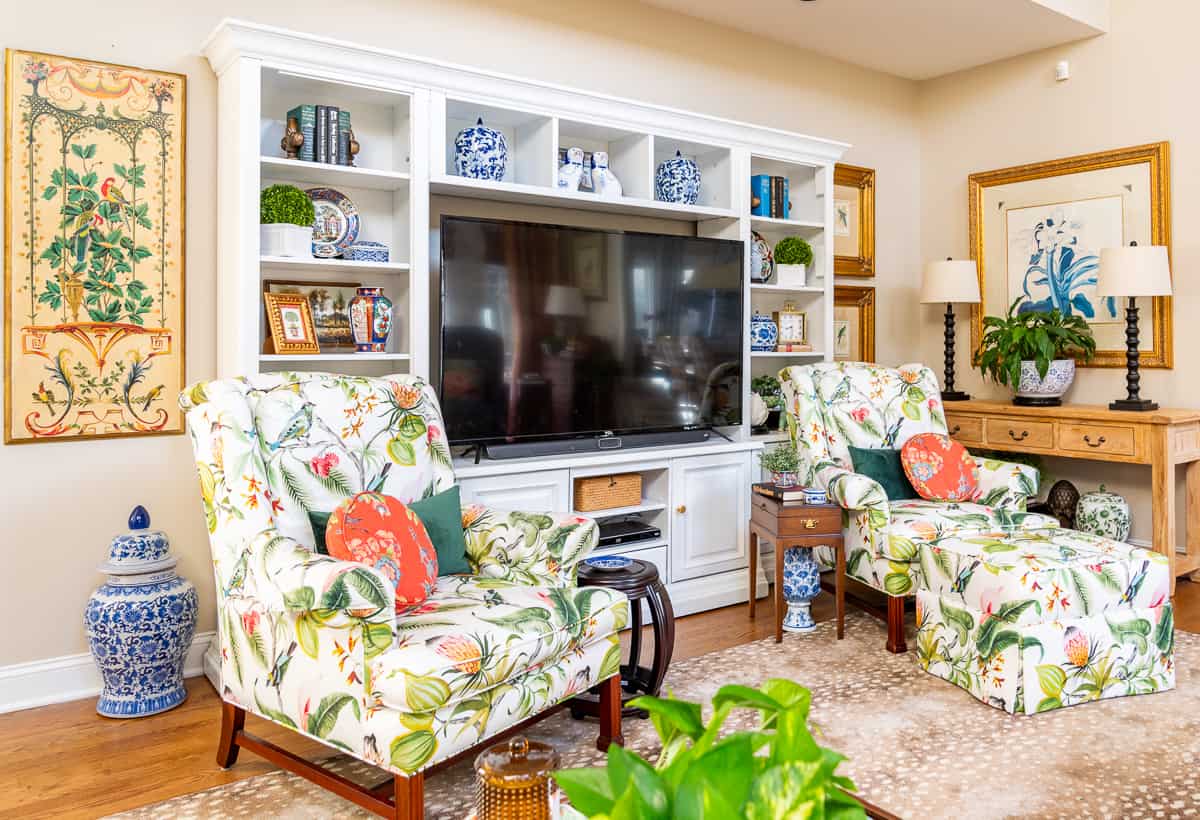
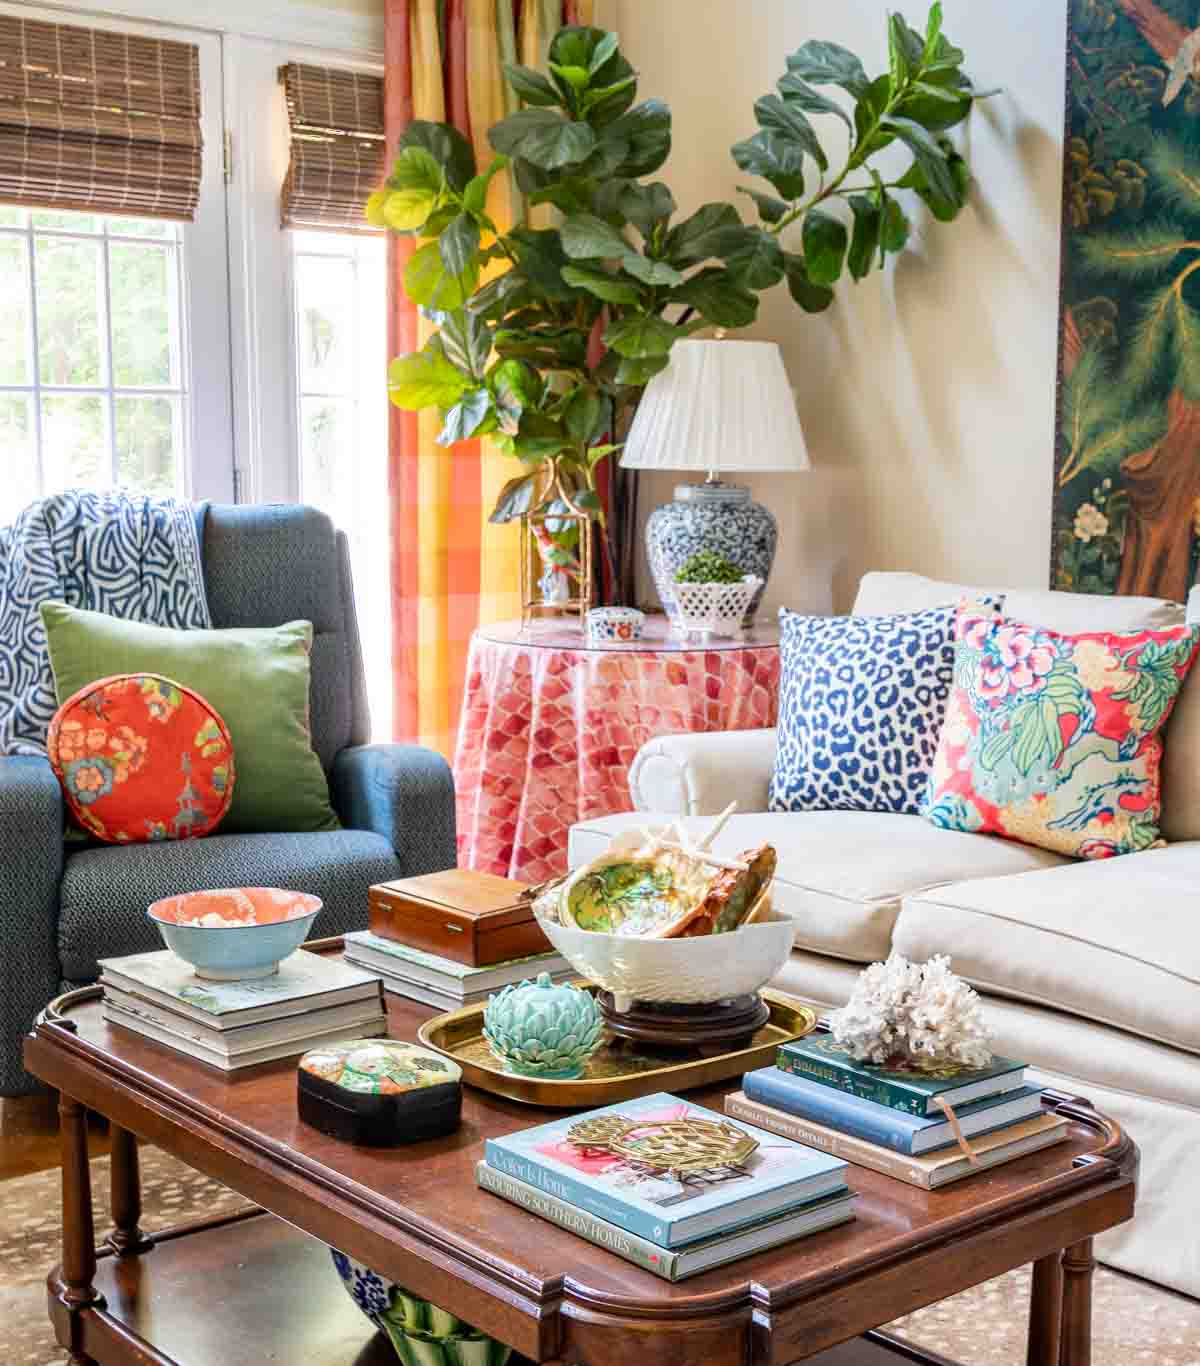
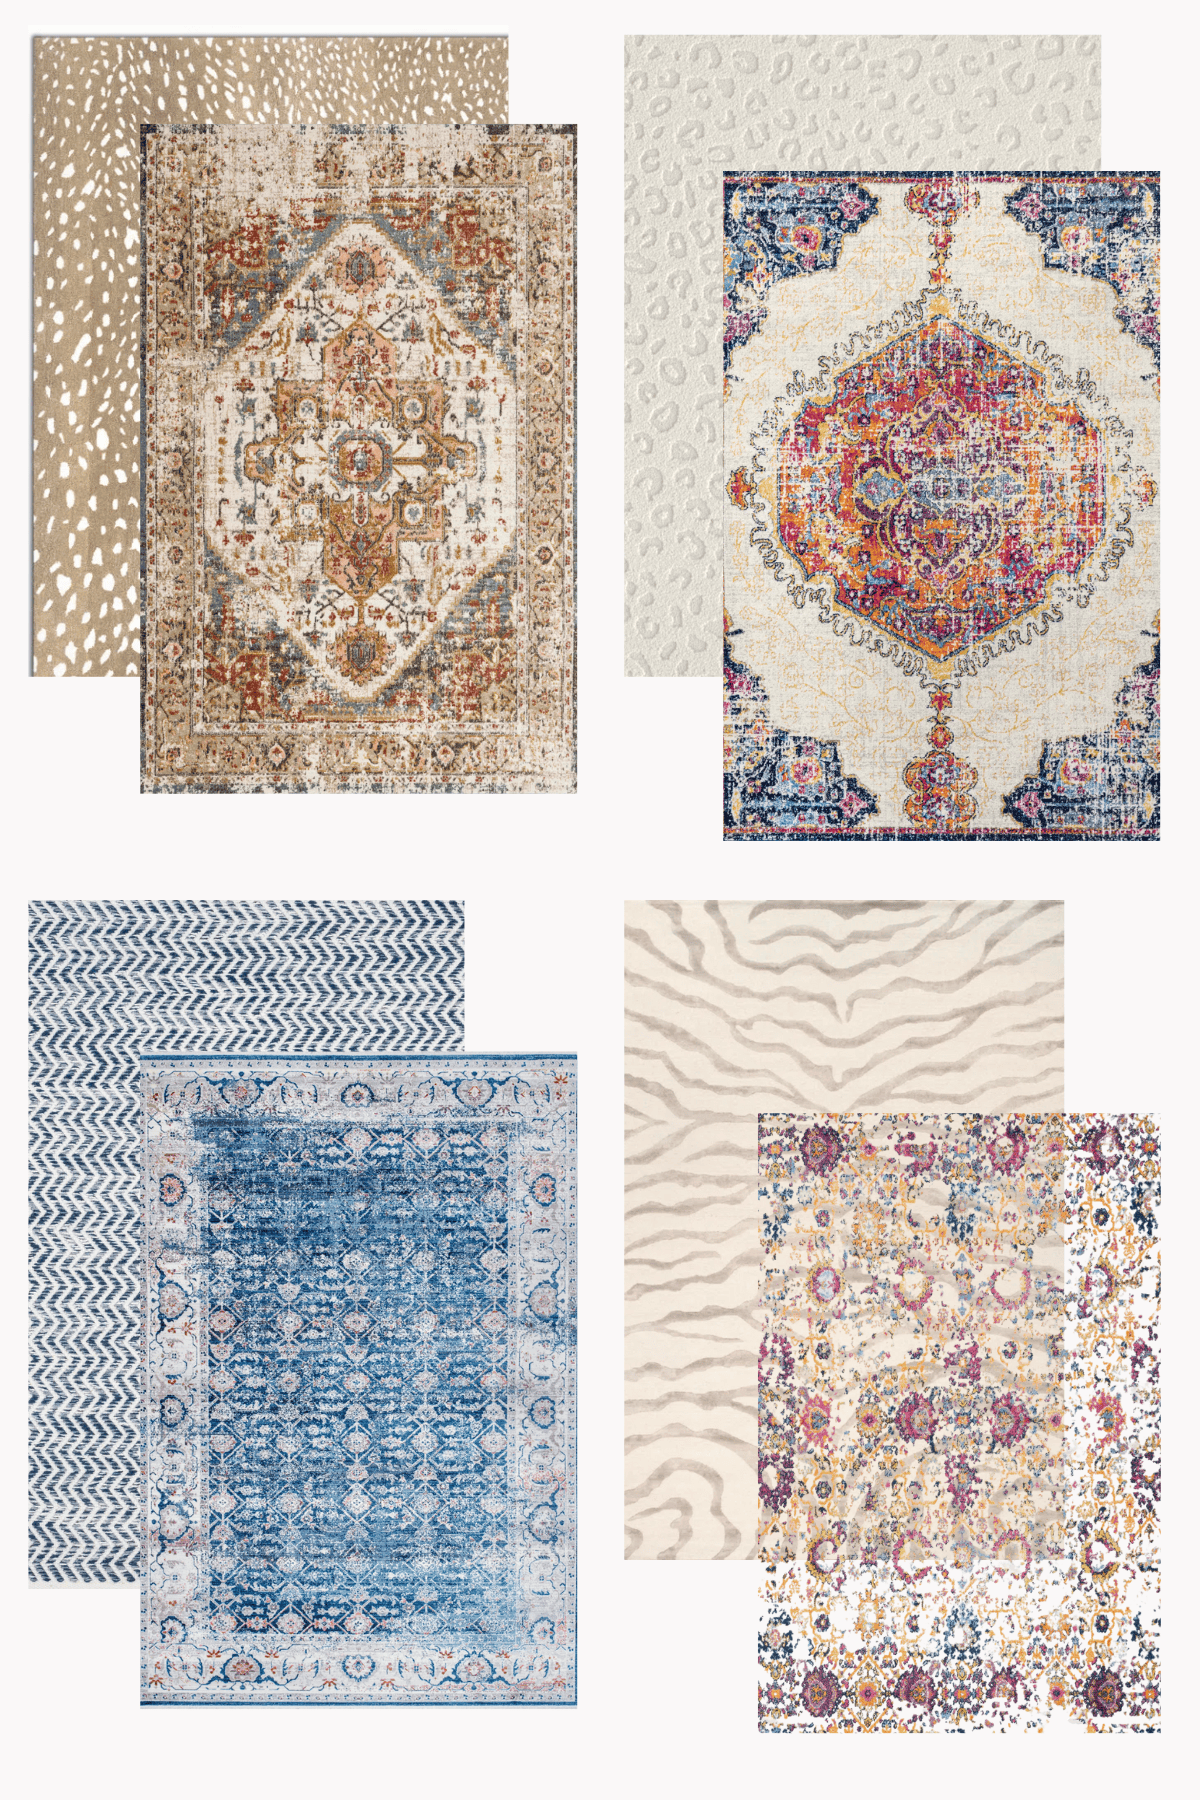
My living room is one of the spaces that does have an area rug and during its refresh, I added a large animal print rug over the hardwood floors.
Not only does using the best area rug in a room add coziness and help to define a space, it adds visual texture to a room.
Easy enough – right?
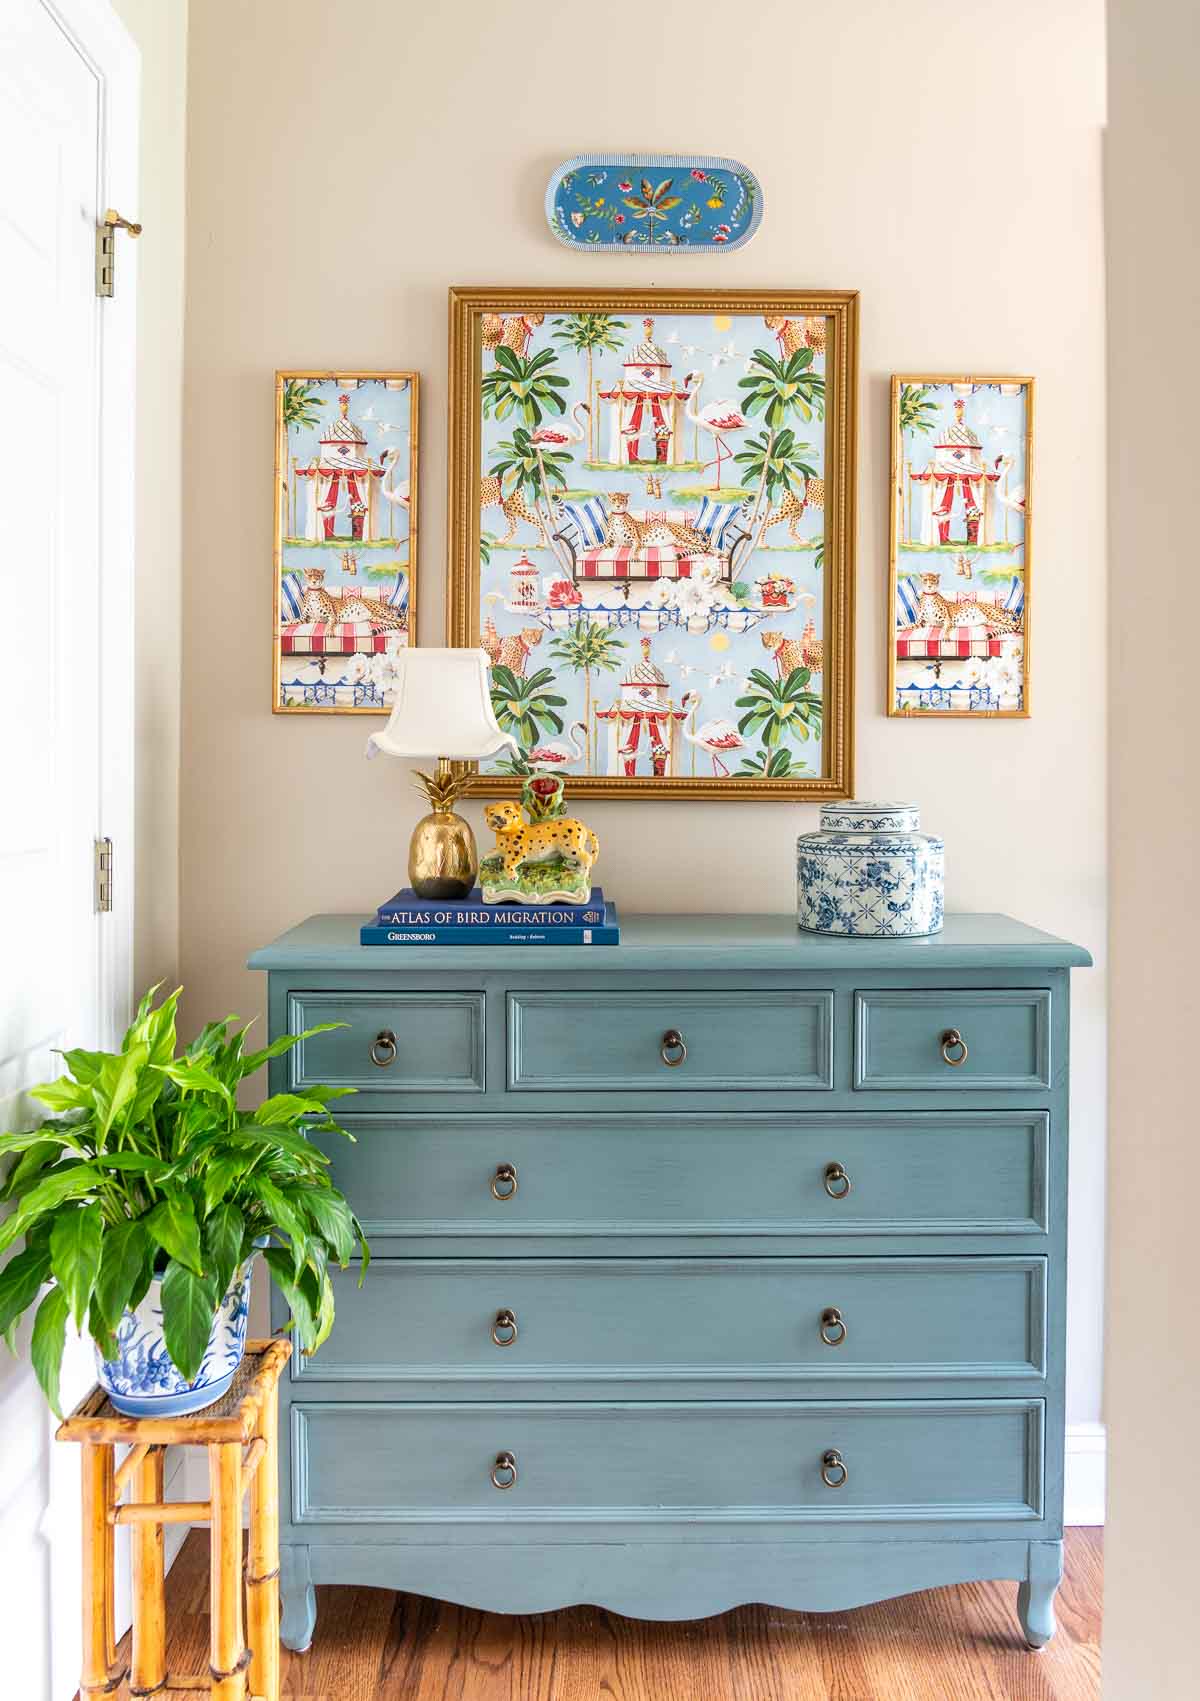
Walls
Layering decor on a wall can be as simple as hanging a single piece of artwork on the wall or as complex as creating a stunning gallery wall.
Artwork works well to add a layer of pattern, color, and dimension to the walls in a room. It works well to bring plain painted walls to life!
If you crave simplicity, then that single piece of artwork is just fine, such as the single piece of art hanging above my fireplace.
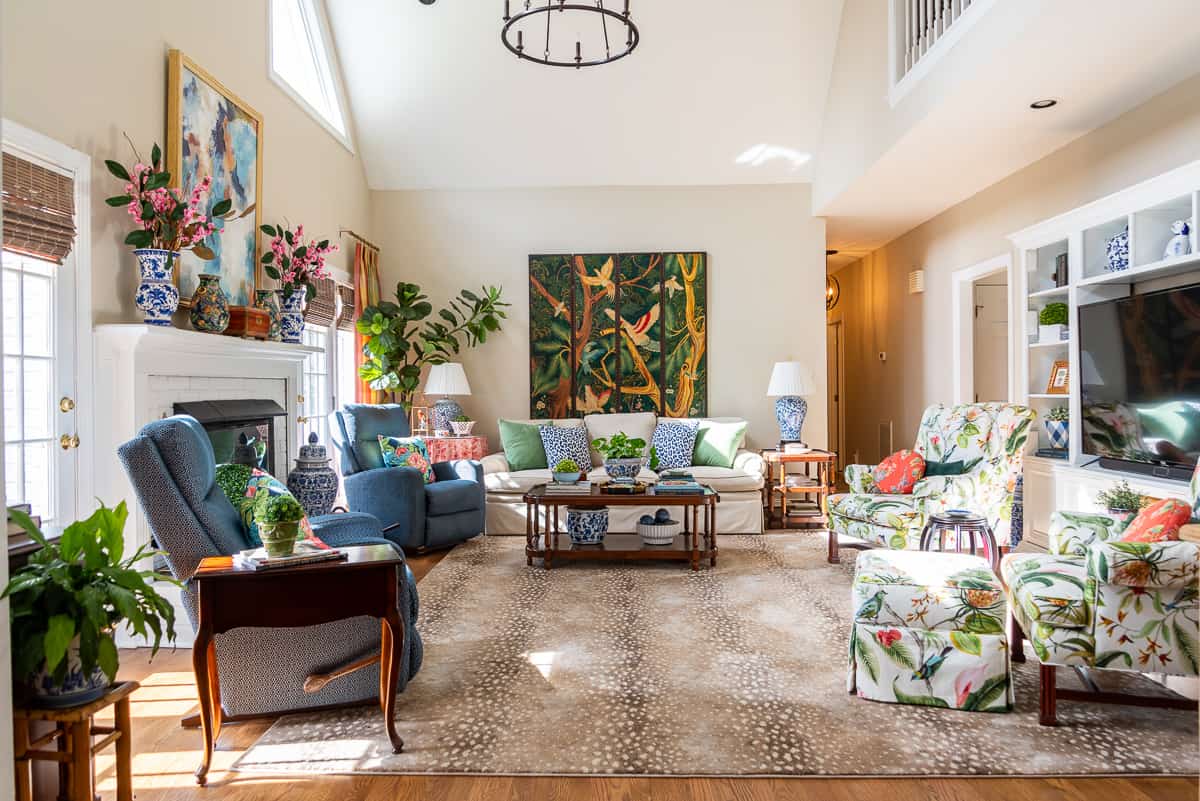
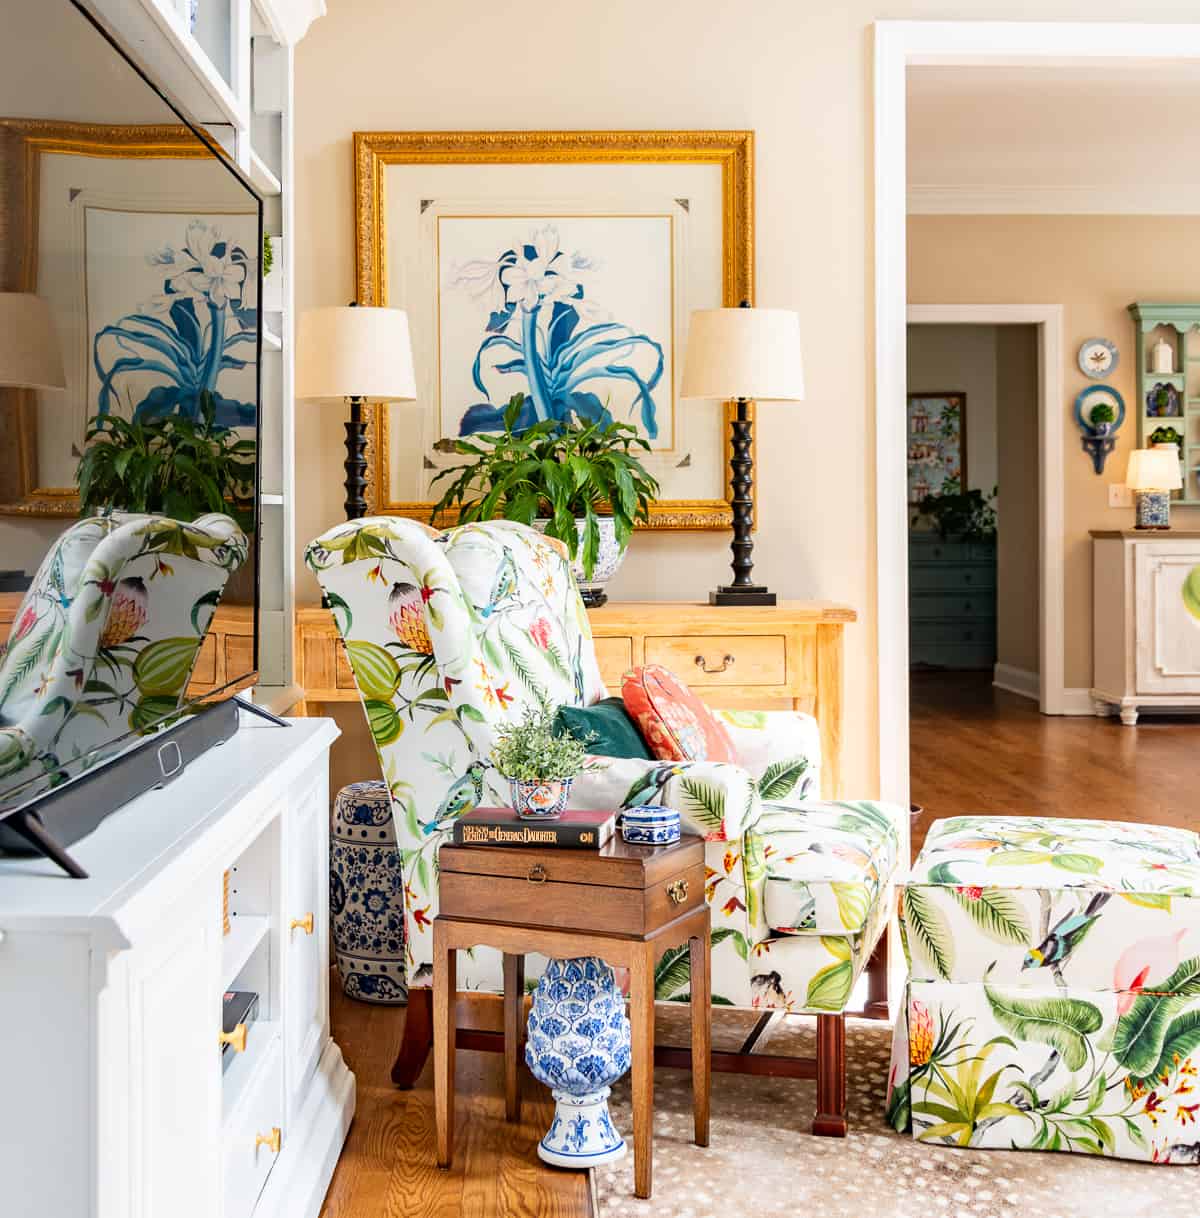
On the larger wall where my entertainment center is located, I used art to add dimension to this side of the room, where a ceiling overhang really plays havoc with the furniture arrangement.
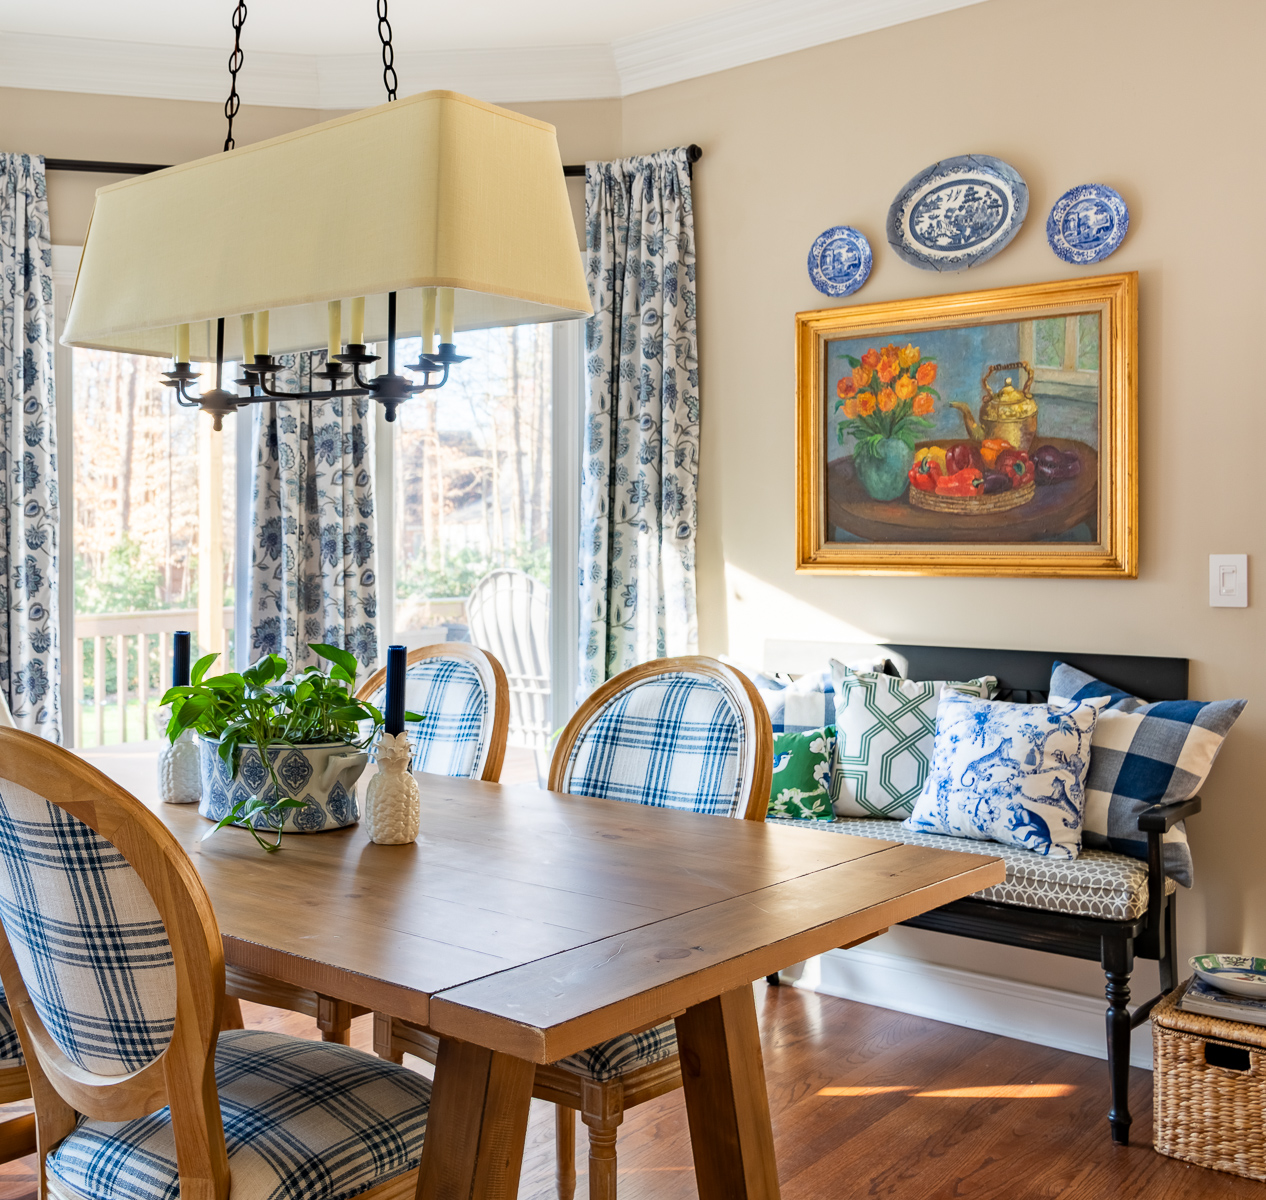
Window Treatments
A simple pair of draperies on a window can be just fine. In fact, that’s what the majority of the windows in my home are like.
But – sometimes a window (and the room) needs more. Adding another layer to your windows can turn a bland wall into so much more!
For example, if you study the fireplace wall in my living room, you’ll realize that it’s really just one looonnnng wall of flat stuff. There’s a fireplace, flat against the wall flanked by a pair of flat French doors. Left alone, it would be boring and well…..flat.
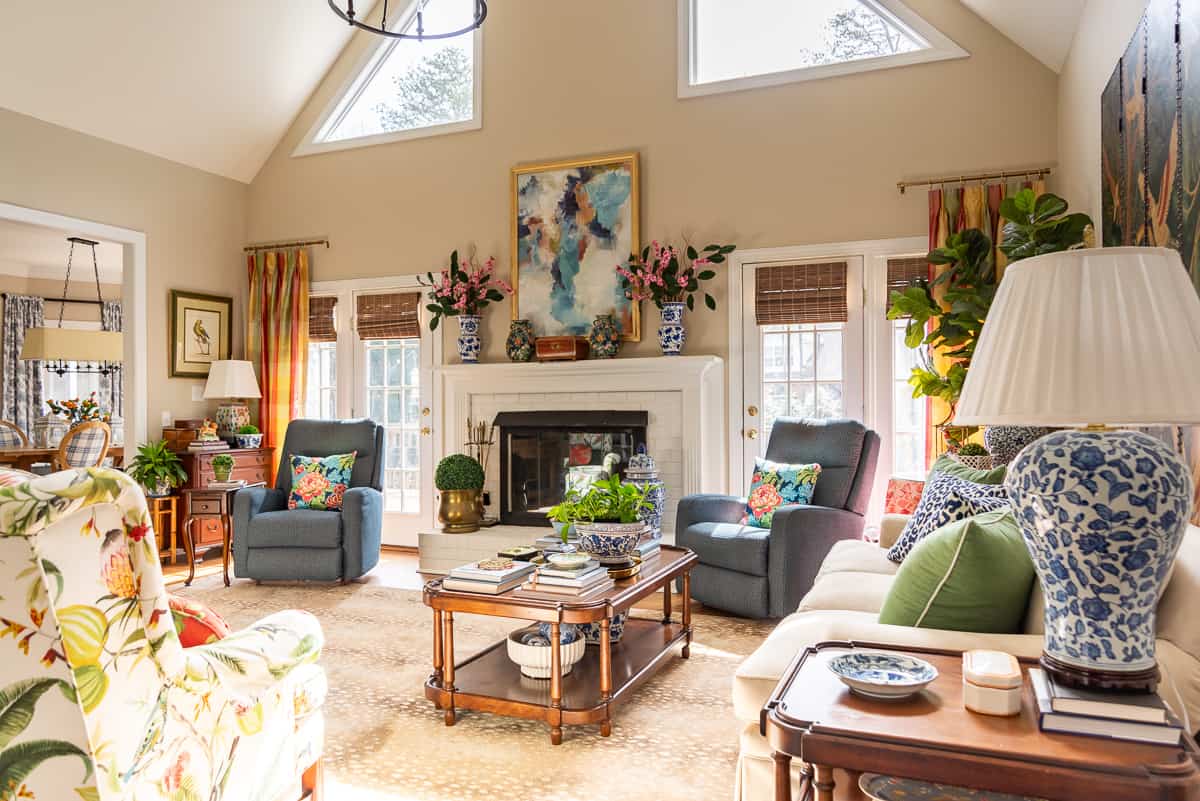
To get rid of all of the square angles and to frame out the entire wall, I added the softness with drapery panels.
But instead of just hanging a drapery panel on each door, I also added wood slat blinds and then hung the drapery panels over them. The added layer of blinds adds some much needed dimension to the wall.
By the way, these draperies are temporary placeholders, but I still want them to look as good as they can until I have the opportunity to replace them!
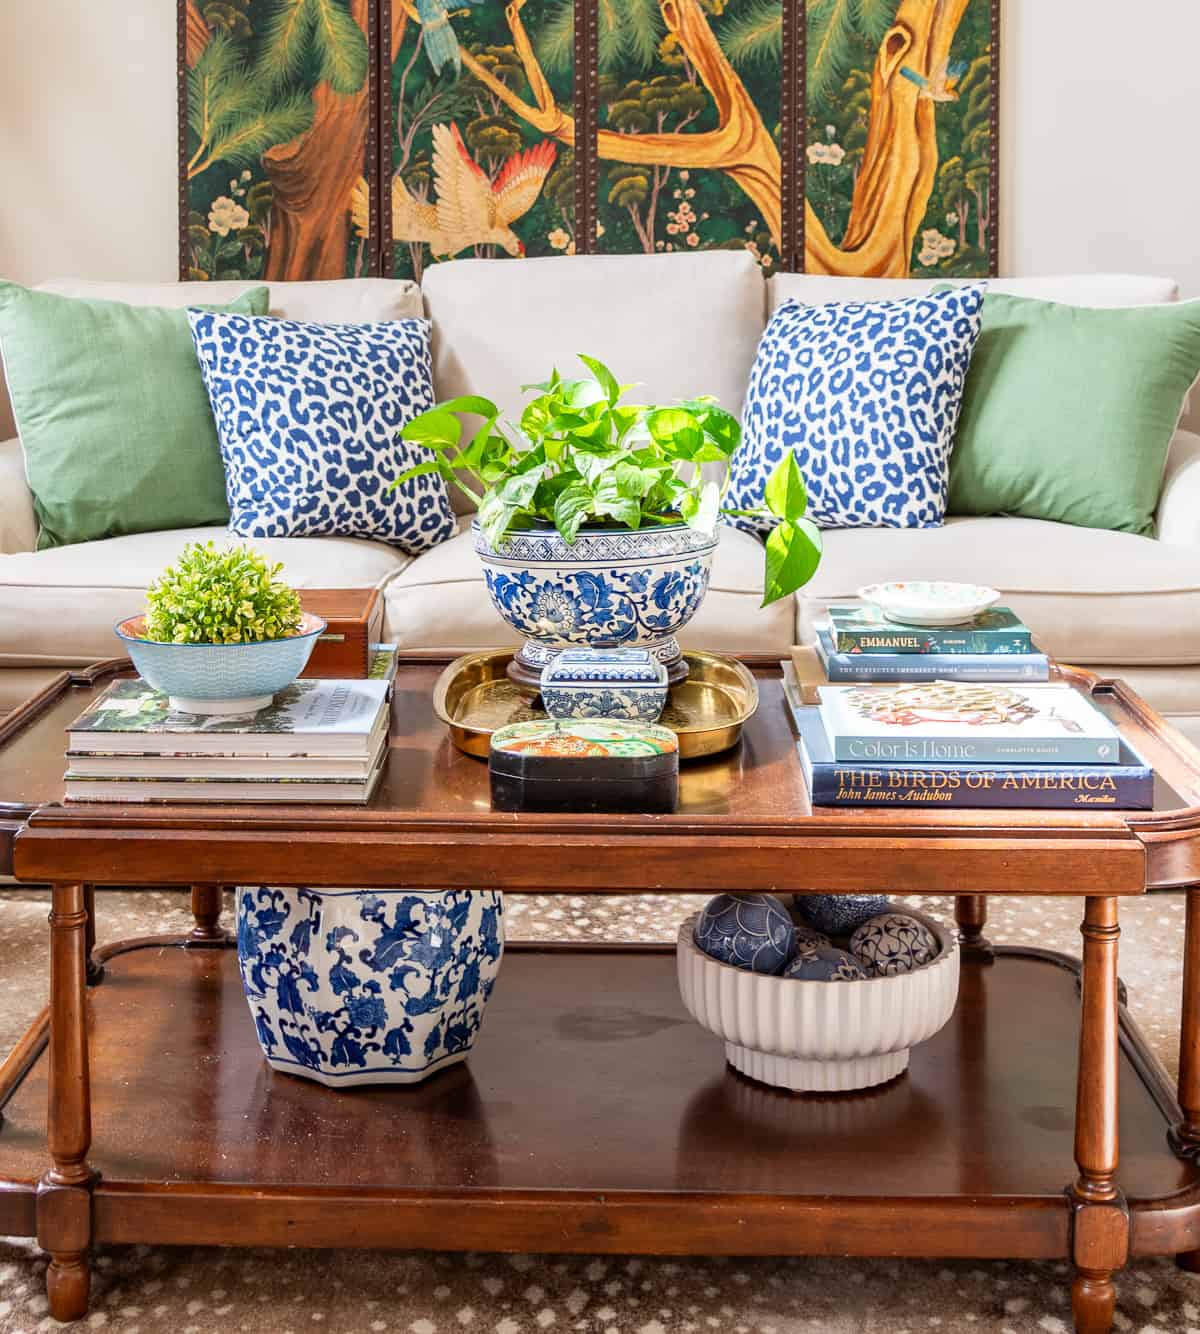
Furniture
Using a coffee table in front of a sofa is just one example of layering furniture in a room.
Left to his own devices, my husband would much rather never have a coffee table in a room. He’s a tall guy (who’s eyes aren’t always looking down – translate that to bruised shins!) with a long reach, so his desire for a wide open space is understandable.
As much as I try to accommodate his wishes, that just doesn’t work for me. I need the coziness of enough layers of furniture in a room to keep it from feeling like an incomplete space.
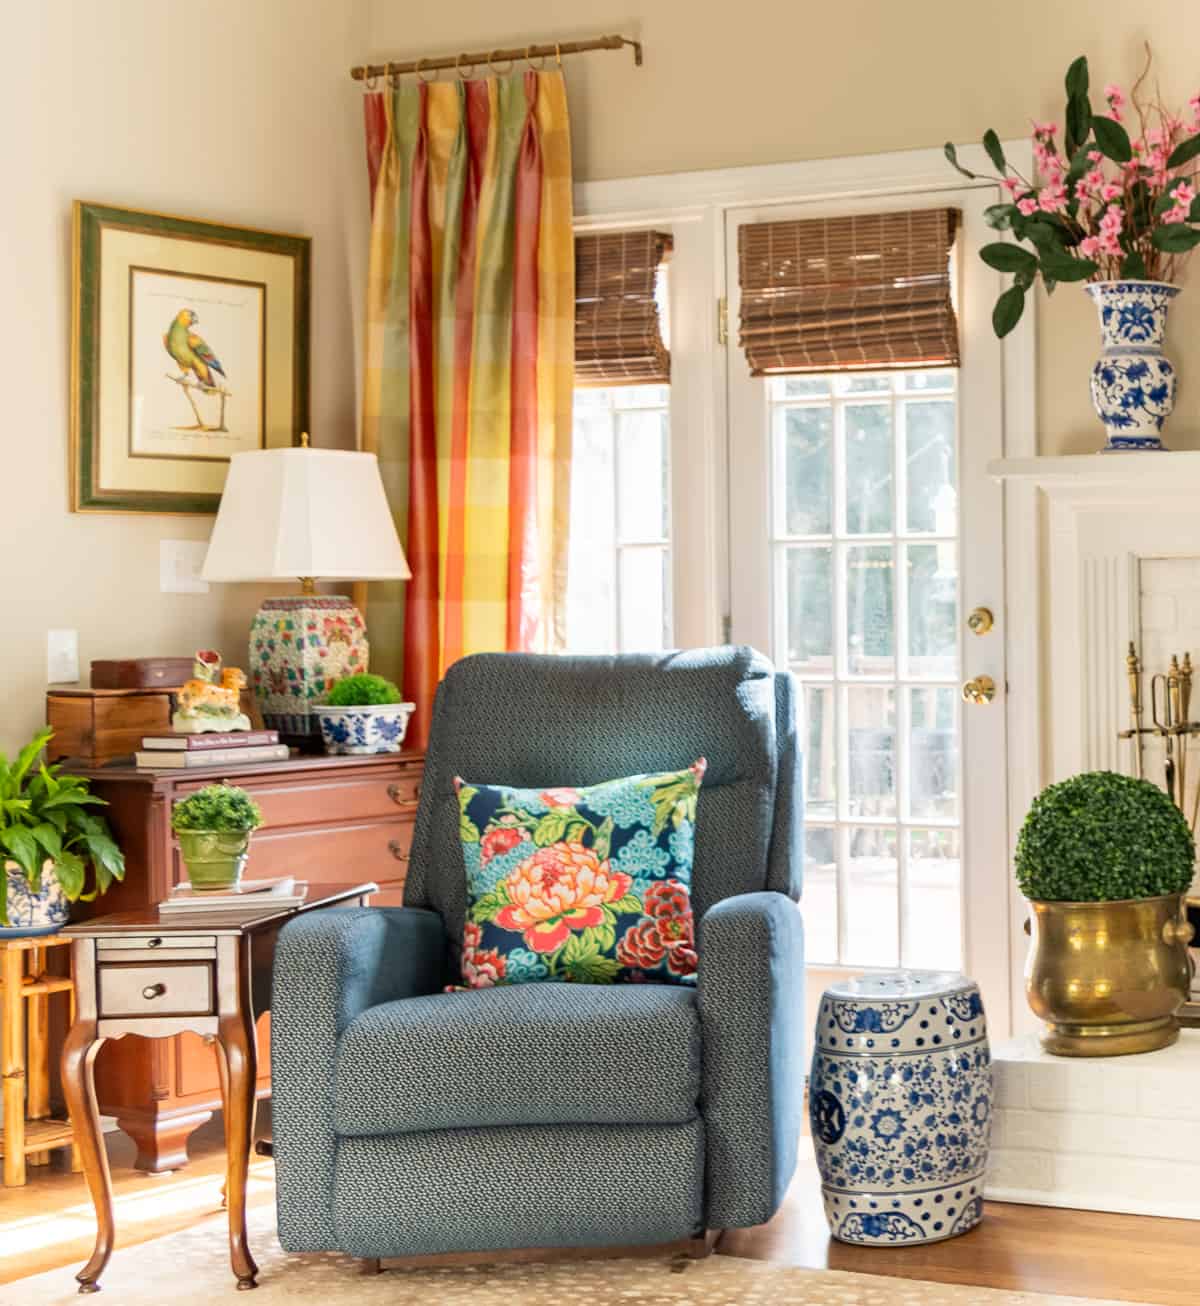
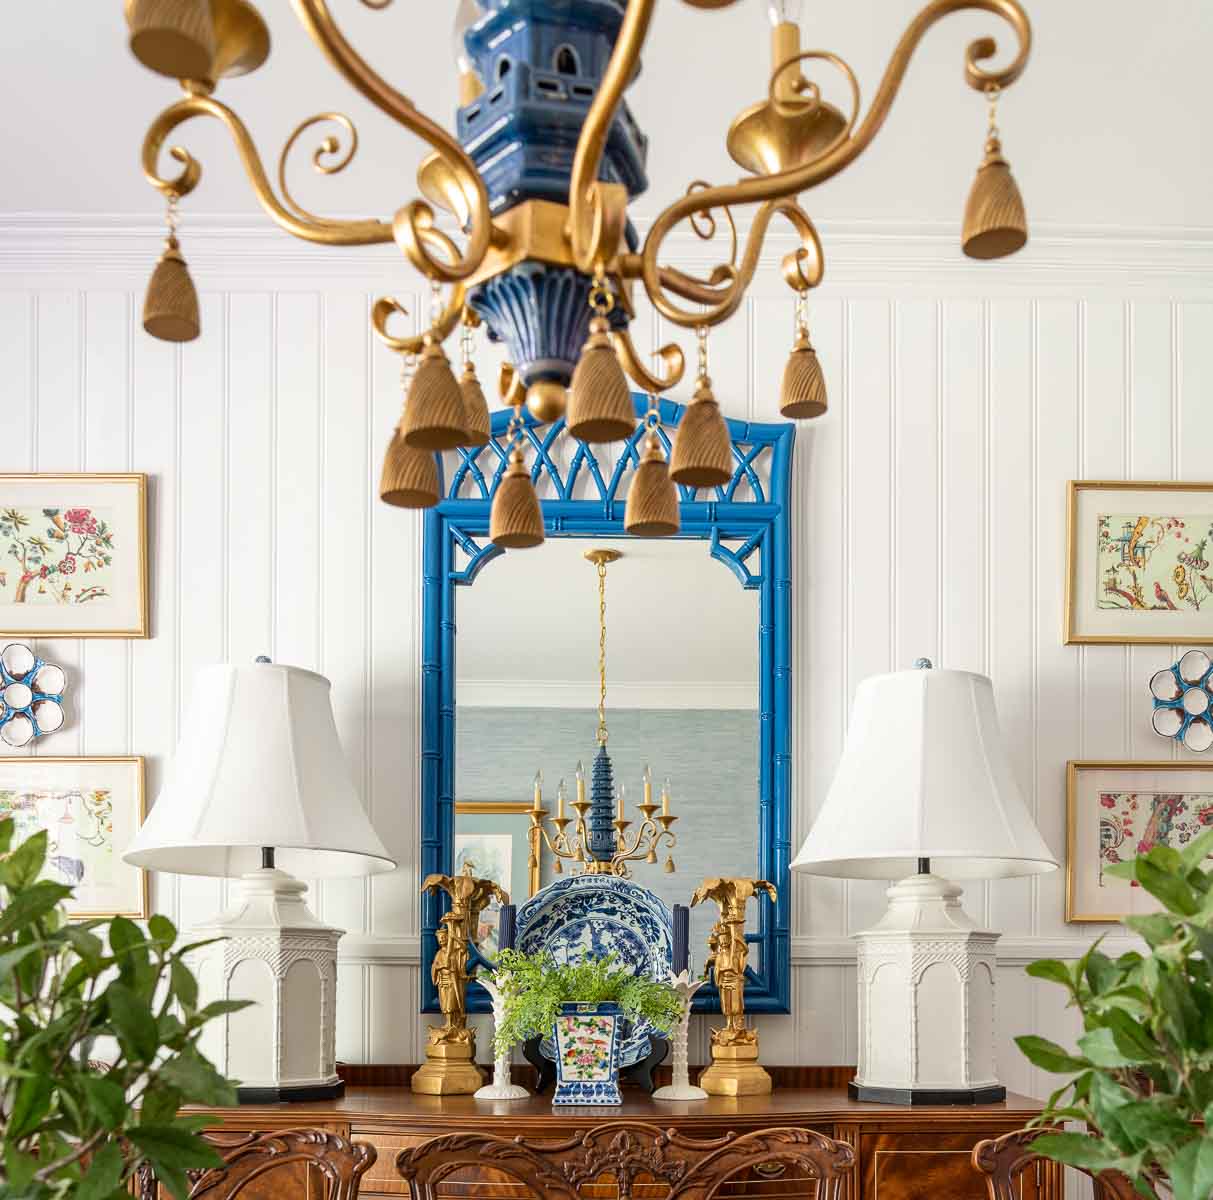
Lighting
The idea of layering lighting in a room means that instead of just having one light source, such as an overhead light, your rooms should have multiple types and levels of light.
Think of it as creating a “lightscape” by using an overhead light source + table lamps + floor lamps + task lighting (when needed) + accent lighting.
All these things combined together will give you a room that’s functional as well as a visually balanced room.
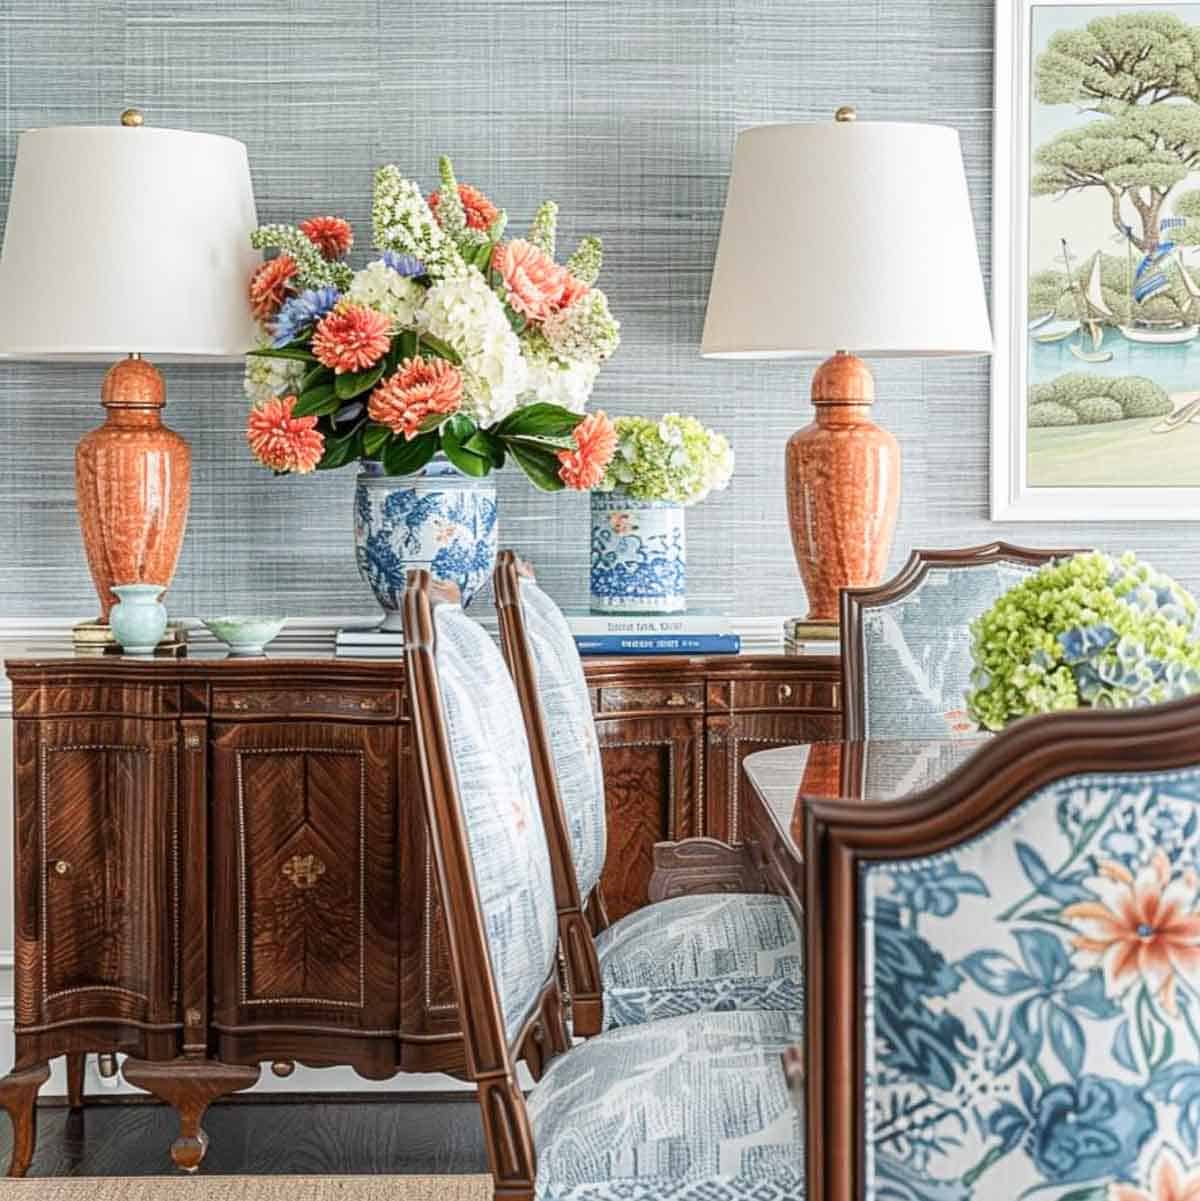
Textiles
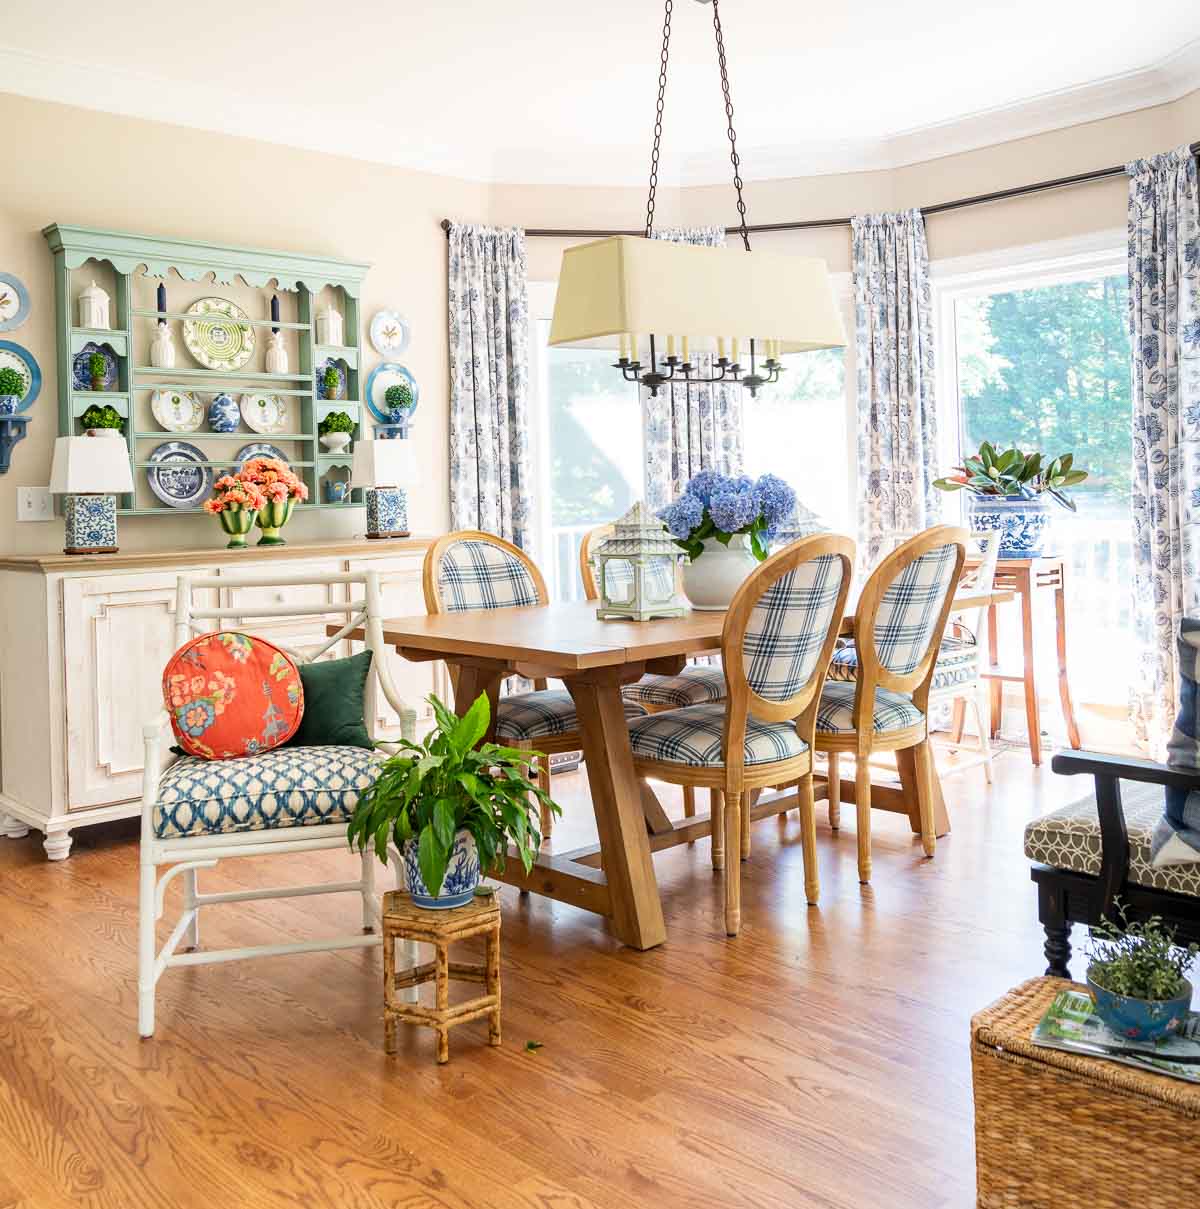
Pillows, blankets and throws make layering with textiles so easy! Think of textiles as the works of art that add instant personality and style to your home.
The exact same sofa decorated with boldly colored and patterned pillows or throws will give the same room a whole different vibe than that same sofa layered with soft neutrals.
And don’t be afraid of mixing patterns! The trick is to make sure that the colors and sizes of the fun patterns compliment one another.
Here’s the key to mixing pillow patterns in a room:
- Include one pattern that is larger. It will become the dominant one in the group.
- Choose a second pattern that’s half the scale of the first pattern.
- Mix geometric or plaid patterns with floral ones.
- For a fourth layer, add a solid or something with a tiny pattern.
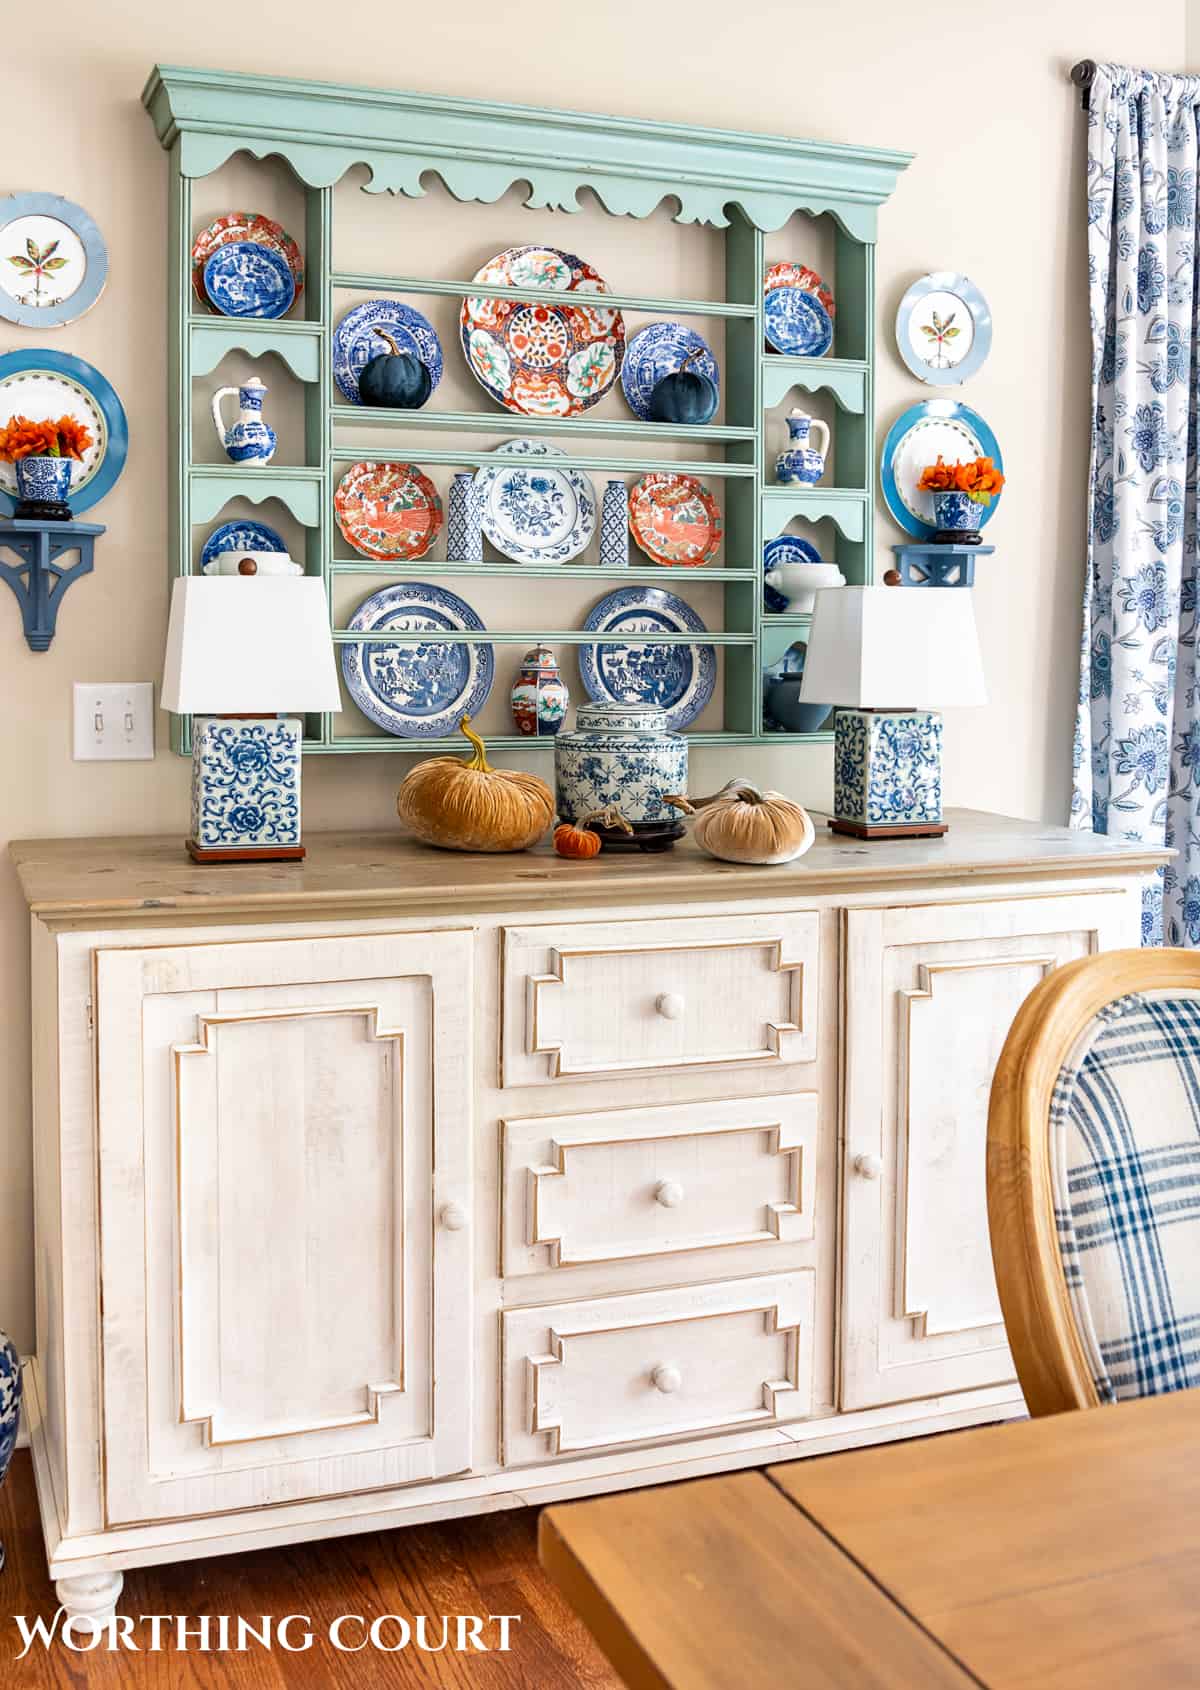
Decorative Elements
The decorative accessories that you add to your room act as the final layer of the decor. This is your opportunity to really let your personality shine!
It’s also an opportunity to draw the eye where you want to or to disguise some aspect of the room that’s less than attractive.
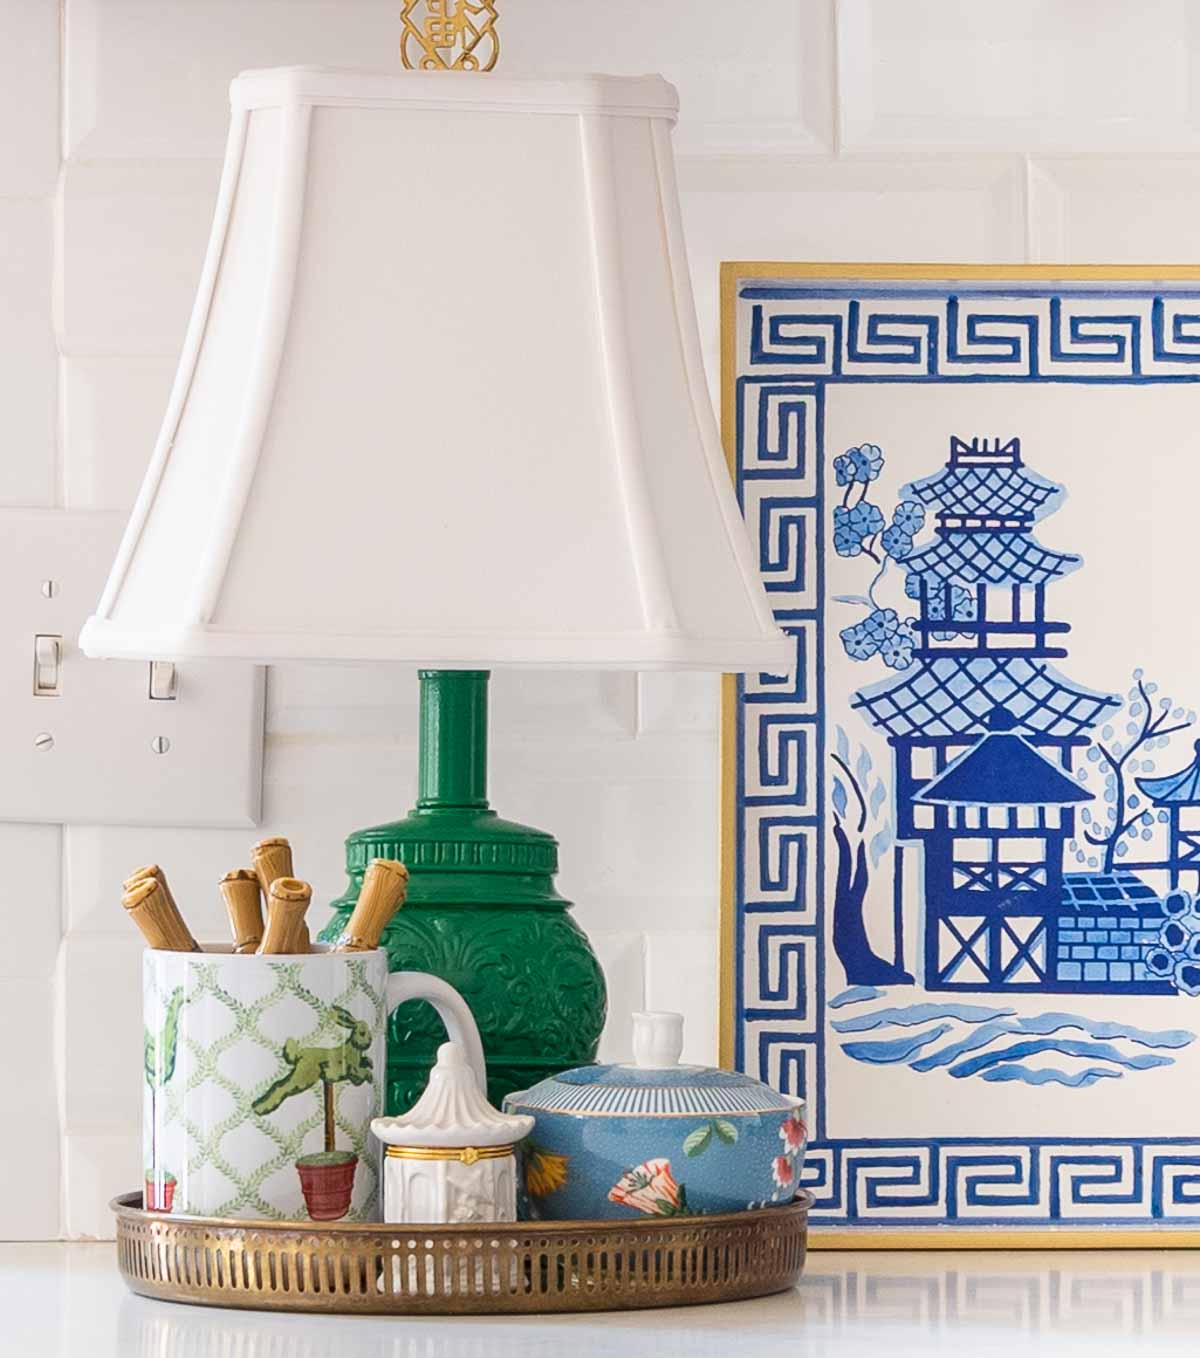
Whether you’re a minimalist or a maximalist, adding the accessories layer to your decor, you want to strike that soft balance of not too much and not too little.
If you’re unsure, try snapping a few photos of your room with your phone. You’ll be amazed at how differently things come across in a photo than in real life.
I hope this post helps you understand how easy layering really is. By starting with the fundamental pieces like furniture and gradually adding elements like rugs, pillows, and artwork, you create a layered look that is not only stylish but also deeply personal.
Remember, there’s no single right way to layer your decor. Trust your instincts, and use what you love. The most beautiful rooms are those that reflect the personalities of those who live in them.
So, let me encourage you to take a little time to experiment and to try different combinations and you’ll become a master of this important aspect of decorating before you know it. And above all – have fun!
Next in the Simply Decorating series: 7 insider secrets that designers don’t want you to know.
To follow along with the Simply Decorating Series, sign up for my emails.

Layering seems to be the way to go. Thanks!
Great ideas!
Thank you so much, I just love your blog!!
Great article! I’ve realized that I have too many small details decorative small items and I need some larger pieces.
Thanks for the tips!
Love those large pine cones!
Love all these ideas!! Layers it is!!
Thanks for sharing. I love the layering idea, it feels so cozy. The decorated tray is beautiful!
Great ideas! Thanks Suzy:)
Great ideas.
Just love, love your blog. Where did you purchase window shades?
Thanks!
Hi Erin. They shades came from Home Depot. Here’s a link to the same ones that mine are: http://fave.co/1V3n3rS .
Great ideas!
Great tips!!!!!
Great ideas! Everything is so beautiful and well put together. Any ideas of how to decorate a 90 degree angle mantel behind a free-standing wood stove? It’s hard to put a large item in the center, when the center is a corner behind a stove pipe.
Hi Shelley. I dealt with the exact same problem in one of my houses! I’d probably keep it rather simple. I think I’d try something on the large side, like a piece of art or a large clock, centered on one side of the corner. Then add a roundish potted plant (real or faux) off to the side of the large piece (on the side closest to the end of the mantel), that is layered in front of the corner of the art/clock. Then on the other side, toward the end of the mantel, I think that I’d place something with a little height to it, like a grouping of different height candlesticks or a couple of different height lanterns. Having the height of the candlesticks/lanterns would help to balance the height of the art/clock on the other side. Just those few items might be all that you need so as not to wind up with a too-cluttered look. Hope this helps!
Thank you so much, Suzy! I really appreciate your advice, and I’m going to try your ideas this week.
Great job. Love the layering.
All of it is so beautiful!!
You have such great ideas. Love your style. Look forward to your post every day. Keep them coming with all your great inspirations.
Love these simple ideas!! Thanks, they definitely help me!
I agree layering makes a huge difference! I love those shelves and how you styled them.
Wonderful tips, Suzy. I like the idea of putting something large on the wall as a starter. 🙂
Love these ideas!