How To Make Driftwood Using Paint And Stain – An Easy 4 Step Formula
An easy 4-step formula to get the look of driftwood on just about any surface. This method of “making” driftwood stain is perfect for furniture makeovers and updating home accessories.
If you love the rustic warmth of driftwood colored furniture or having just a few driftwood gray home accessories sprinkled around your home, this formula is super easy and is a budget friendly way to update the decor in your home.
I love a driftwood weathered wood finish, don’t you? I love it because its soft, bleached gray look blends well with anything and everything. However, purchasing furniture that already has that much-desired patina can be pricey! And finding driftwood decor accessories just isn’t very easy – it seems they get snapped up pretty quickly.
Just because it’s pricey or I can’t find the real thing very often, doesn’t mean that I can’t get the look in my home though. If you know me at all, you know I’m all about budget decorating and using what you already have, so after lots of experimenting with different techniques, I’ve come up with an almost too-easy-to-be-true formula to get the look and you can use it on just about anything!
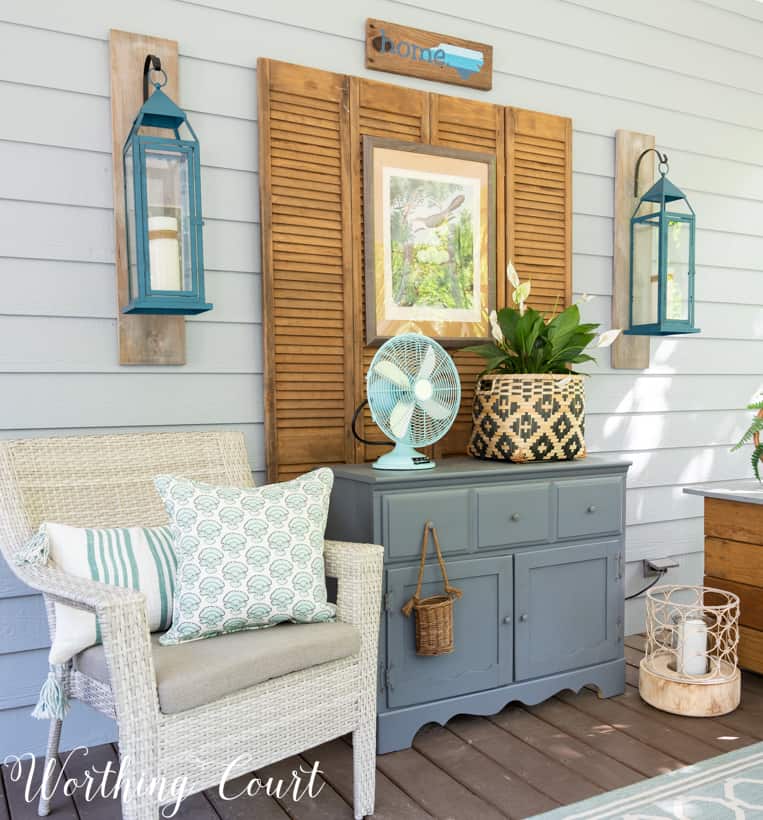
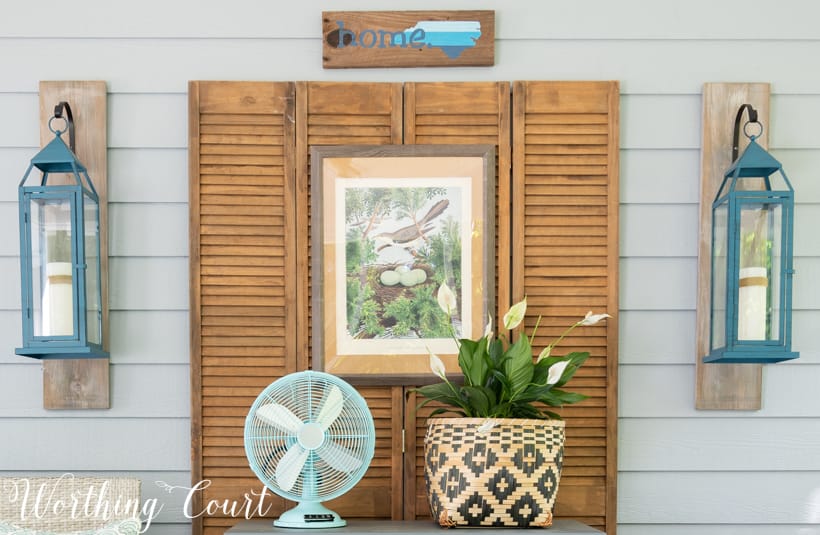
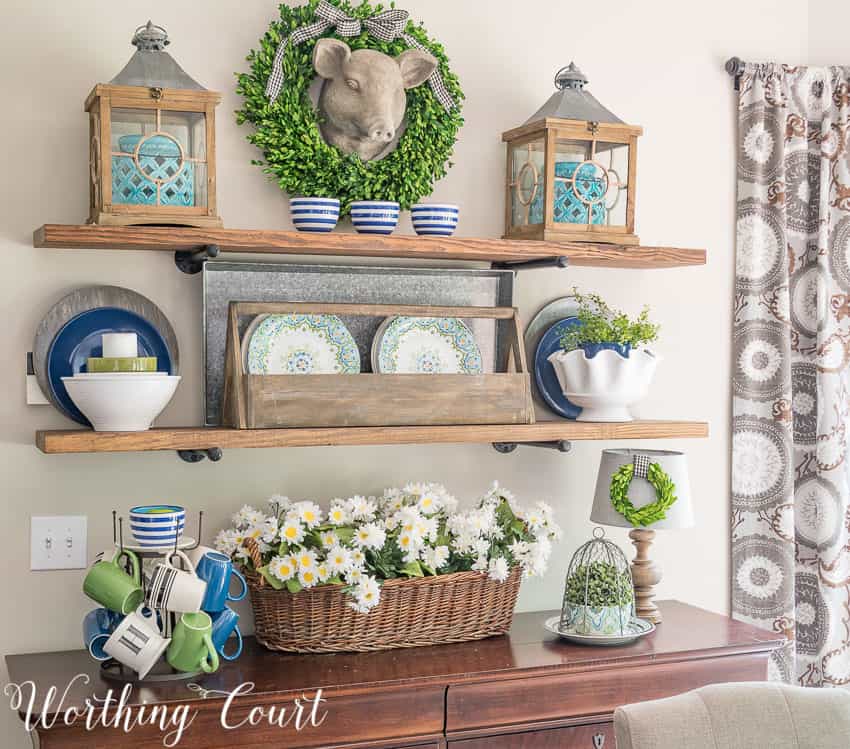
I used my faux driftwood formula on the backer boards for the lanterns hanging on my screened in porch. Then I always get tons of questions about where they came from!
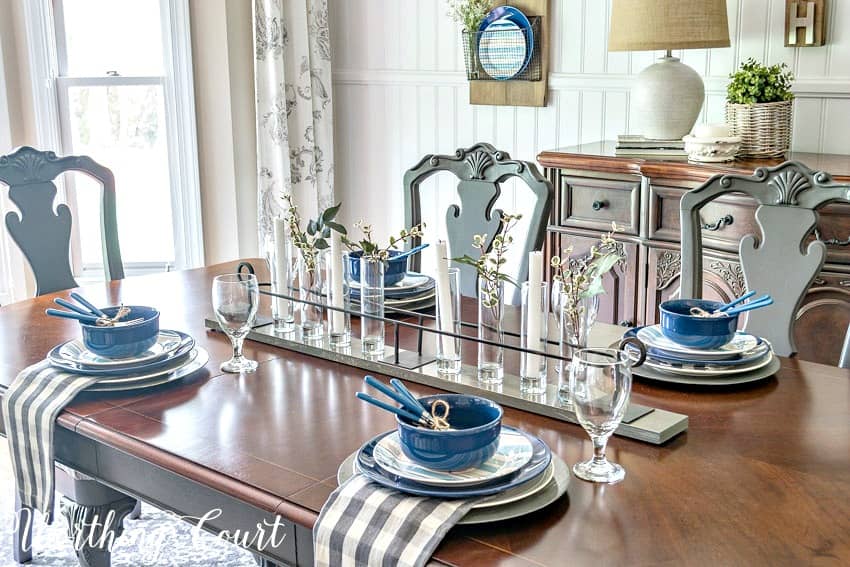
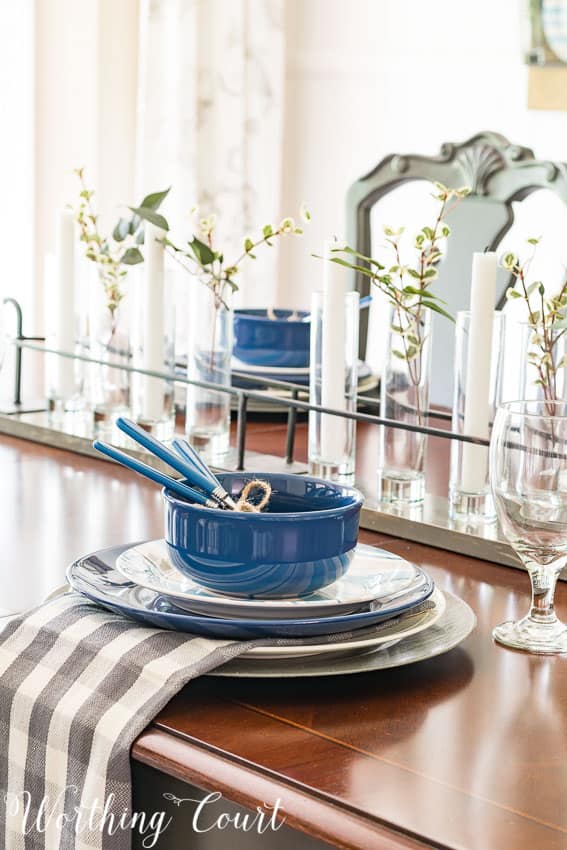
I used it on two parts of the table setting for a summer dining room tablescape. Would you believe that the chargers under each place setting are plastic and used to be shiny gold? And that the piece of wood under the centerpiece is just a scrap of wood that we had lying around. You can’t see it very well, but I gave it the faux driftwood decor treatment as well.
I used the same stylish chargers as part of the summer shelf display in my breakfast room one year. Notice that the reproduction vintage toolbox and small lamp also have a faux driftwood style finish.
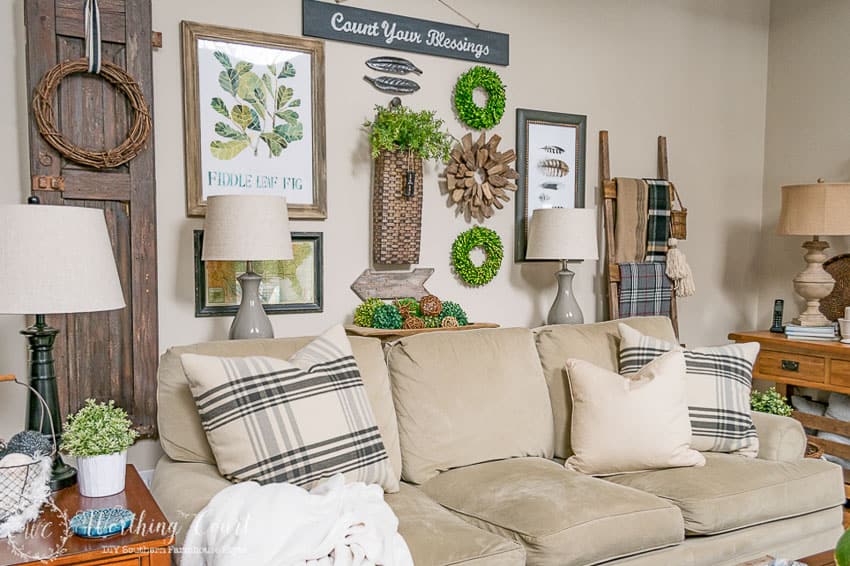
I used the formula to transform a black frame and other art pieces that were part of a gallery wall. By the way, this wall doesn’t look anything like this anymore! I gave it a total overhaul with a new updated look that you can see HERE.
You can see all the beachy driftwood inspired decor.
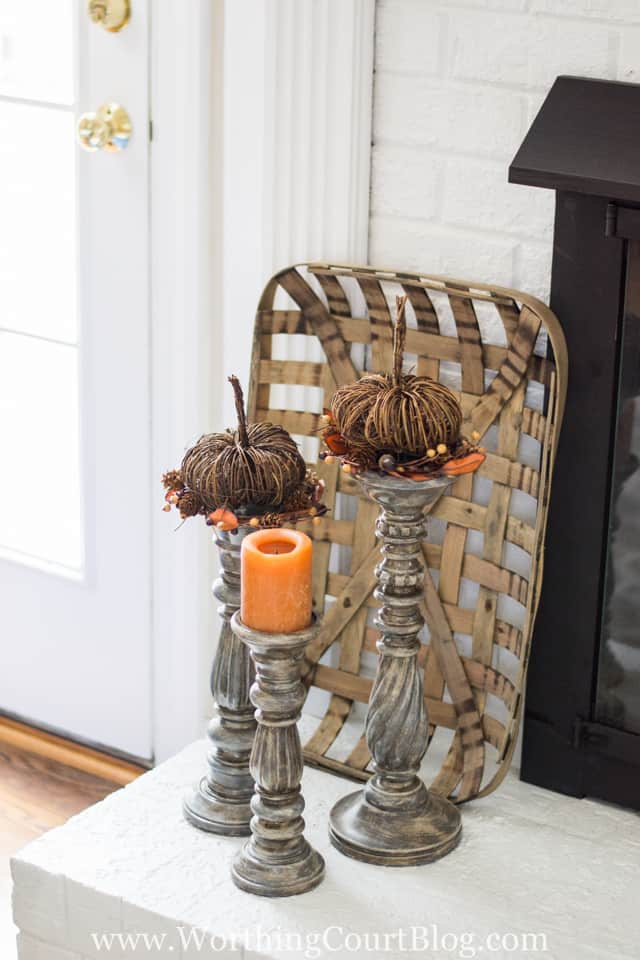
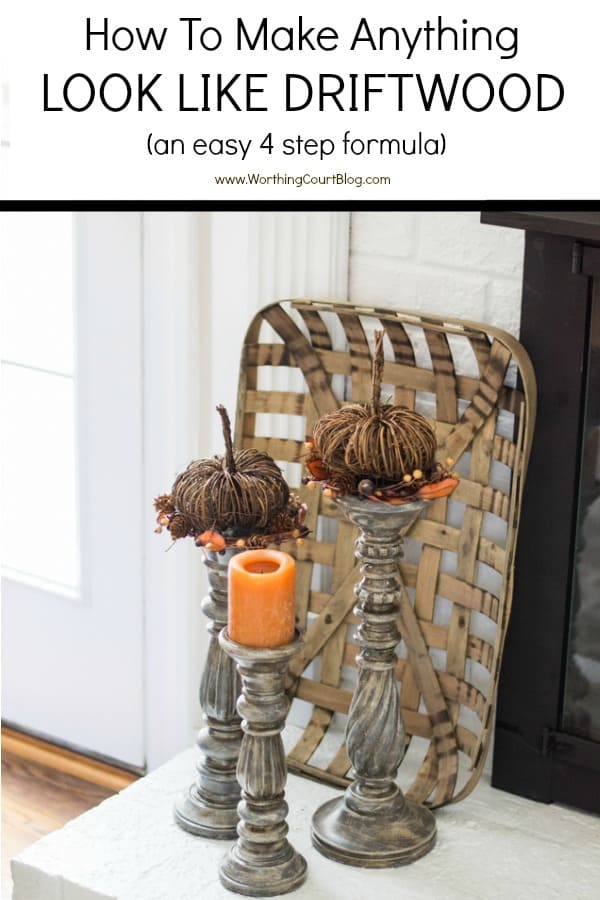
I get lots of questions about these eye catching candlesticks any time they make an appearance in a blog post. I bought them on clearance and they were originally painted red, green and yellow. Now that they look like driftwood, everyone wants to know where I found them! They create such a dramatic focal point.
Using my shiny gold chargers as the example, let me show you just how easy my driftwood stain formula is!
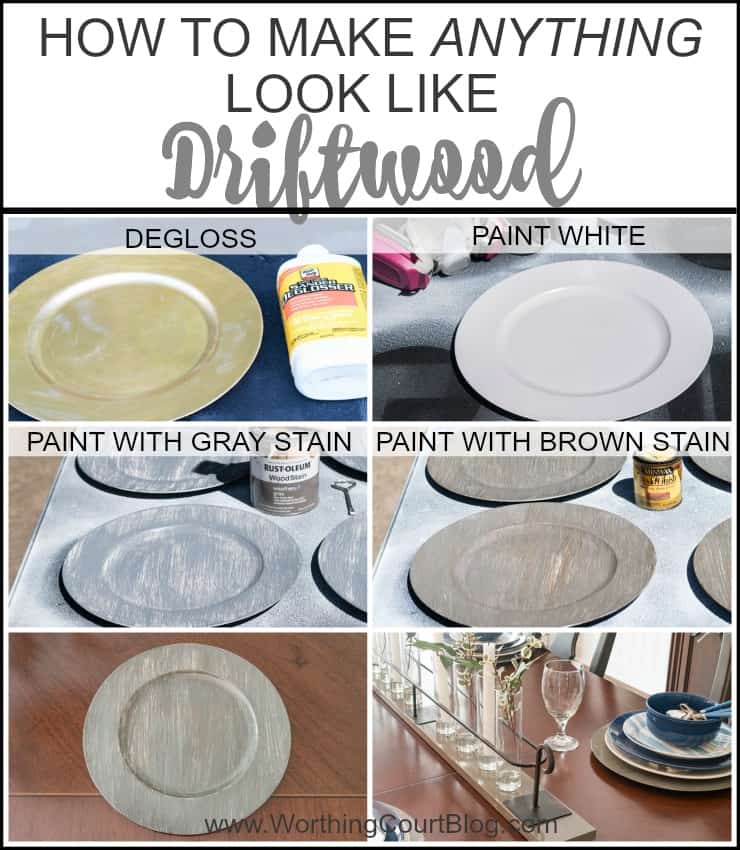
STEP 1:
If the surface of your object is shiny, wipe it down with liquid sander/deglosser and allow it to dry. Liquid sander/deglosser can be found in the paint department of any big box home improvement store.
STEP 2:
Paint the object solid white and allow it to completely dry. You can use spray paint or paint from a bottle or can.
STEP 3:
Apply any brand of gray stain over the dried white paint. Make sure to keep all of your brushstrokes going in the same direction.
STEP 4:
While the gray stain is still wet, apply a coat of any shade or brand of brown stain over it – again keeping the brush strokes going in the same direction. Allow the piece to completely dry . Once dry, seal with a matte sealer, if you desire, but allow the piece to completely dry before using.
NOTE: Depending upon the surface you’re applying this technique to and the humidity level, stain may take longer to dry than paint, but it will dry!
A few tips:
- Any shade of brown stain will work, but I would avoid an ebony or red mahogany shade to get this look.
- If you don’t want to wind up with shiny “driftwood”, be sure that the white paint you use has a flat finish.
- I like to apply the brown stain while the gray stain is still wet. The two kind of meld together and I believe it gives a more realistic look to the finished product.
- I use an inexpensive chip brush to apply the stain. In fact, I use the same brush for both stain colors. You may want to pour some of the brown stain into a separate container if you use the same brush for both colors. That way you won’t “contaminate” the whole can of brown stain with gray stain or vice versa.
- Don’t be afraid to add more gray or more brown to get the look that you’re after. There have been times when I’ve added more stain even after I thought the piece was finished and everything was dry.
- If the overall look of your piece is too dark, try very lightly dry-brushing more white paint on top of the dried stain.
- I’ve tried mixing up the steps for which color to apply when, but I think this method works the best.

Sadly, real driftwood has become scarce along the beaches of North Carolina in recent years. Everybody is on the lookout for it, so if you happen to find some, be sure to grab it! I have several pieces that I inherited from my mom that I would never give up. Yep – real driftwood from the beach is that “valuable” to me! 😀
I love, love, love the candlesticks. I am for sure going to give this a try. Thanks for all of your great ideas. You are an inspiration.
You are so VERY creative!
Sounds easy! I need to try this!
And to think I almost threw away my shiny silver chargers! Definitely going to use your technique to give them “new” life.
Wow! It looks so easy! I’m not much of a driftwood lover but the candle holders turned out beautifully. I’m thinking I need some!
Love your driftwood finish!!! Can’t wait to try it!
I live too far from the beach to look for driftwood, so I am glad to know how to get that look by doing it myself!
Wow, thanks for sharing this easy idea! The candlesticks look amazing and I’ve got some to try it on!
Your chargers look great and never thought of painting them. I have some that could use this process. I will have to go driftwood shopping on the beach!
Great idea….thanks!!!
I just discovered your blog last week and have already fallen in love with it!!
WOW! I love this technique and the results. Thanks for sharing!
I cannot wait to try your driftwood formula. Your candlesticks look amazing!! Thank you for sharing all of your wonderful ideas.
Love the look on the candlesticks
Thanks for sharing. I am going to give this a try. Love those candlesticks.
Love driftwood. We are blessed that we still have some on the rivers here in Alabama. But I love what you did with the chargers and candle sticks. You can’t find driftwood that look like chargers and candle sticks. I appreciate you showing us how to do this and as usual your blog is wonderful.
Great idea!! I have a bunch of gold charges that I could paint like this. Thanks for the idea.
Great idea!
I love this!!! My neighbor and I were just talking about how to make a furniture piece look like driftwood! Thank you so much for sharing how to achieve this!
So creative! Love the results