Laundry Room Makeover: From Trashy And Unuseable To Bright And Organized
I am excited to finally share my laundry room reveal with you!
After many months and several starts and stops, my laundry room reveal is finally ready to share with you. Come on in – ya know, because who doesn’t like to hang out in a laundry room – right? LOL
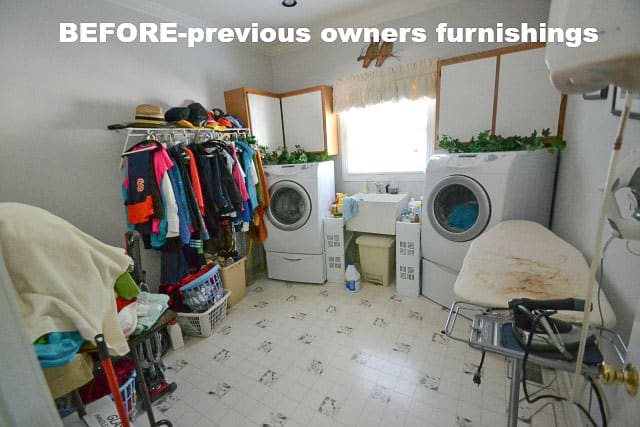
Before we go any further, let me show you what we started out with. This is what the sad room looked like the day that we looked at the house. Sure the room was a hot mess, but it was huge for a laundry room. I couldn’t wait to get my hands on it.
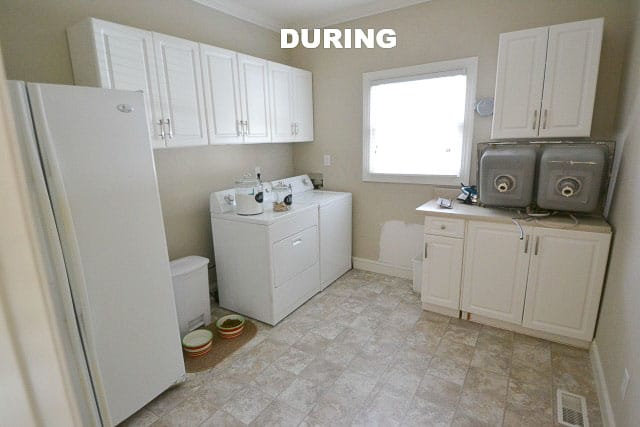
Here’s how it looked like the last time that I shared it with you. We stayed stuck at this stage for a while. We had a little trouble getting the cabinets and countertop for the sink just right and with so many other projects to distract us, it just sat this way. At this point we had removed wallpaper, replaced the flooring, moved plumbing around and had mounted some of the cabinets that came out of the original kitchen. We placed the former owner’s fridge in here too. It is a very nice one and sure does come in handy, especially around the holidays.
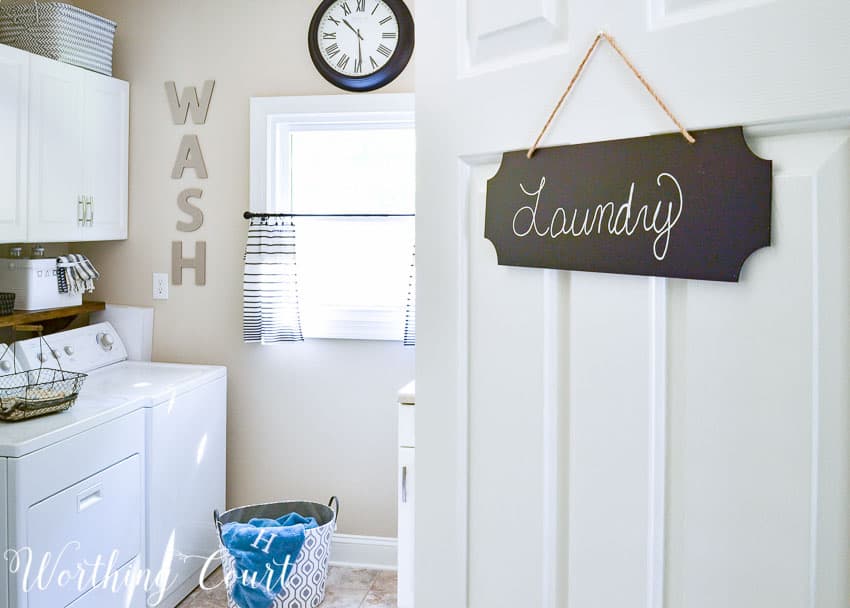
And here she is today! Come on in and look around. So much brighter and more organized that the old layout. I didn’t use my wide angle lens for the after shots, so we’ll have to look around in snippets.
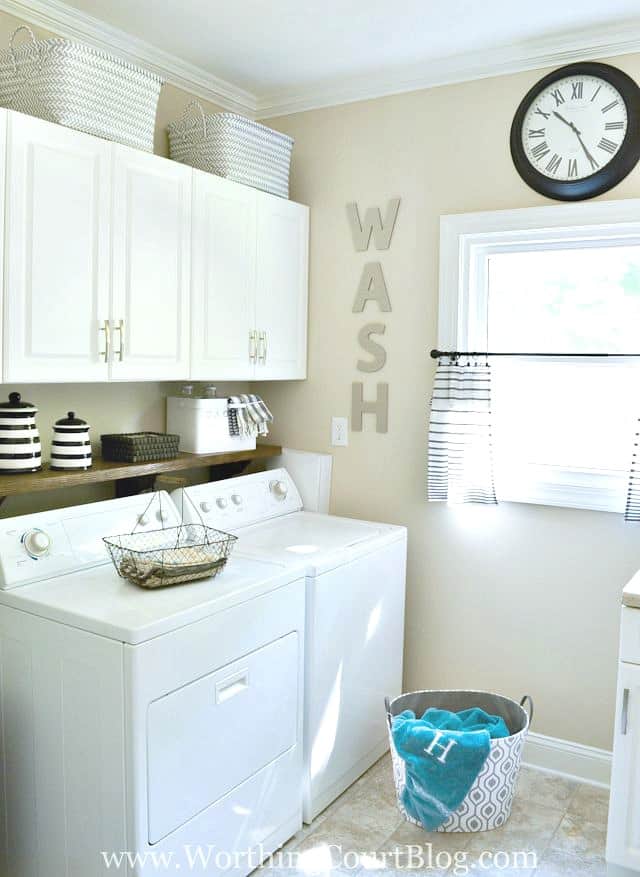
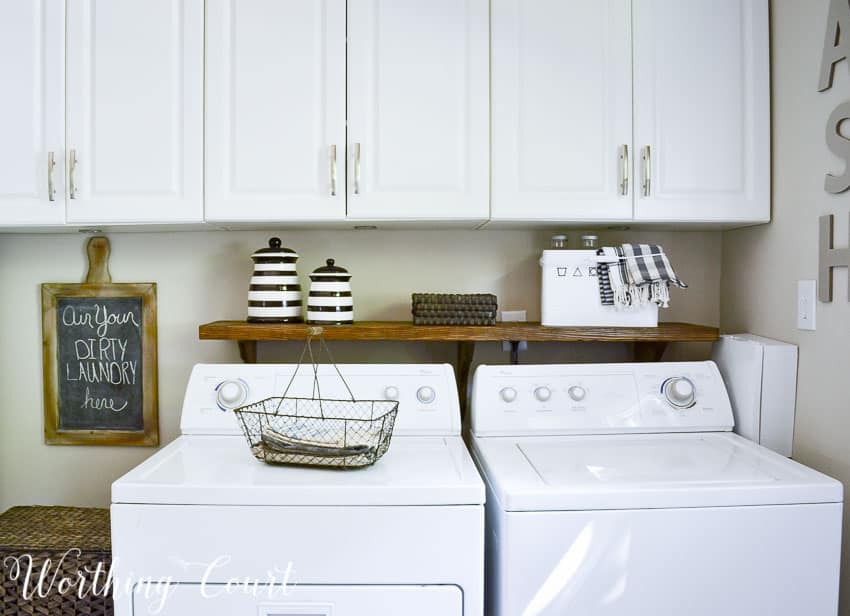
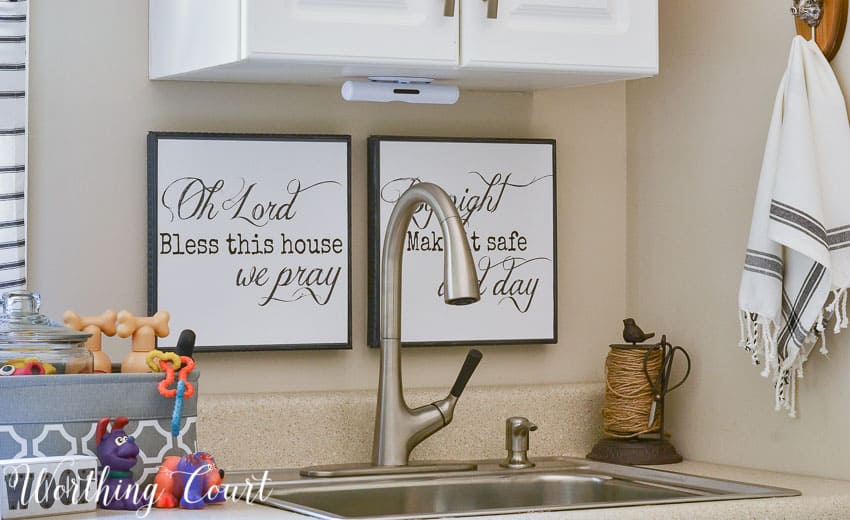
The laundry room has quite a few diy projects. One of them is a rustic’ish open shelf I made to conceal the roughly 12″ gap behind the machines that was created by the location of the dryer vent in the wall. Another project is the solution that I came up with to conceal the faucet connections in the wall. Those things are always such an eyesore. See that white box at the end of the washer? That’s it – read about what I did HERE.
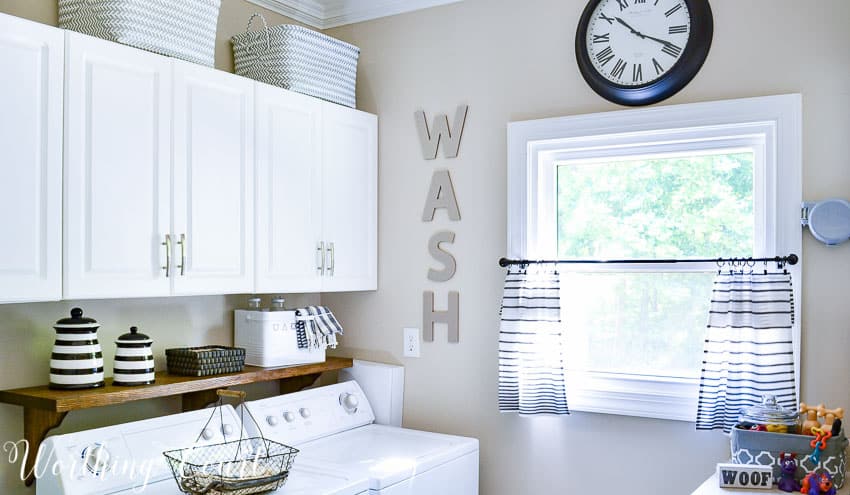
The small wire basket on the shelf is perfect for holding my dryer sheets and keeps me from having to stand on my toes to reach across the dryer and up into the cabinet to get them. All of my detergents and other cleaning supplies are located in these cabinets, but for some reason it isn’t as much of a struggle for me to get to those items.
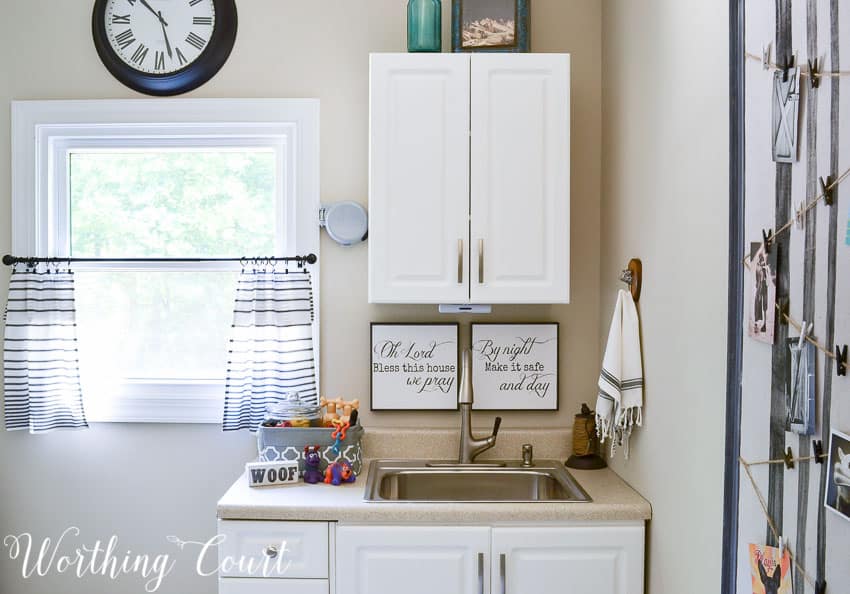
The laundry room sink is located opposite from the washer and dryer. In case you’re wondering, the gray round thing to the left of the cabinets is a retractable clothesline. I run it across the room and attach it to a sturdy hook in the wall whenever I need to use it. Works great for drying a lot of clothes at one time.
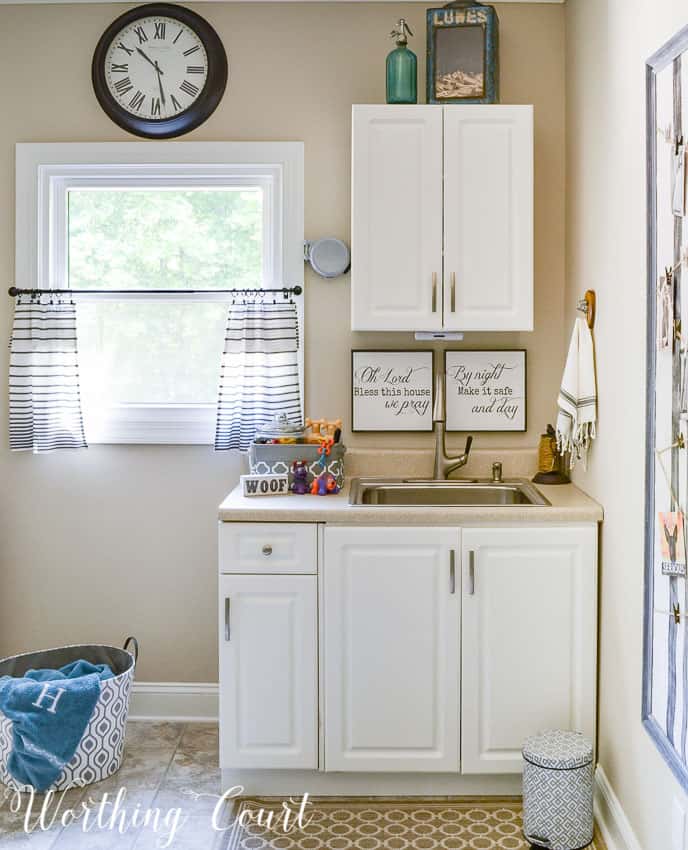
This is where I give my dogs a bath so their shampoos and brushes are in the fabric bin located beside the sink. A glass canister tucked into the bin keeps all of their squeaky toys within easy reach for me. My dogs are kind of like kids in that they get tired of playing with the same toys all of the time, so I frequently switch them out.
CLICK HERE TO GET THE FREE “BLESS THIS HOUSE” PRINTABLE SET
You might be wondering what that thing is hanging on the wall to the right of the sink. It’s the oversize bulletin board that I originally made for my old kitchen to hide the ugly exposed side of my refrigerator.
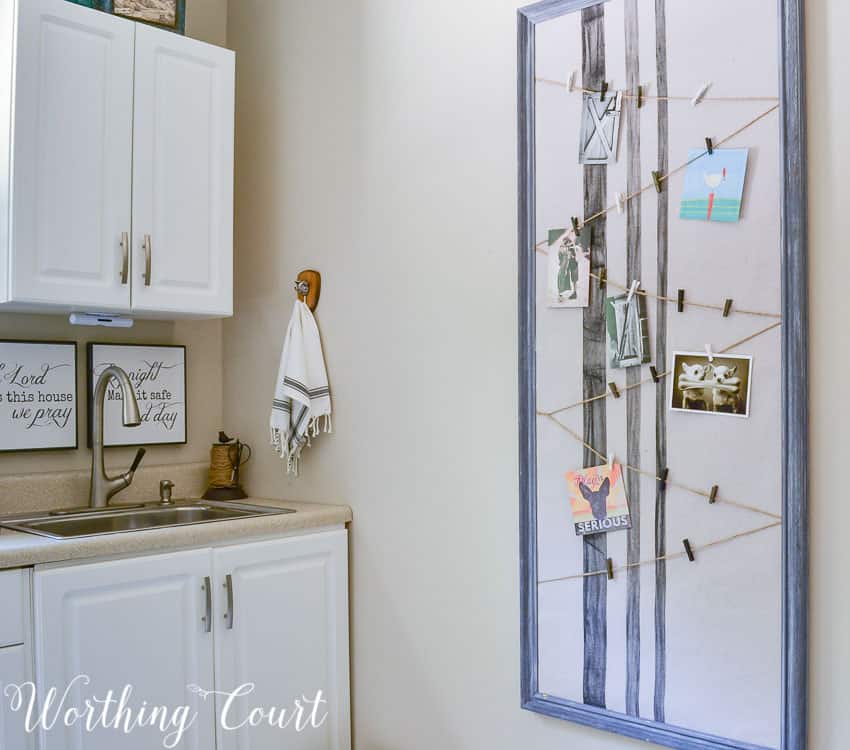
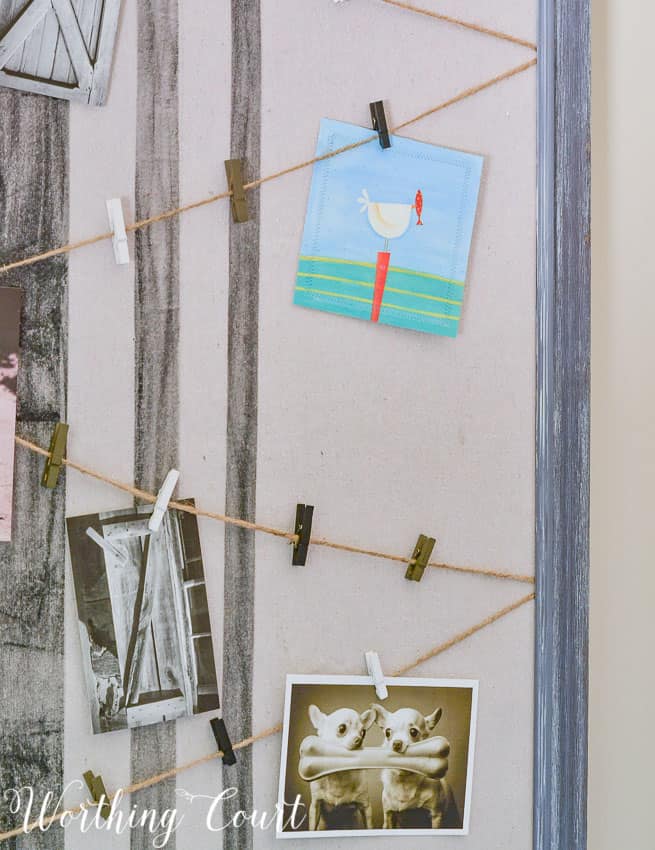
All I did was to remove the bulletin board from the frame and staple twine, running from side to side, on the back and then reinsert the bulletin board back into the frame. Cute clothespins were added to hold special cards and cute pictures.
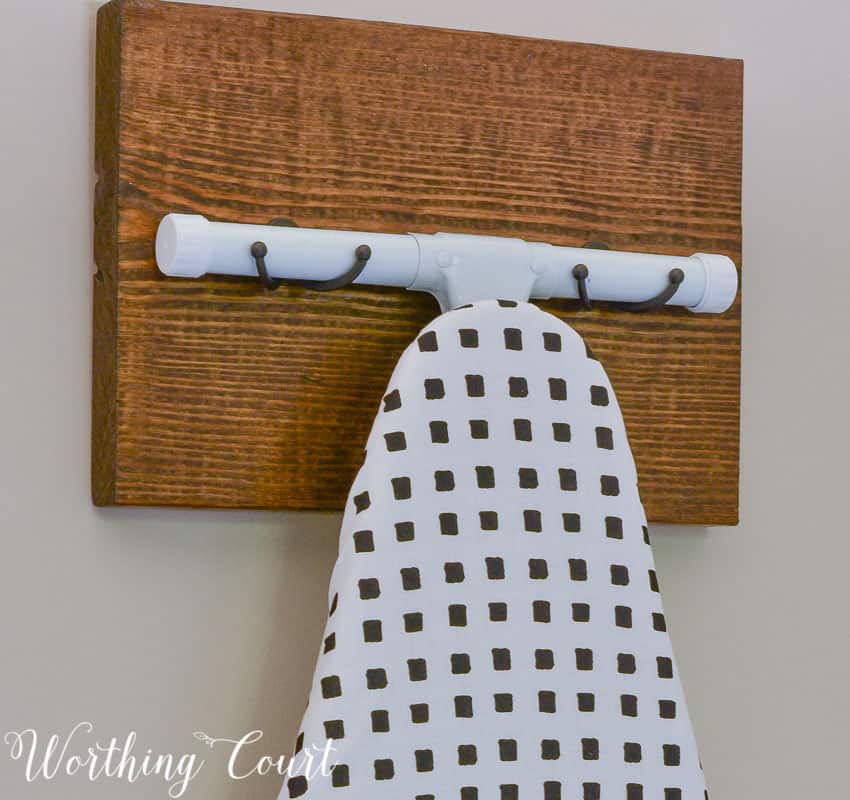
And lastly, my ironing board hangs on the wall directly opposite from the sink. I made an easy-peasy holder for it and replaced the old cover with a pretty black and white one. There are so many cute covers out there, why not update your old one!
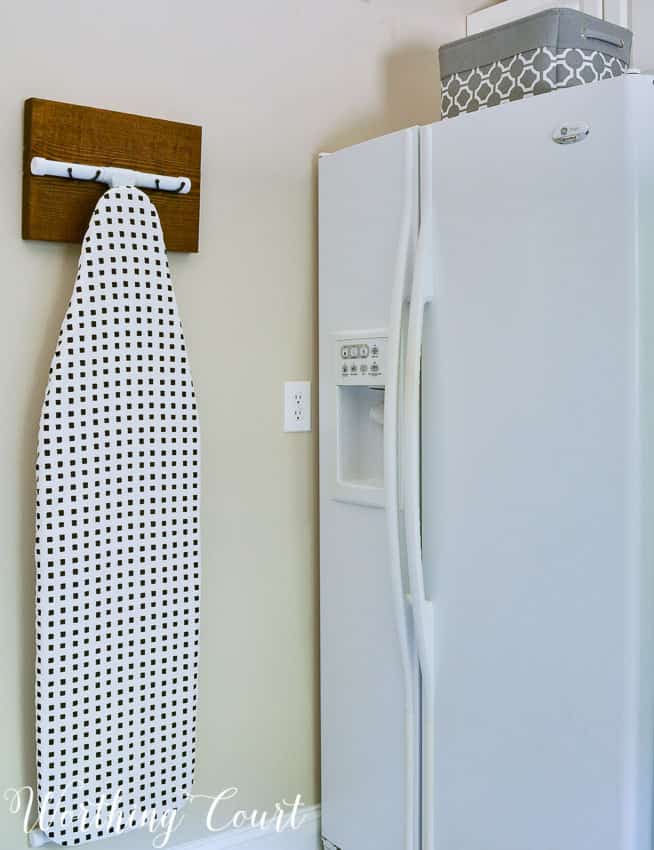
The holder is just a piece of stained wood that has had two hooks added to the front. It you make one of these for yourself, make sure the opening on the hooks that you use will accommodate the legs of your ironing board.
Thank you for stopping by. Come on over anytime and we’ll fold some towels together. Ha!
Oh boy what a nice spacious laundry room! I like all the details you put into it. I should get one of those pul out laundry drying lines for mine. It’s amazing how much more efficient you made this room by moving the washer and dryer to a new spot and added the cabinets. Reusing the old kitchen cabinets was a great idea. Having the 2nd refrigerator is a huge plus! I have one but have to go to the basement level to get to it. You did a wonderful job on this!
Hi Liz. So glad you like my laundry room! The before picture makes it a bit hard to tell, but the original placement of the former owners washer and dryer required several steps between the two. I’m much too lazy to be walking between the two machines every time I do a load of laundry. LOL We had an extra fridge in the basement of our last house too. Sure comes in handy at the holidays!
Wow! I bet the former owners would be blown away and want their house back! What a wonderful space to do laundry, and I love your shelf solution and cute accessories Suzy!
Thank you, Jenna! I’ve often wondered what the former owner would think of what we’ve done to her house. It is SO different from what she had – not sure if she would love it or hate it. 😀
This is so beautiful and airy! I love all the neutral colors and the cute touch with the WASH letters. Our laundry room doesn’t have a window and always feel dark, so I am jealous of all the beautiful light in yours!
Looks beautiful! Love all your decorative touches to make even the laundry room a pretty place.
Your laundry room turned out great!
Hi Suzy. I remember the first time I found your blog it was a post on your laundry room. Not sure if it was your house or the condo. But this makeover is spectacular! The detail is blowing me away, especially the towel with the letter H draped over the side. Such a creative mind!
Suzy this is not only pretty but it is huge and the bulletin board is too cute. Great additions in th
So much room! I love it! I’m working on mine this summer, but it’s underground and has a darker vibe. But I love yours!!
It looks great GF!!! Love all the laundry room detail and so much great storage!!
Love the transformation of the laundry room! What a great space….so much room! My favorites are the cabinets that conceal the “laundry room essentials” (I know they are great for storage, too!) and the shelf above the washer and dryer. Thanks for sharing.
Blessings,
Lanita
Wow, what a huge improvement! Love your style! I have been wanting a hanger for my ironing board and you have just given me the inspiration for it! Great job, Suzy!
Hi Debra. So glad you found some inspiration!
What color did you paint the laundry room? I love it with the white cupboards.
Hi Sue. The walls are painted with Sherwin Williams Accessible Beige.
Oh my goodness you transformed a totally utilitarian space in to a bright and beautiful one. Such a great use of the space too, creative and functional, I just love it! I invite you to share at my Thursday blog hop ( you can still link up until Saturday at midnight) xo
I love the WASH letters! I did EAT in my kitchen and now I want to do WASH in my laundry area! Thanks for the idea! The whole makeover looks great!
This is so gorgeous! I’m so jealous, my washer & dryer are in the basement, no laundry room for me 🙁 One less room I have to clean????
Uh, I’ll hang out in your amazing new laundry room ANYtime! My gosh … you guys are a force to be reckoned with … love the new look! You didn’t skip one little detail! I’d actually enjoy doing laundry! If the former owners see your pictures, they will be stunned by the transformation!
Wow..it looks amazing! You did such a fabulous job with this project (and I’ll have to admit, I’m a little jealous of the size of your laundry room)!
Thanks for sharing at Share The Wealth Sunday!
xoxo
Lisa
I love this…now I want to re-do the laundry room!
Beautiful transformation! Love the shelf behind the washer idea. I was just talking to my contractor about doing something like that in my laundry room. I need to hide those hoses and cords! Have a great weekend!
Shelley
I absolutely love what you did to your laundry room. I’m currently in the process of gathering ideas for mine, as we are going to remodel it soon. I love your jars and the WASH sign. And I think I’m definitely going to have to build a shelf to hide that space between the washer/dryer and the wall – things are always falling back there!