How To Make A Thanksgiving Table Special Using Everyday Dinnerware
You don’t have to buy expensive dinnerware to set a beautiful and elegant Thanksgiving table. Use these ideas to inspire you to wow your guests while using your everyday dinnerware.
Do you feel like you have to purchase a new dinnerware set, special accent plates or silverware to set a special holiday table? I’ve certainly caught myself falling into that mindset, but this year I was determined to use what I already had on hand and not buy a single new thing for my gorgeous Thanksgiving table. I’m happy to report that with a little imagination and outside of the box thinking, I was able to set a beautiful table using just my everyday dinnerware!
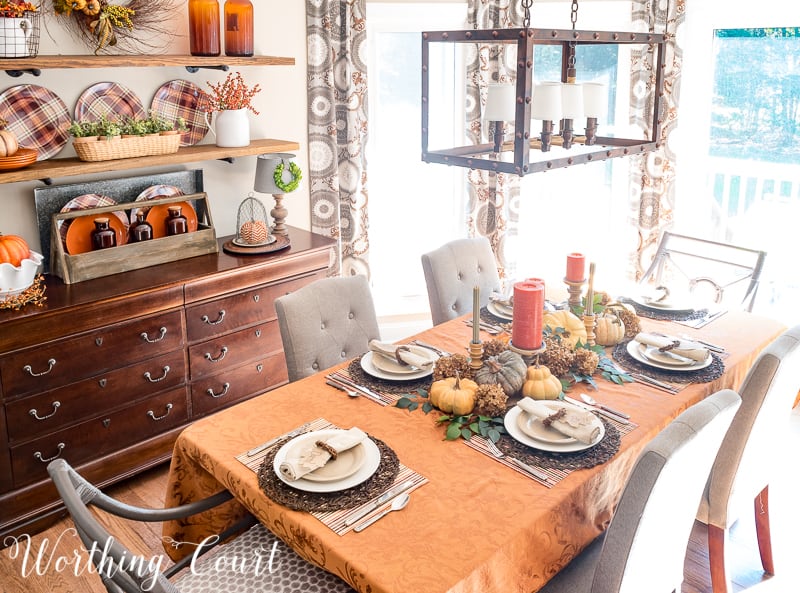
No way did I want to reinvent the wheel here, so I knew that however how I set my table, it had to compliment the shelves that I had already decorated for fall in my breakfast room. That meant that when looking through my stash, I needed to look for items that were rich, traditional fall colors with a slightly rustic vibe.
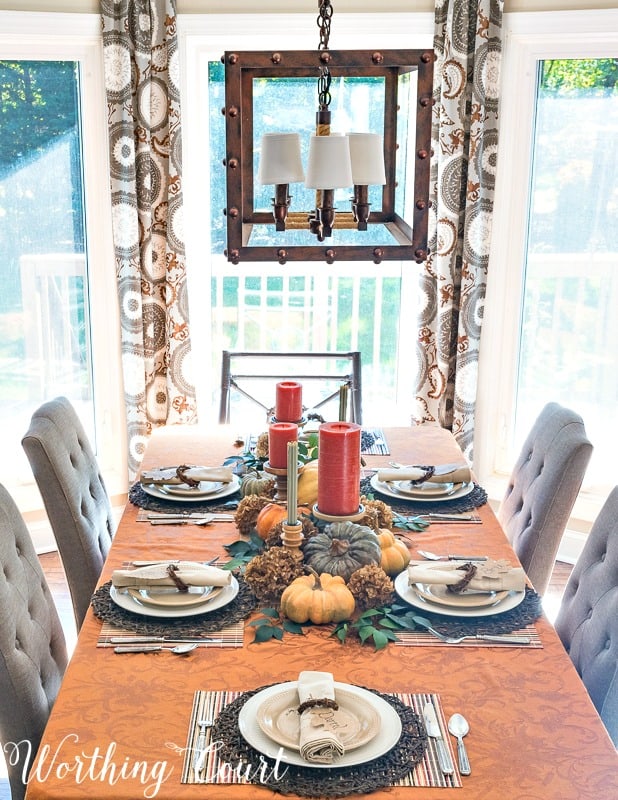
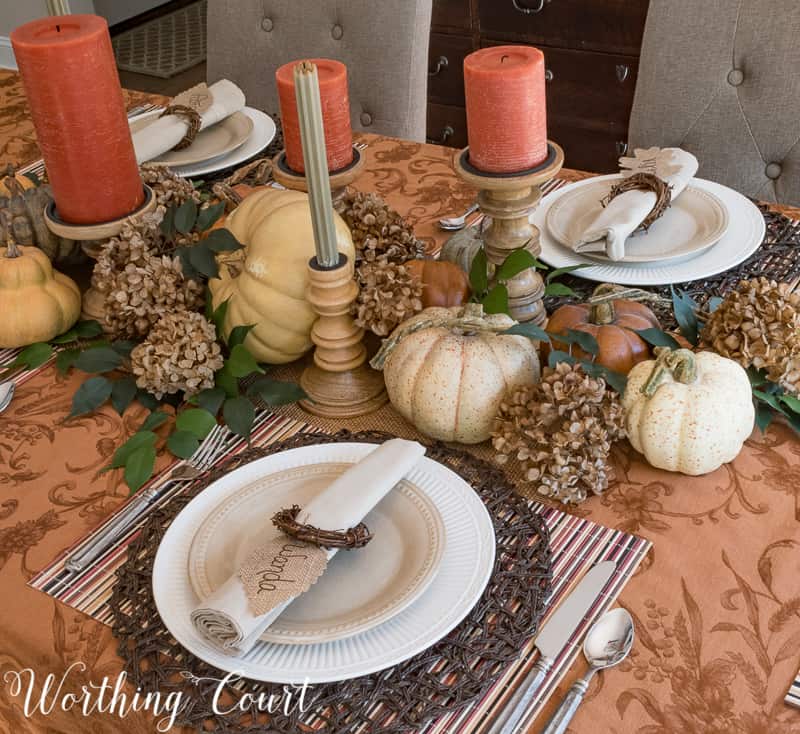
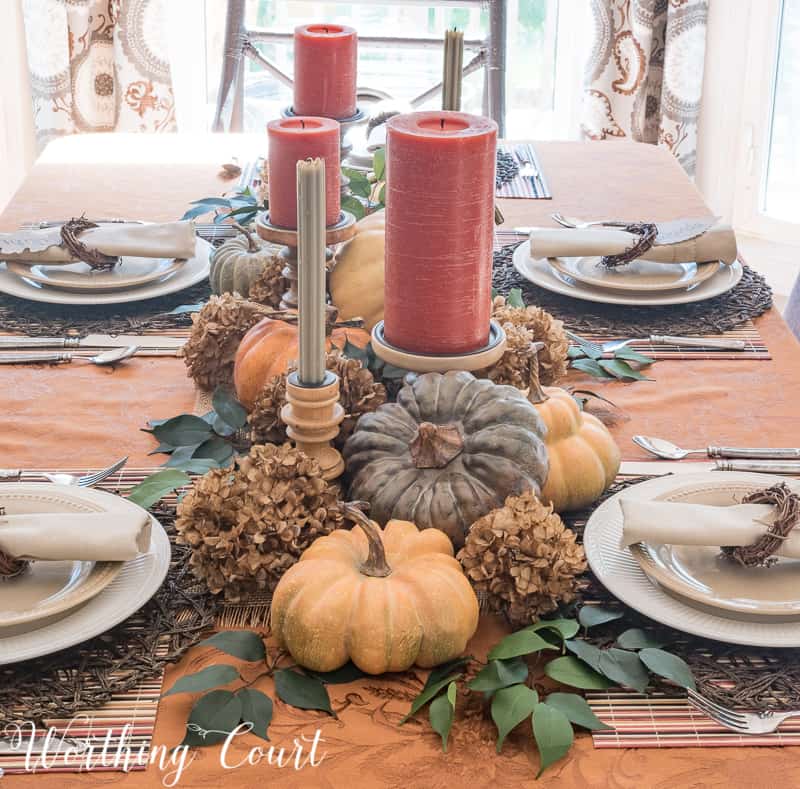
The only tablecloth I already had that would fit the bill was one that is a gorgeous shade of deep rustic orange. The problem was that it was way, way too shiny. Shiny is not usually a good thing when you’re working toward a bit of a rustic feel. I had a light bulb moment though and decided to try turning the tablecloth upside down. Problem solved! The reverse side is just as pretty to me and no more shiny.
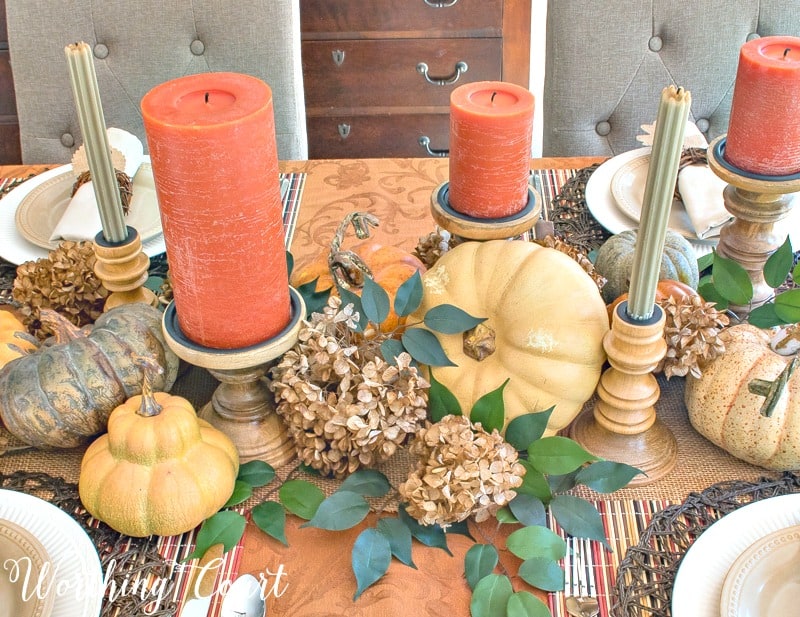
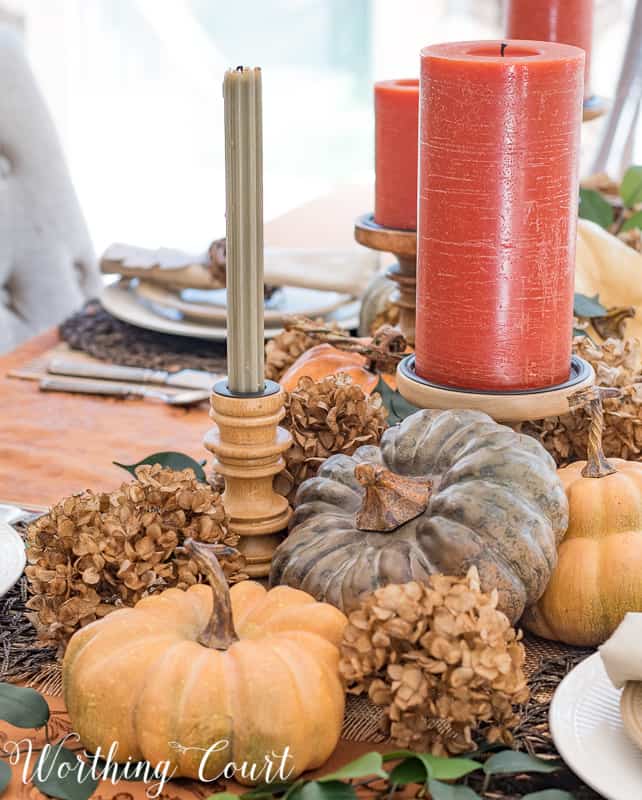
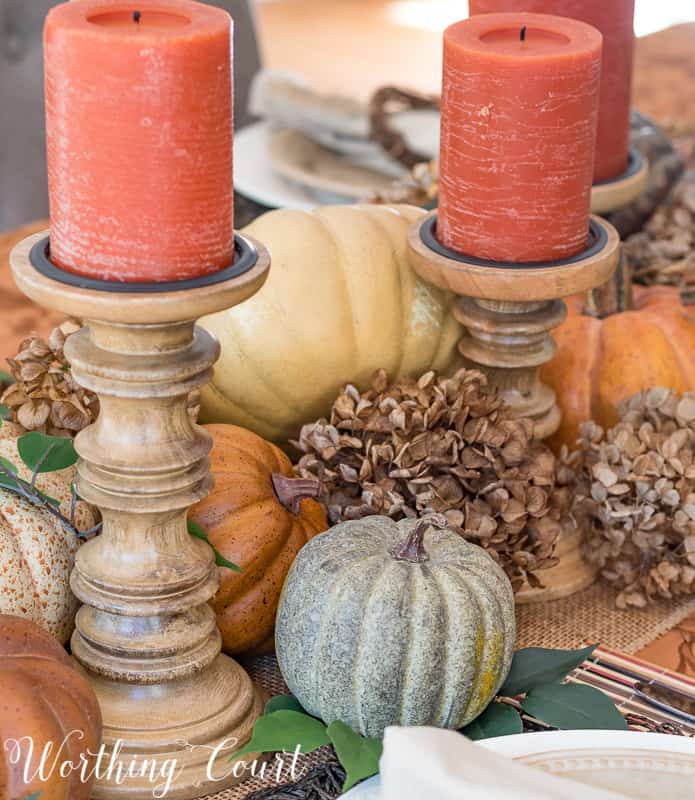
Once the pretty tablecloth was in place, I turned to the fall centerpiece. When it comes to any kind of decorating, layering is a huge deal, so I began by placing a piece of burlap down the center of the table to act as a base. Next came several different sized candlesticks randomly placed on top of the burlap – nothing was lined up or made symmetrical. I didn’t have candles in the same colors to fit the various size of the candlesticks, so I used a mix of what I had – burnt orange pillar candles and sagey green tapers. I think they look great mixed together!
By the way, if you’d like to get a similar look for your own table, scroll to the bottom to see the list of products I’ve chosen that are the same or similar to what I’ve used.
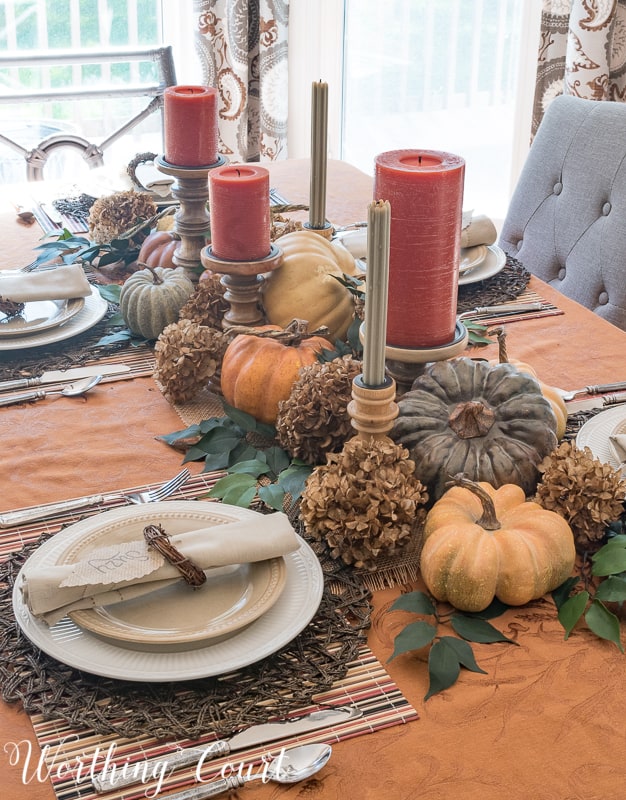
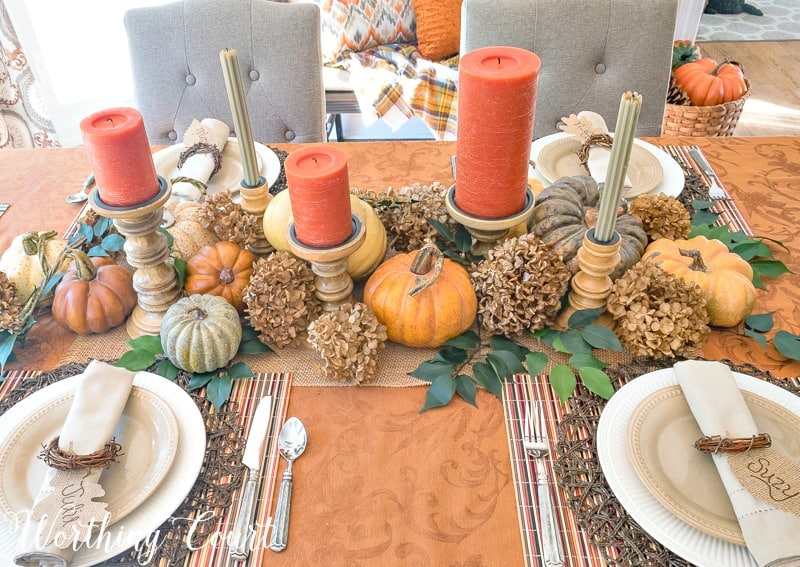
Faux pumpkins were added next. I simply scattered different sizes and various colors along the burlap, laying some flat and propping others up at an angle against the candlesticks.
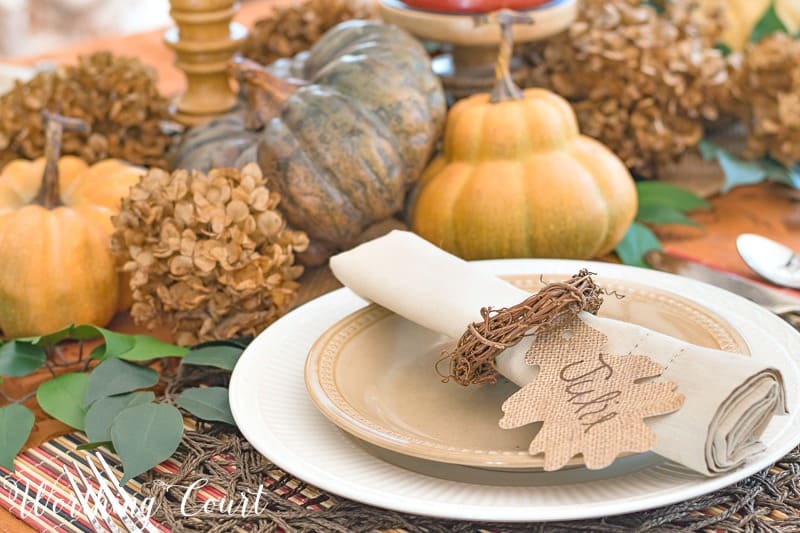
Then it was just a matter of adding filler to the empty spots. Unlike me, my daughter has several hydrangeas that fill with glorious blooms each season, so when they were ready to be cut back last year, I grabbed as many of the dried blooms as I could. I’ve carefully preserved these things for over a year and they were perfect for tucking in and around all of the pumpkins on the table!
The Thanksgiving centerpiece was still looking like it needed just a little something else, so I cut apart a faux foliage bush and tucked branches in here and there. That was just what it needed to finish the centerpiece off and the green leaves helped to break up the rich oranges and gold colors. And by the way, if you struggle with putting centerpieces together, click HERE for my tips!
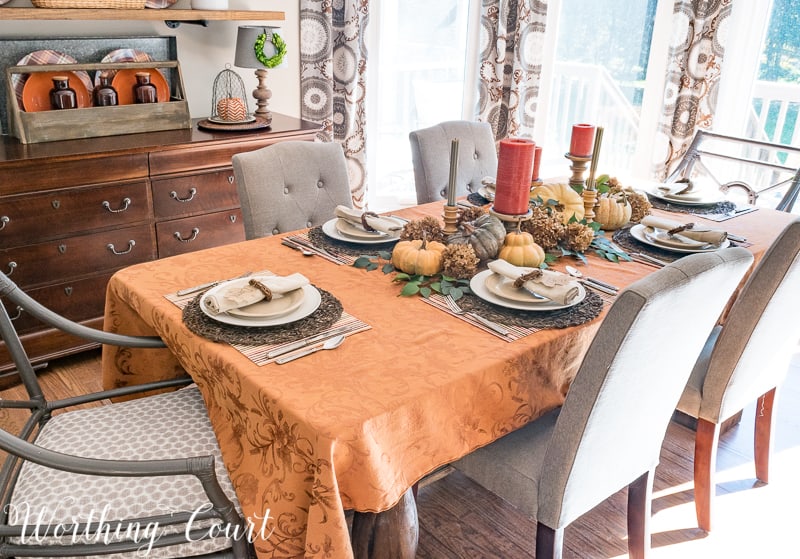
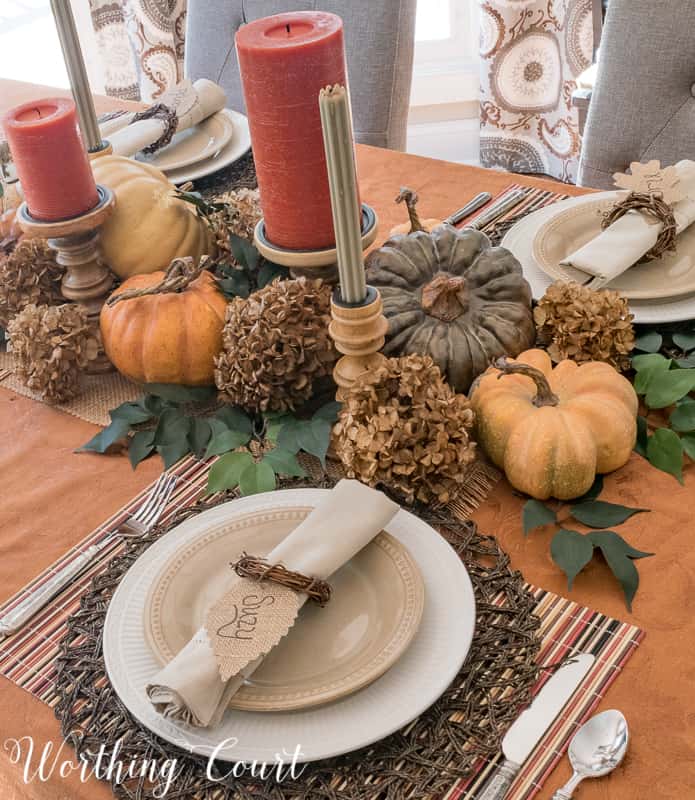
Now it was time for the place settings. Creating a showstopper centerpiece allowed me to use my everyday dinnerware and keep the individual settings on the simple side. I sure didn’t need anything elaborate, that would compete with the centerpiece.
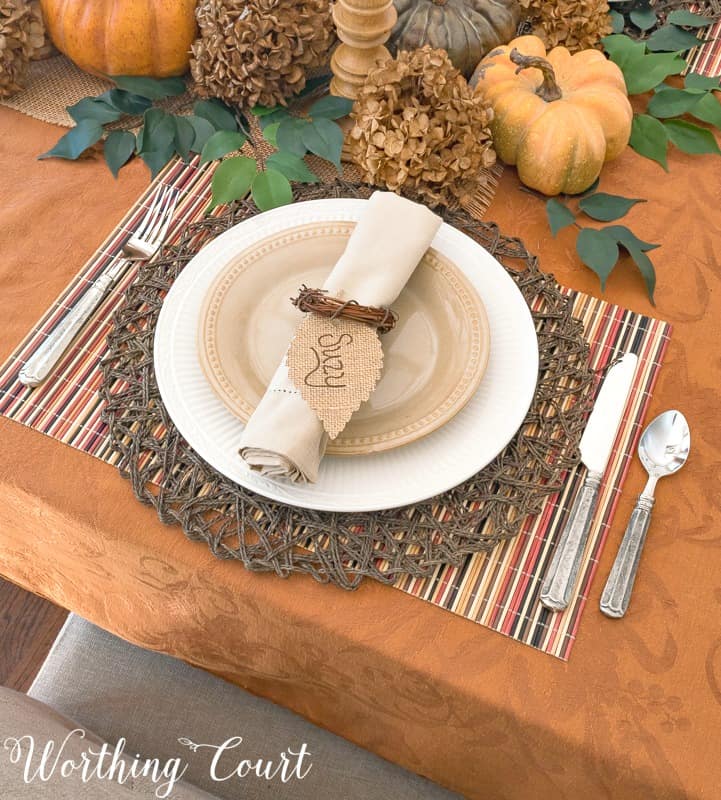
To keep the all important layering going, I began with placemats that I purchased at the dollar store several years ago. The placemats were topped with round, woven mats that I’ve also had for several years.
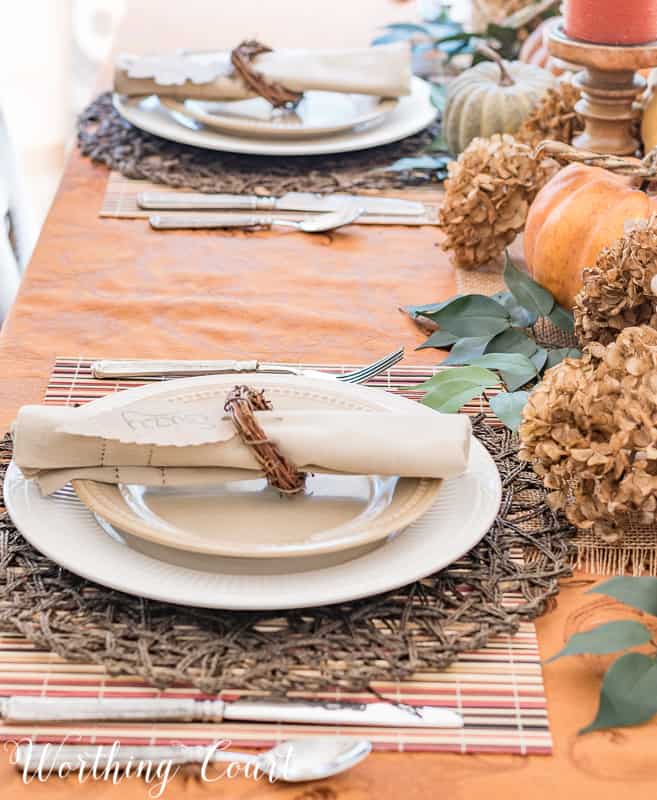
I added one of my everyday white dinner plates (Mikasa Italian Countryside) and topped each plate with a beige colored salad plate. Then, my everyday flatware, (Danieli from World Market) and simple beige linen napkins were all that each place setting needed. Mini grapevine wreaths made the perfect napkin rings and scrapbook paper cut into leaf shapes made the perfect place cards!
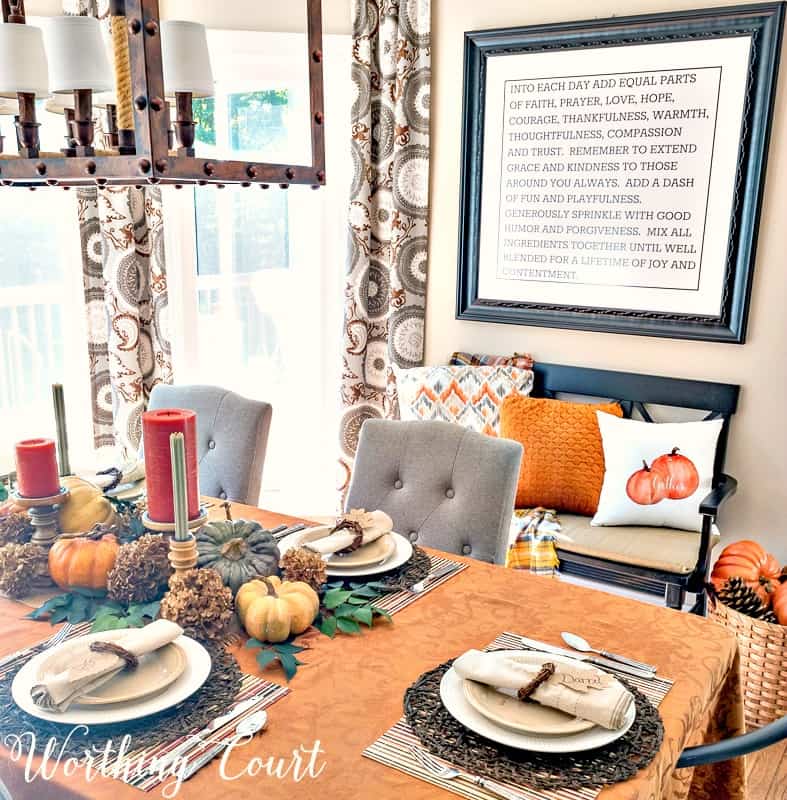
So, in spite of the fact that the individual place settings are really rather plain and simple, the entire table still looks elegant and beautiful because of the lush centerpiece and the rich colors, layers and textures used on the rest of the table and throughout the room. The framed quote is a printable that I made and is available in regular paper size HERE and the large size HERE.
HERE’S WHAT YOU NEED TO GET THE LOOK.
This post contains affiliate links. See my full disclosure HERE.
I always enjoy how you put it all together. And its not too fussy. Thanks for taking the time to explain the steps.
Ever sooooo pretty as usual.
Everything looks beautiful!! That centerpiece ❤️!
Beautiful table!
You are very talented. Thank you for sharing!
I love all the textures you use in your displays & you can never go wrong with adding a few hydrangeas in any display. They are one of my go to & favorite flowers. Love your table!
Thank you for showing how to set a beautiful Thanksgiving table without having to have special dishes. Love it!
Beautiful table, Suzy! Everyone will enjoy sitting at your table.
So elegant and beautiful as always .. I love to visit your posts everything is always so inspirational
Lovely table as usual! You do good work girl! But…..I clicked on your link for the printable, and it took me to a sign in page for BOX BLOG. Is this correct? Why would I have to open an account in order to download a printable? Maybe it is just my Google Chrome browser? Thanks for any insight you can give.
Hi Janice. I truly apologize for not responding sooner! I’ve done some research and I think you may just need to set up an account with Box.com to access the printables – it’s free. You shouldn’t have to sign up for their blog though.
Love the name tags on the napkins! Great table setting it would be a pleasure to have Thanksgiving dinner at you place!
Love the tiny wreaths on the napkins!
I love your Thanksgiving table! And I also love that you headway you already had on hand.
Very pretty table setting. Love the Fall/Autumn theme.
Great inspiration, Suzy! Thanks… I’m going to be doing the centerpiece at my sister’s this year. I’m looking forward to it!
Just beautiful but where do you put the platters of food?
Thank you! Good question. 😀 I have always set the food up buffet-style on my kitchen island. Desserts are set up on the sideboard. Drink refills are set up in another location on one of my kitchen counters.
Love buffets! So do your guests take their plate from the table setting and then help themselves or do you stack all the plates on the buffet?
I’ve done it two ways. #1) They take their plate from the stack on the table to the buffet. #2) Right before we’re ready to get our food and eat, I remove the plates from the table and stack them on the buffet. My guests usually like to see the table fully decorated, so I usually go with #1. I just explain to everyone what they need to do if they don’t understand, but I have my repeat guests trained. lol
Perfect ideas! Much better than removing the centerpiece and putting the platters on the table. Thank you so much!