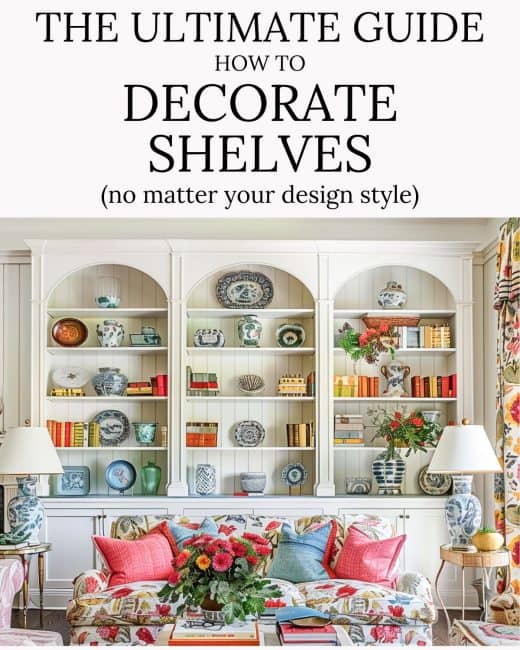
Shelf Decor Ideas: The Ultimate Guide to Styling Shelves
A shelf decor guide that will take the process of decorating your shelves from daunting to beautiful and stylish.

Do you need help choosing and styling shelf decor? Does the mere mention of decorating your shelves give you the heebie-jeebies? Do you struggle with how to make shelves look stylish? Let’s fix that!
Whether you love color and pattern or prefer neutrals with subtle patterns, this guide is for you.
Interior designers LOVE to layer details in a room. They know that no matter how beautiful the furnishings, rugs, and lamps in a room may be, if they don’t pay close attention to the detail, it doesn’t amount to much.
And properly decorated shelves fall right into that detail category.
It may seem that designers have this secret stash of tricks up their sleeves that can make any space look amazing with little to no effort. And to a degree, they do.
But that doesn’t mean you can’t master these tricks too! With a bit of guidance and a touch of creativity, you’ll be able to choose and arrange shelf decor that will have your shelf display looking classy.
So, fear not – today, I’m going to share those secrets with you and break the process down into easy, doable steps.
These secrets apply to just about anything. You’ll be able to use them when decorating a bookshelf, a wall shelf, and open shelves.
Scroll down to get your free How to Decorate Shelves printable checklist!
What Looks Good on a Shelf?
We aren’t just stuffing stuff on a shelf: we’re going for that wow factor! And achieving that takes time and patience.
Designers know that decorating any part of a room is a process. It isn’t something that can be done well in just a few minutes.

Before you even get started, make up your mind to allow yourself the time to experiment, to try different arrangements, and to live with them for a bit before making a final decision.
Stand back every now and then to see if you’re happy with your progress.
Taking this approach helps to hone your decorating skills, which in turn will give you more confidence in your instincts!
So, take a deep breath, give yourself the grace to learn and grow, and enjoy the creative process.
Ready? Let’s dig in and learn how you too can decorate your own shelves!
Start With a Clean Slate
It’s best to clear any existing decorations away so that you can begin the process with a blank slate. It’s kind of like hitting the reset button.
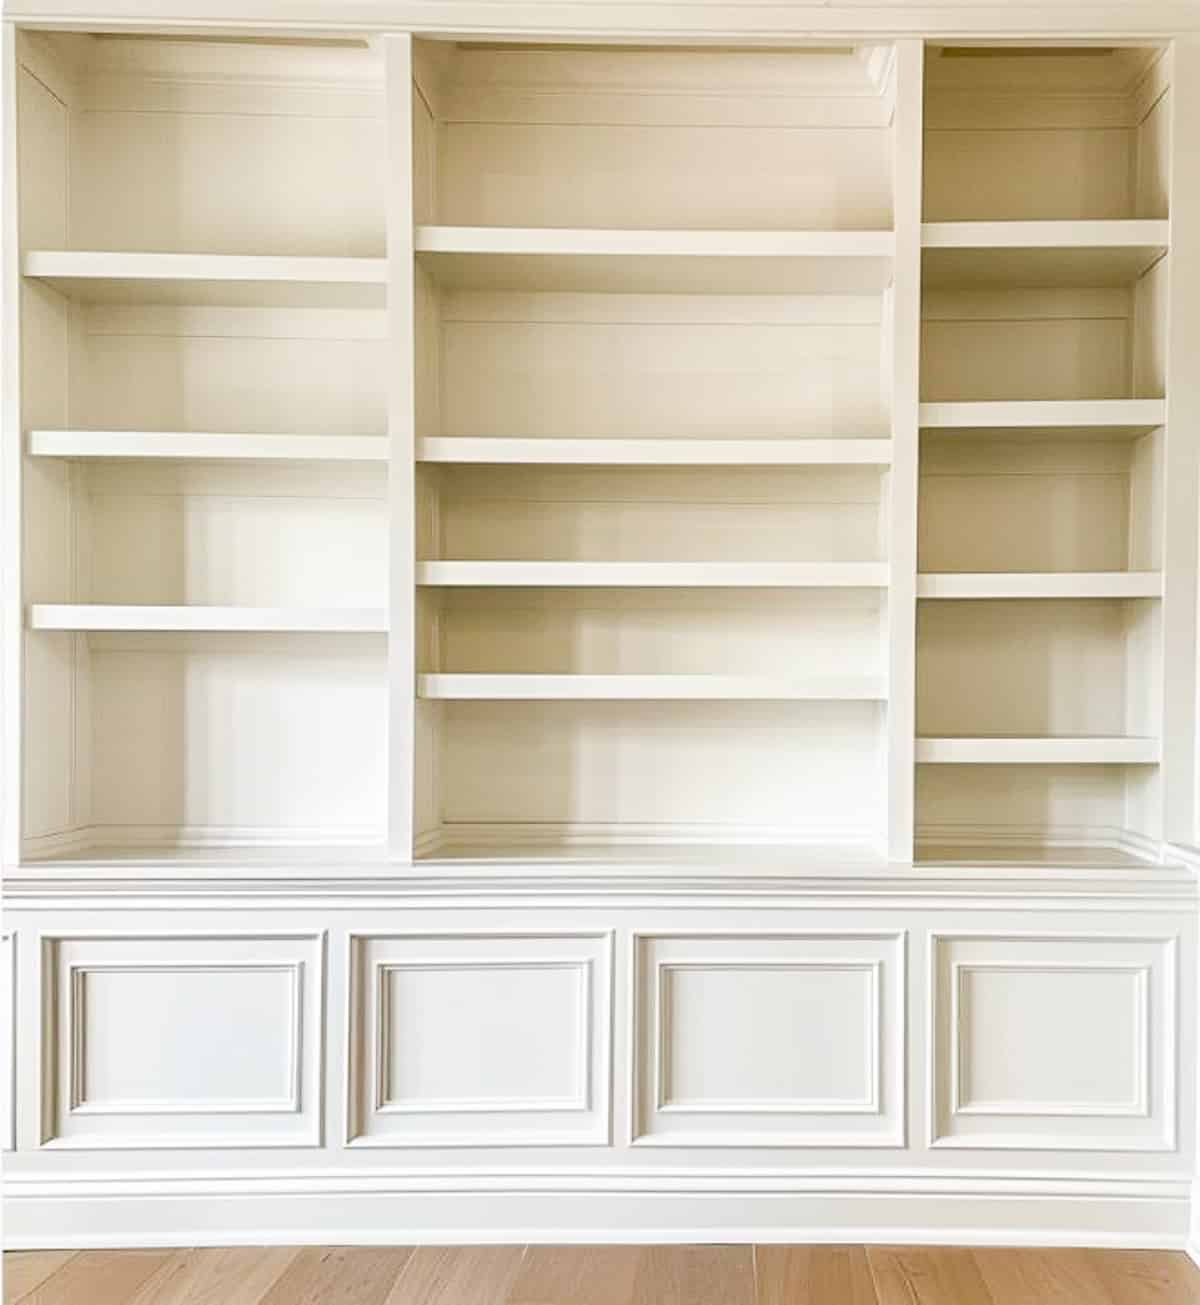
If your shelves are filled with remnants of your old decor, it’s tough to focus and you will usually wind up moving the same old things around and not be happy with the end result.
While you’re at it, give them a good dusting too.
So, think of it this way: when you clear everything off, you’re not just tidying up; you’re removing all of the distractions and giving yourself the ability to reimagine the space.
When it’s just you and your blank canvas there’s nothing to influence your new vision.
Have an Overall Look in Mind
Before placing anything on the shelves at all, have an idea of the overall look you’re after. If you don’t already have one, spend time gathering inspiration.
Pinterest is a wonderful place to start. In fact, I have a Pinterest board dedicated to Bookcases, Shelves and Entertainment Centers.
TIP: If you just don’t think you’d be able to pull a certain look off, print a picture that appeals to you. Locate items that closely match and arrange them exactly the same. Works like a charm!
Choose a color palette. This will help give you a cohesive look. Be careful of using too many colors or you may wind up with a chaotic look.
Now is a great time to have a little heart-to-heart with yourself to ensure everything you choose to display really speaks to your style and the function of the space.
Here are some questions to mull over:
- What purpose do these shelves serve? Are they purely for decoration or, are they to store everyday items? Maybe a mix of both?
- What vibe am I going for? Is there a particular theme or feeling you want to evoke in the space? Cozy and rustic? Minimal and modern? Updated traditional?
- Is there a color scheme or material that I want to highlight? Do you want to stick to a specific palette or incorporate diverse materials?
- Do I want everything to be perfectly symmetrical?
- How can I keep it functional, yet stylish? If the shelf needs to be practical, how can you arrange items so they’re both attractive and accessible?
- Am I allowing room for growth or change? How easily can you swap items or add new finds?
- Am I having fun with this? Remember, decorating should be enjoyable, not stressful. Are you allowing your creativity to shine through?
Reflecting on these questions can help you create shelves that are not only beautiful but also a true reflection of you and your home’s personality.
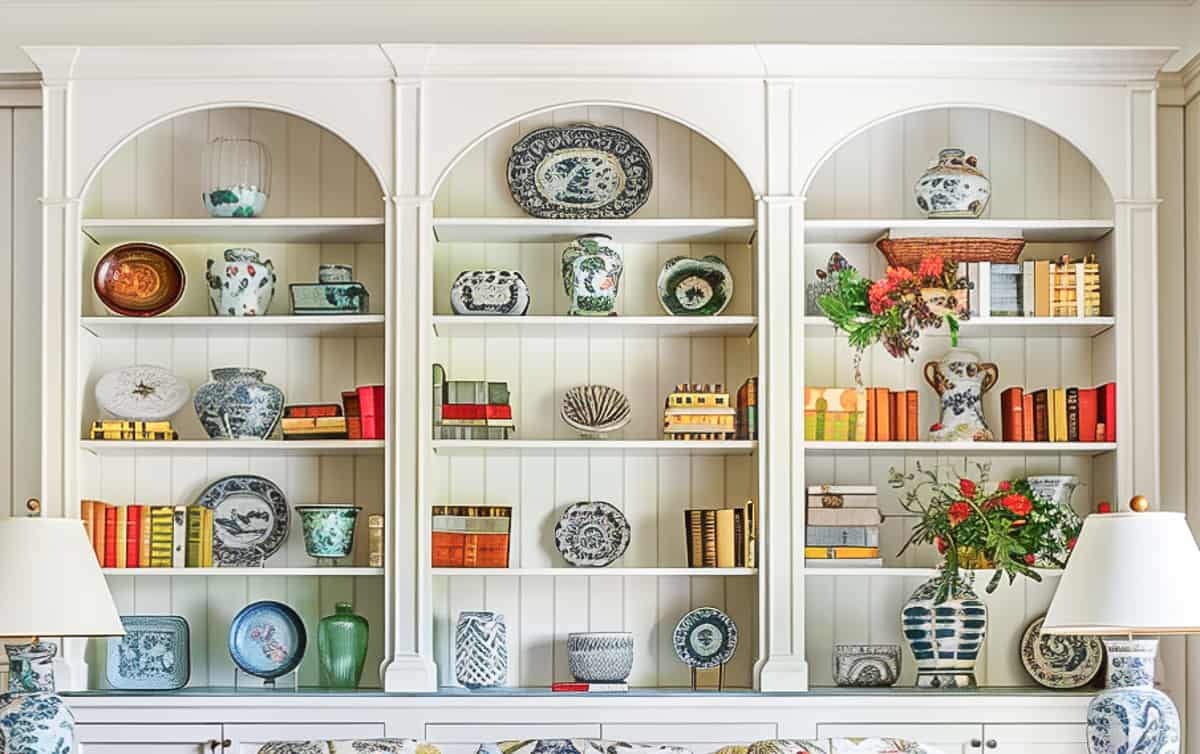
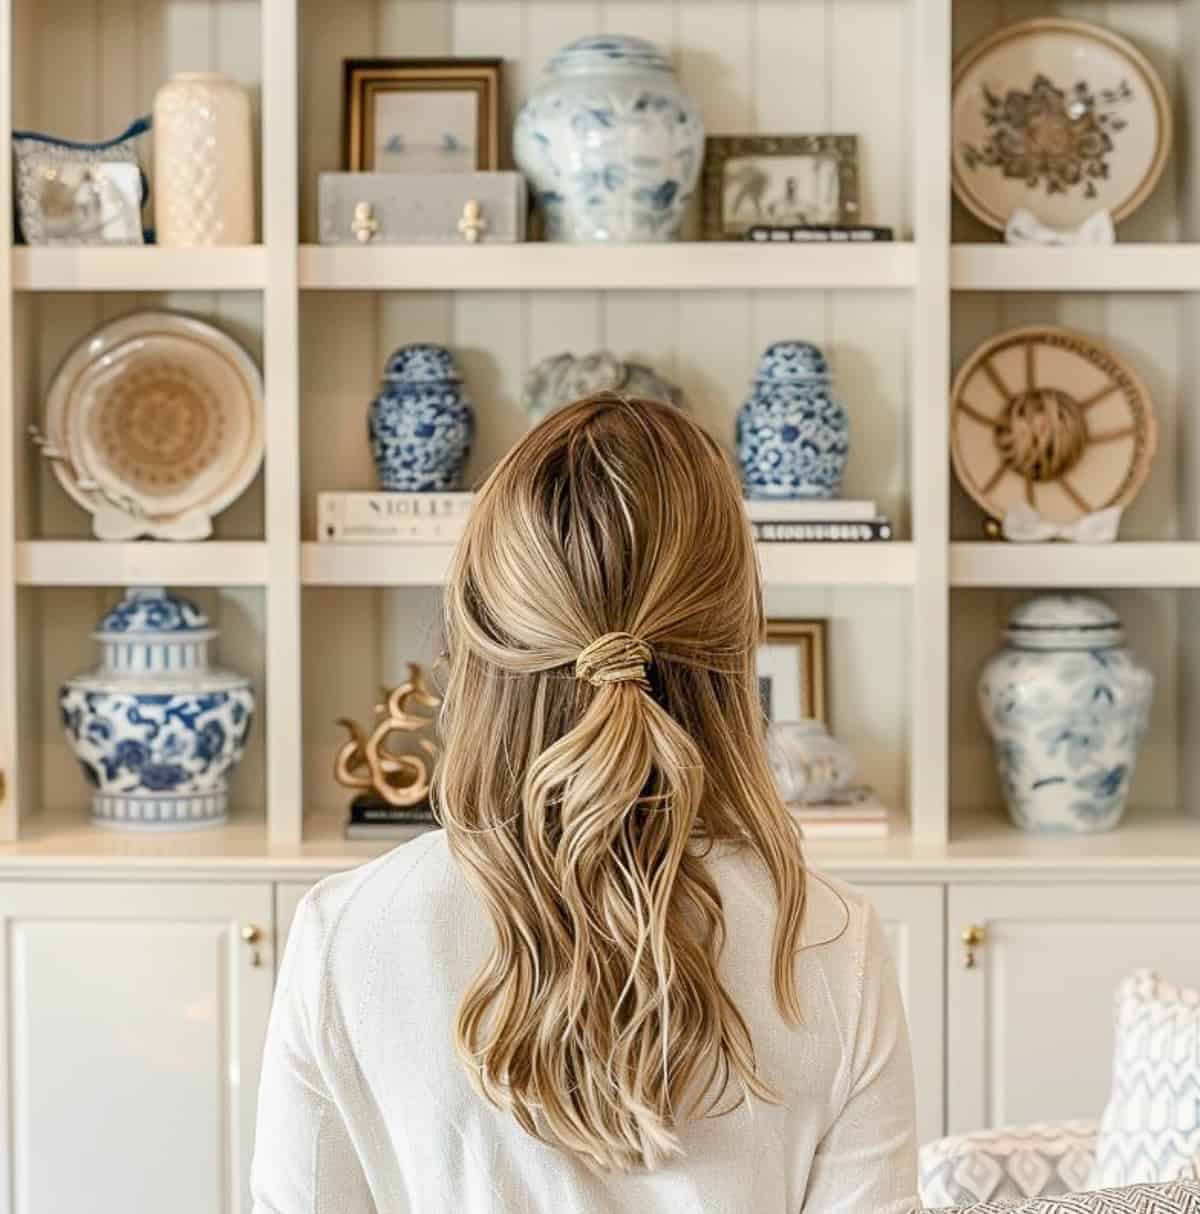
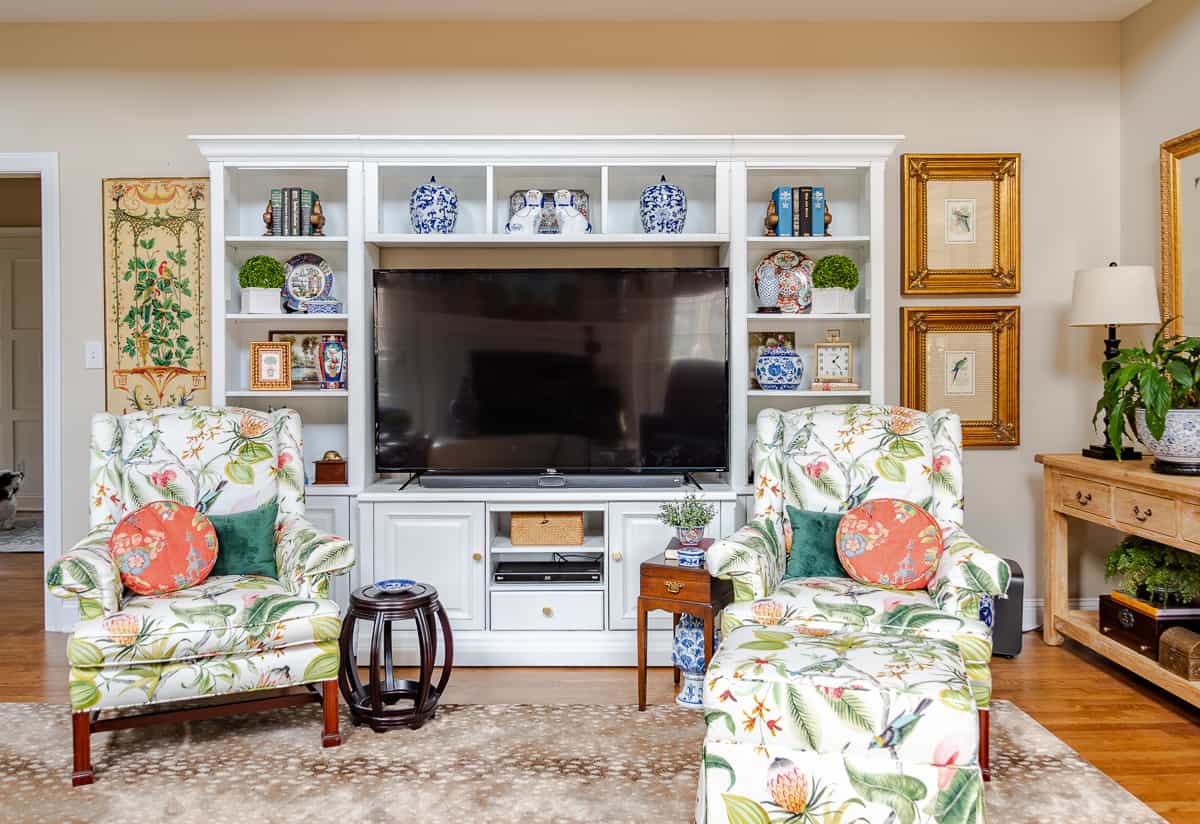
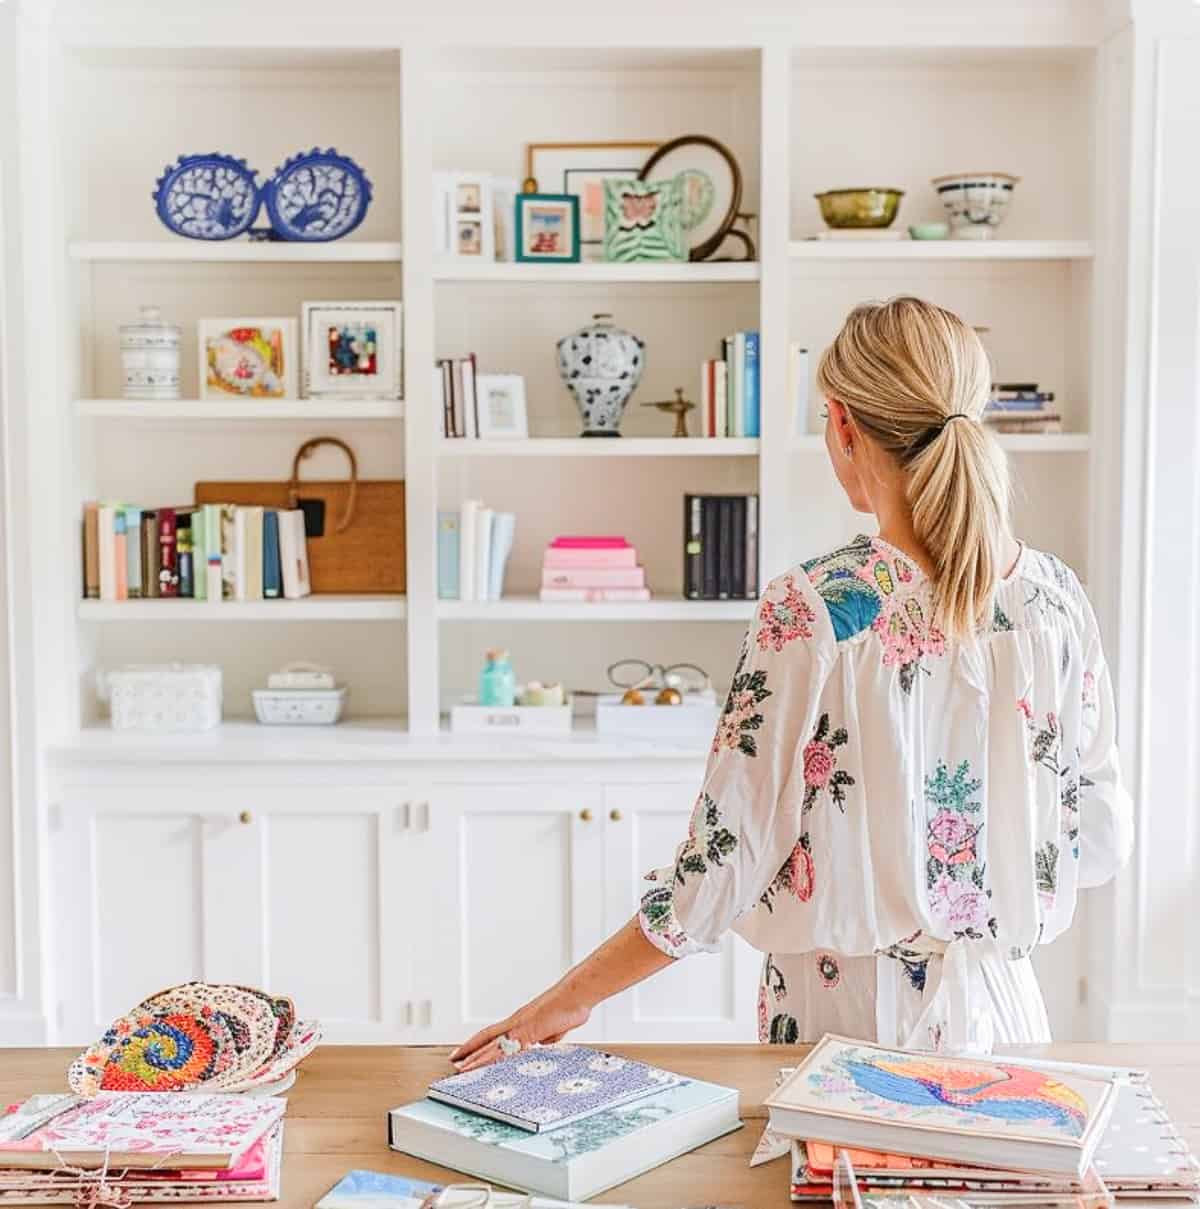
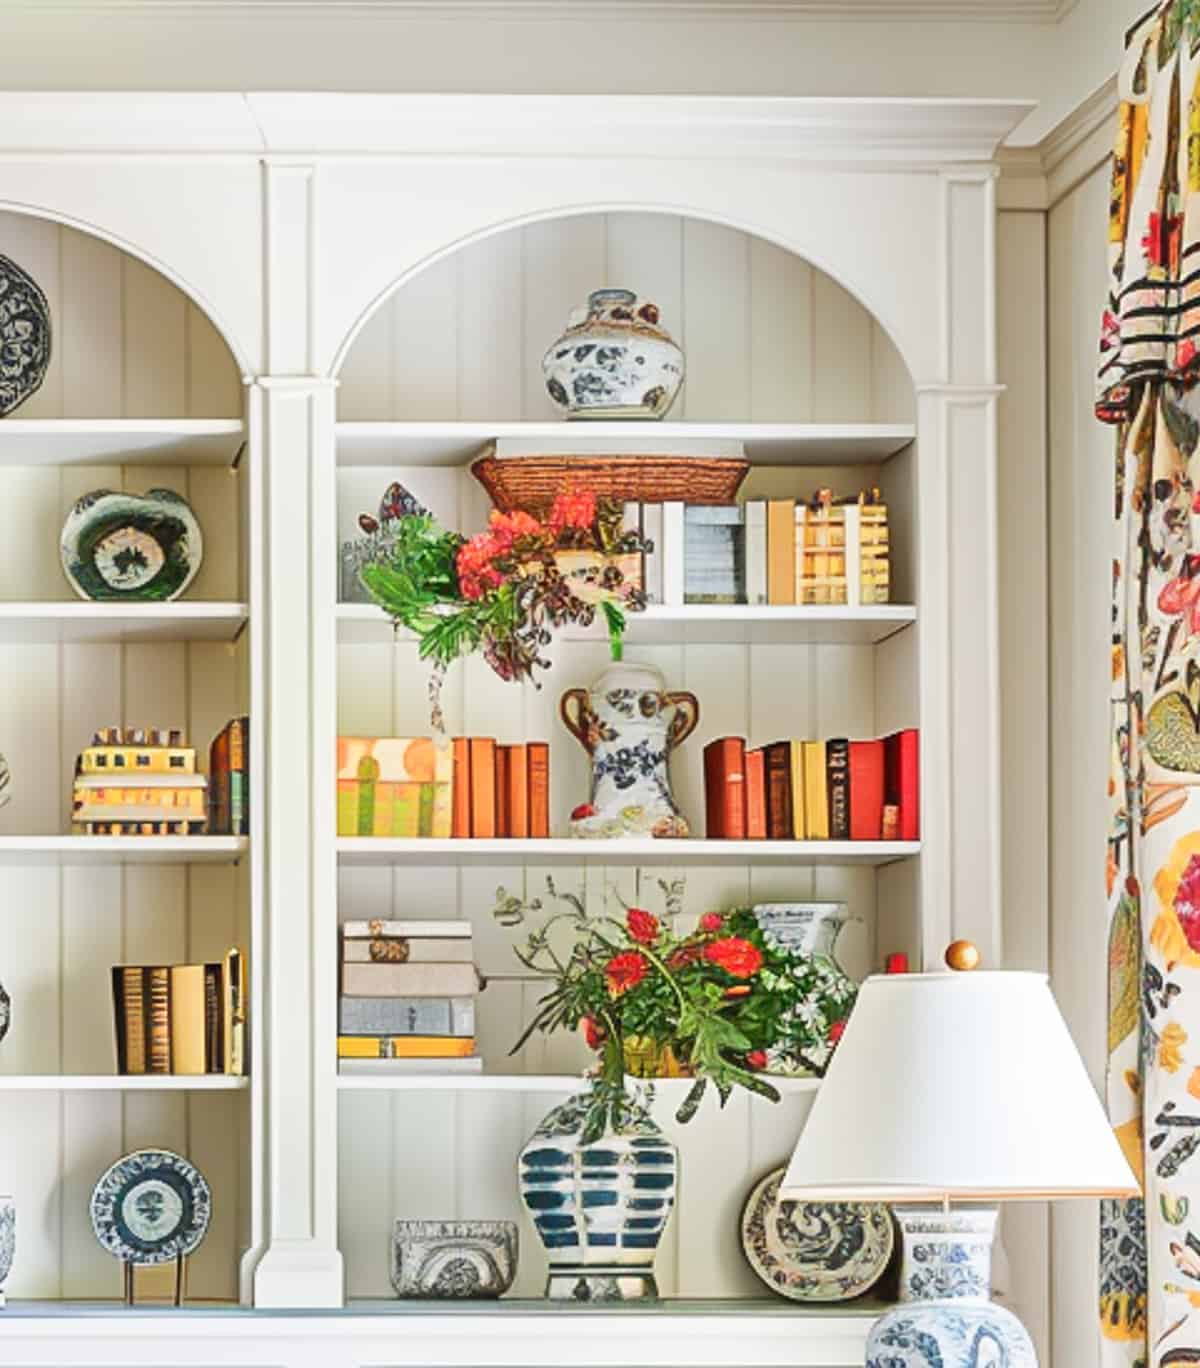
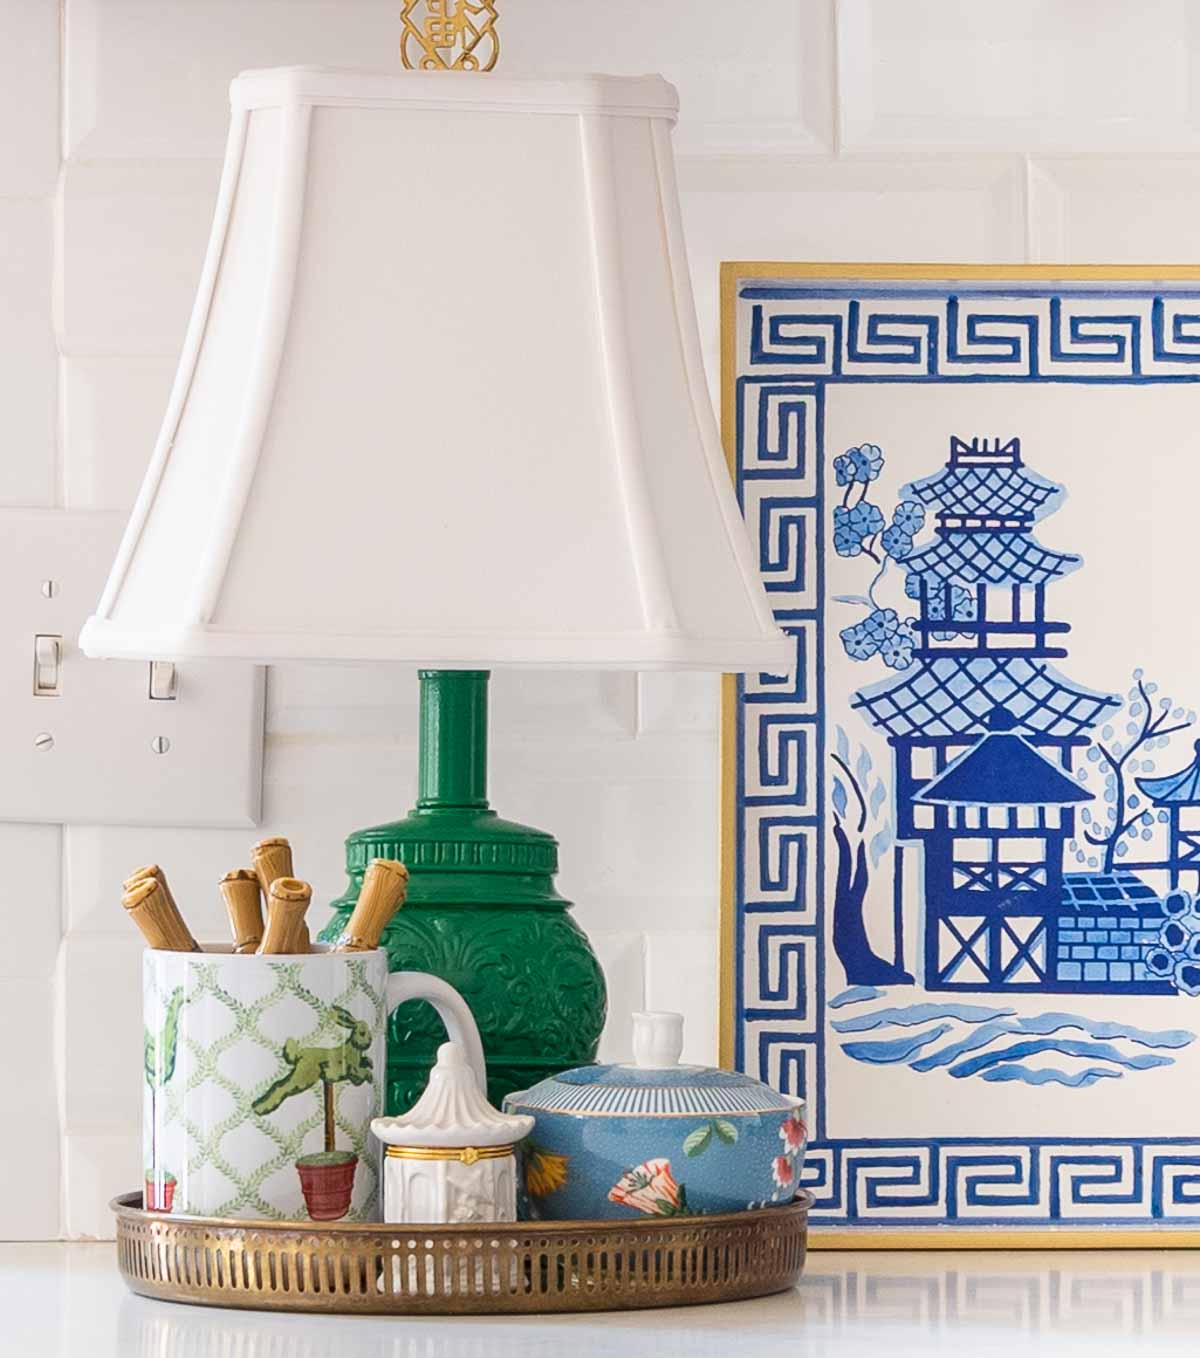
Group Your Shelf Decor Items Together
When determining what decorative objects to use, it’s best to have a wide variety of items.
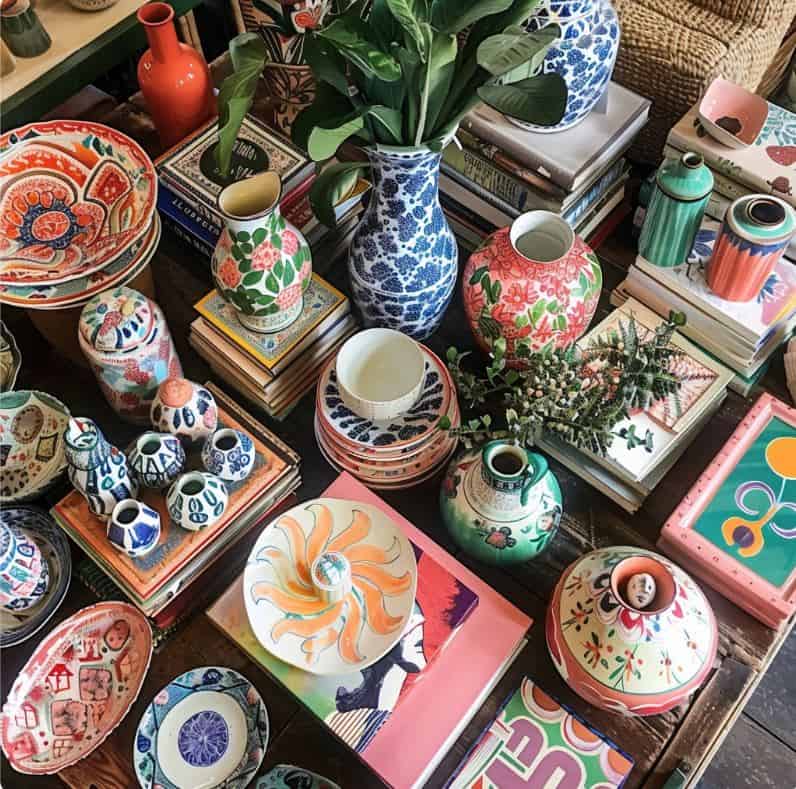
You may or may not wind up using them all, but gather them near to you so that they’re easily accessible.
- Number one on your list should be any pieces that bring you joy or hold special meaning. Those should definitely find a place on your shelf.
- Books: Books can be stacked or lined up, plus, their spines can introduce color. They make great risers for small objects too.
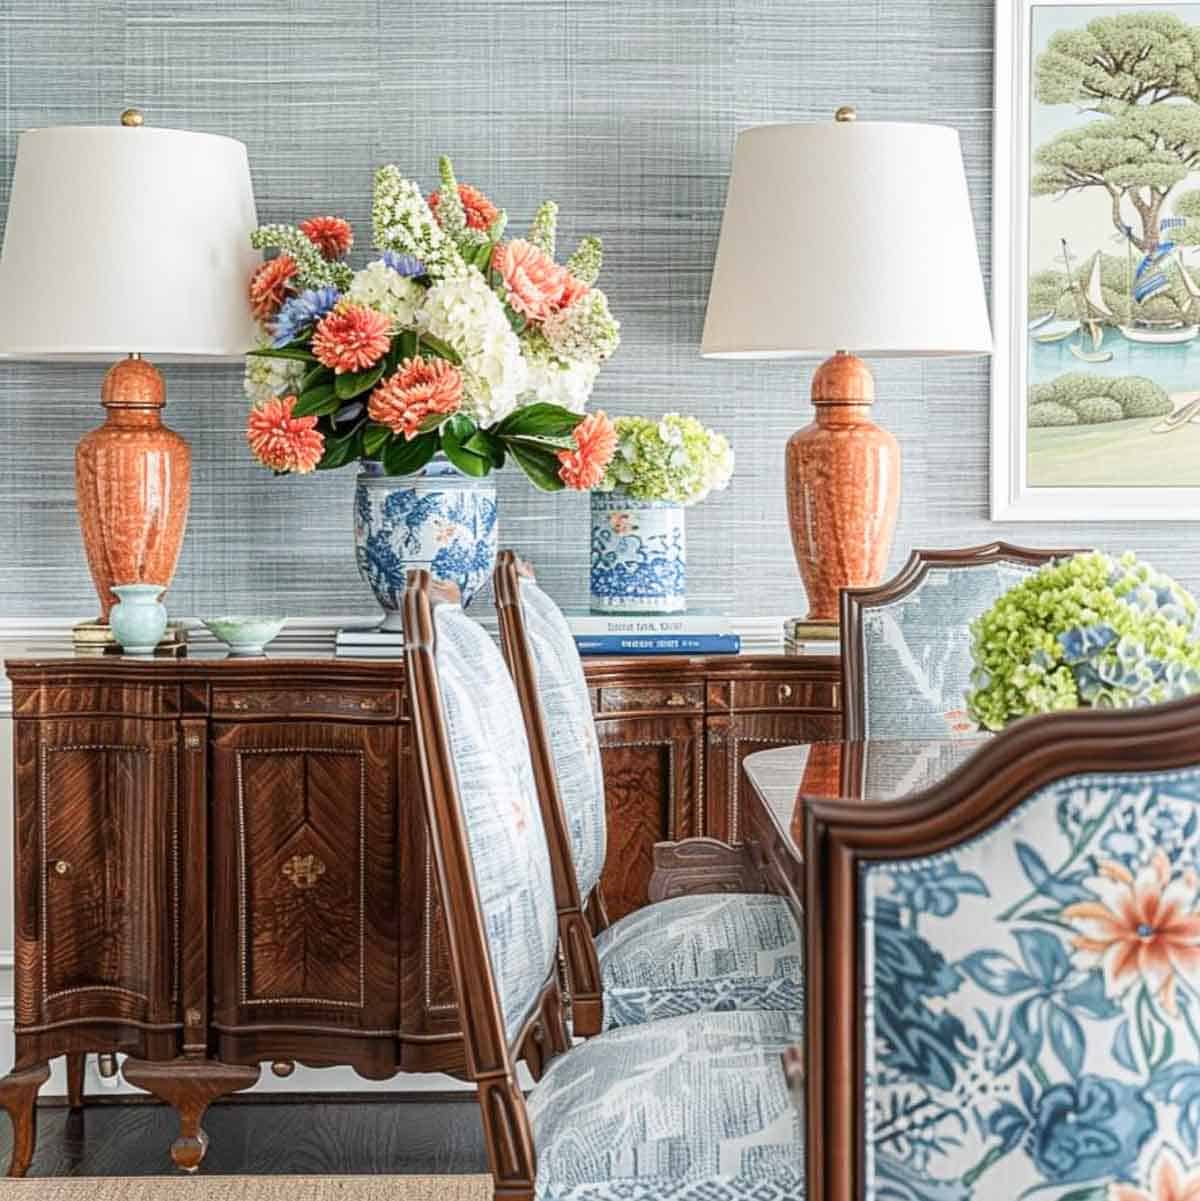
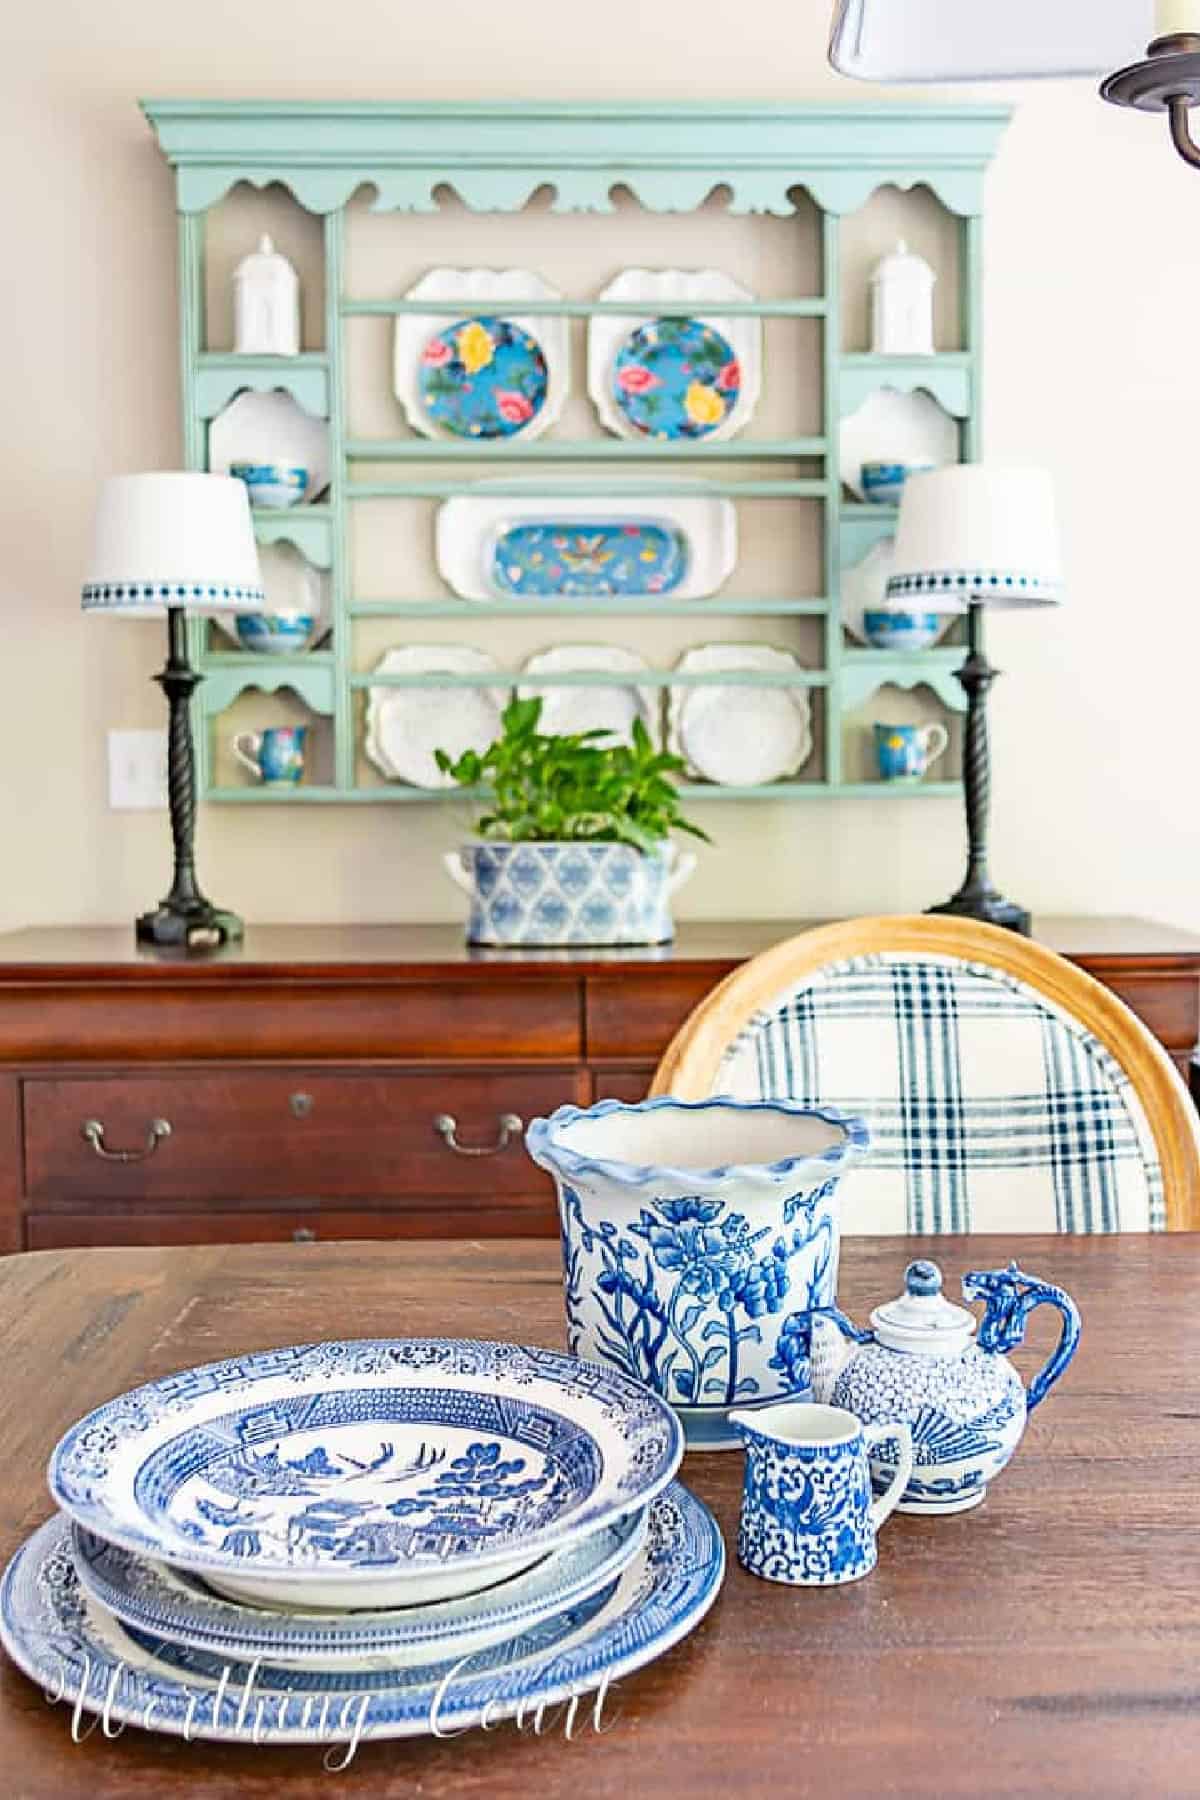
- Plants: From succulents to small potted plants, greenery adds that all-important texture and brings life and a touch of nature indoors.
- Picture Frames: Photos of loved ones or memorable trips add a personal touch and invite guests to share in your memories.
- Artwork: I love to lean small canvases against the back of a shelf to act as a backdrop and to fill empty space.
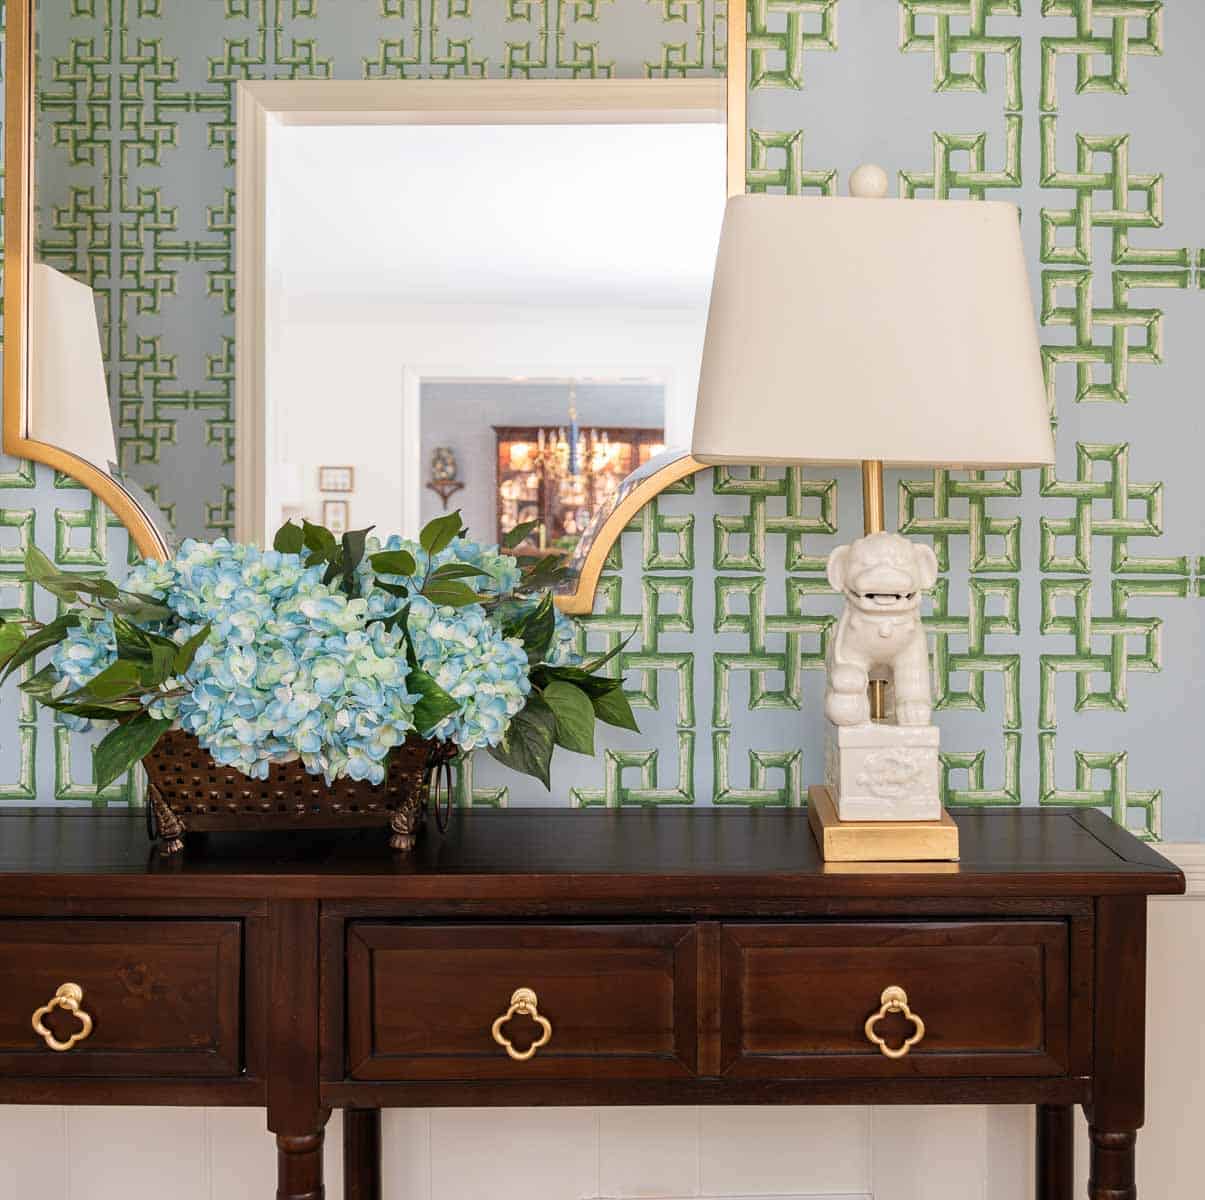
- Decorative Vases and Bowls: These can be statement pieces or subtle accents, depending on their design and how they complement your overall decor.
- Candles and Candle Holders: They introduce an element of coziness and can offer a soothing scent. Opt for brass candlesticks if you’re more of a traditionalist. Wooden candlesticks will give off more of a farmhouse or rustic vibe.
- Collectibles and Memorabilia: Items that tell a story or hold sentimental value add a layer of uniqueness to your space.
- Figurines: Don’t only think of figurines as something that your grandma decorated with.
- Decorative Boxes: Stylish boxes can serve double duty as storage for small items and as decorative pieces.
- Travel Souvenirs: Displaying items you’ve collected from travels can add interest and a touch of the unexpected.
- Unique Objects: Think outside the box with items like an antique mirror, a vintage clock, or an interesting piece of driftwood.
TIP: When adding the decorations, corralling multiple small items on a tray or basket will prevent the appearance of clutter.
Place Larger Items First
Larger items are what you might call your anchor pieces – they’re the ones that take up the most space and grab the most attention.
I typically have 1 -2 anchor pieces per shelf, with other smaller items playing a supporting role.
You’ll fill in with smaller pieces, but don’t overcrowd the space. You need some amount of blank space to give the eye room to rest as it moves from one item to another.
If I have an especially large or wide piece, I may use it as a focal point by placing it in the middle. Oftentimes, that is on a top shelf, but not always.
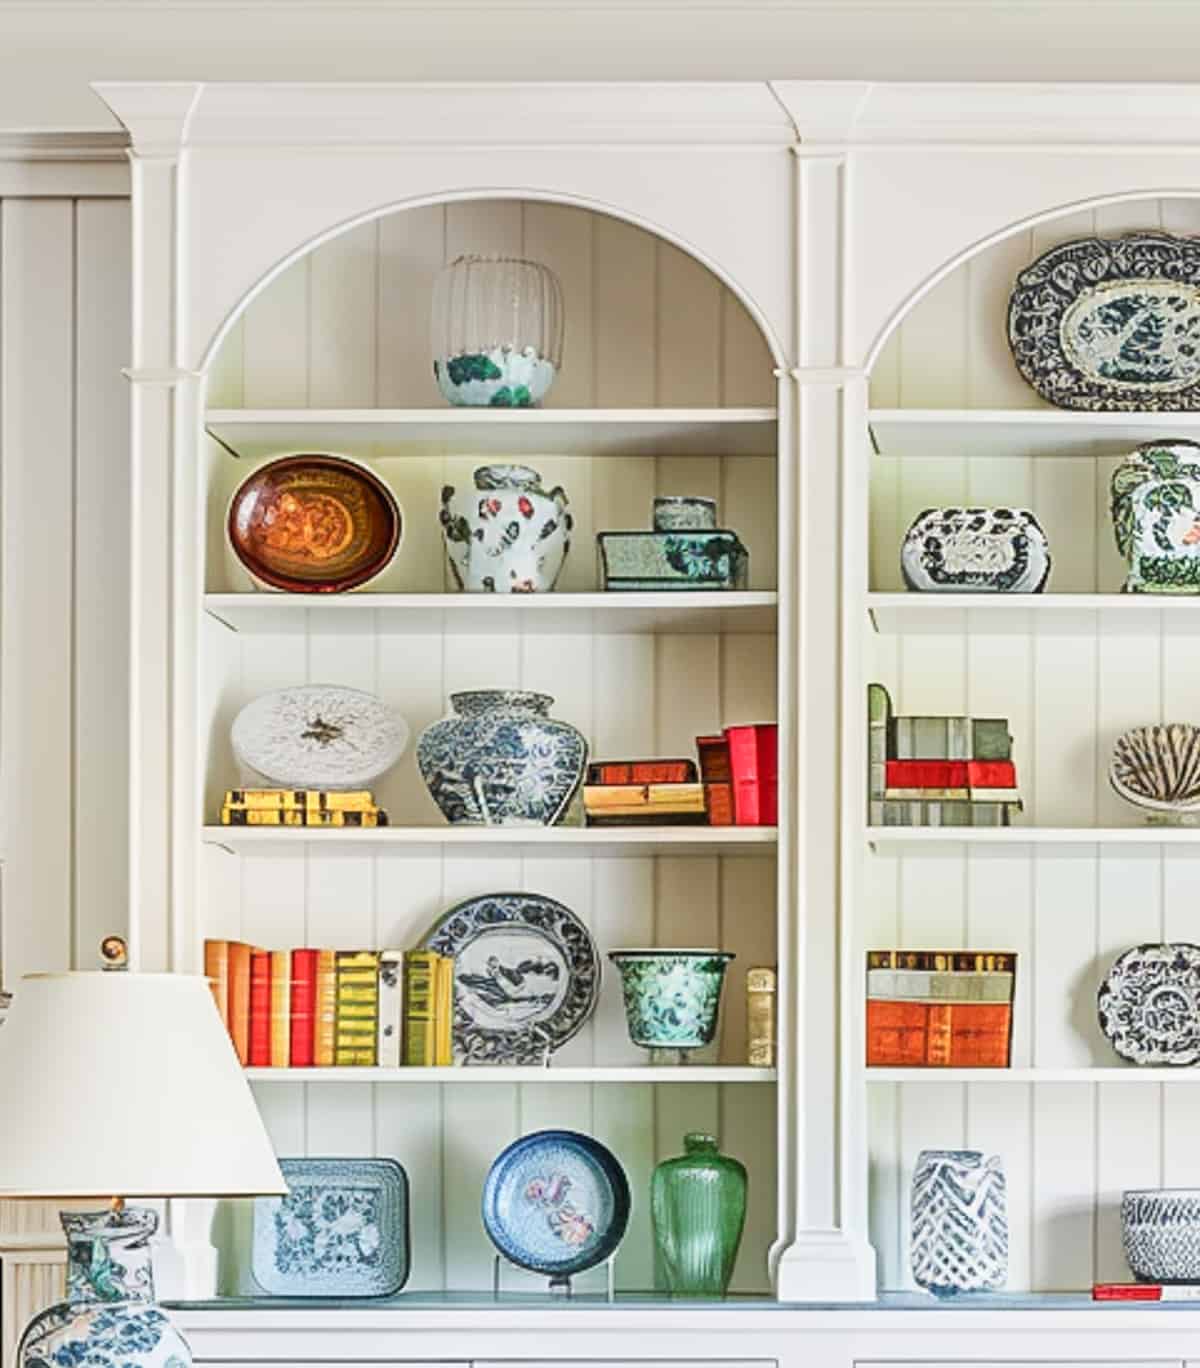
Vary Heights
One of the more important ways to make your shelves more appealing is the vary the heights of objects on a shelf.
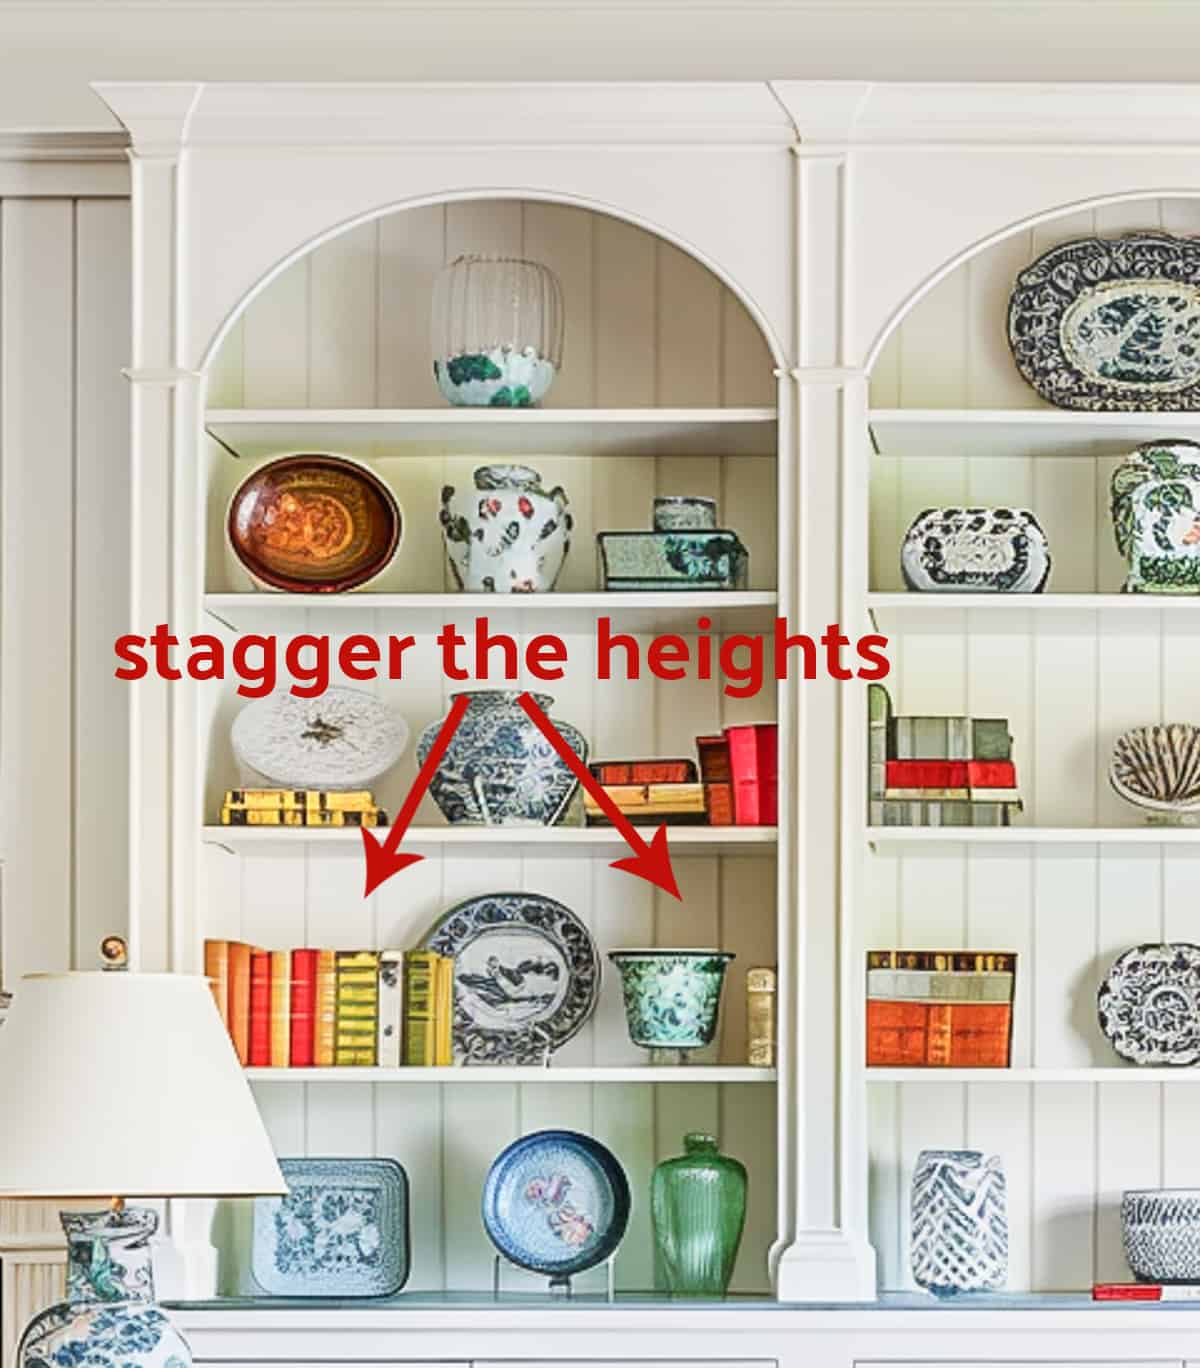
If every item on a shelf is the same height, your eye will follow the straight line across the top instead of appreciating the items individually.
Layer Decor
Place the decor in layers – from back to front – with larger pieces to the back.
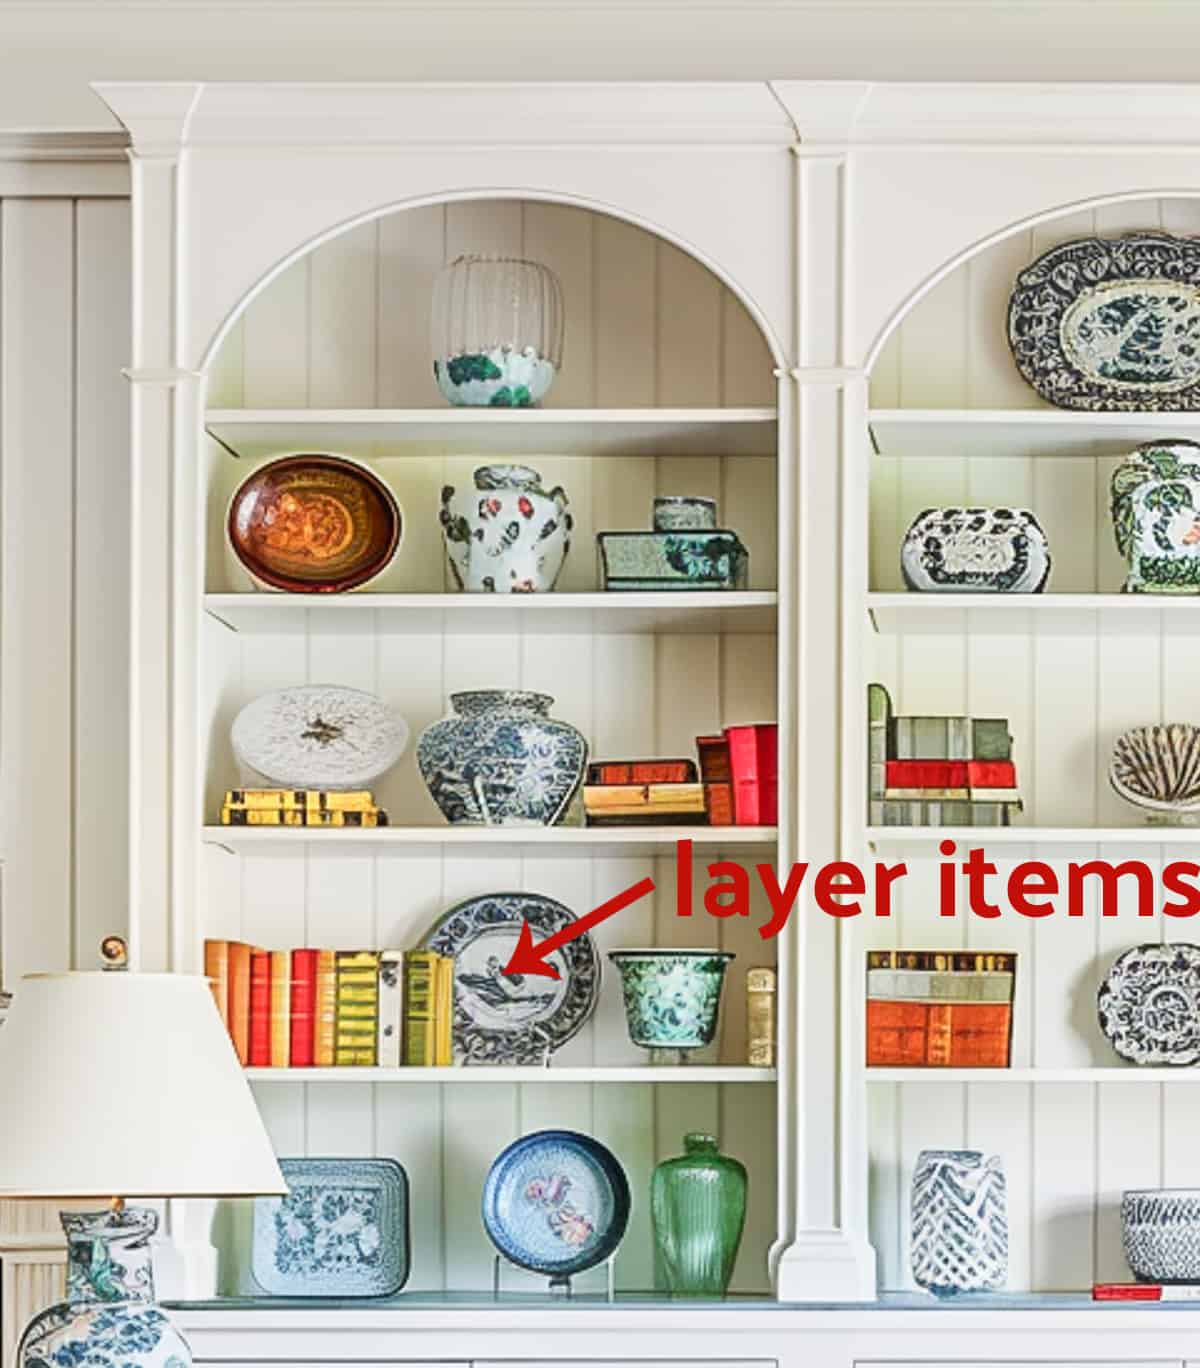
This decorating trick adds depth by creating a sense of dimension. No layers = a design that falls flat.
Another way to trick the eye when it comes to layering is to wallpaper the back of your shelving unit. This works especially well when decorating built-ins.
Pay Attention to Visual Weight
As you’re placing items, pay attention to the visual weight.
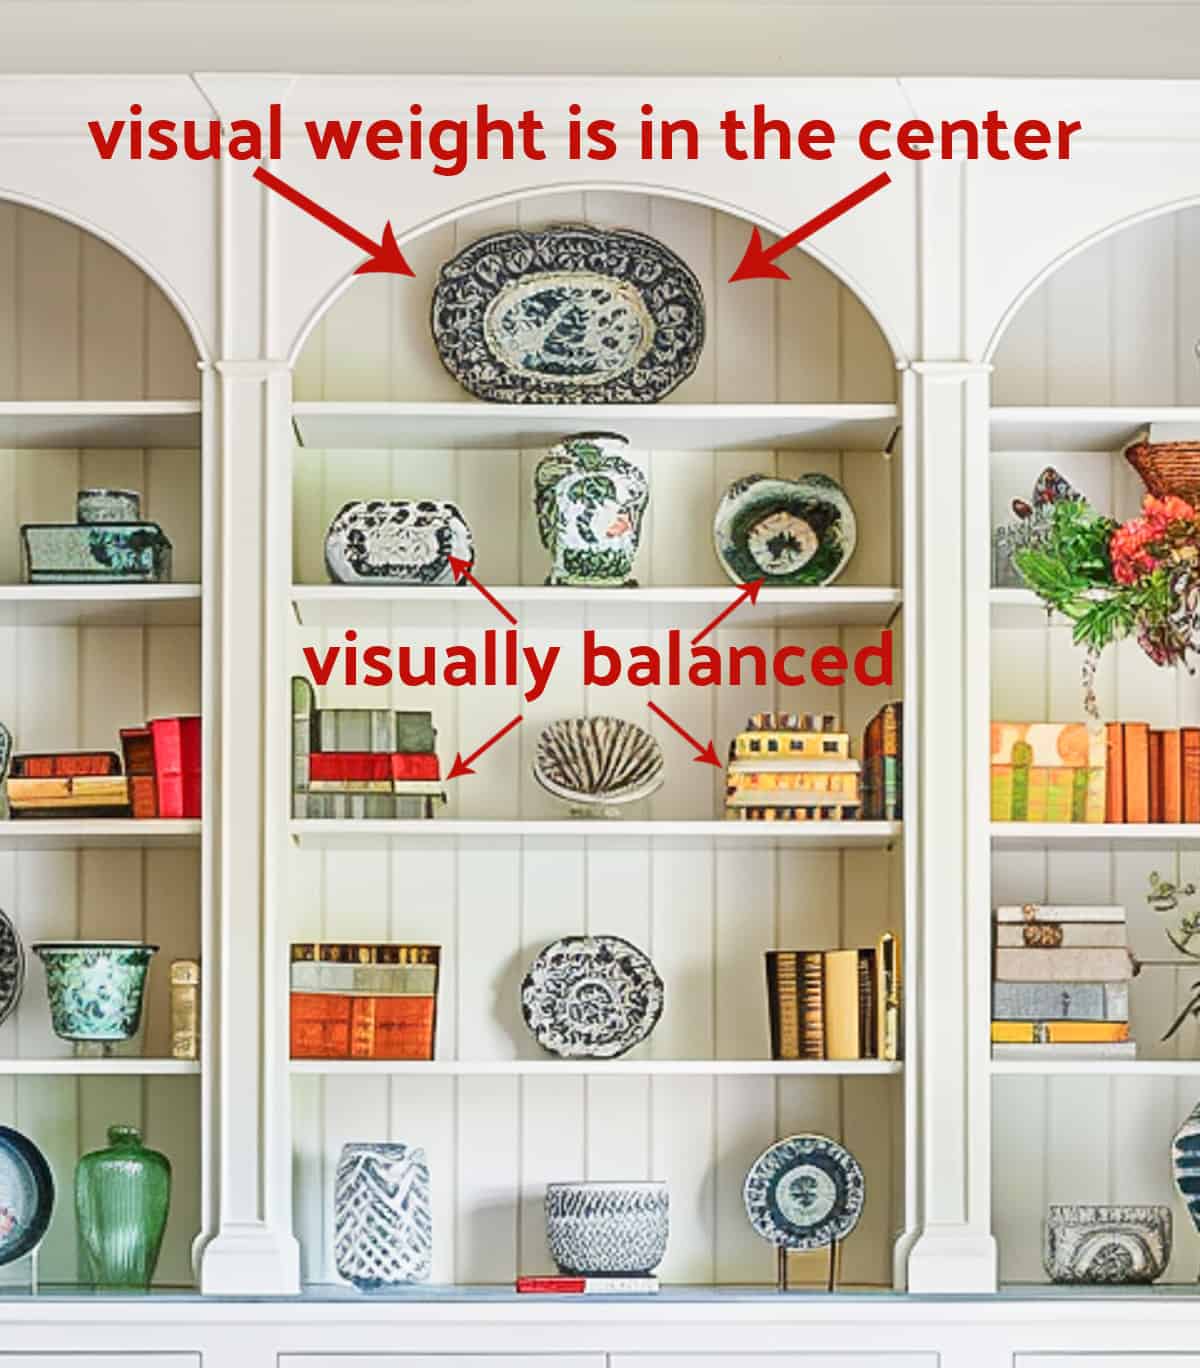
Be sure to balance the placement of accessories and books. You don’t want shelves to appear visually heavy on one end versus visually light on the other.
It can help to imagine your bookcases broken up into sections.
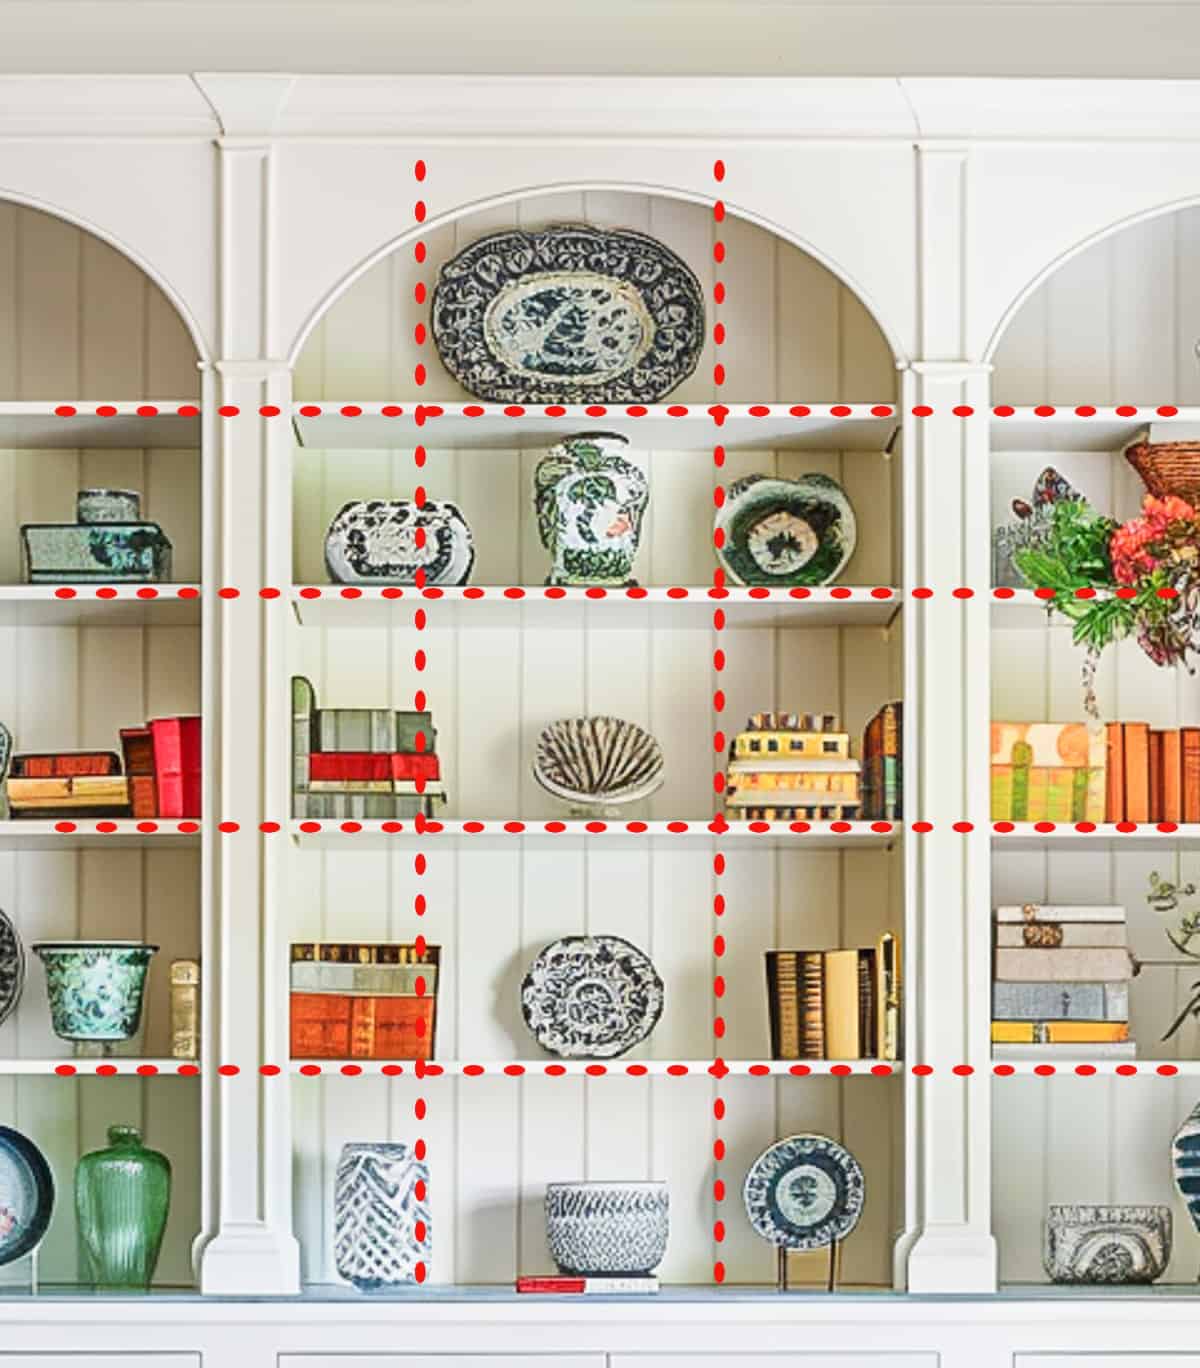
Use Odds Numbers and Visual Angles
Group items in odd numbers (3 is the magic number!) and create a vignette with them so that a visual angle is created.
Unless you’re creating a symmetrical display, for some reason an assortment of an odd number of items appeals to the human eye more than an even number of items.
The use of visual angles is a trick that adds order to a display of multiple items.
Make Sure to Add Texture
Soften all the hard edges and surfaces by adding texture in the form of pots of greenery, baskets or florals.
Faux plants typically work best in this situation because there usually isn’t much natural light.
You’ll want to mix it up with a variety so that it looks interesting, but not overwhelming.
Create a Curated Look
This is done by carefully selecting the accessories that will be displayed.
It’s easy to get caught up in the mentality of let’s ‘git ‘er done’, but that’s exactly how the end result will look. If you’re in a hurry, it will show!
Make sure to choose each decorative element carefully and deliberately.
Don’t Dress Up Shelves by Overfilling
A surefire way to ruin the look of your shelves is by filling them with too much stuff.
Our eye must have some negative space to rest upon or we see it as one big blob with nothing of interest to catch our eye.

ALWAYS, ALWAYS EDIT
The old rule of taking something away when you put an outfit together, applies to decorating shelves too!
When you think you’ve completed the task, take a step back and look at your shelves with a critical eye. Try taking just one item away.
TIP: A great way to analyze how your shelves look is to snap a picture with your phone. Oftentimes, you’ll notice changes that need to be made in an image instead of taking in the entire space at once with your naked eye.
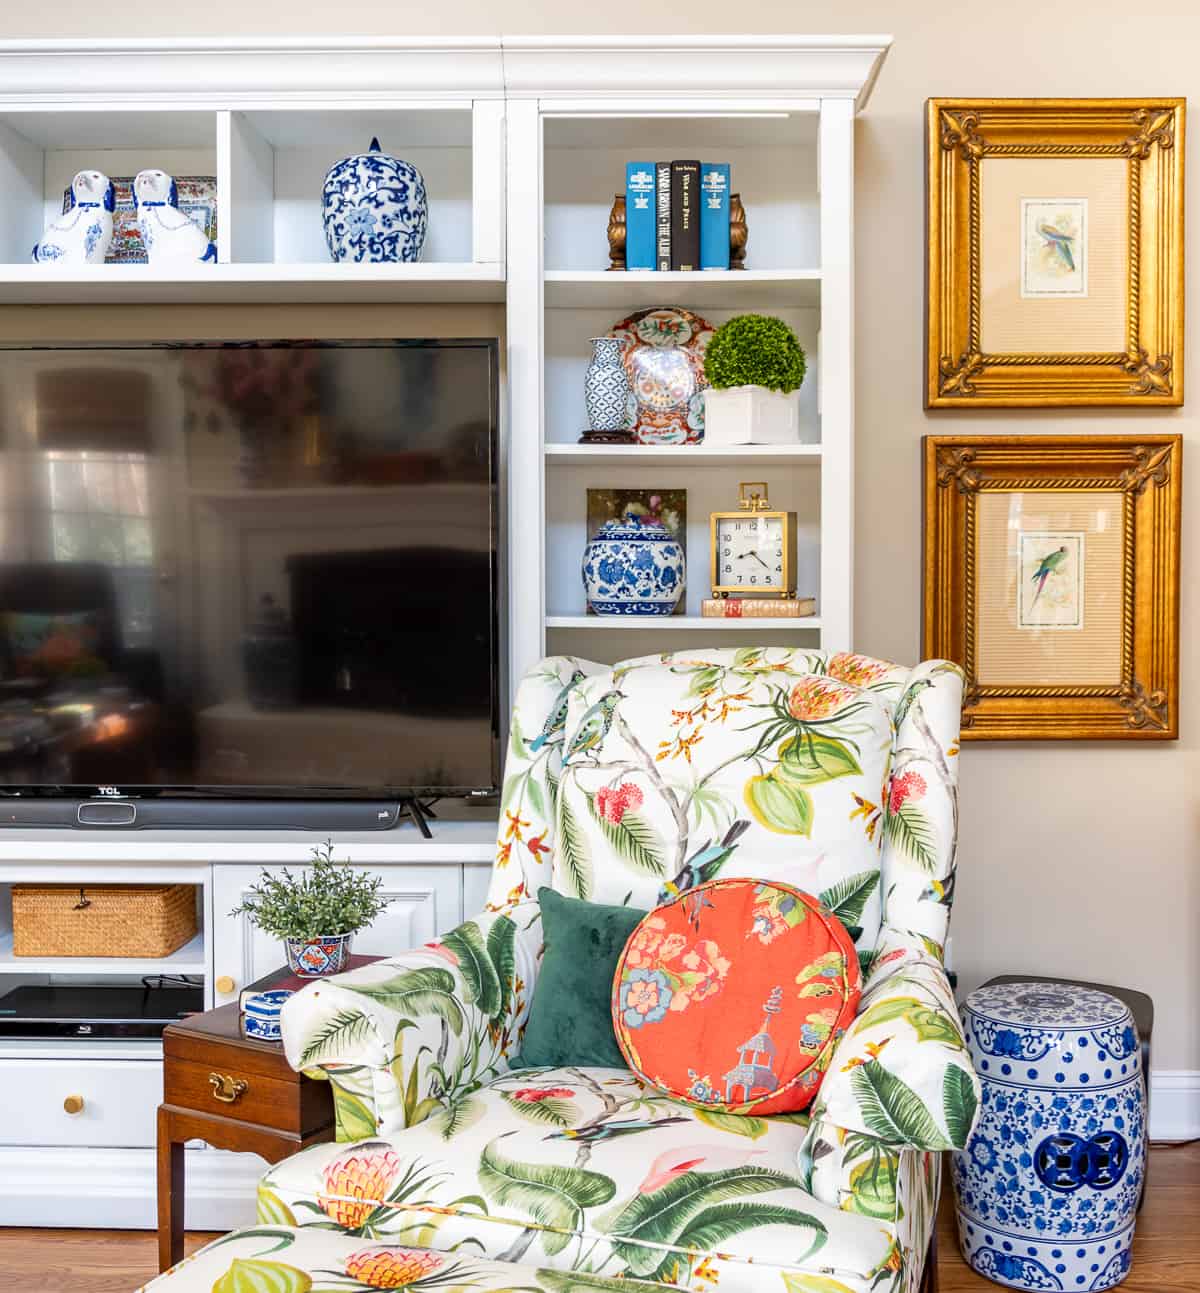
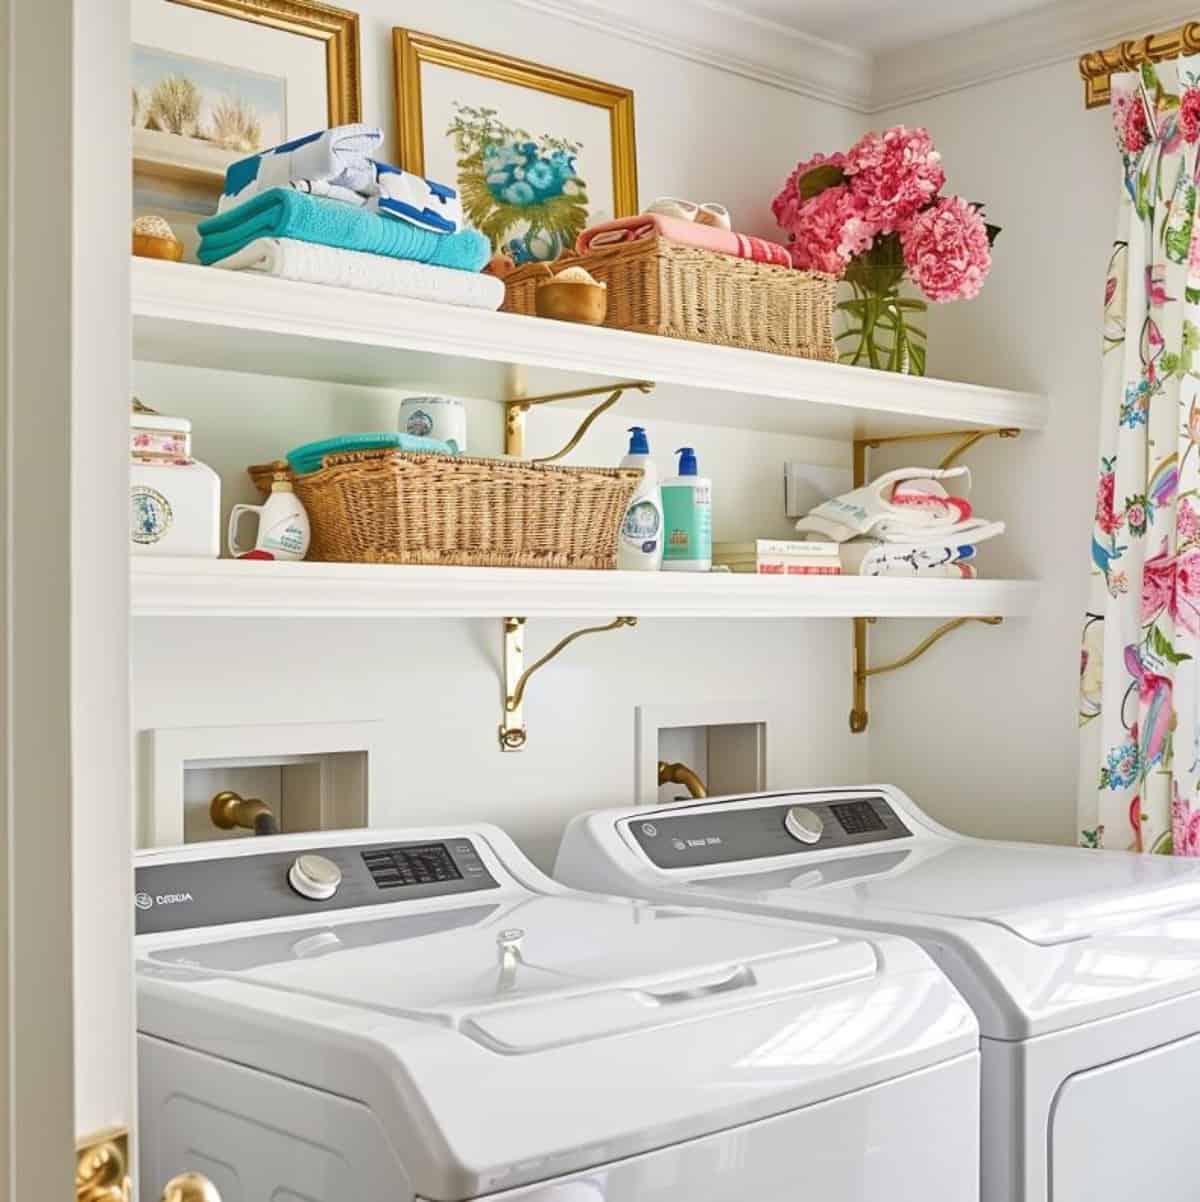
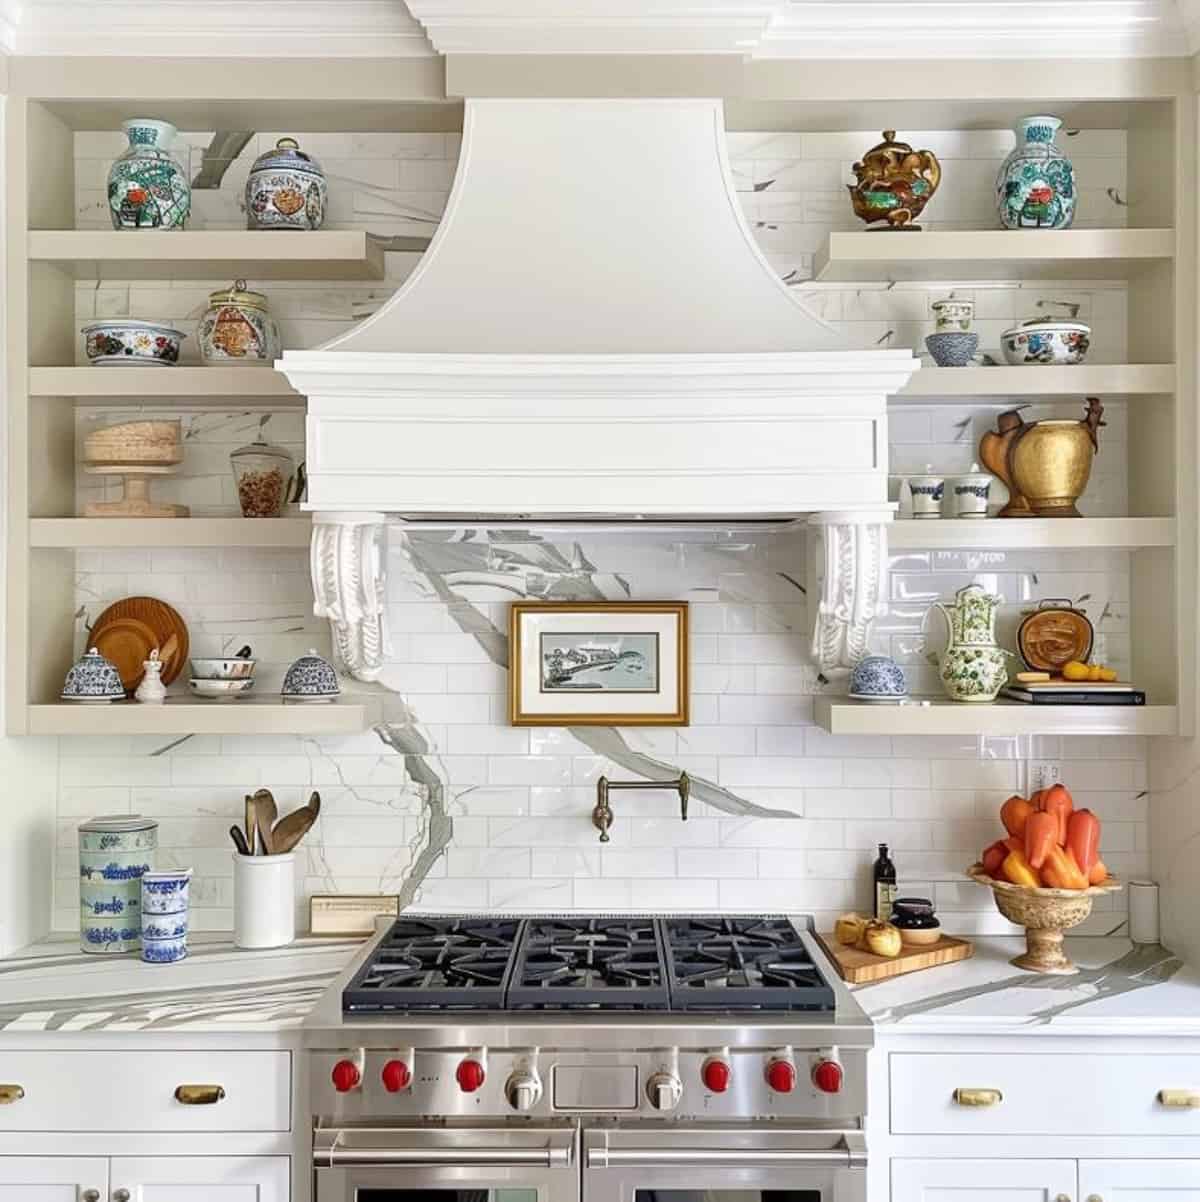
Use the Same Principles In Any Room
The same design principles can be applied to shelves in every room in your home!
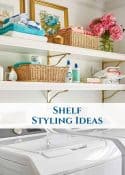
Bathroom Shelf Decor

Laundry Room Shelf
Open Shelving
Remember – it’s more than just making your shelves look classy. It’s a way to tell a story and express your style.
Take your time to choose items that speak to you, and arrange them with care, balancing form and function.
So, go ahead, give those shelves a little love, and watch as they transform into a charming, eye-catching feature of your home.

Thanks Susie! This is very helpful.
Did you buy your entertainment center in the white color or did you paint it white?
I had it painted. You can read all about the products that were used in this blog post: https://www.worthingcourtblog.com/old-entertainment-center-makeover/
I love all your great ideas for decorating. I used a lot of them for fall and Christmas. I was wondering where you got the cute tool box,that you use in so many of your decorating vignettes?
So happy that you found some fall and Christmas inspo! The toolbox you’re asking about came from HomeGoods several years ago.
I have two side by side built in shelving units. Each unit has four shelves that can be adjusted. Do you recommend keeping the shelves the same height on both units or should I vary the distance between the shelves?
There really isn’t any right or wrong answer – it kind of depends upon the room. But – typically, when shelving units are side by side (with nothing in between), I keep them all at the same height to keep a continuous line all the way across.