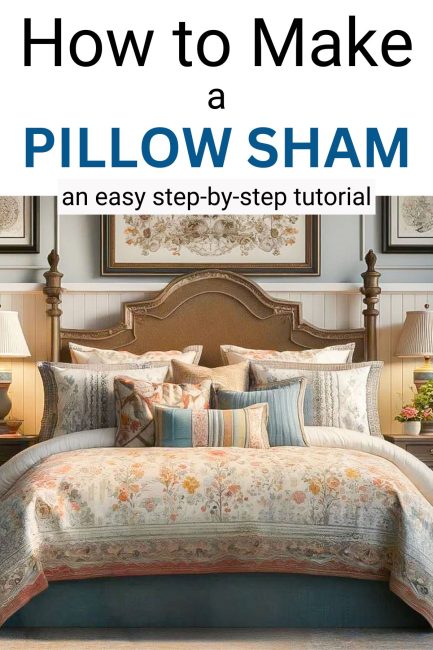
How to Make a Pillow Sham – Part 2
Welcome to Part 2 of a step-by-step tutorial for how to make a pillow sham.
In case you missed it, click HERE to view Part 1 of the tutorial.
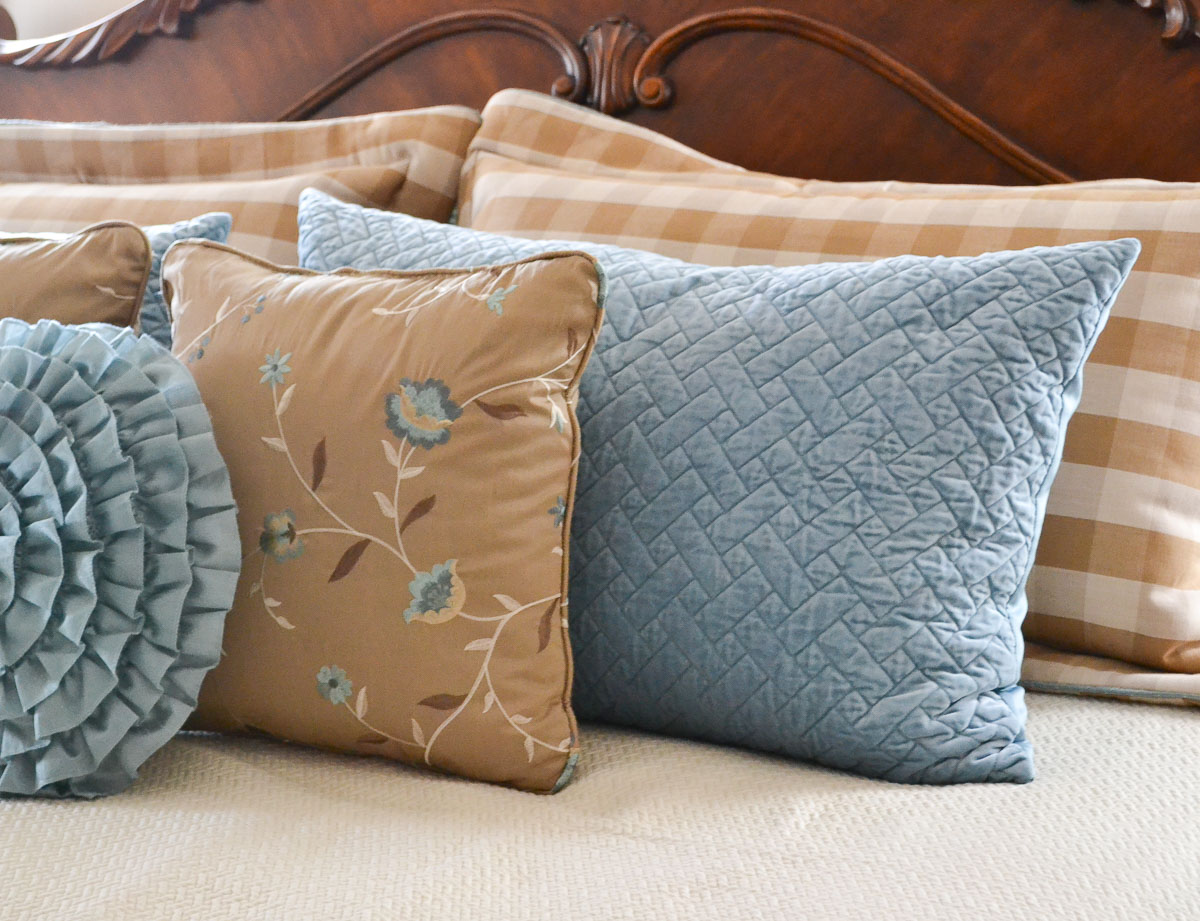
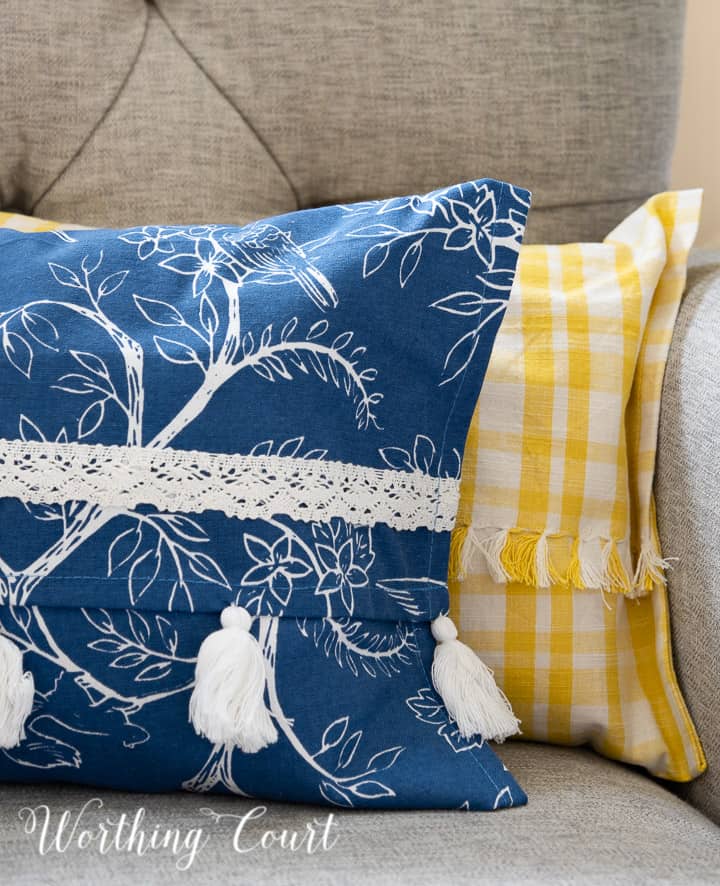
I made two of them to go in the group of pillows on the bed in my master bedroom.
At the end of Part 1, we had finished applying the covered cording to the face of the sham.
There’s only a leeetle bit more to go!
In Part 1, we cut and assembled the front and applied the covered cording.
Here in Part 2, we’ll cover the cutting and assembly of the back, then the final assembly of the finished sham.
Unlike the front side, where I used four different fabrics, I only used one fabric for the back.
Batting is only needed for the front and since this is just for me, I chose not to line the back. I would certainly line it if I were making it for someone else though.
Cut the Fabric for the Back of the Sham
For the back of the pillow sham, you’ll need to cut two pieces of equal size.
Three inches will be added to the width of each piece to allow for hemming the sides at the opening where the pillow will be inserted.
The height of each piece will be the same as the piece that was cut for the front.
Formula to Calculate the Cut Width
Here’s my calculation for the back pieces:
- Divide the width of the piece cut for the front, which is 43″, by 2 = 21.5″.
- Add 3″ to each piece, which is for hemming what will become the opening where the pillow will be inserted.
- The height will be the same as the piece cut for the front, which is 34″.
So, this means that each of the two pieces for the back needs to be cut at 24½” wide x 34″ high.
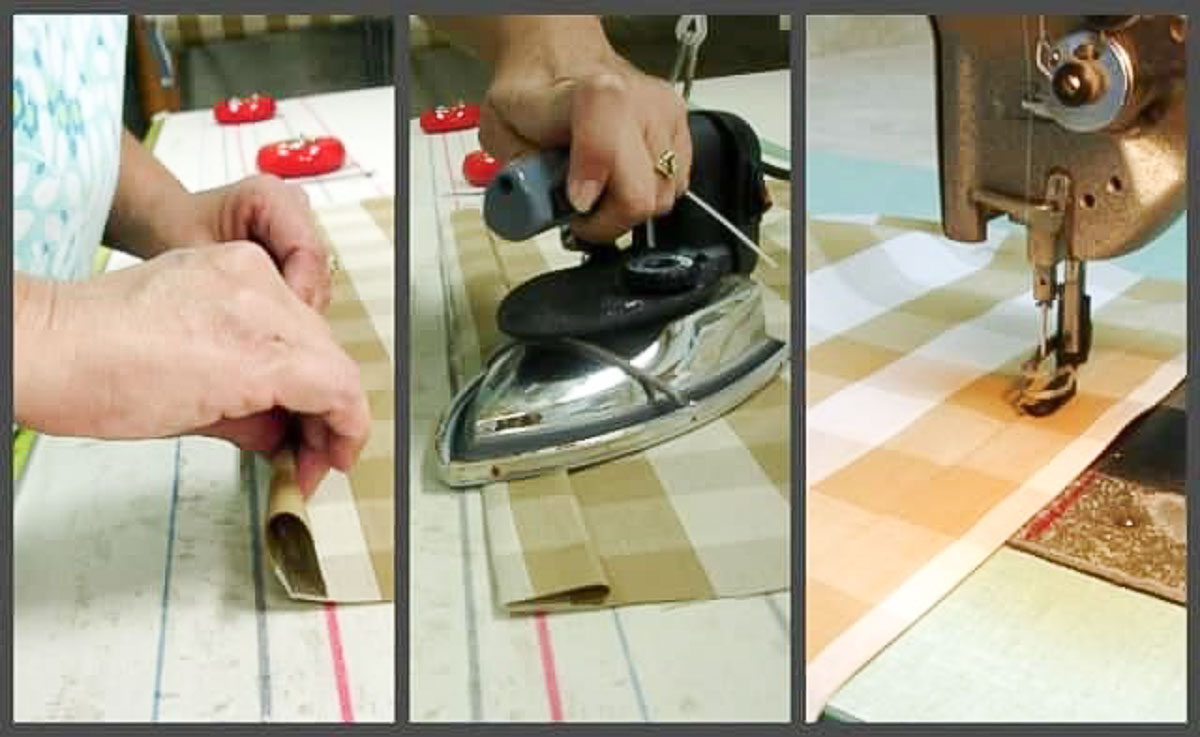
Prepare for Sewing the Sides Together
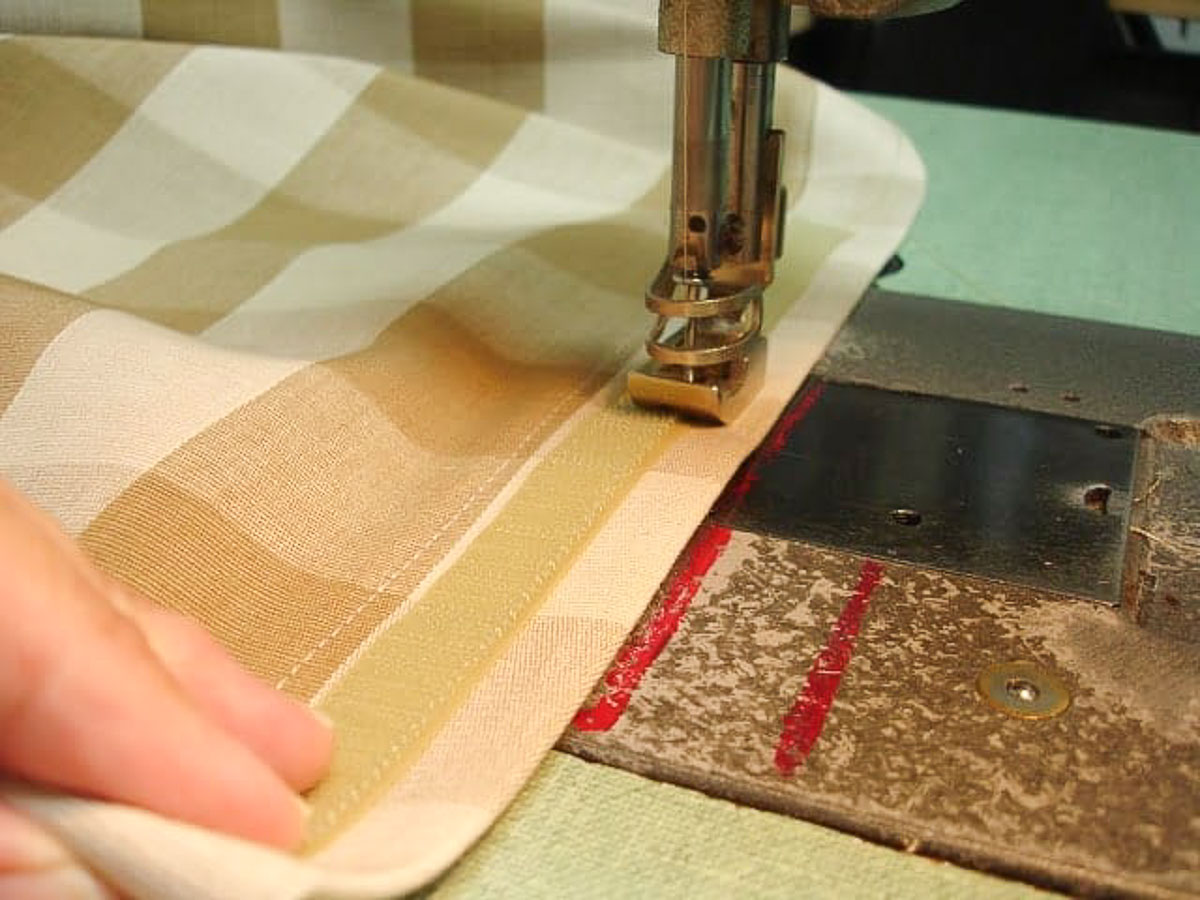
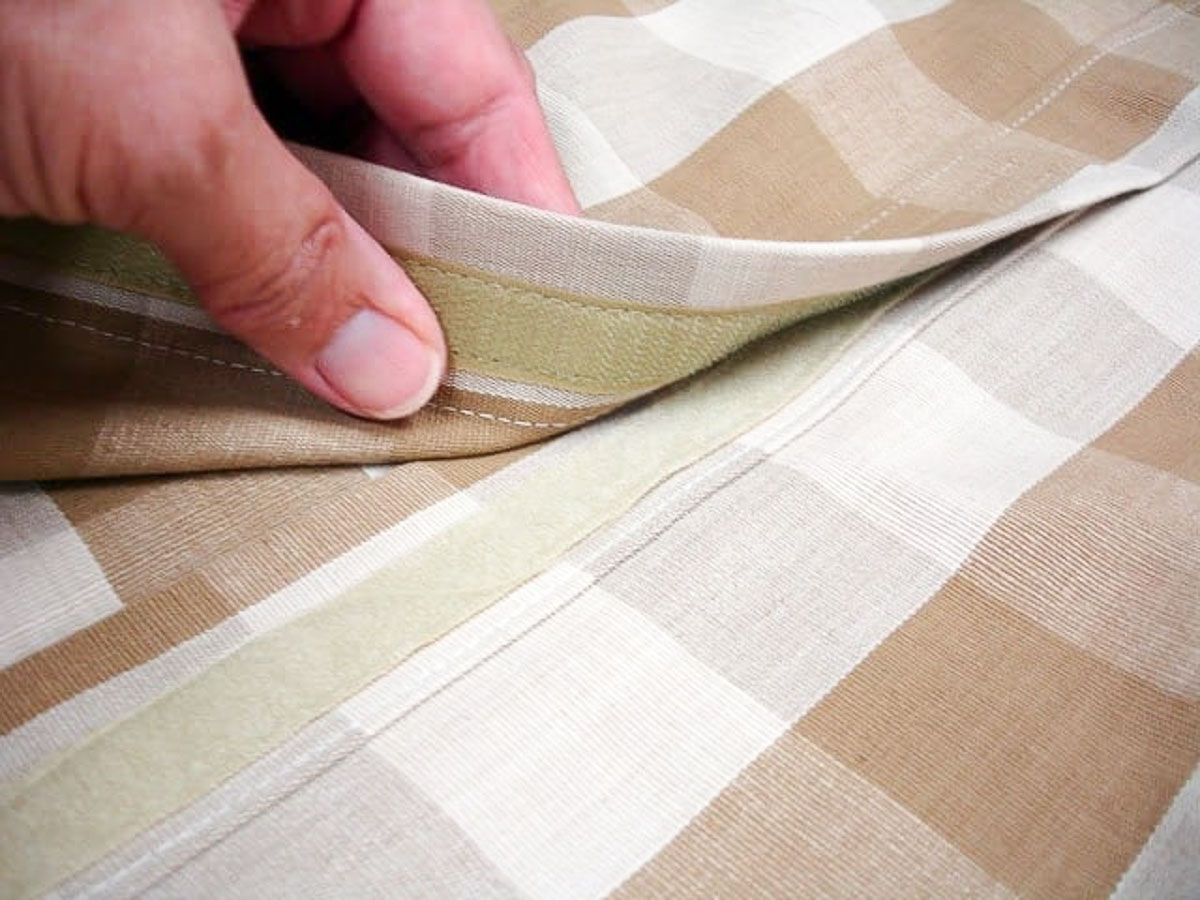
After cutting, the next step is to double-fold, press, and then sew a 1½” hem on one edge of each of the 34″ high pieces.
I don’t like the way that pillow shams are prone to gap open in the back, so I use velcro to keep it closed.
Do not use velcro that is sticky on the back. It will gum up your needle as you stitch through it.
Cut a piece of velcro 12″ long, pull it apart, and sew the loopy gripper side to one of the areas that you just hemmed.
Then sew the soft non-gripper side of velcro to the other.
When attaching it, position the velcro so that it is about halfway between what will become the top and bottom sides of the pillow sham.
TIP: Make sure you line the two pieces of Velcro up before you sew them to the fabric. The back of the sham will not lay properly if the two sides of Velcro are not lined up with one another.
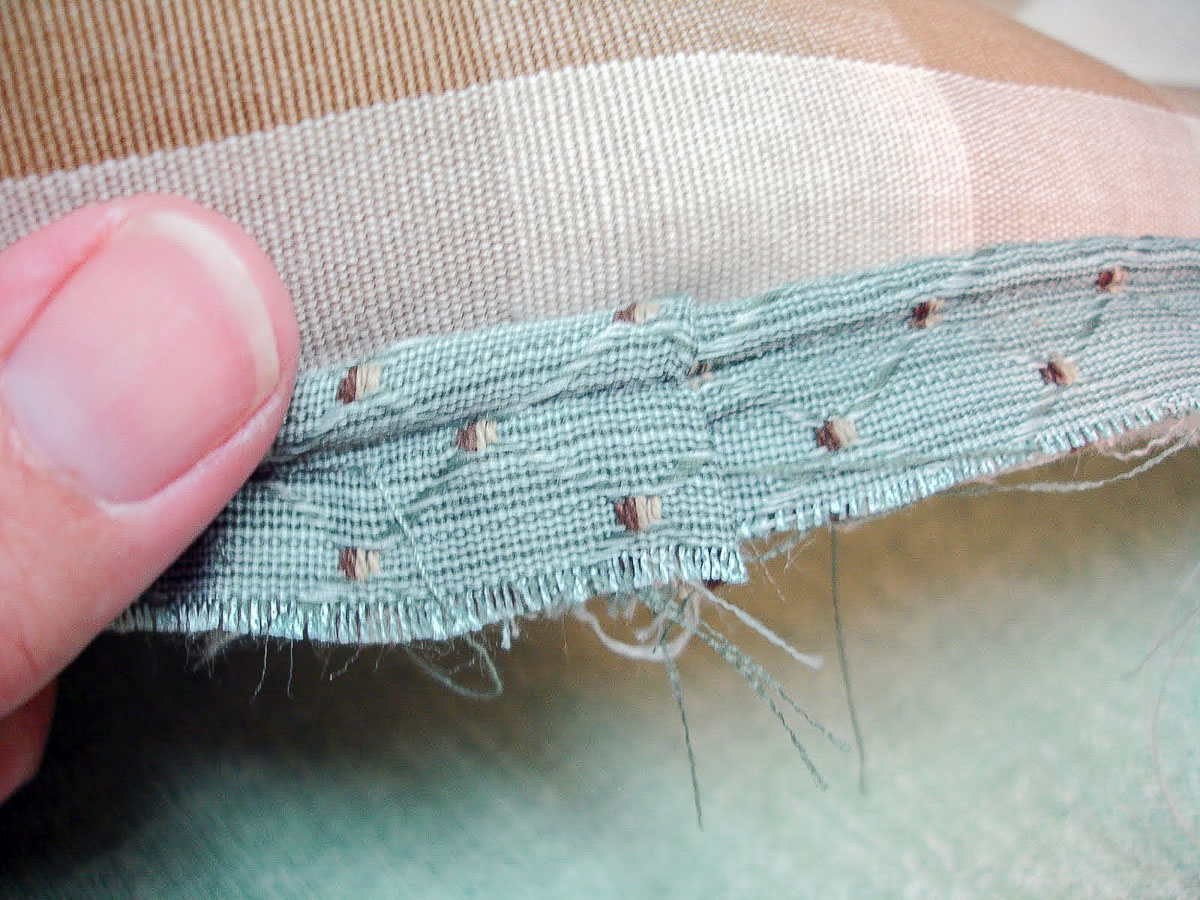
This is how the velcro will look when it has been sewn in place.
Now that both sides of velcro have been attached, go ahead and position them like they will be when the back of the sham is closed and “stick” them together.
Since you positioned the two pieces of velcro evenly, what will become the top and bottom of the pillow sham should line up perfectly with one another.
Now the back is ready to be attached to the front.
Sew the Sides Together
Return to your work surface and layer the front and back pieces together, with the right sides of the fabric facing one another, making sure all four edges are even.
In case you’re wondering, I’m using the same fabric for the back as for the front of the sham.
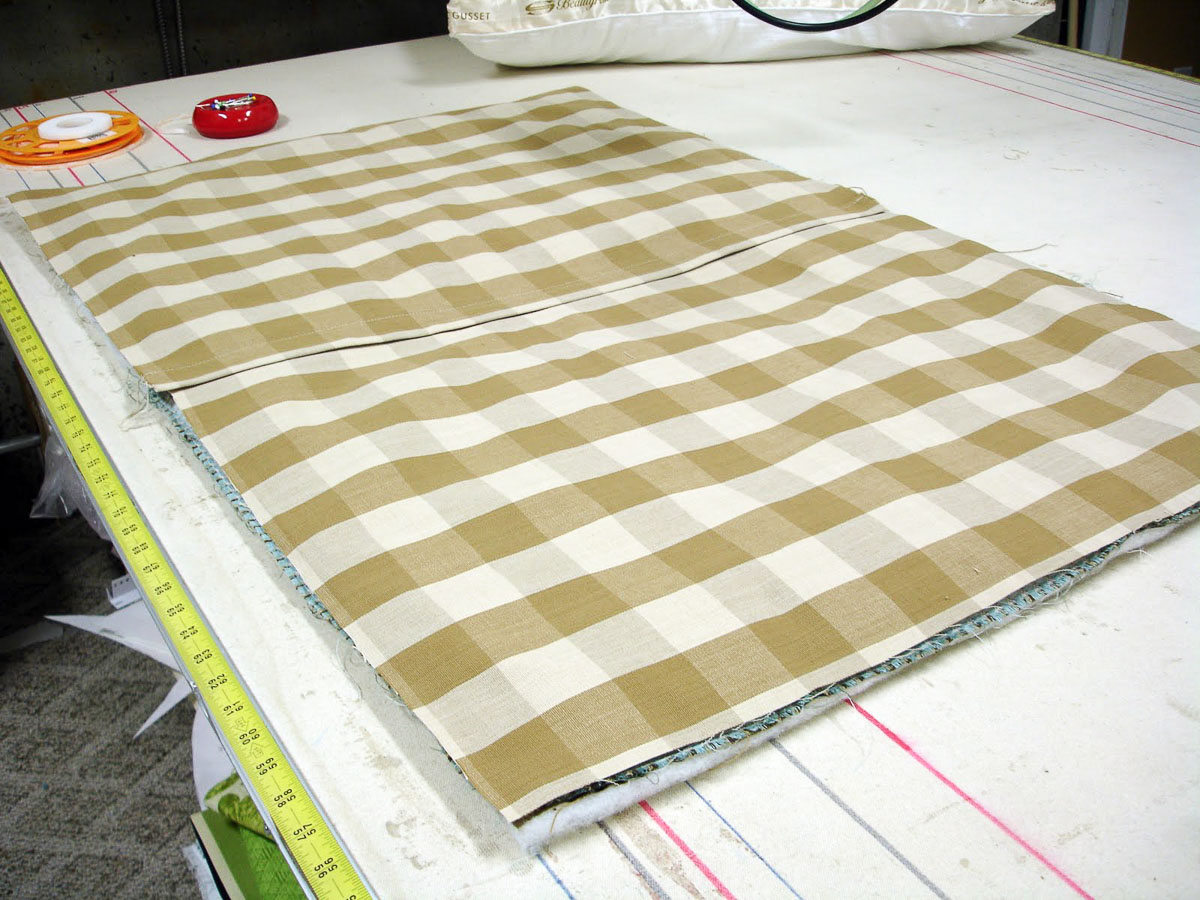
Pin and sew the two sides together on all four sides.
If you chose to add covered cording, make sure that you sew as close to it as possible, using either a zipper foot or a cording foot.
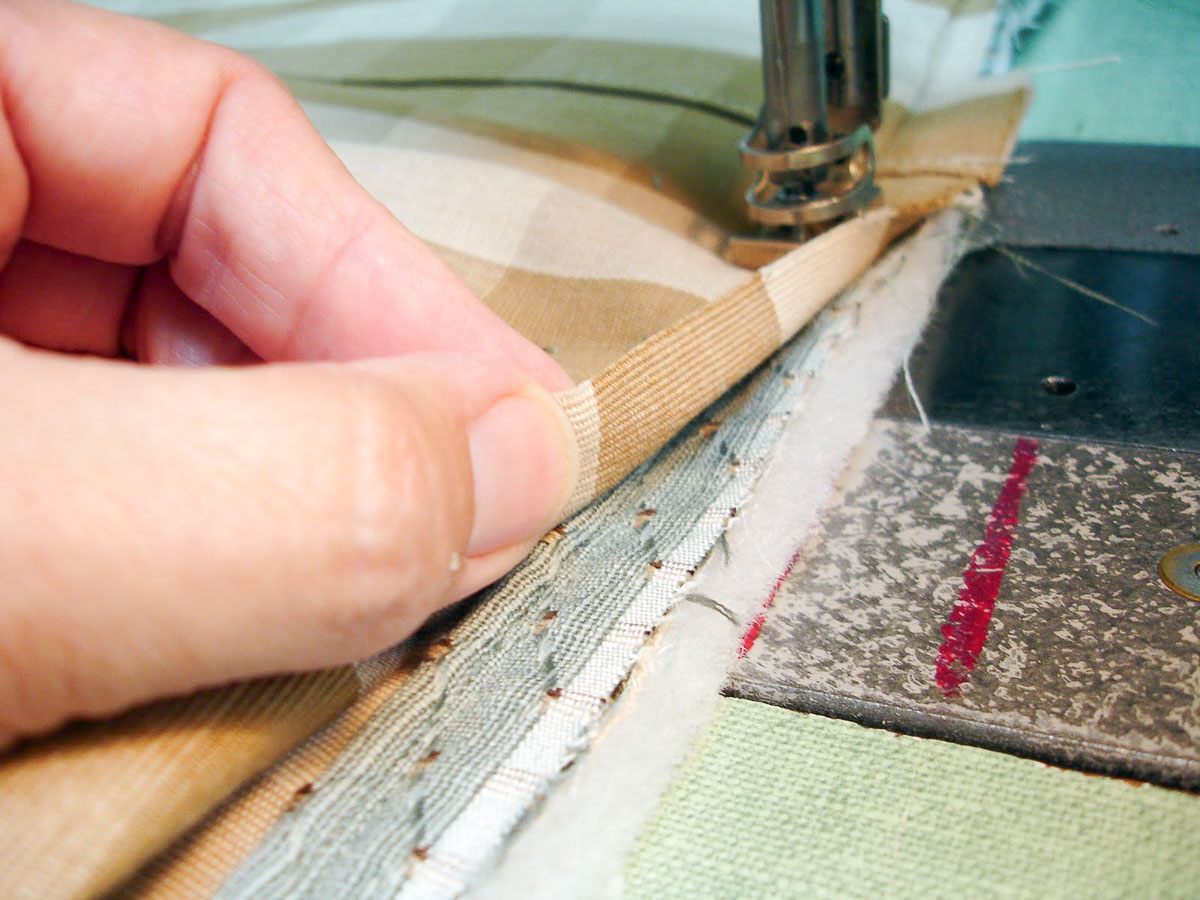
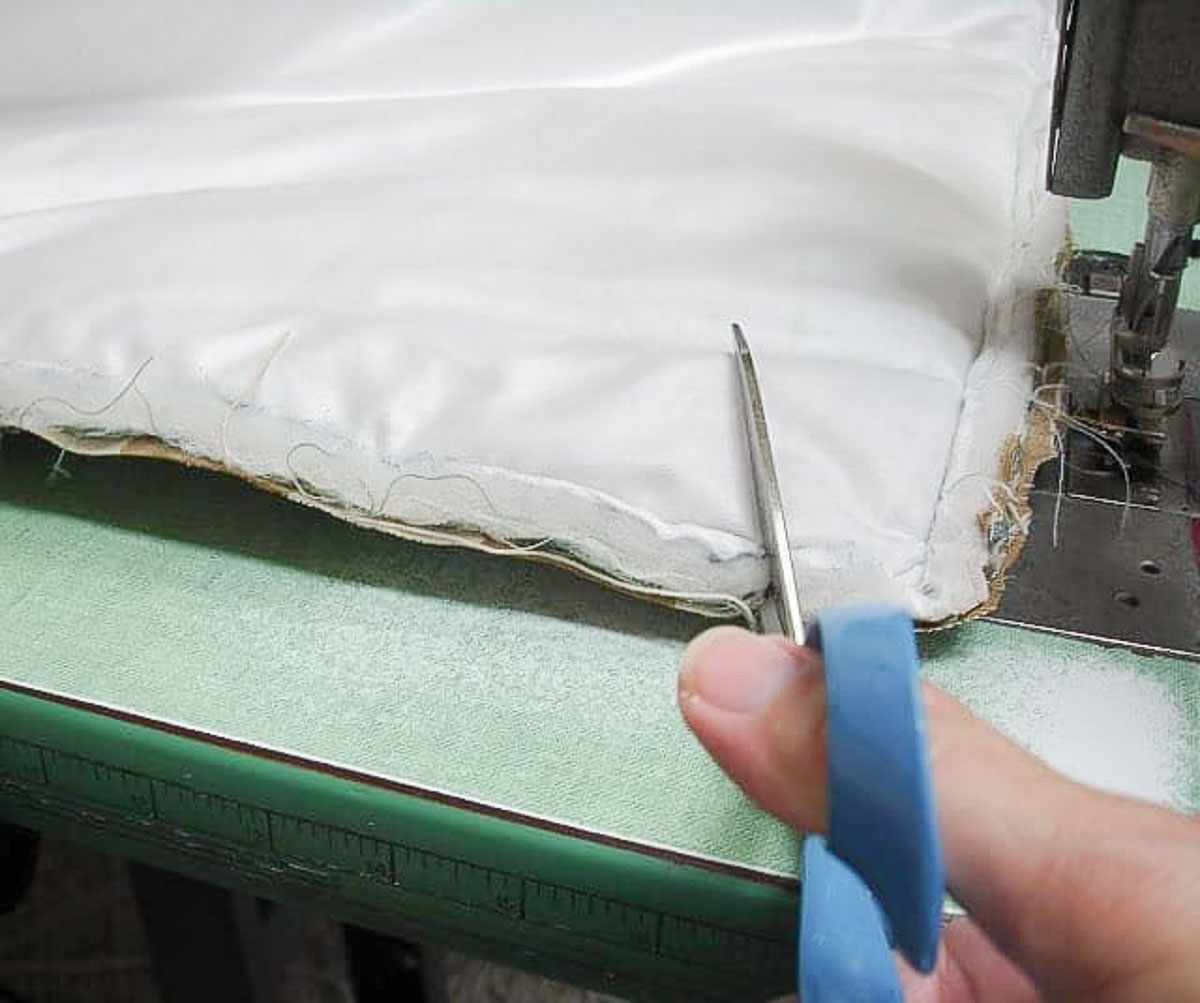
Clip the corners with scissors either as you’re sewing along or when you’ve finished sewing all four sides.
Be careful not to cut through any of the stitches.
When you’ve completed sewing around all four sides and clipped the corners, turn the sham right side out.
Return to your work surface, making sure that the sham lies smoothly.
You’ll also want to make sure that the covered cording is pushed completely out (especially in the corners) and not kind of smooshed between the seams.
Creating the flange is very simple. Lay the sewn together sham flat on your work surface.
We want to wind up with a 3″ flange on all four sides of the sham. Measure and mark 3″ in from the edge on all four sides.
Then use disappearing ink to draw a line at that 3″ mark, all the way around. Disappearing ink can be purchased online or at any fabric store.
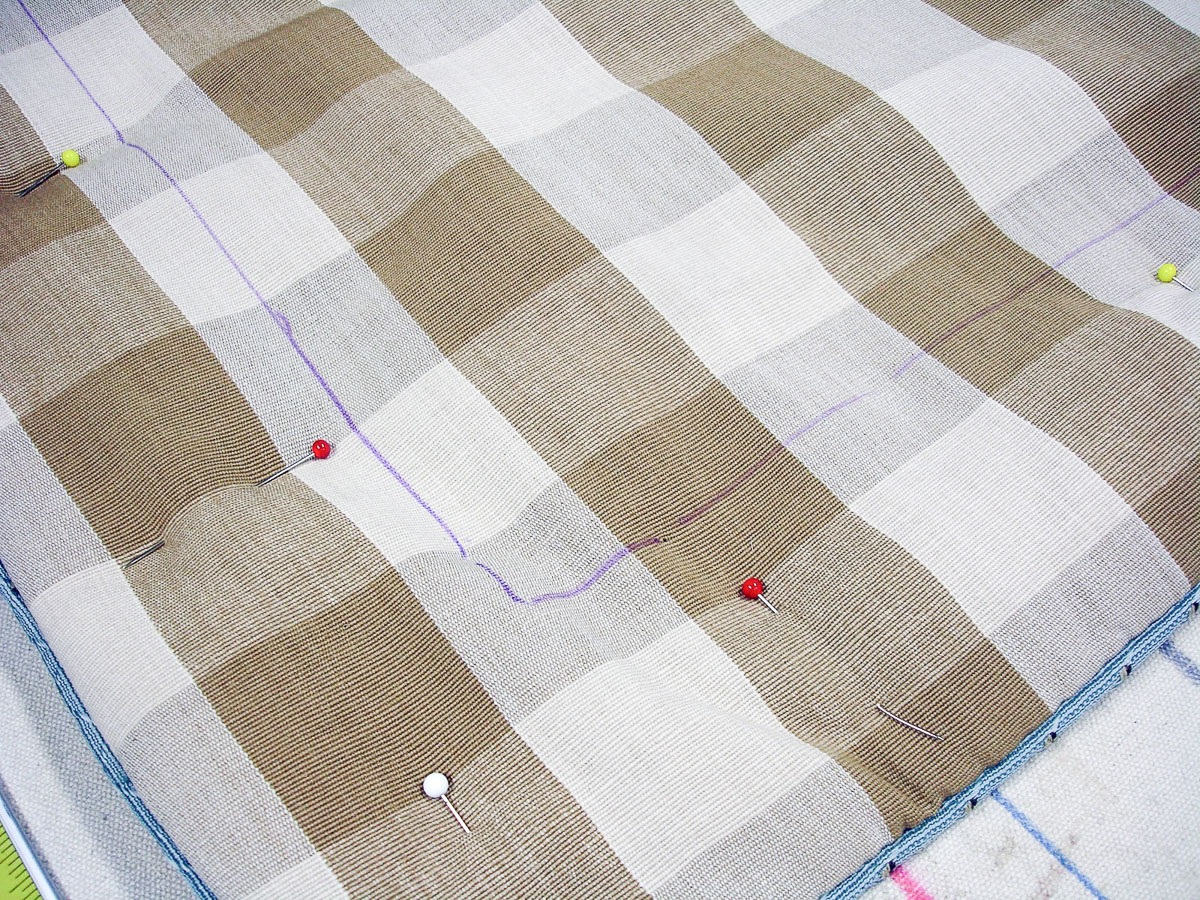
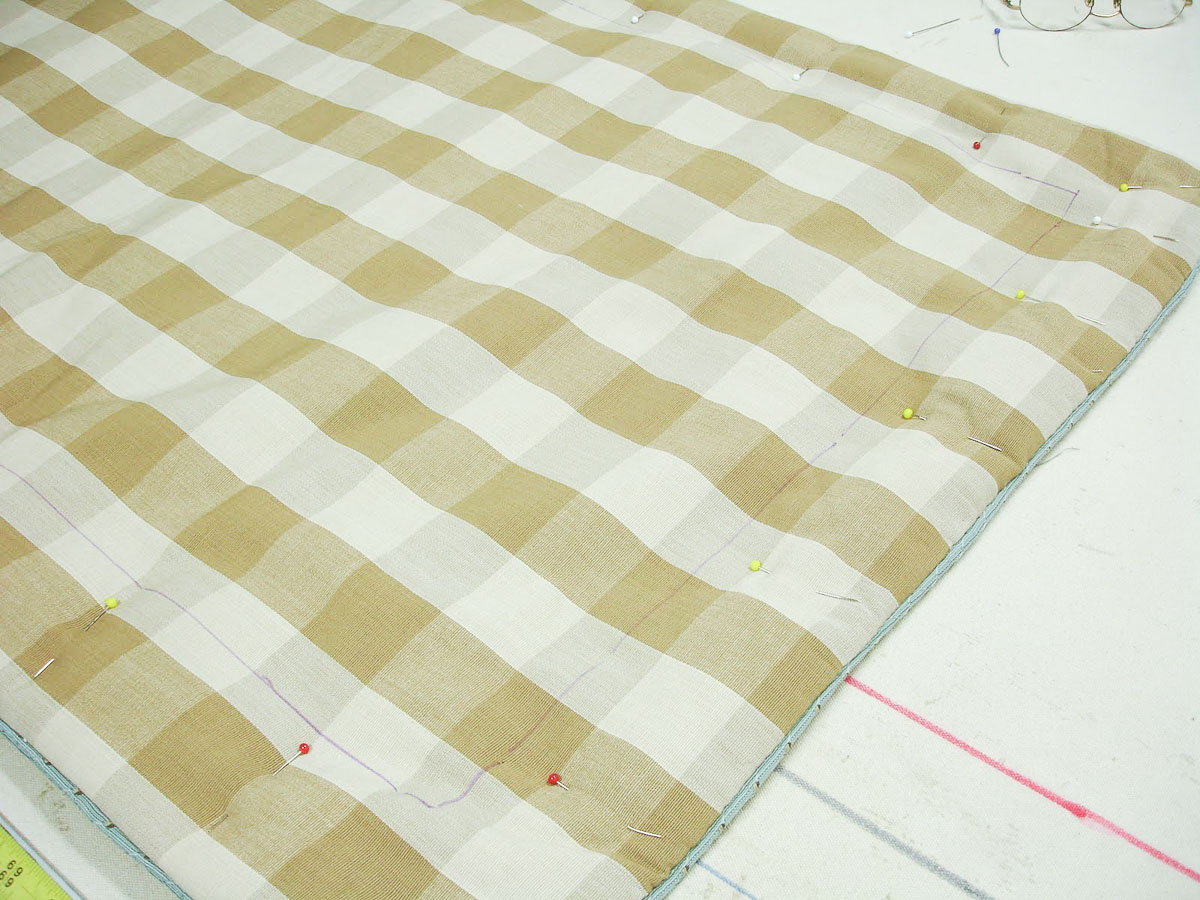
You’re going to stitch right on the line that you just drew, so you need to pin all the way around the same to stabilize the fabric while you’re sewing.
Go slowly as you sew so as not to wind up with any pucker.
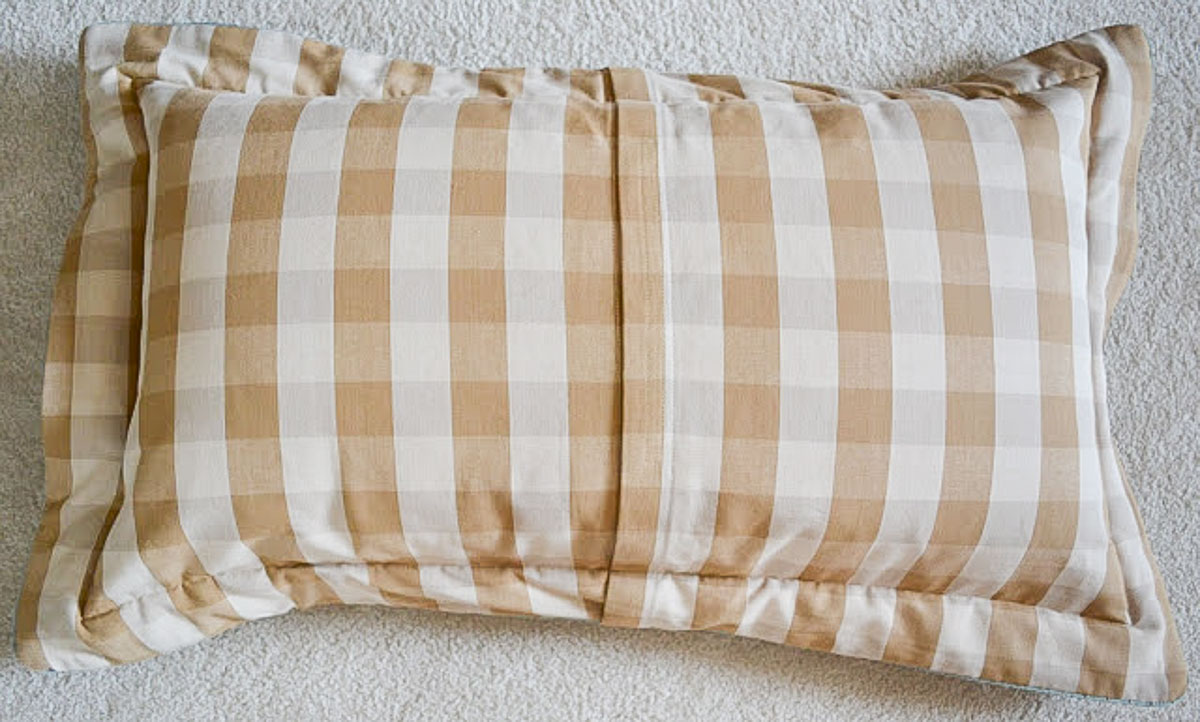
Now….open up the velcro and insert your pillow.
Voila! You have just completed making a pillow sham.
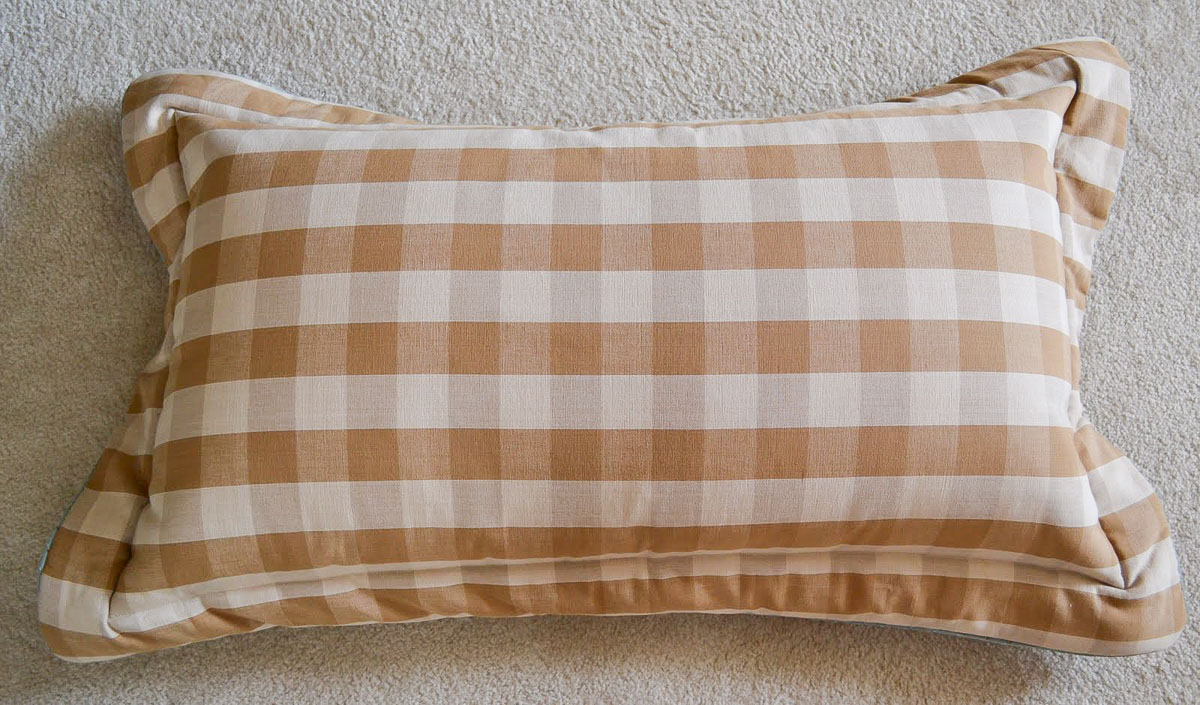

I’m so proud of you!!!


Thanks for the tutorial, you are so creative. Wish I could sew. Thanks for sharing with my newbie party.
I am keeping this post! I am working on 2 bedrooms and they both need new pillow shams. LOVE the fabric.
Yvonne
Hi lovely lady.
Your love of sewing shows just Beautiful. I also sew but just napkins for my Tablescapes. Im your newest follower on your sweet blog. I hope you come over and follow my Blog.
Have a great week and keep cool.
XXOO Diane
Great step by step. I love your attention to details. I also love that check fabric. Thanks for your sweet encouragement.
Wonderful. Thanks you for sharing. It is good to have a professional show us the real way.
Hugs, Ginger
What a great tutorial. I love the colors and patterns.
I used to design for Ethan Allen and Calico Corners. Never did the sewing, but knew it took talent.
xoxo Bunny Jean
Wednesday’s Bunny Hop Party
Your shams look great!
Thank you so much for the very detailed verbal instructions and pictures. My problem is ALWAYS
“how much fabric to buy for each sham.” Thus for 2 standard pillow shams using 54″ fabric with no pattern repeat I would need how many yards?? and for 2 king pillow shams with no pattern repeat, 54″ fabric, how many yards. My brain seems to freeze when I work the numbers!!! Also have an accent pillow that is 16 x 24 – how much fabric would I need?? Thanks.
I always struggle and second guess myself when it comes to yardage amounts too. Hope the email that I sent to you helped!
Wonderful tutorial! Thanks so much!