5 High Impact, Small Budget DIY Projects
Short on funds for your decorating project? Here are five high impact projects that you can do yourself and save money!
Amazon affiliate links have been used in this post. See my full disclosure policy here.
One of the most satisfying feelings is when I can make a dramatic transformation in a room and save money while doing it. I love a good DIY home project! Don’t you?
Today I’m sharing five of my favorites. I’ll show you how to create affordable artwork, give an entertainment center a makeover, how to make pleated-look draperies, we’ll makeover a bookcase, including a diy sliding barn door and we’ll also build a simple upholstered bench that you can customize to the size you need so that you can use anywhere in your home.
Project 1: Affordable Artwork
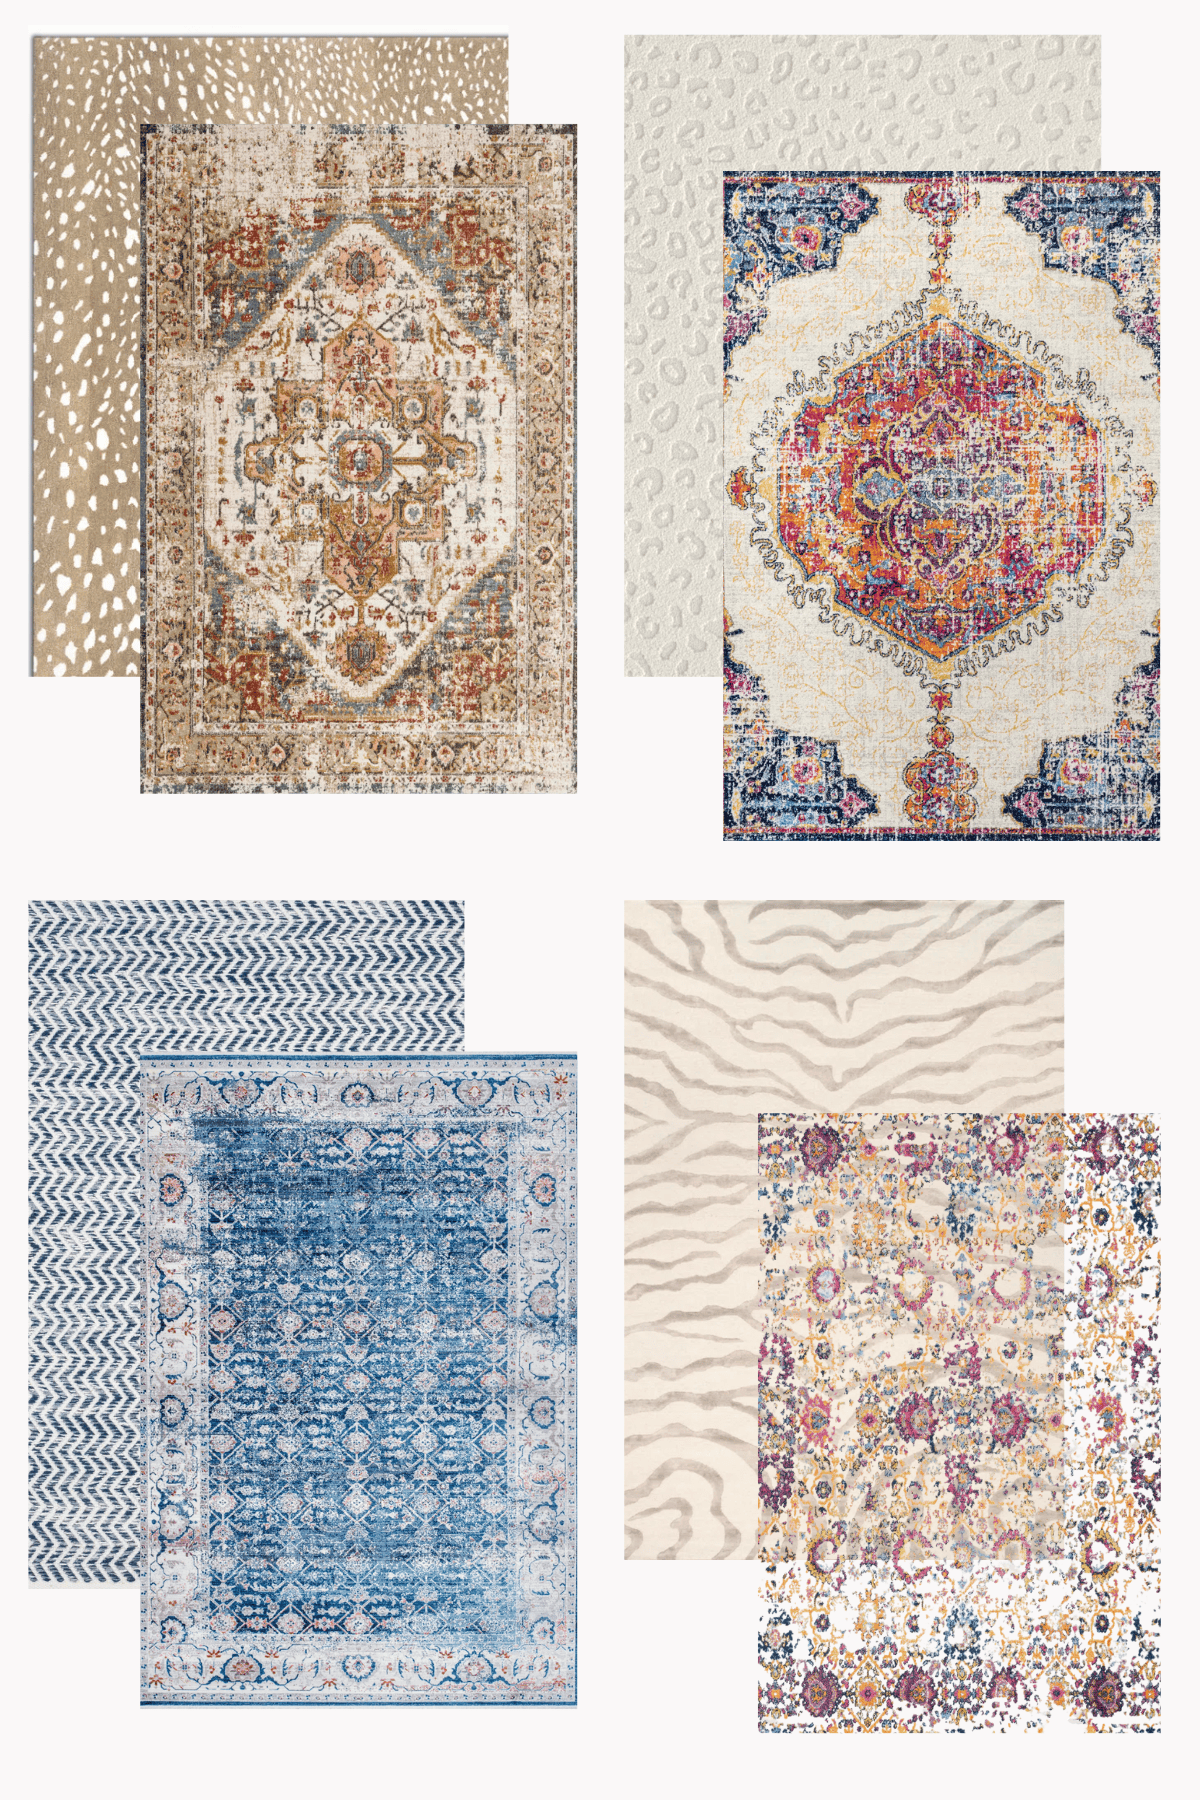
Think outside of the box when it comes to finding artwork to hang on your walls.
Original art is often out of our price range. Even reproduction art prints can have exorbitant prices.
But you know what isn’t expensive? Posters.
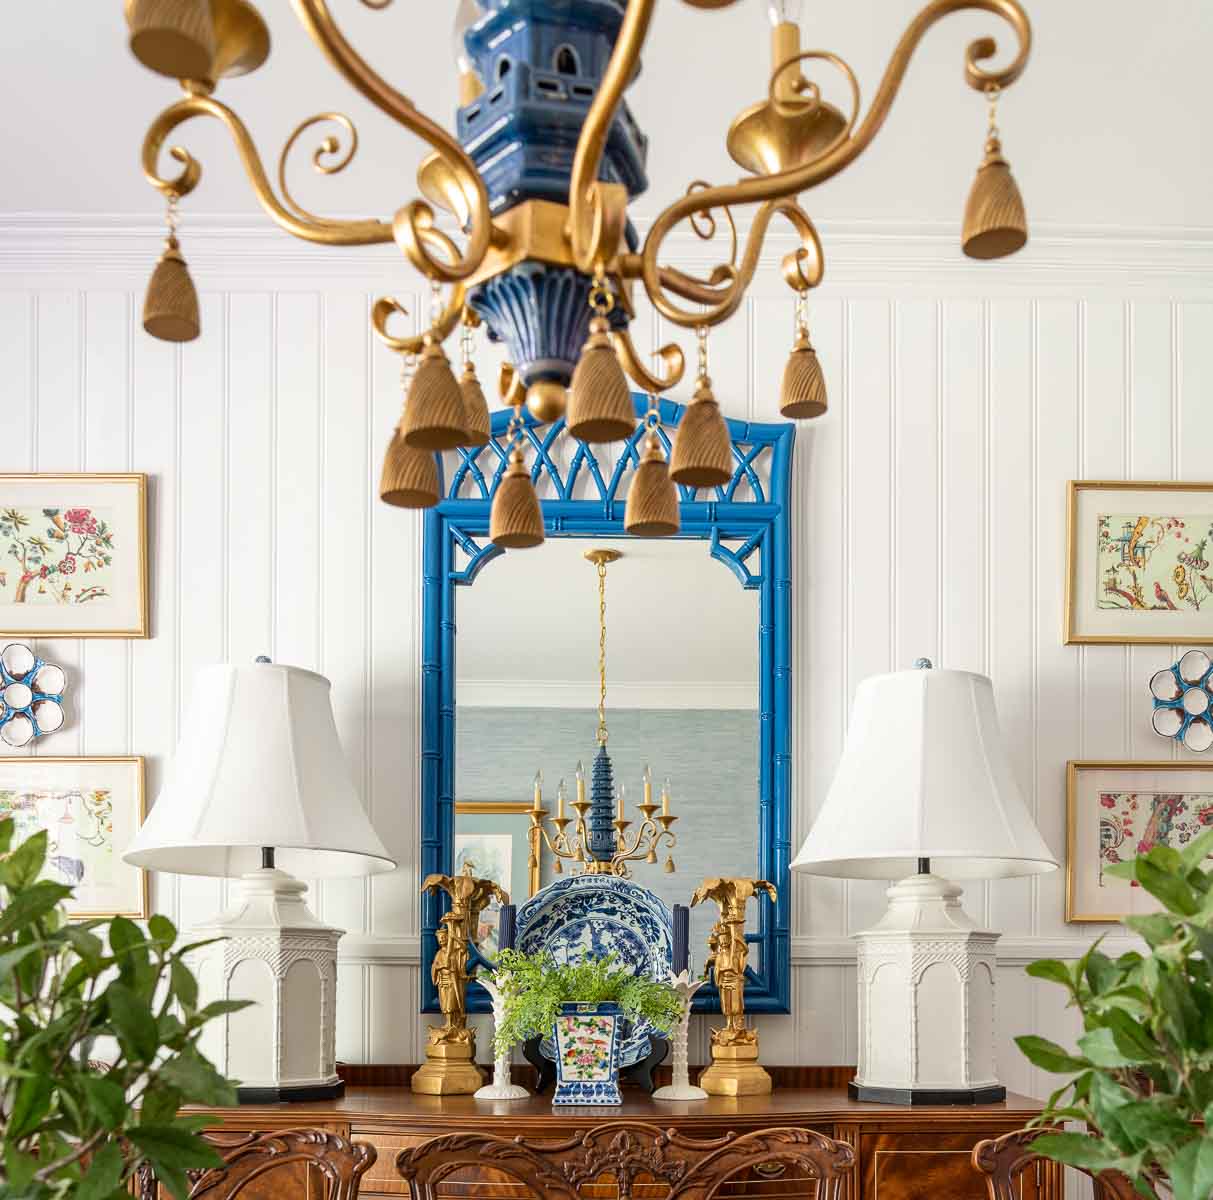
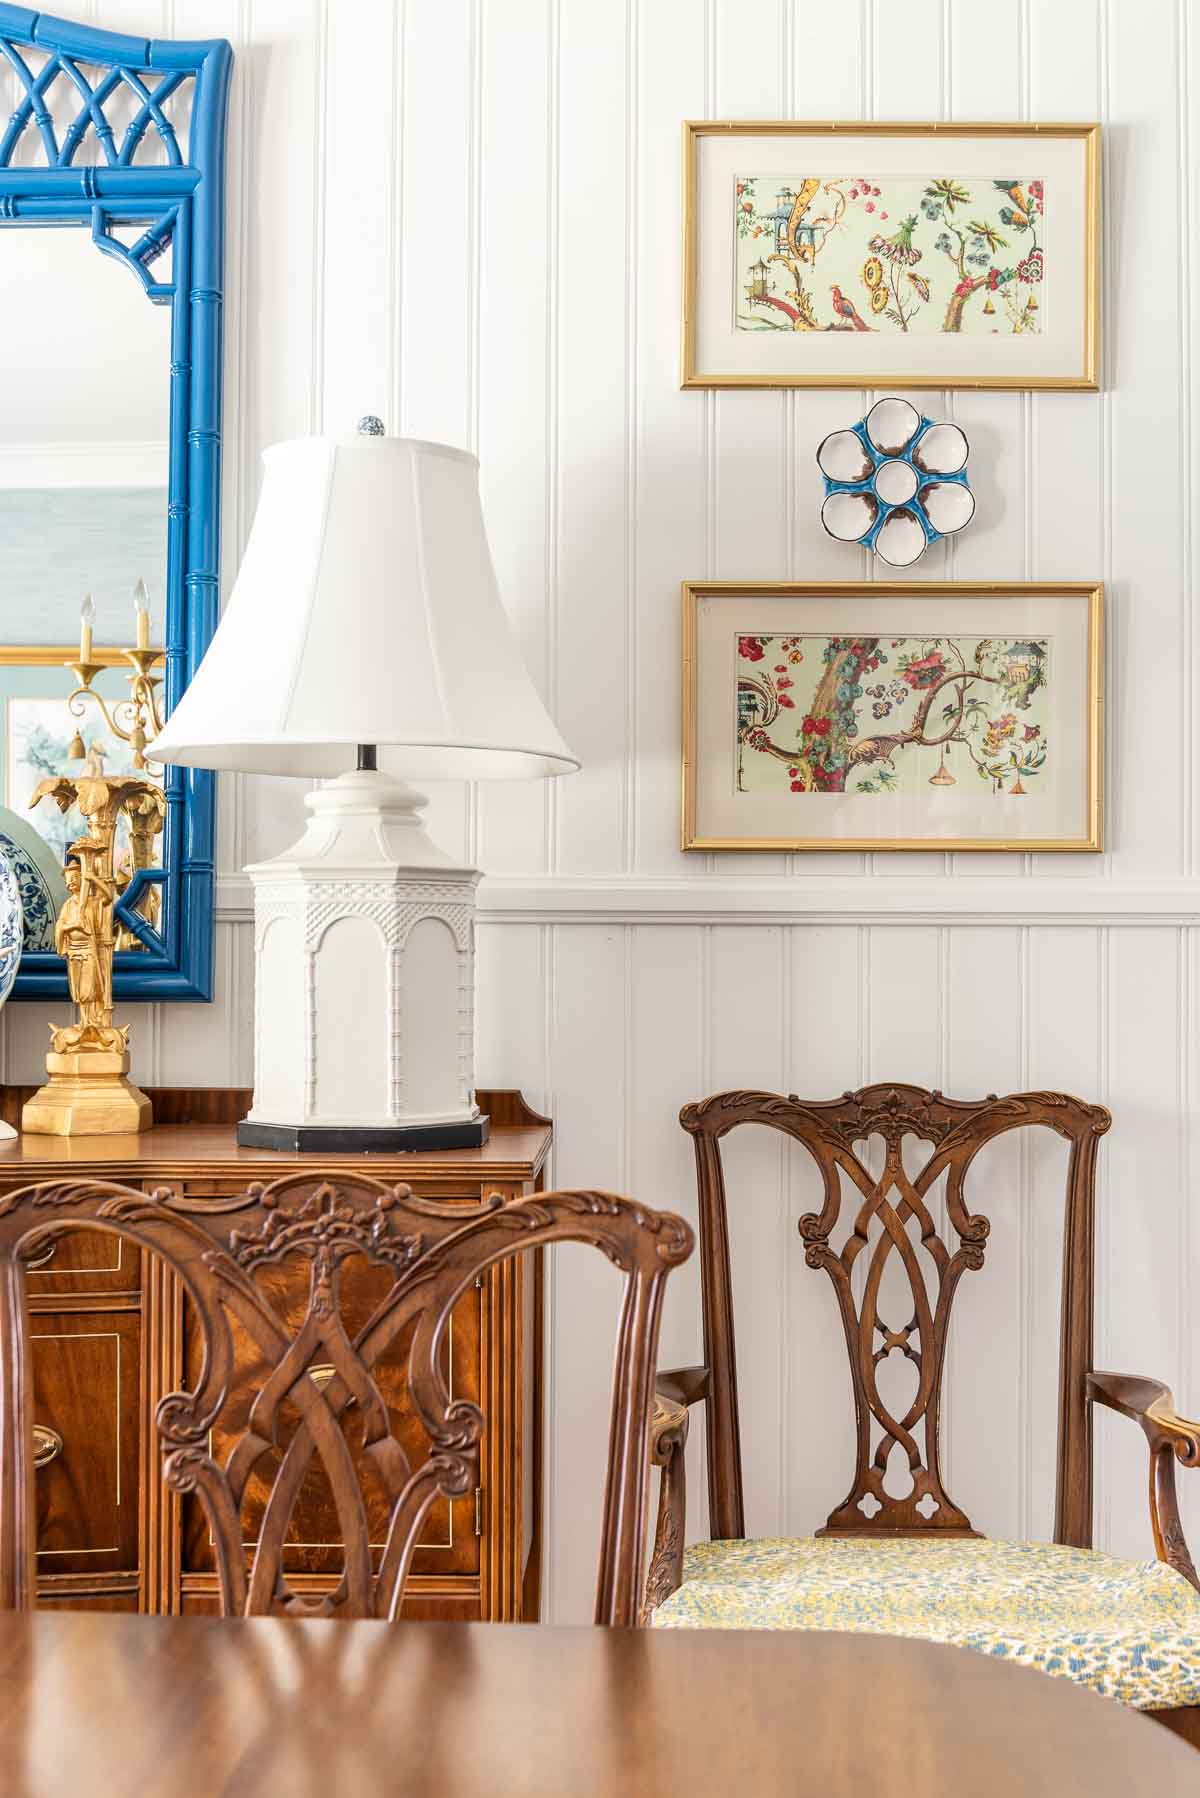
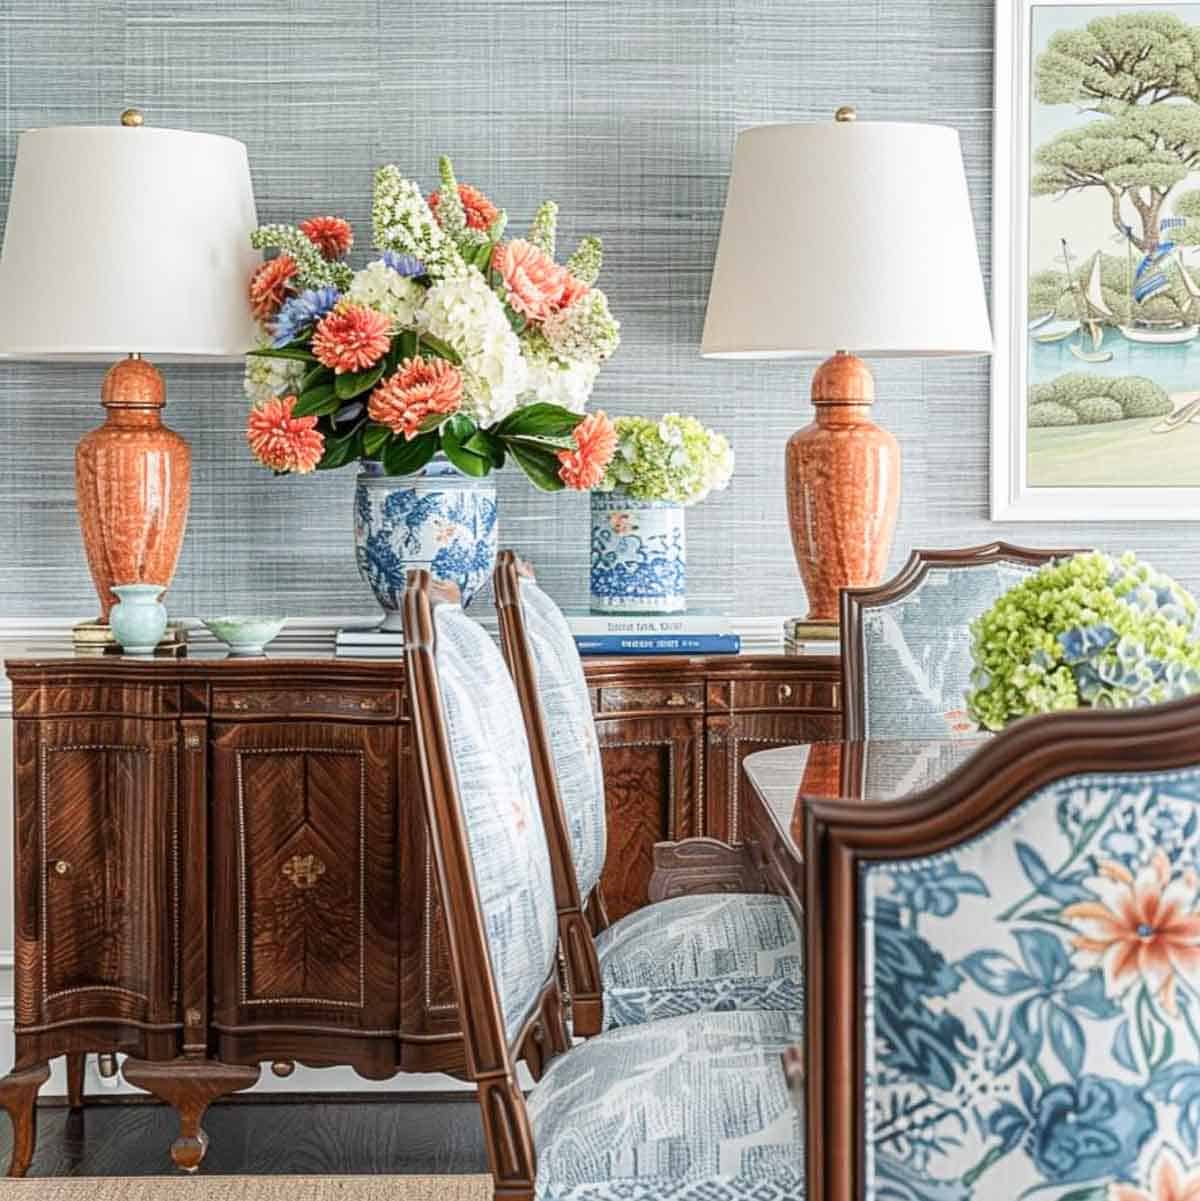
I hunted for months for the right artwork to use on each side of the mirror in our dining room.
Wouldn’t you know that when I finally found the right frames, the artwork within them didn’t appeal to me at all. To top it off, the mats were an ugly peach and brown color.
Of course, I’m always looking for budget friendly ways to do things, so I painted the mats with white spray paint, then replaced the artwork with pieces cut from two inexpensive posters that I found on Amazon.
Each “art print” was cut from a different section of a poster, so it appears that I have four coordinating pieces of art.
I used a similar, but slightly more expensive method for the artwork hanging above the small chest in the entry area off of our garage.
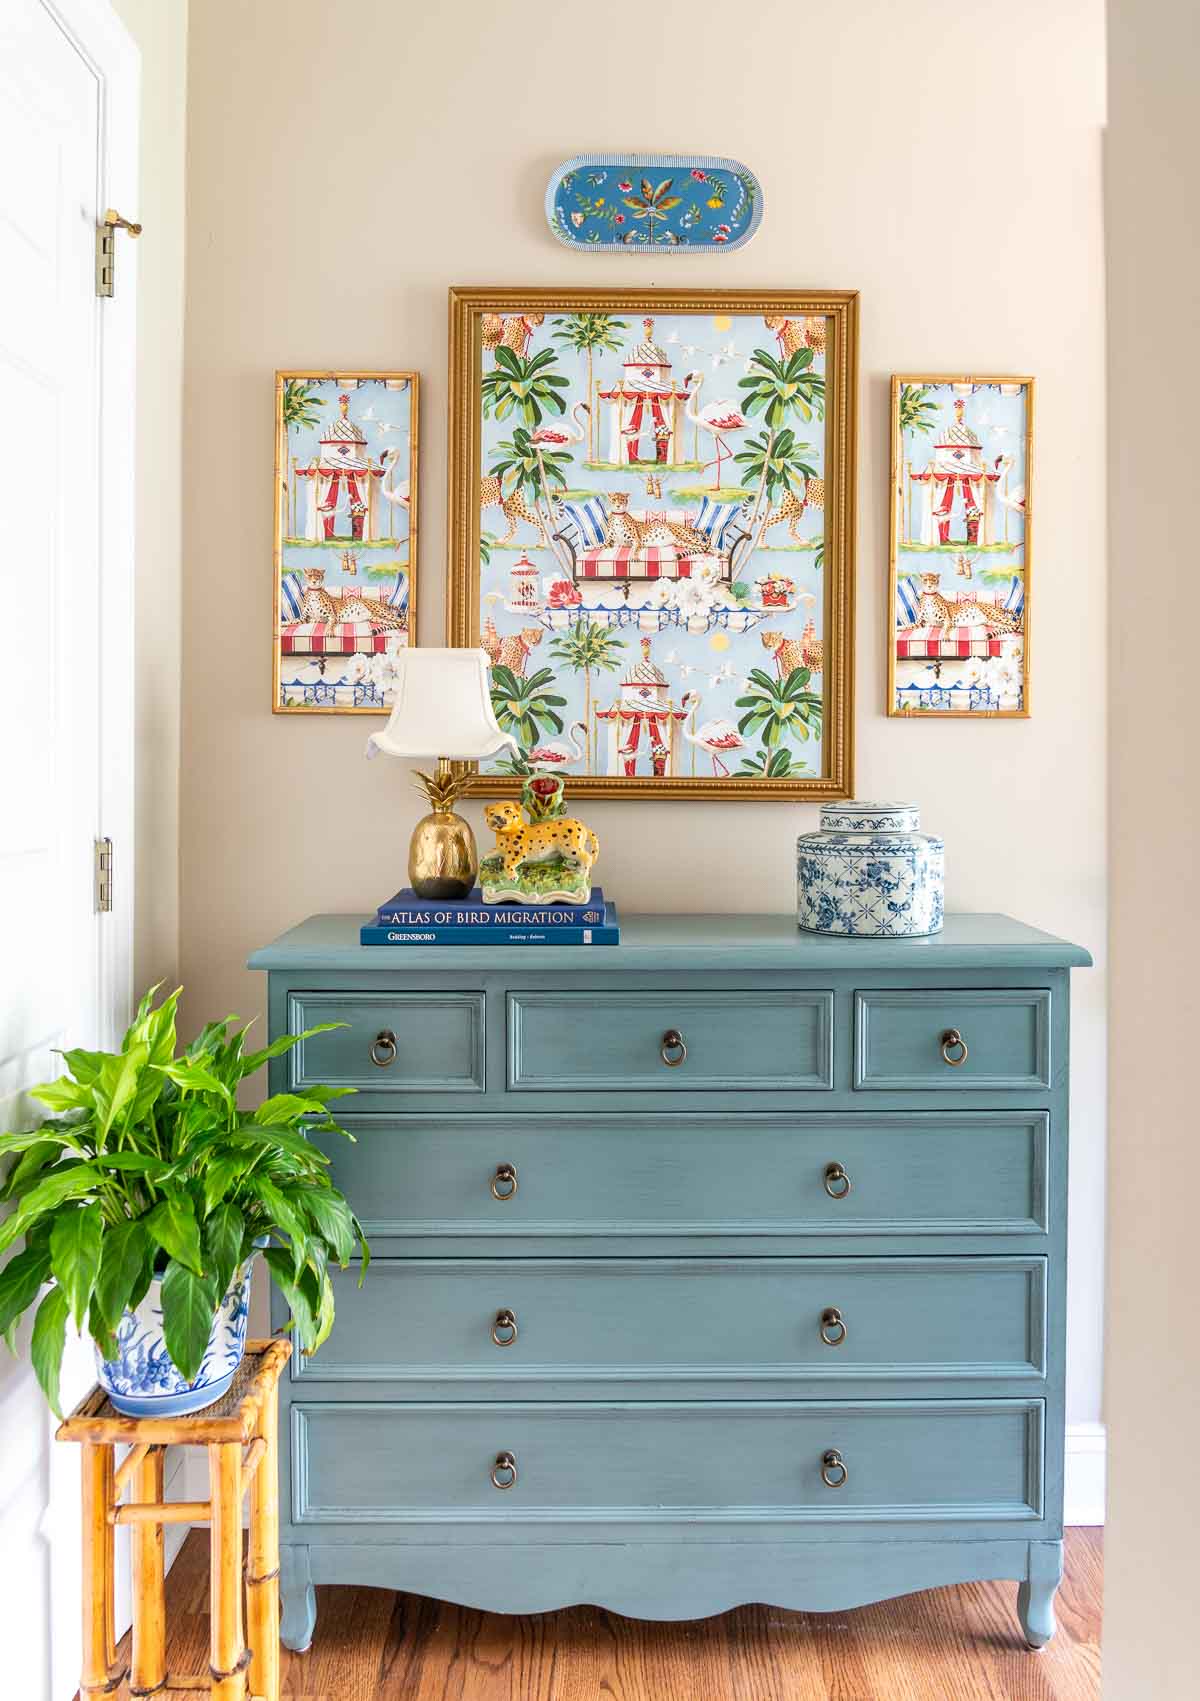
I thrifted more frames, but instead of posters, I cut sections from one roll of a peel and stick wallpaper that called my name.
Voila! Three art prints for under $60 (not counting the cost of the frames).
Project 2: Designer Pillows
For this simple project, you need to be able to do a little sewing. Nothing complicated – you just need to be able sew in a straight line.
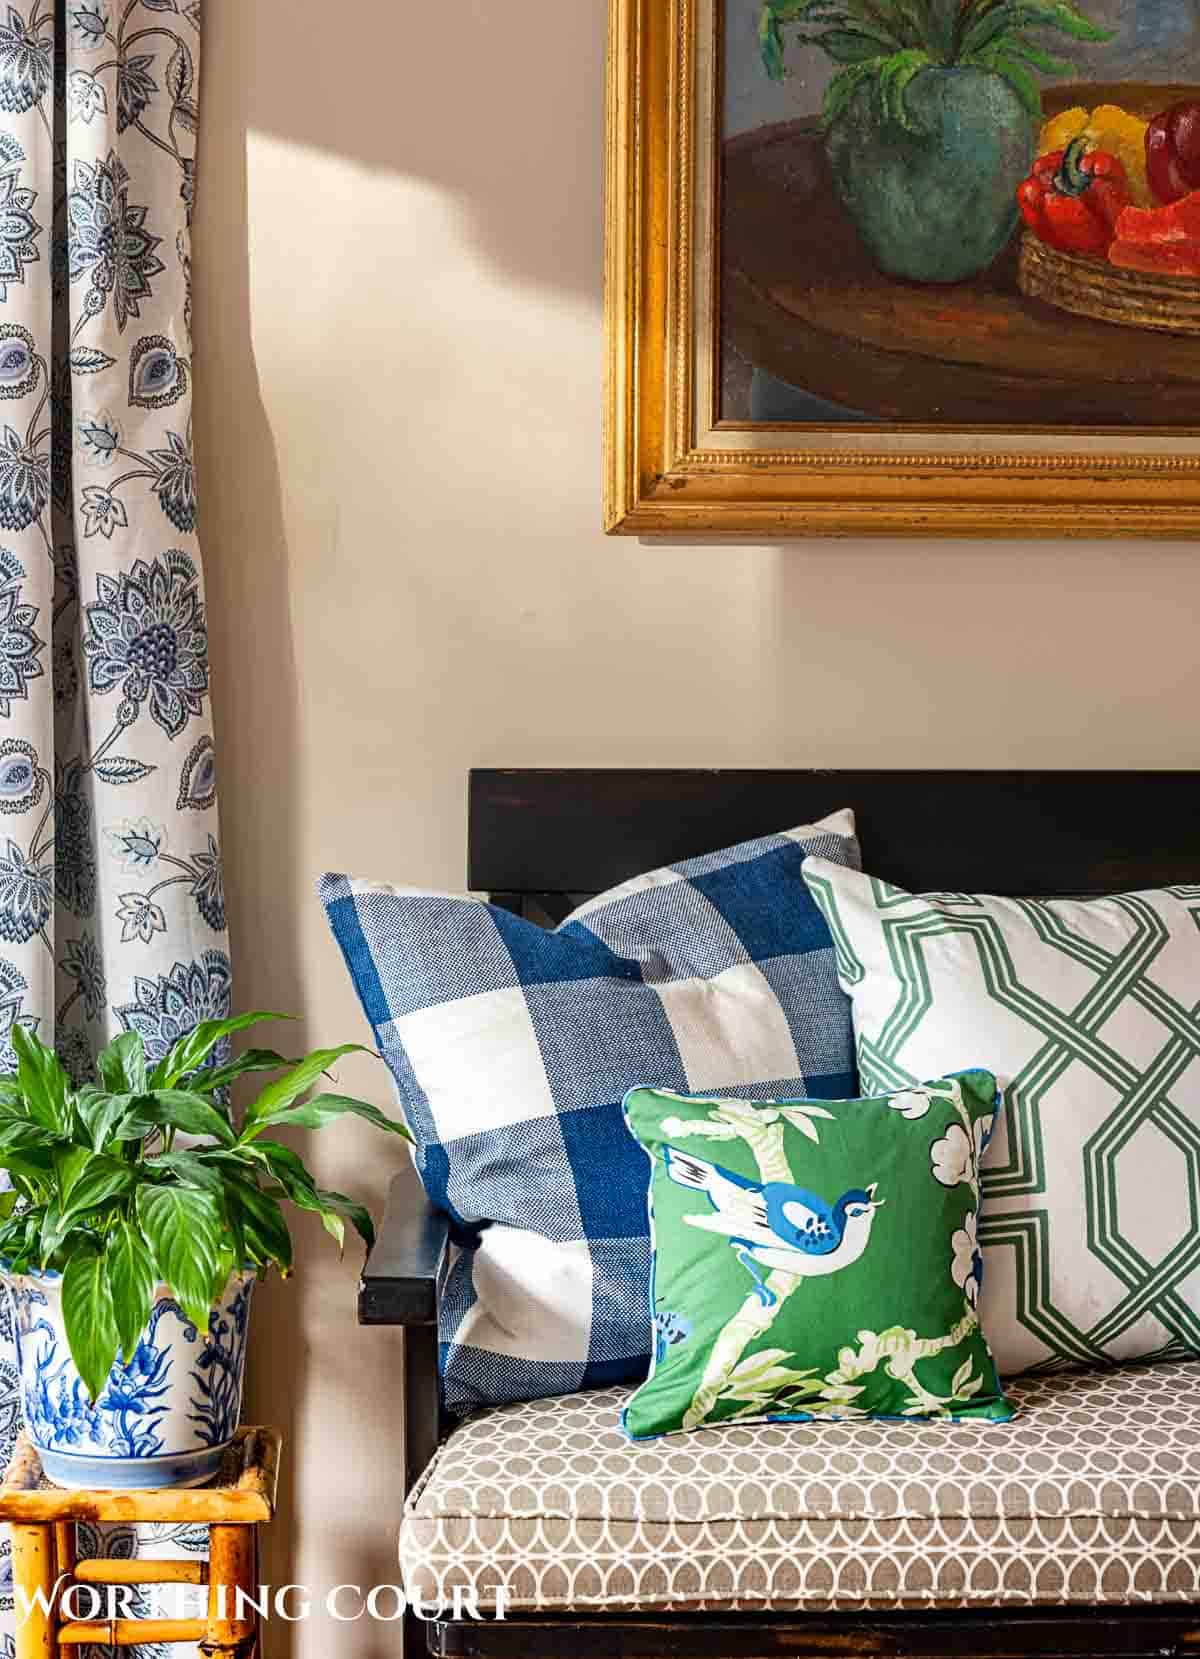
See the adorable green and blue bird fabric on that adorable pillow? Would you believe it if I told you it’s made from a designer fabric that sells for over $200/yard, but only cost me a few dollars?
The secret? Designer fabric samples.
Many online fabric retailers offer samples of designer fabrics at a very affordable price. I’ve seen sample sizes that range from the size of a small swatch all the way up to 18″x18″. Spoonflower is one of my favorite resources for ordering large fabric samples for very little money.
This pillow is made from a 12″x12″ sample, that I backed with a complimentary fabric, and is a perfect accent tucked into the pillow collection on my bench.
Project 2: DIY Professional Quality Lined Draperies
Do you have basic sewing skills? Then this is a good project for you!
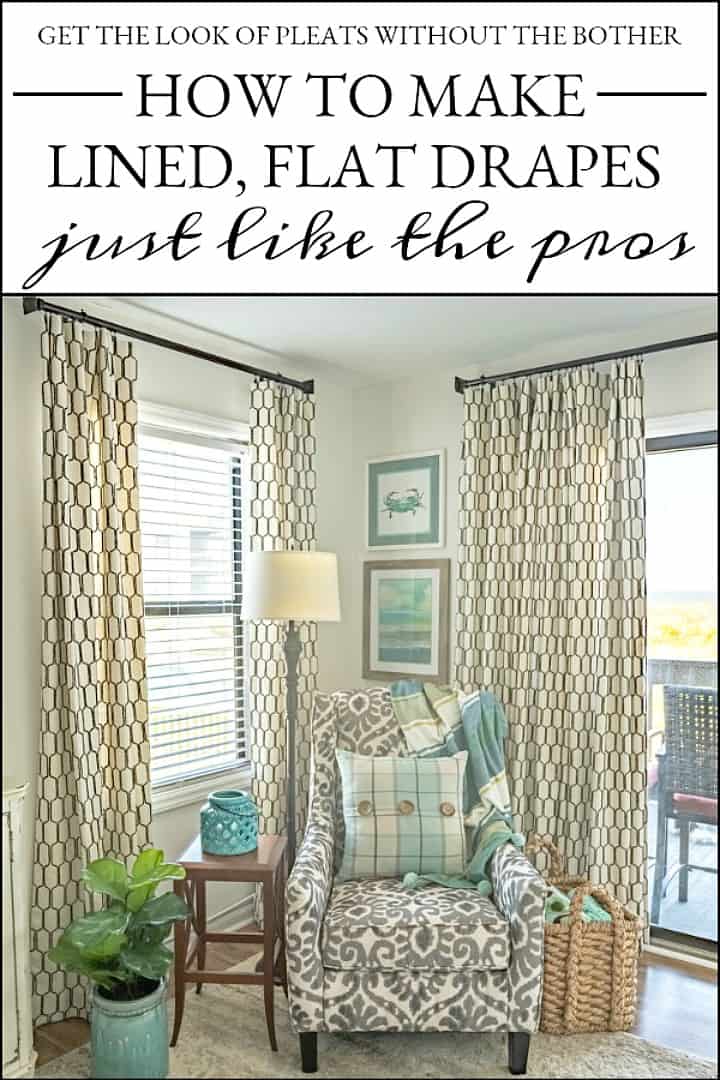
This tutorial will teach you how to make professional quality, lined draperies.
If you’ve ever priced them, you already know how expensive custom window treatments can be! One of the problems with ready-made budget friendly options though is that they look inexpensive and often have uneven bottom and side hems.
This tutorial is for making flat drapery panels that you can hang from rings.
Making pleats can be a bit more difficult, so you’ll also learn how to give them a pleated look without actually making pleats.
Or if you really prefer the look of pleated draperies, drapery pleater tape is super easy to add after the curtains have been made.
Obviously, the labor for this project is free and you can control the budget by how much you spend on drapery and lining fabric.
Project 3: A Bookcase Makeover
If you’re into the cottage or farmhouse look, this is the perfect diy project for you.
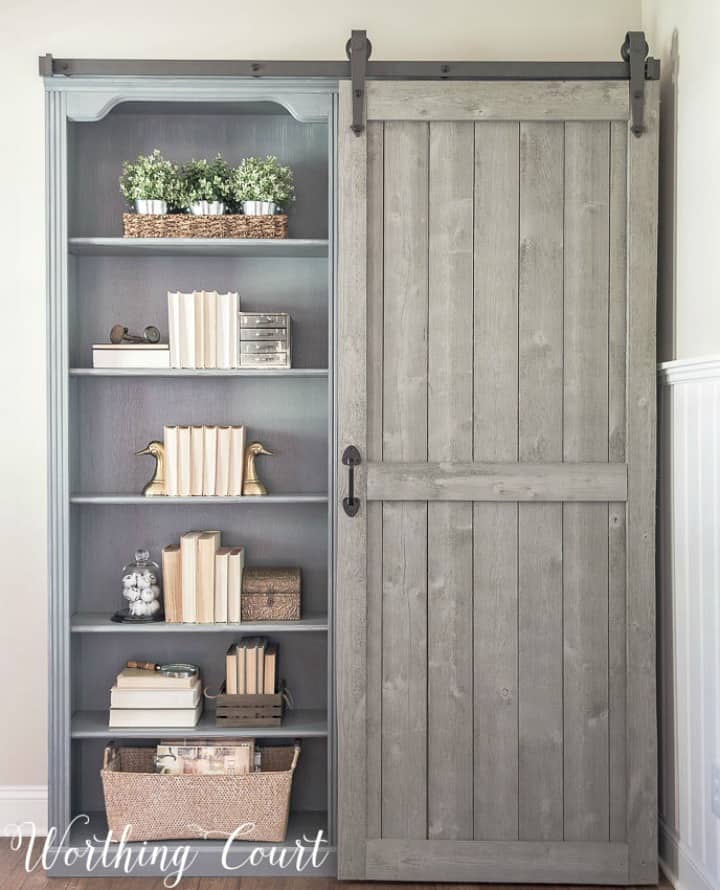
It was a complete make-it-up as you go project for me, but it turned out better than I ever could have imagined!
When I gave this pair of bookcases a makeover, I knew that I wanted more than to just paint them to get rid of the cheap cherry finish. I wanted to do something to jazz them up a bit and make them a real feature in the room.
I thought that building the sliding door and figuring out the hardware would be complicated, but it wasn’t at all!
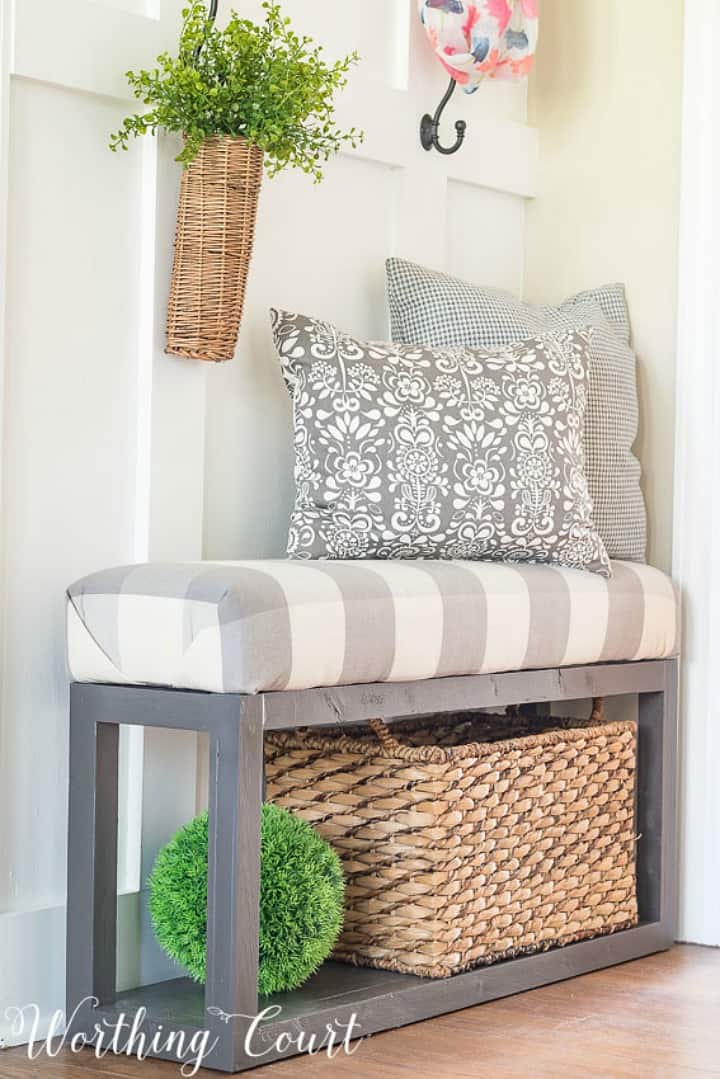
Project 4: Build a Simple Upholstered Bench
You only need the most basic of carpentry skills to build yourself a cute little upholstered bench like this one!
It can be customized to any size and the lines of the base are very clean, so it will fit in with any type of decor, depending up the color of paint or stain that you use and the fabric that you upholster it with.
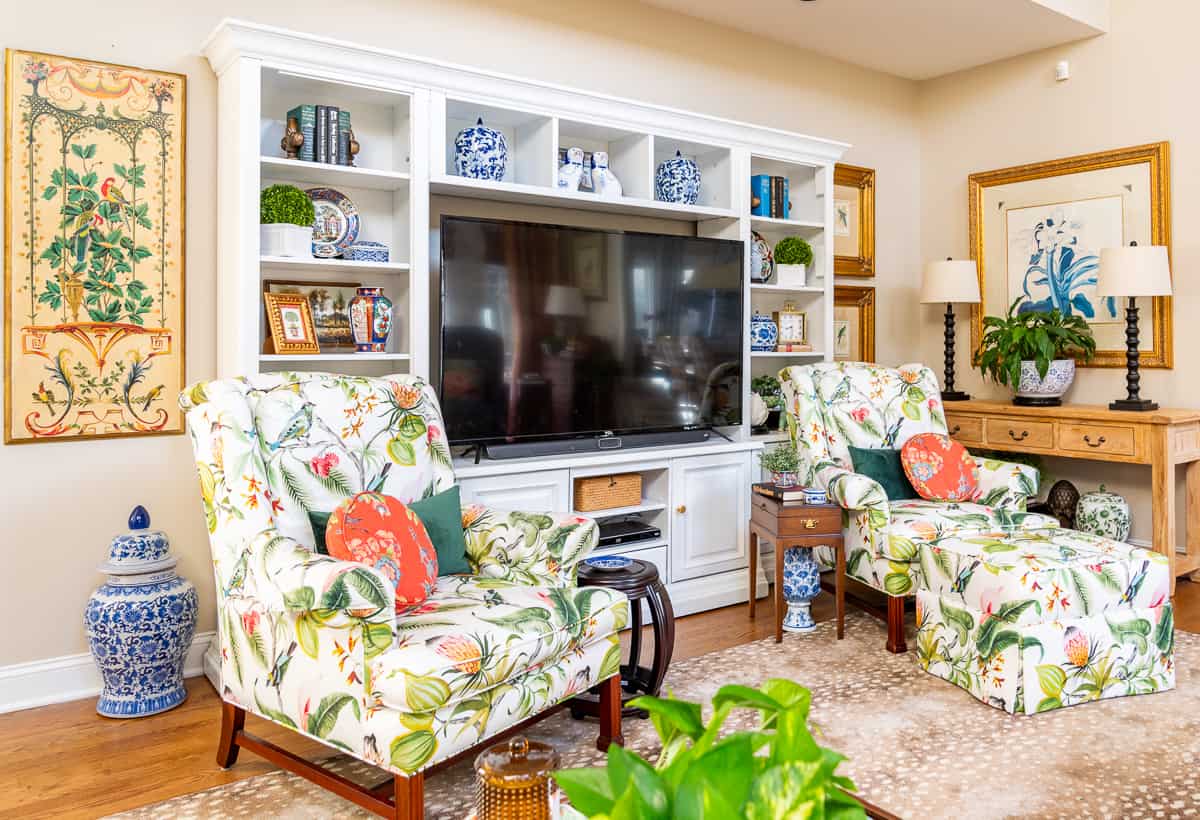
Project 5: Give New Life to an Old Entertainment Center
I know there are many of us who have large entertainment centers for holding our televisions and other paraphernalia. Mine was a huge eyesore in our family room!
We were able to give ours a makeover without any sanding, which was awesome! Only a couple of other changes were made to it and now it looks fresh and modernized and brightens up the whole room.
I hope you found at least one or two projects that have inspired you to make some high-impact changes to your home!
Bonus!
Don’t overlook upcycling furniture!
Whether it’s furniture that you already own, or a great find from a thrift store or from Facebook Marketplace, upcycling and repurposing furniture is one of the best ways to fill your home with things you love for a song.
More DIY Projects

Your house looks amazing Suzy! Very inspiring.
Love love love your farmhouse. You have great style and design. Keep posting. Enjoy your sight very inspiring
Your house looks beautiful and I agree with you on painting the dining table. I am still waiting to do this project and will do this soon. I know that I will be happy once it is done. I also like the shelves that you did in your dining area. There always seems to be a project.
Love the laundry room
Everything look amazing. I love the way you have transformed your home into your own personal style.
My favorite has got to be the industrial shelves in the breakfast area, although all of these improvements have made a dramatic impact!!
Suzy, you have created a warm and inviting home. We installed hardwood flooring throughout our 2nd story and it has by far been the biggest yet most rewarding DIY we’ve tackled.
I think every change you and your husband have made has improved your home. It’s just beautiful! Thanks so much for sharing your good ideas.
I love all of the updates you have done! Your home is so pretty and welcoming!
great decorating style. love the ideas and creative tips.
I love all your ideas and your home transformation! Your have a beautiful home! Keep up the good work!
Love the painted dining room table. Awesome look!!!
I so enjoy your projects!!
Love the open shelves.
When you need something else to decorate, my house is around the corner(s)from you on the corner of Foxhollow and Westminster!!
How cool is that, Linda! I actually travel Jefferson Rd. almost every day! 😀
Oh my, you have a beautiful home. I love your style and really admire your makeovers. Thank you for showing the before and afters! I have a question about your shelves in the Breakfast area. I have some that are just about like yours and I’m trying to decide how to space them above my buffet and how far apart to put them on the wall. Can you tell me the space between your shelves and the top of your sideboard to the bottom of the shelf above it?
Thank you in advance and thanks for the inspiration!
HI Elizabeth. The distance from the bottom of the lower shelf to the top of the buffet is 18.5″. The bottom of the top shelf is 15.5″ from the top of the middle one. And the top of the next shelf is 35″ from the ceiling (we have 9′ ceilings). Hope this helps!
Oh, thank you so much for that information Suzy. We only have 8′ ceilings but that will help me with spacing them. I love how you have them styled! 🙂
HI Suzy,
I too have red brick with an Oak mantle. I also have an oak china cabinet…I have been saying for a while to much oak. Not sure that white is the way for me to go, Will have to think about it. I do love the way yours looks. I love everything you have done in yor home.
Hi Suzy!
Love your ideas and ways to save $$ on designer tricks and tips.
Thanks for the great information.
Hi Ken! Thank you so much!