Crafting the Perfect Mood Board: A Simple Guide for Decorating Projects
Creating a mood board can be one of the most exciting—and essential—steps in your decorating journey. It’s an incredibly effective way to organize your ideas, visualize your dream space, and ensure your design stays cohesive as it evolves.
According to Houzz Pro, “Mood boards are important because they give a visual component to what an interior designer could be imagining for a space and provide a good starting point to organize all of your ideas.
Having all of your ideas for a project in one place will make it easier to focus on your overall goals and vision as the project progresses.”
In today’s post, I’ll guide you through the simple process of creating a digital mood board using the free version of Canva (you can find it at canva.com)—a super easy-to-use graphic design tool that’s perfect for this purpose.
Welcome to chapter 3 of the Simply Decorating Series; a free decorating resource designed especially for the diy decorator who is eager to transform their home into a place that reflects their personal style and needs. If you’re just beginning, start with chapter 1, How to Decorate a Room – Where To Start.
Digital Mood Boards vs Physical Mood Boards
Before we dive into Canva, let’s take a moment to explore the benefits of using digital mood boards versus physical ones. Both options have their own unique advantages, and the choice really depends on your needs and personal style.
Digital mood boards offer the flexibility of quick edits and effortless updates. By saving images or taking screenshots, you can easily add new elements to your design without the hassle of tracking down physical samples. This makes it super easy to experiment with different ideas and see how they work together before committing.
On the other hand, physical mood boards are great when you want to interact with the actual materials you’re considering for your space. Being able to touch and feel the textures of fabrics, wallpaper, or furniture can help you get a better sense of how everything will come together in real life.
If you’re someone who thrives on tactile experiences, a physical mood board might be the way to go.
Creating Digital Mood Boards
Creating digital mood boards is one of the most enjoyable parts of the design process!
It’s no surprise that nearly every design professional I know swears by them for every interior project. They help visualize ideas quickly and easily, making it easier to refine your vision before diving into the details.
The best part? You don’t need any graphic design expertise to get started. With Canva’s vast library of mood board templates, you can simply select one that suits your style and begin customizing. More on how to do that is coming up!
I’ve used digital mood boards many times throughout my own creative process, especially when I’m pulling together design elements for a room makeover. They’ve helped me organize and visualize my ideas for spaces like:
Each of these projects had its own unique challenges, and creating a mood board made it so much easier to see how all the pieces would fit together.
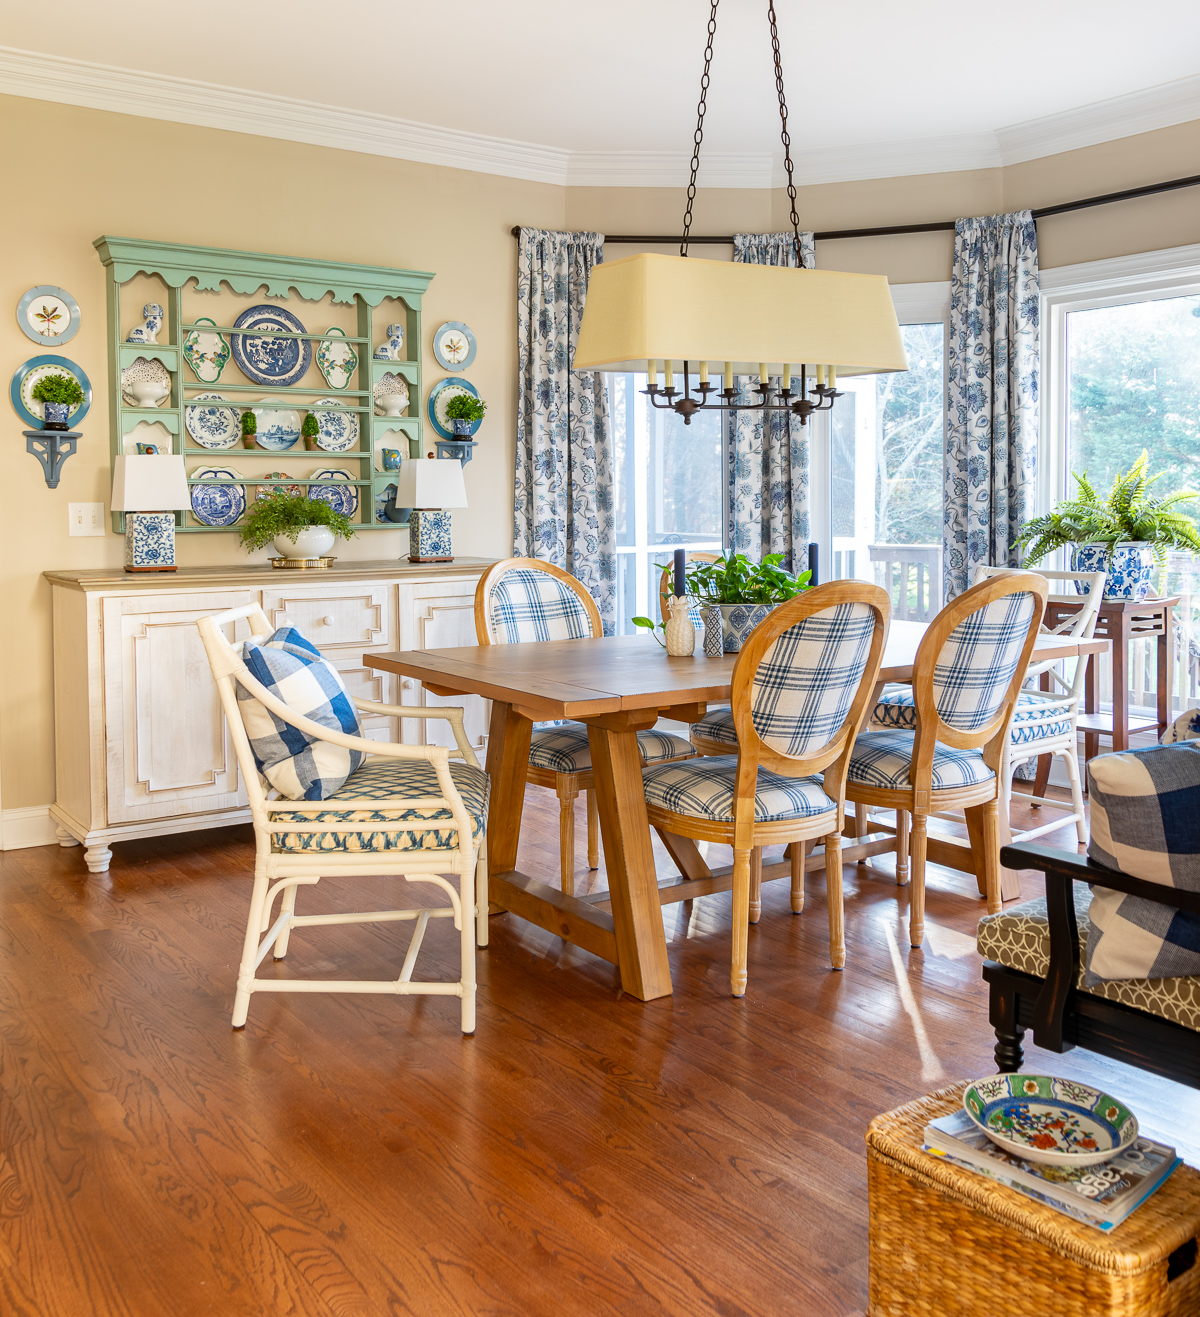
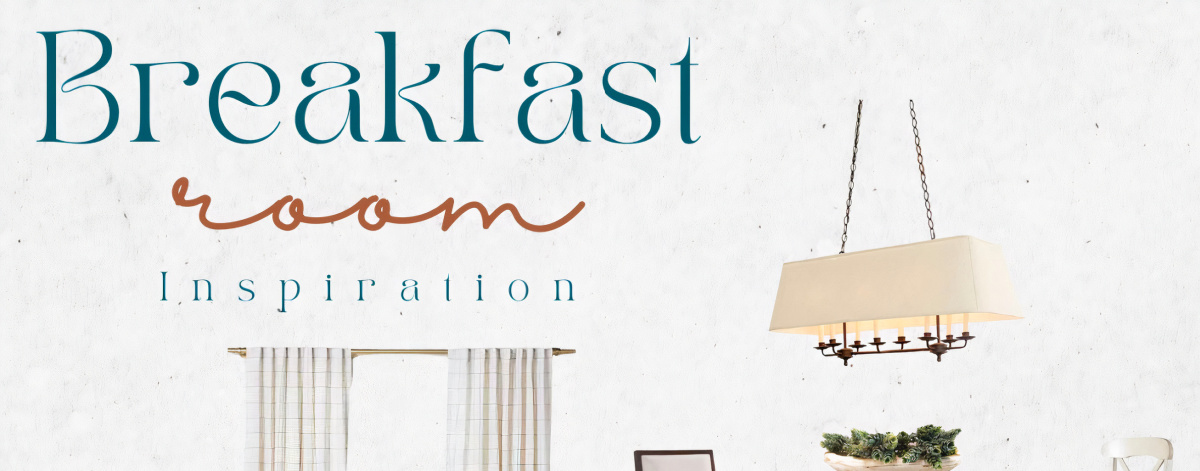
The makeover of my breakfast room is my most recent use of a mood board. I guess you can tell that I’m quite a fan!
For all of those makeovers, I created my mood boards from scratch—placing each element (like fabrics, color palettes, light fixtures, etc.) onto a blank canvas myself.
It was a time-consuming process, and honestly, I wish I had known just how much easier it could have been with a free Canva template! Canva has made it so simple to streamline the process and save time, while still getting that polished, professional look.
Designing a Digital Mood Board in Canva
Let me show you how easy and fun it can be to use Canva for your own decorating projects—completely free!
💡 TIP: Determine your design style if you need help getting started.
Step 1: Sign Up or Log In to Canva
First things first, head over to Canva.com. If you already have an account, simply log in. If you’re new to Canva, you can sign up for free using your email, Google, or Facebook account. It’s quick and easy!
Step 2: Choose the Right Template
Once you’re logged in, type “mood board” into the search bar. You’ll find a variety of templates designed specifically for creating mood boards. Browse through them and pick one that speaks to the style you’re envisioning.
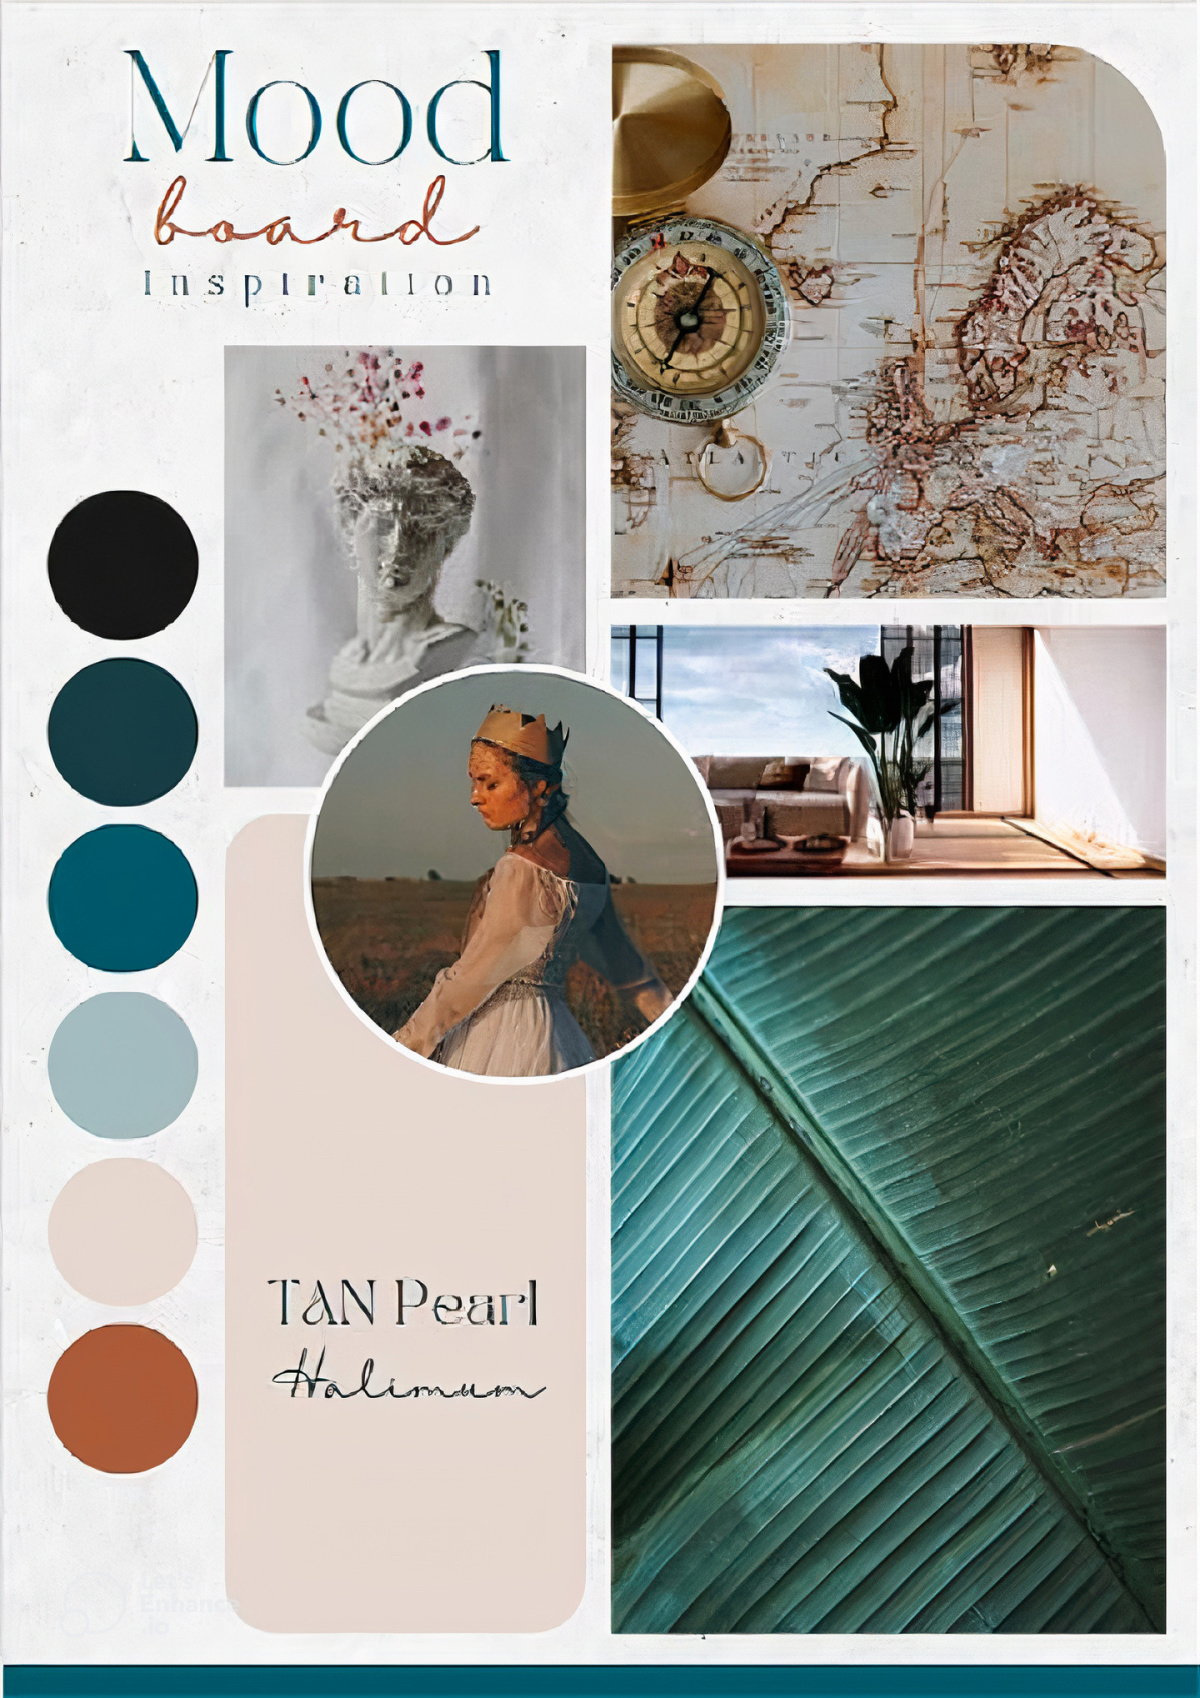
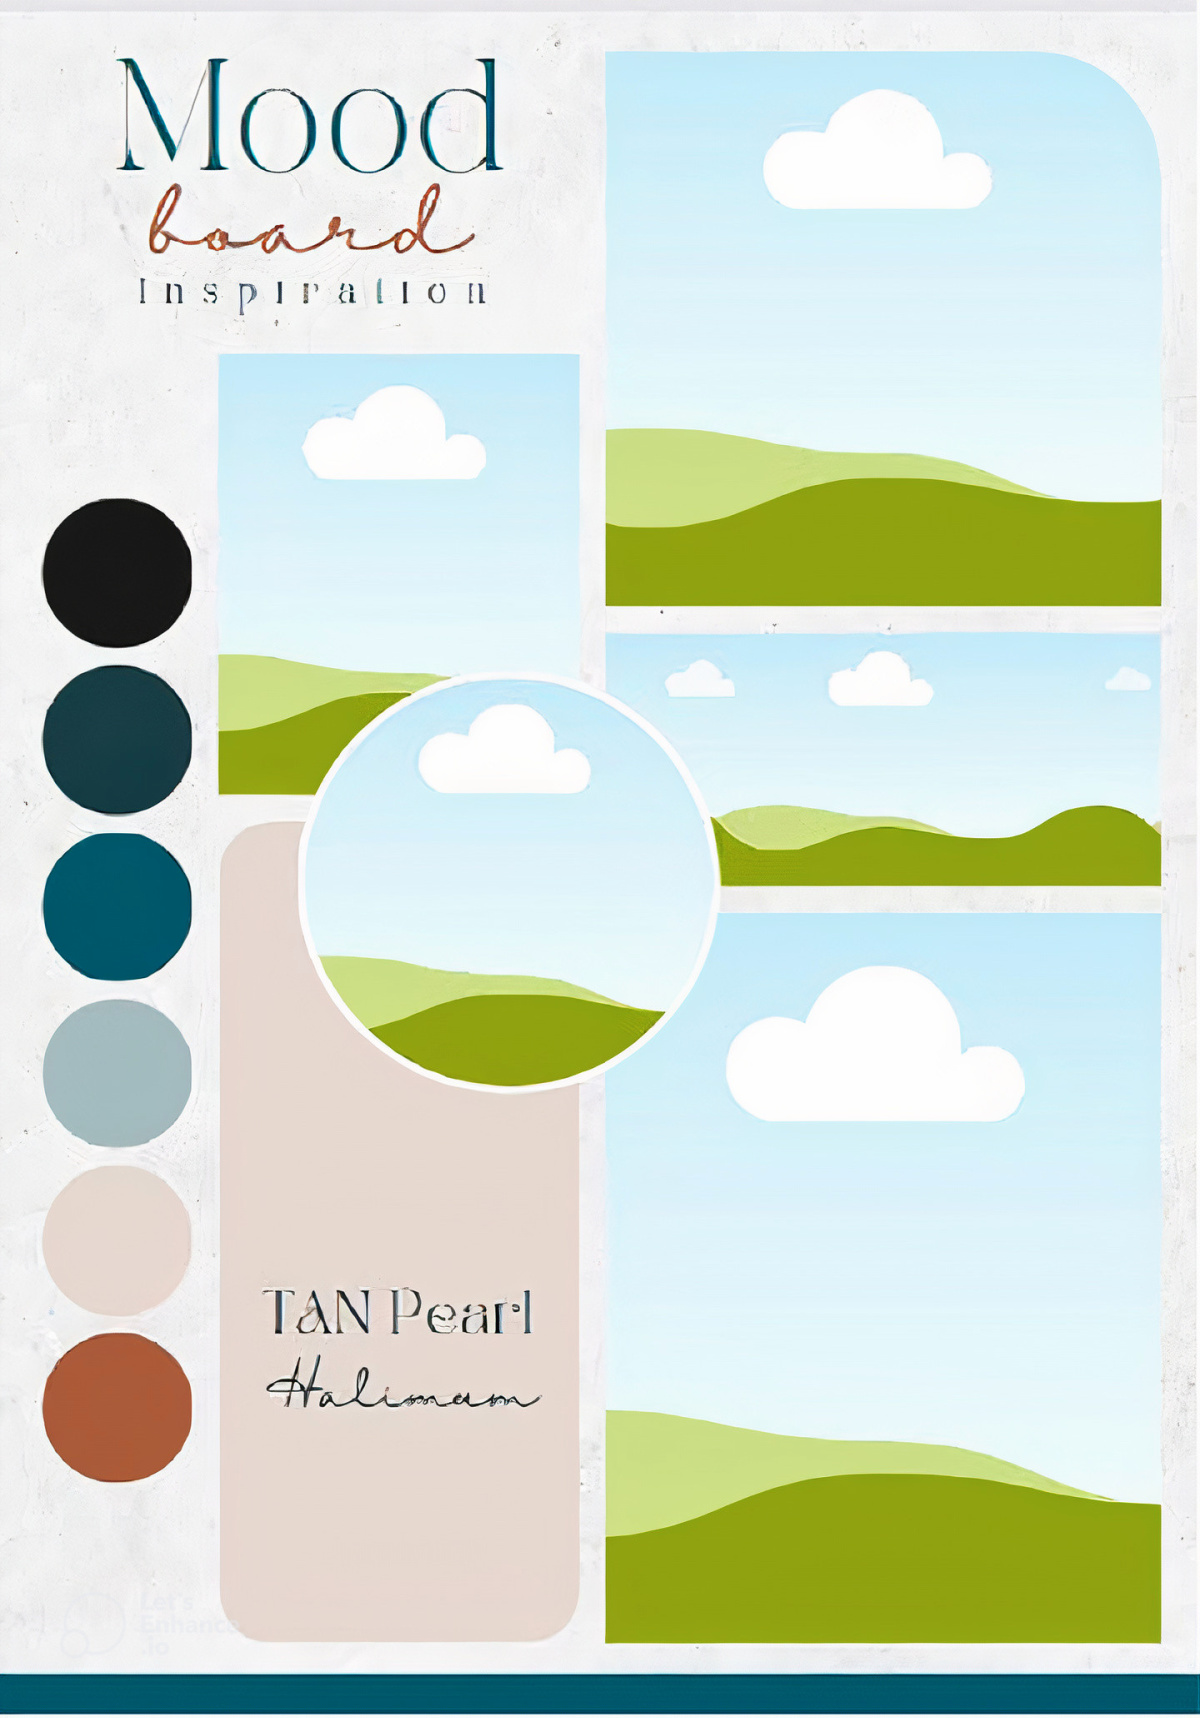
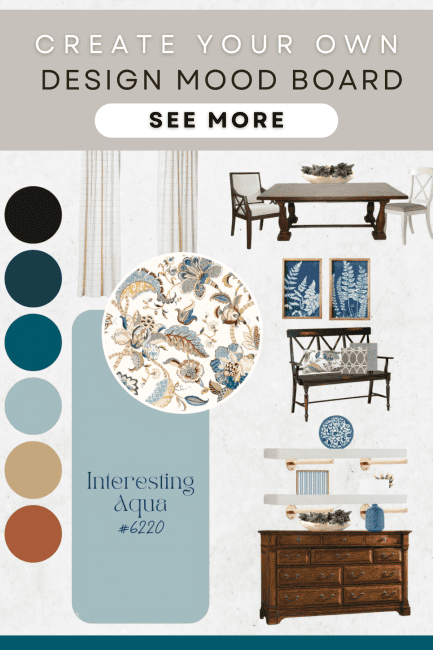
For today’s tutorial, I’ve chosen a template below. Don’t worry about the images and colors already on the template—they are fully customizable!
Simply click on any element you want to change—whether it’s adjusting the color, resizing, or deleting it. You can also duplicate items by clicking on the element you want more of, then clicking the + sign.
And, feel free to drag images around to different areas of the template. More on that below!
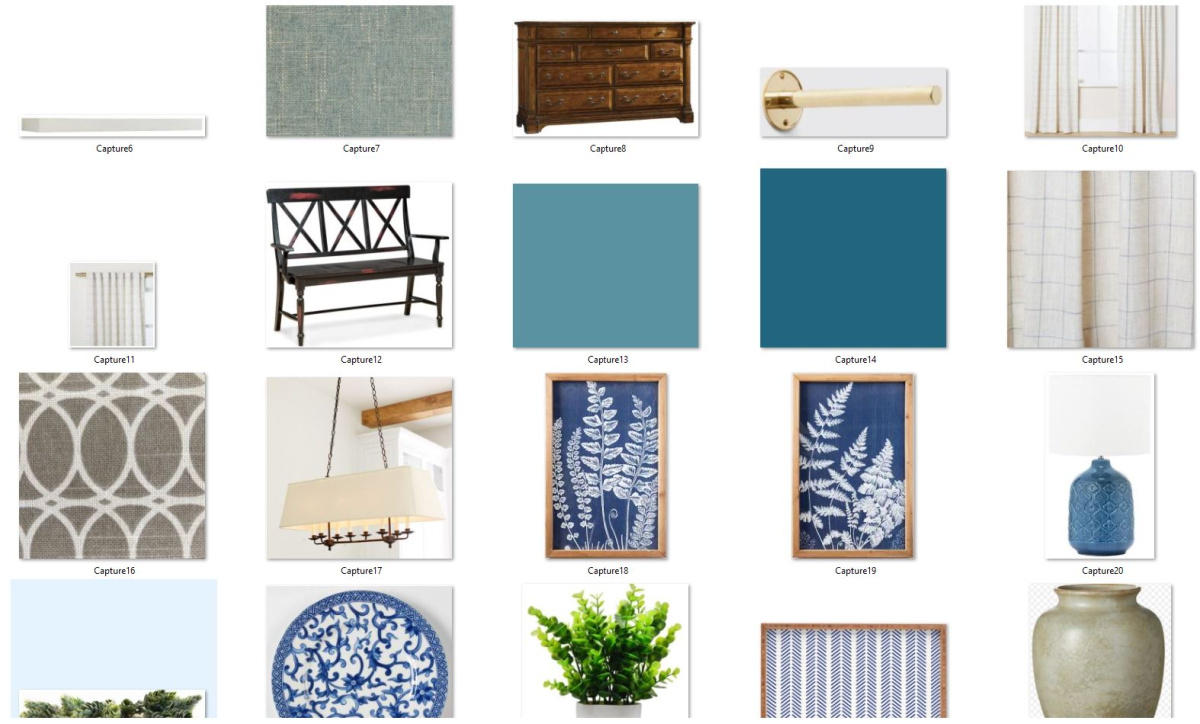
Step 3: Collect Your Inspiration
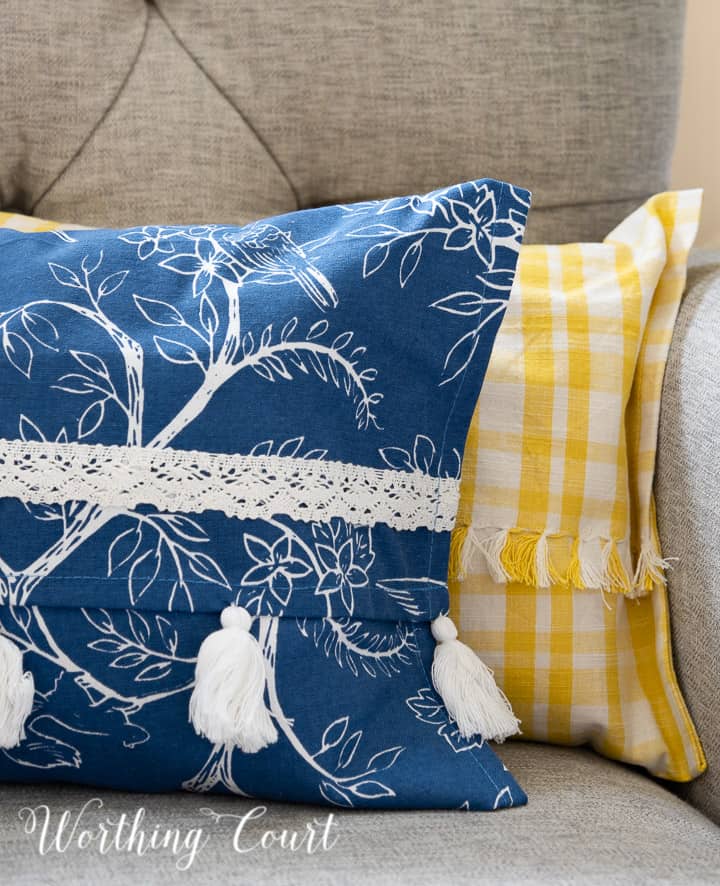
Now for the fun part! Gather all those inspiring images you’ve been saving. Think about textures, colors, furniture, and anything else you love. You’ll need these for your mood board.
Save them to a folder on your PC, phone, or tablet.
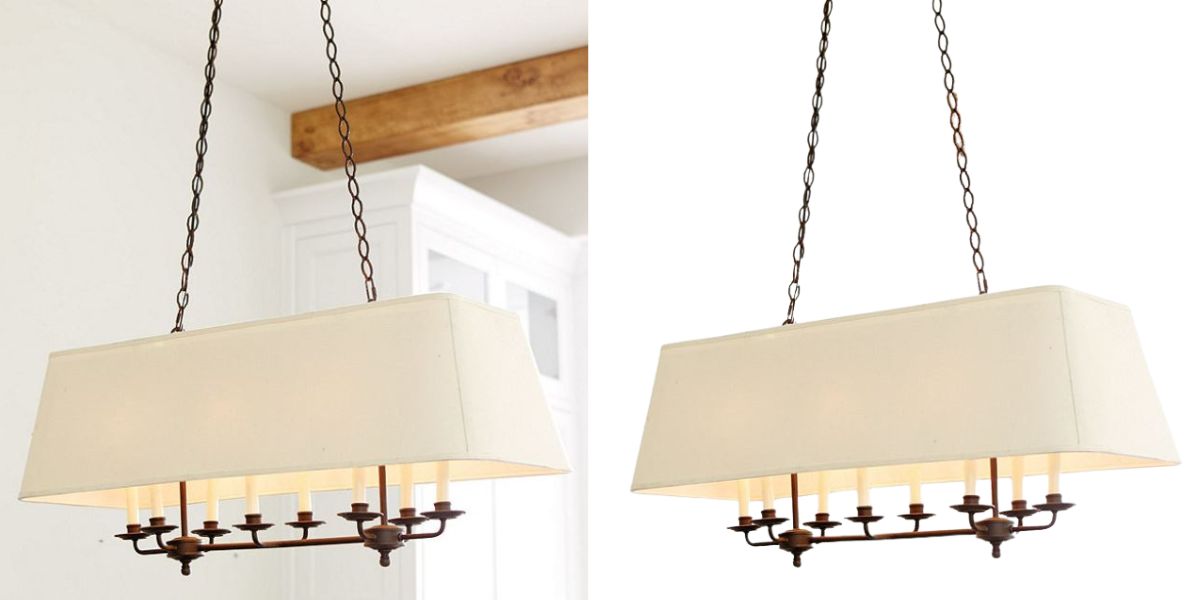
Most of the images that you save will have a background of some sort. The background can be distracting, so I prefer to remove it before adding an item to my design.
If you use the paid version of Canva, it includes a background remover tool. But you can also find free tools online. Simply do a Google search for “free background remover” and you have your choice of several options.
Here’s an example of an image before and after the background was removed.
💡 TIP: Even if you don’t know the exact elements or look that you want for a room, creating a mood board is the perfect place to get started refining your look.
Step 4: Upload Your Images
On the Canva interface, you’ll see an ‘Uploads’ section on the left-hand side.
Click it and then drag your images there or use the ‘Upload an image’ button. Your photos will then appear in the Uploads section.
Step 5: Create Your Mood Board
Drag and drop your uploaded images onto the template. Arrange them to your liking—you can resize and move them around until everything looks just right.
This step is all about experimenting with what looks best, so take your time and play around with it.
Below you can see that I started deleting some of the elements that were already on the template.
You have the choice of deleting the image or deleting the frame or grid. If you only delete the image, you can replace it with one from your uploads, but it will auto-fit into that frame.
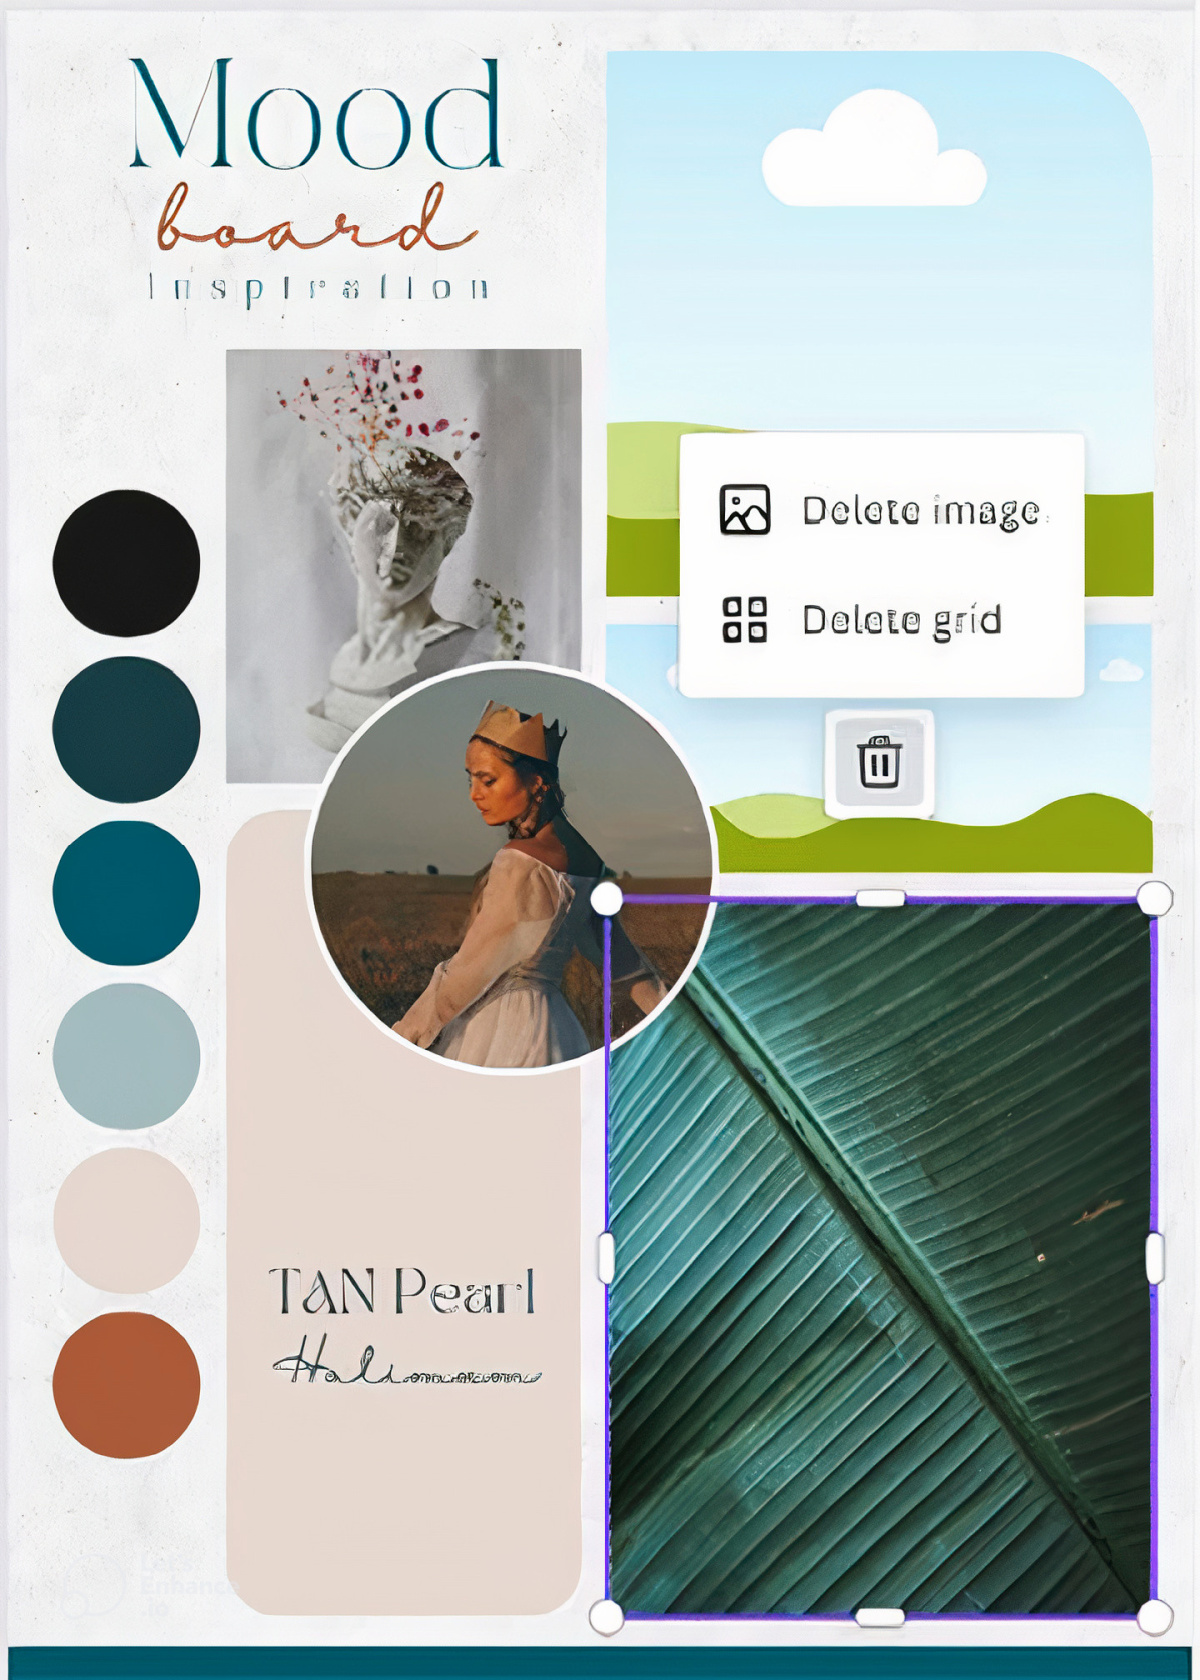
Here is the example, ready to go. You can see that I chose to delete only the images, but kept the grids and frames. I’ll be resizing some of them and adding more as I go.
Step 6: Add Text
This template came with text already on it, but you can change, add to, or delete it just like the rest of the elements.
You can choose from a variety of fonts and colors. Add text to label your images or to jot down any ideas that relate to the visuals.
I changed the wording on mine, but kept the font the same.
If you want to add descriptions or notes to your mood board, click on the ‘Text’ button on the left side menu.
Step 7: Fine-Tune Your Design
Adjust the finer details of your mood board. Canva allows you to change the background color, add shapes, lines, or icons, and even apply filters to your images.
These tools are great for giving your mood board a polished look.
Step 8: Review Your Work
Take a step back and review your mood board. Make sure it represents your vision and feels cohesive. This is your visual plan for your space, so it’s important that you’re happy with it.
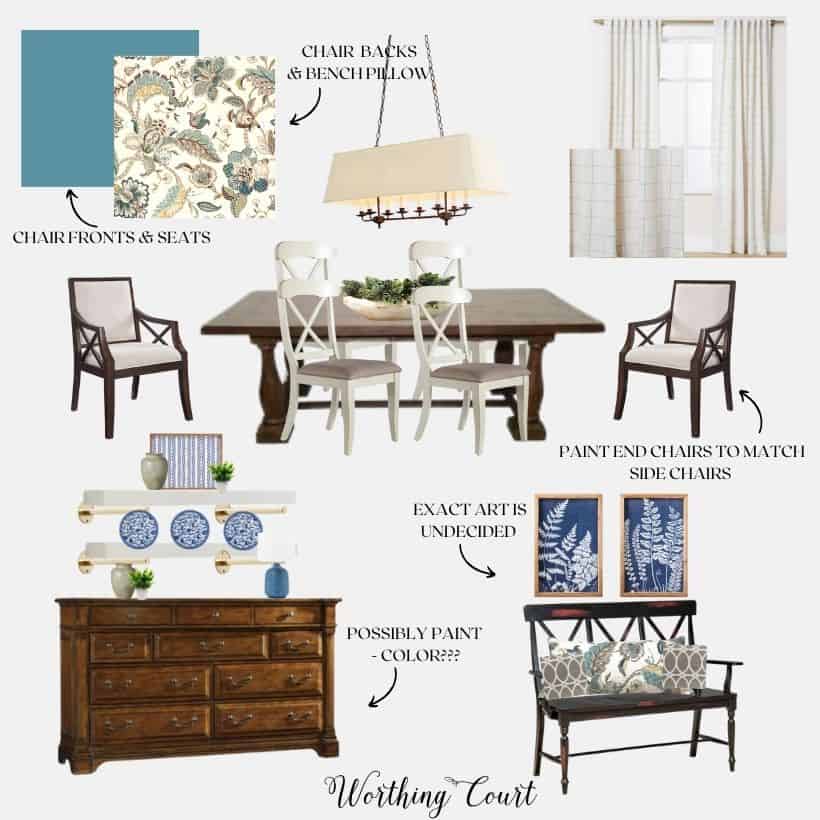
And here is my completed project! You can make yours as complicated or as simple as you like.
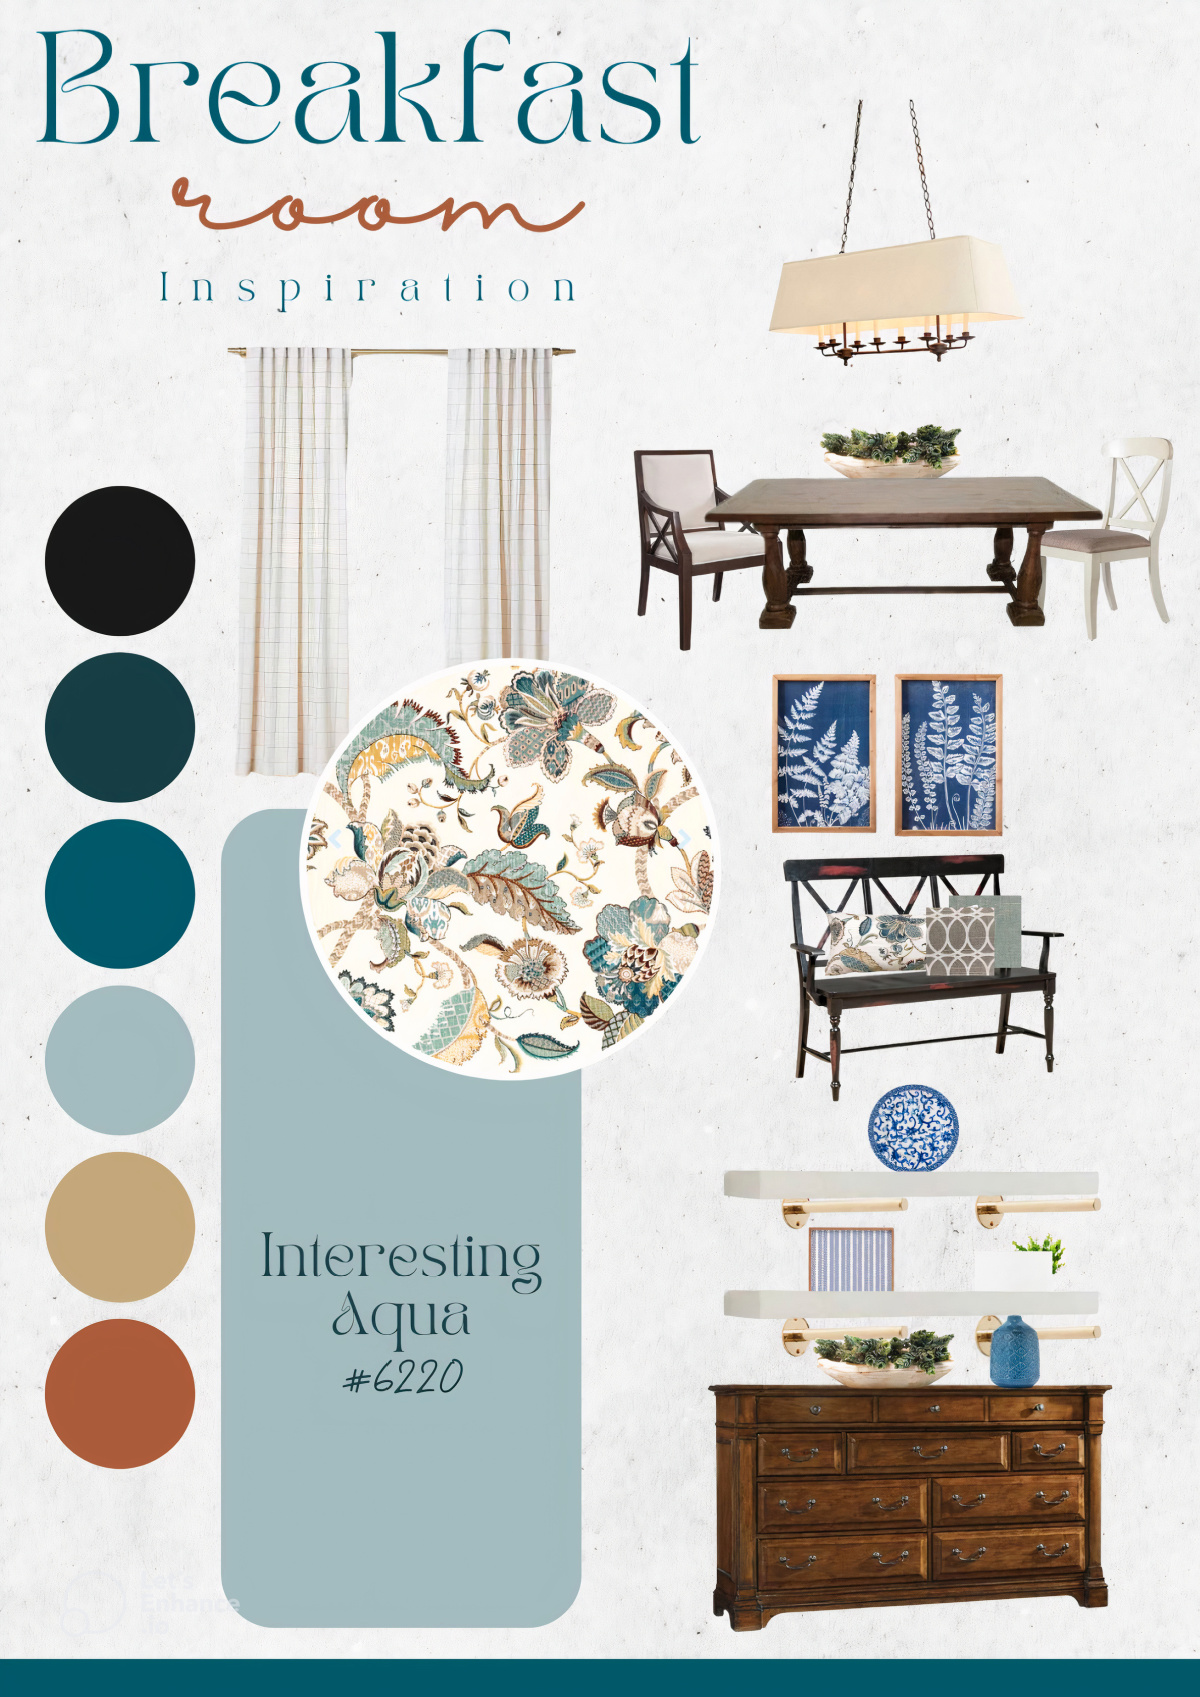
When I’m putting one together, I prefer to include each piece of furniture and as many elements as I can – a rug, accessories, textiles, and even paint colors.
Even though all of the elements may not make the final cut, visualizing a completed room is crucial to my creative process.
Step 9: Download or Share Your Mood Board
When you’re satisfied with your creation, you can download it to your computer in a variety of formats like JPEG, PNG, or PDF.
I always print mine out and carry with me so that it’s always handy if I’m out shopping.
Alternatively, you can share it directly from Canva to anyone who might be helping you with your project, or even post it on social media to show your friends.
Step 10: Save Your Project
Projects auto-save in Canva, so that you can come back and edit it anytime if you find new inspiration or want to adjust your plans.
And there you have it! Creating a mood board doesn’t have to be complicated, and with Canva, it’s actually a lot of fun.
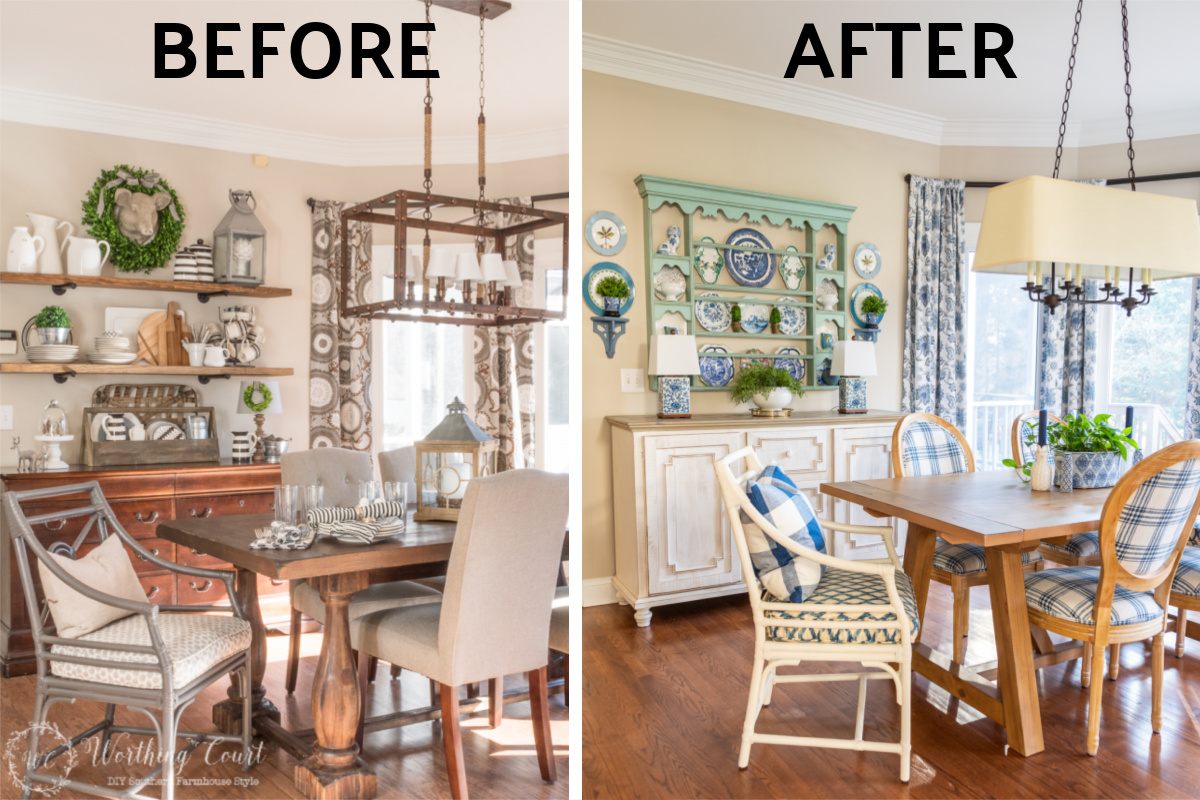
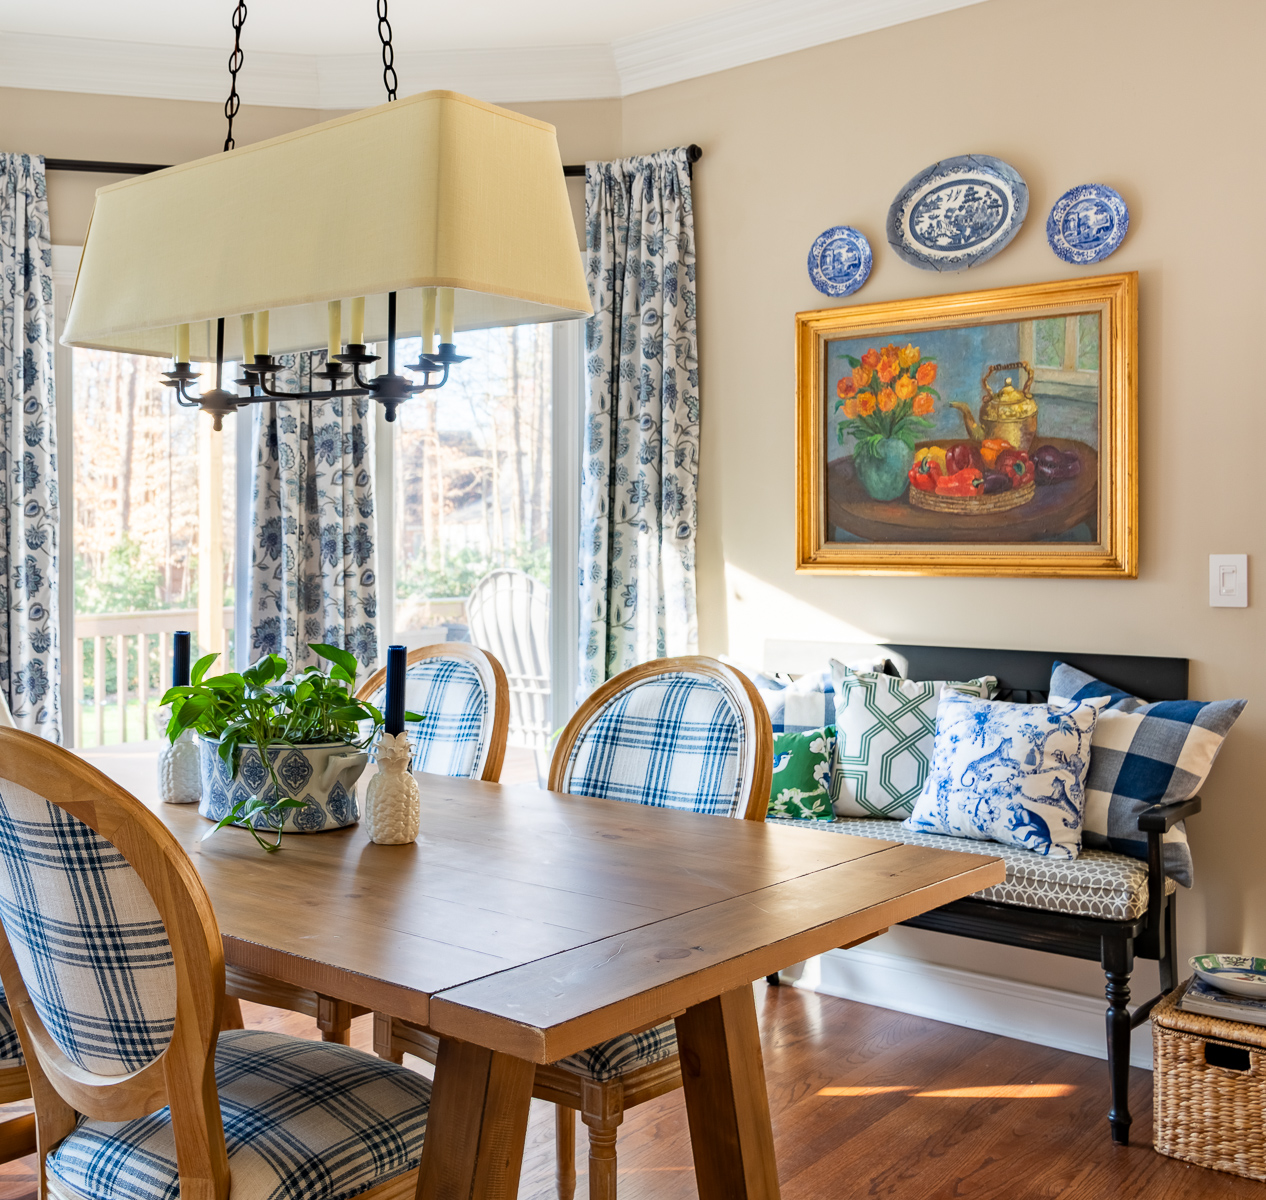
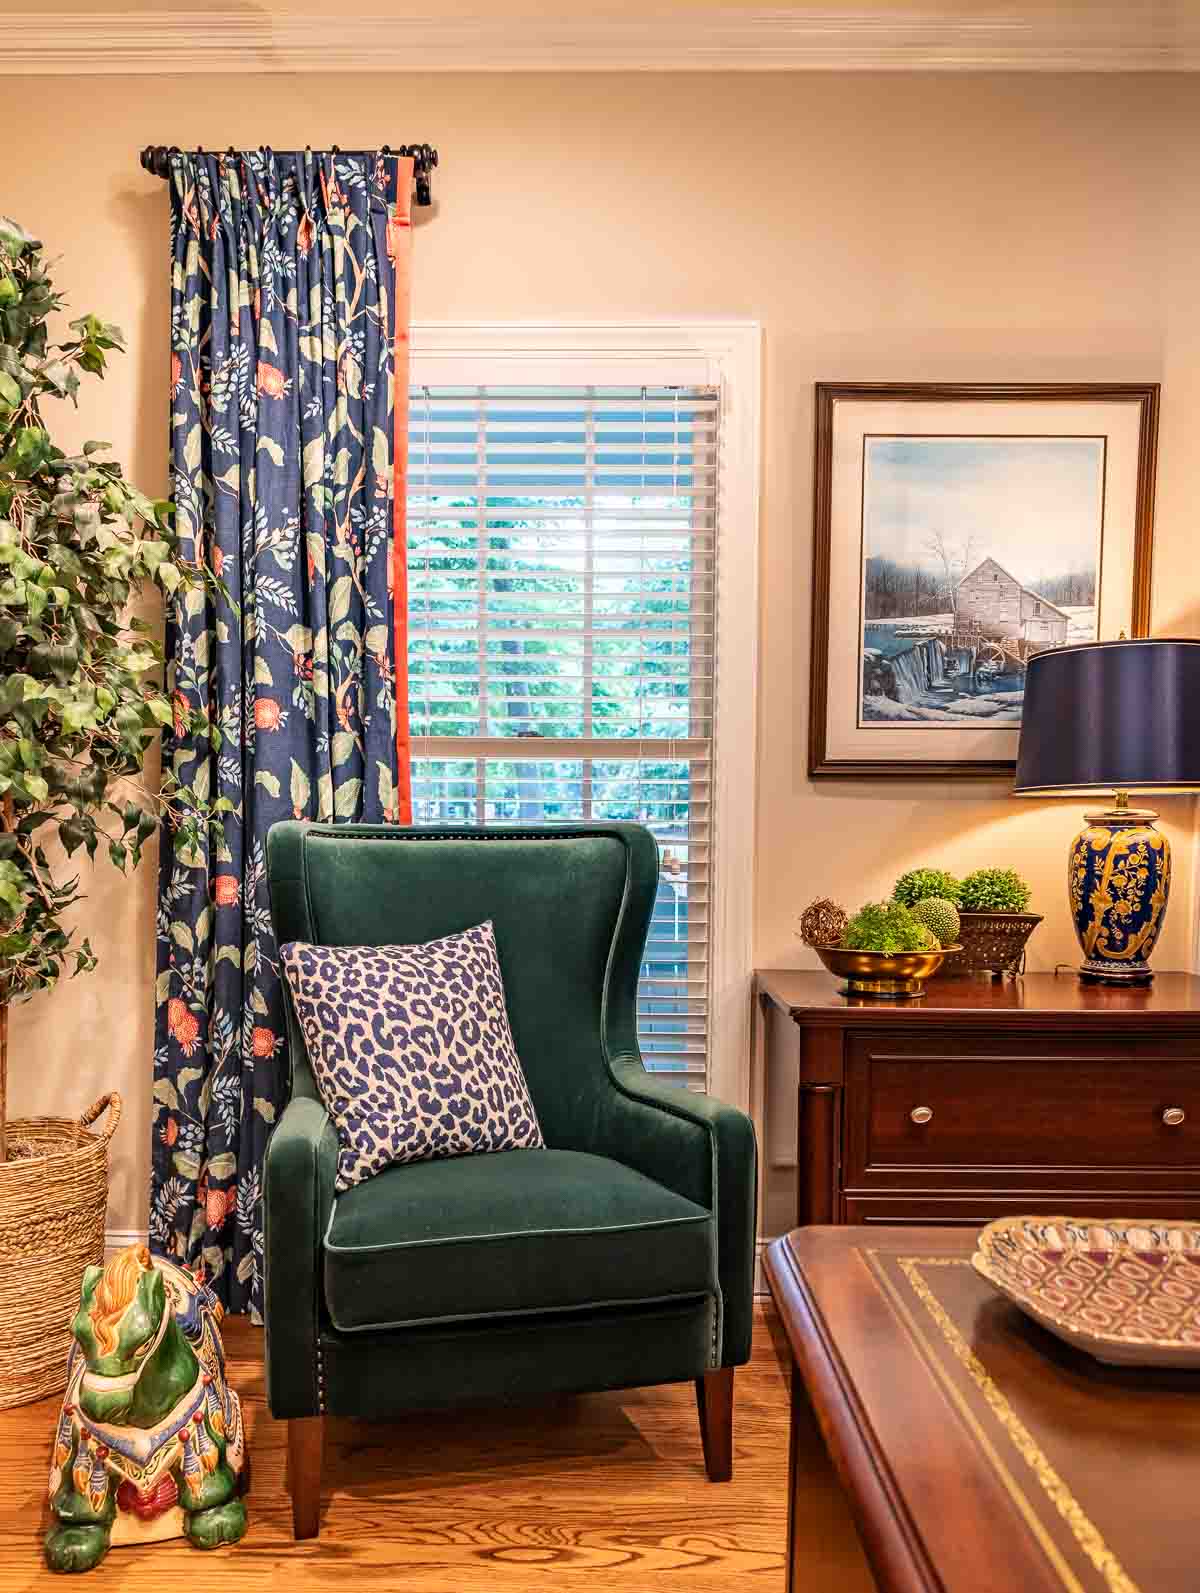
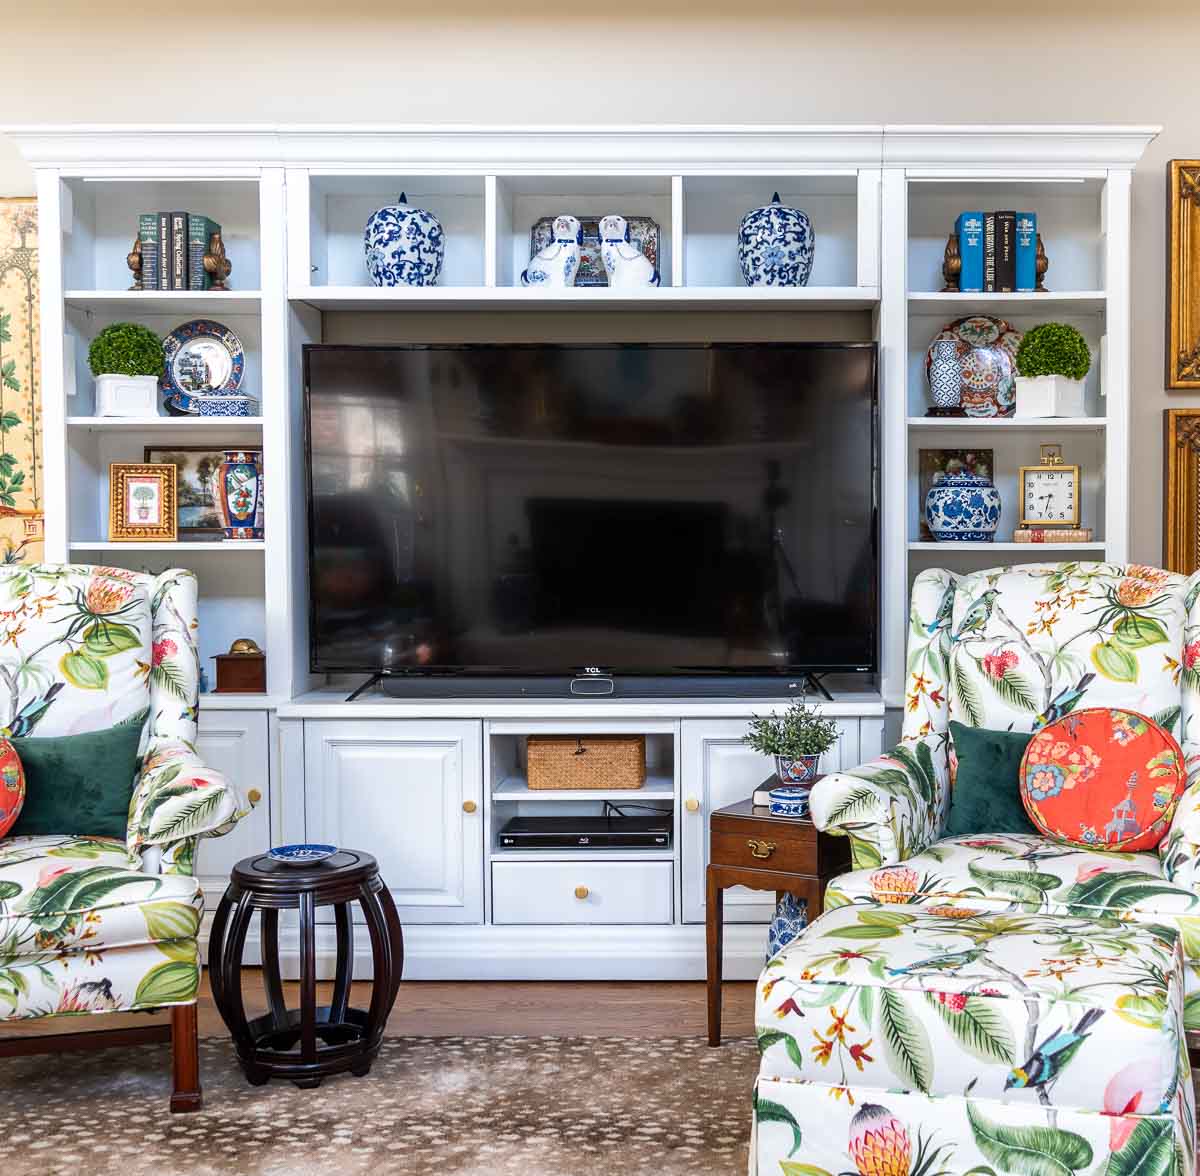
Take another look at my completed breakfast room makeover. As you can see, it doesn’t look exactly like my mood board, and that’s perfectly fine!
The key to using a mood board is to think of it as an inspiration board that helps keep the direction of your project on track.
When I first started working on my breakfast room, I wasn’t sure exactly what I wanted the finished product to look like. What I did know was the vibe I wanted the room to have.
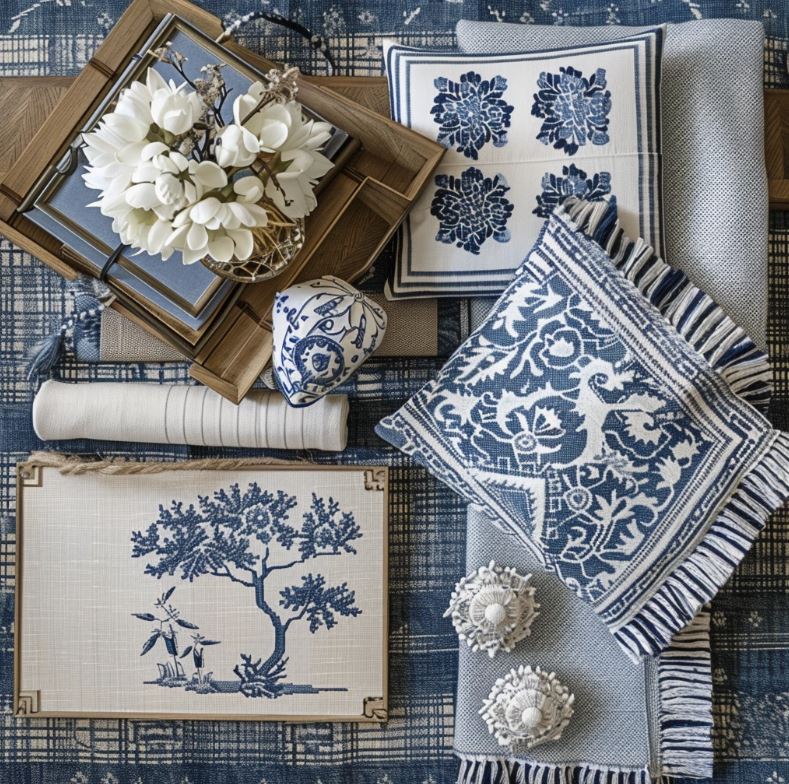
Once I found my inspiration fabric, I was able to build a color palette, assess what I already owned, and figure out what new pieces I needed to bring into the space. The mood board made it all come together visually before I even started.
I hope you’ll give mood boards a try for your next project! I truly believe they’re a practical tool for getting started on any decorating project.
With all of your ideas laid out in front of you, it’s easy to make adjustments, keep the creative flow going, and, most importantly, stay excited about your space!
Chapter 3 of the Simply Decoration series: Find Your Home Decor Style With a Quiz
Hi Doreen. So glad you found this info useful! I know that there’s a PicMonkey app for ipad or that you could go to picmonkey.com on your Safari browser, but I haven’t personally used it so I can’t tell you exactly how it would work.
Suzy,
Thank you for your quick reply. I certainly will check this out and investigate now that you have introduced me to it. I have been reading your blog for several years and love it. I don’t comment as often as I used to, but I’m out here reading every one of your posts! ☺️
Oh my awesome information and I will have to try this Have a blessed week
This is the first time I’ve heard of PICMONKEY! Oh wow, I have instantly fallen in love with it. Thank you for telling us about it!!!!!!
OK. Another fun piece of advice I will use. Thanks, Suzi
Thank you for the details on creating a mood board.
This is so easy to do! Thanks for giving this easy-to-follow set of directions!
Thank you so much for explaining how to do a mood board. I would’ve never been able to figure it out on my own. I’m so excited to try this.
This was SO helpful to me, Suzy! Thank you!
Thanks for the info–I love this idea! I’m going to try this with a few rooms in our house!
THINK I will have to stick to the old fashioned way cutting out pictures in magazines and gluing to the paper. I am not very skilled at the computer! It would be fun to play with it, who knows, maybe I can learn something new.
THANKS, DENISE
This is a great tutorial!
Hey Suzy! Great post packed with a ton of practical tips. I love the design board idea. This is also great for all sorts of different projects. Especially if you’re a visual person like myself.
This is precisely why you were included in the top farmhouse sites to follow in 2019!
I just pinned this to our farmhouse board!
Thanks again!
Kyle
Fredy Montero
Willy Topp
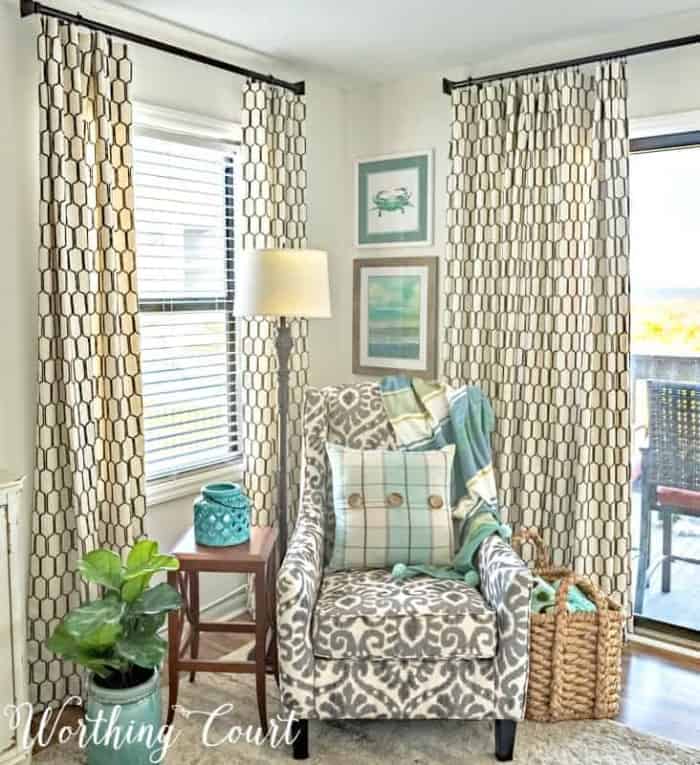
I love how your kitchen drapes are hung with no brackets visible. It’s the exact look I want for my dining area. Please please share your secret! They’re beautiful!