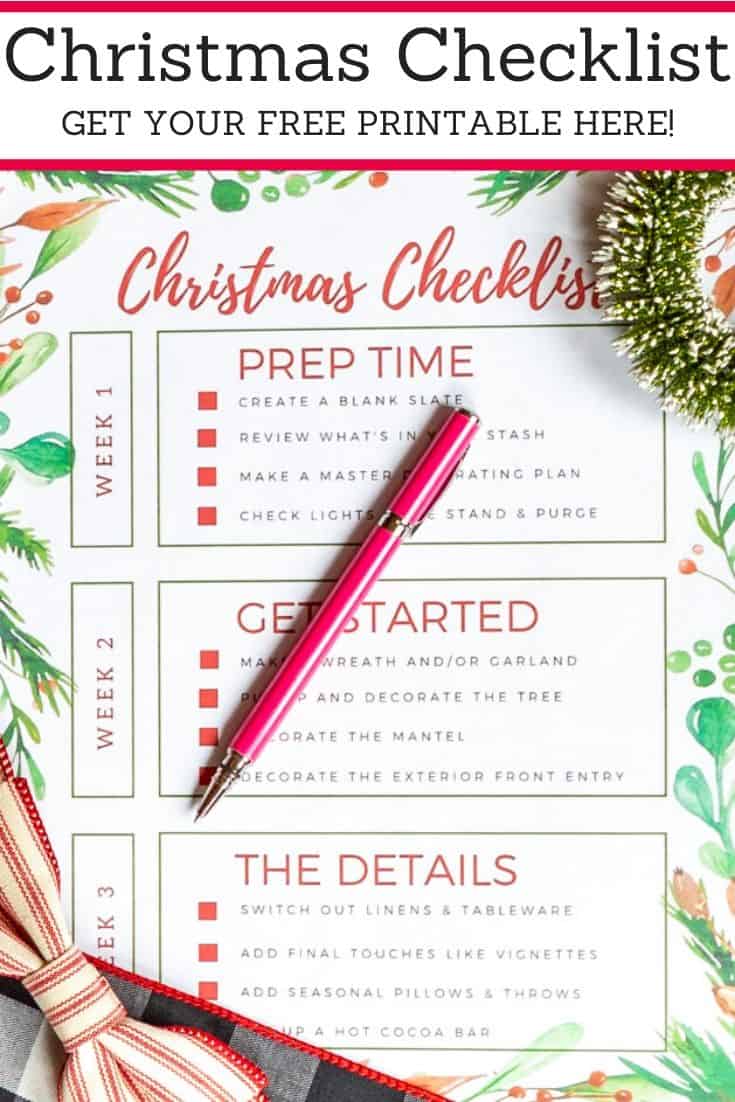
A Christmas Decorating Checklist + A Free Printable Timeline
Get ready to sleigh your holiday decorating game with my 3-week Christmas decorating timeline! This checklist is your ticket to a stress-free and fabulously festive home in time for the most wonderful time of the year. Let’s jingle all the way through it!
My Christmas checklist planner is designed to allow you to start the decorating process whenever you like. You’ll be able to create a festive home by breaking the process down into manageable steps.
Start whenever you like, but if you’re someone who prefers to wait until after Thanksgiving day to start your holiday decorating, the goal of following this Christmas timeline is to have your home fully decorated and festive in 3 weeks!

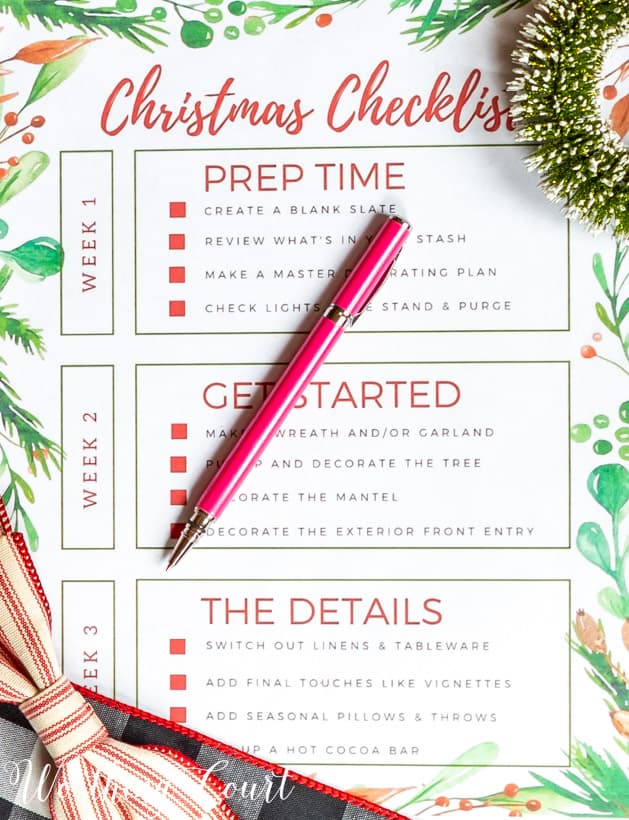
WEEK 1:
- Create a blank slate so that you can visualize how you’d like to decorate for Christmas this year. Now is the time to put away all things fall and Thanksgiving – pillows, florals, centerpieces, throws, and any other fall’ish tchotchkes.
- Review and take stock of what’s already in your Christmas stash.
- Make a master Christmas holiday decorating plan and shop for any items you may need to bring your ideas to life. See the tip below.
- In addition to holiday decor items, don’t forget to include any crafting items and things like ornament hangers, extension cords, timers, stocking hangers, Command Strip hooks, pipe cleaners, or floral wire.
- This is also a good time to make sure your Christmas tree stand is in good repair, make sure all of your Christmas lights are working, purge your collection, and donate or sell items that you no longer want to use.
- MOOD STARTER – play your favorite Christmas music!
TIP: Make your master plan less overwhelming by making a plan for each room instead of one large, overall plan.
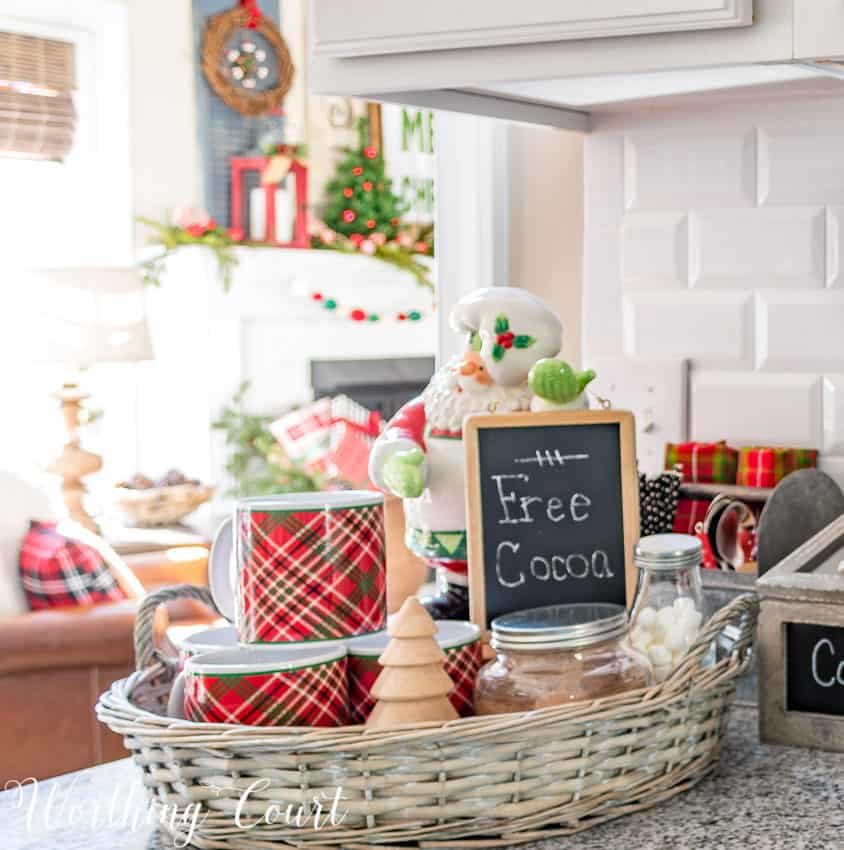
A VERY MERRY CHRISTMAS KITCHEN
WEEK 2:
- Make your holiday wreath, Christmas garland, and any handmade items you want to include in your festive decor. If you’ll be making your own wreath or garland, click HERE and HERE to get step-by-step directions from my visit with professional designers.
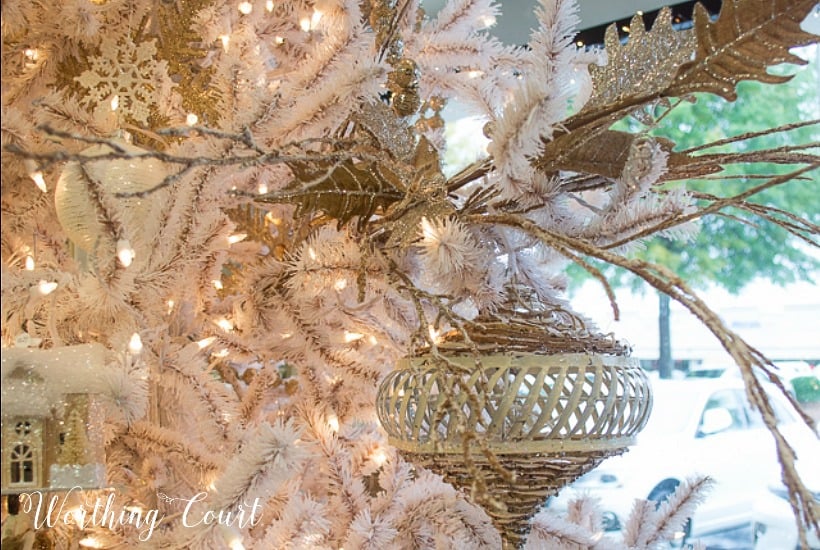
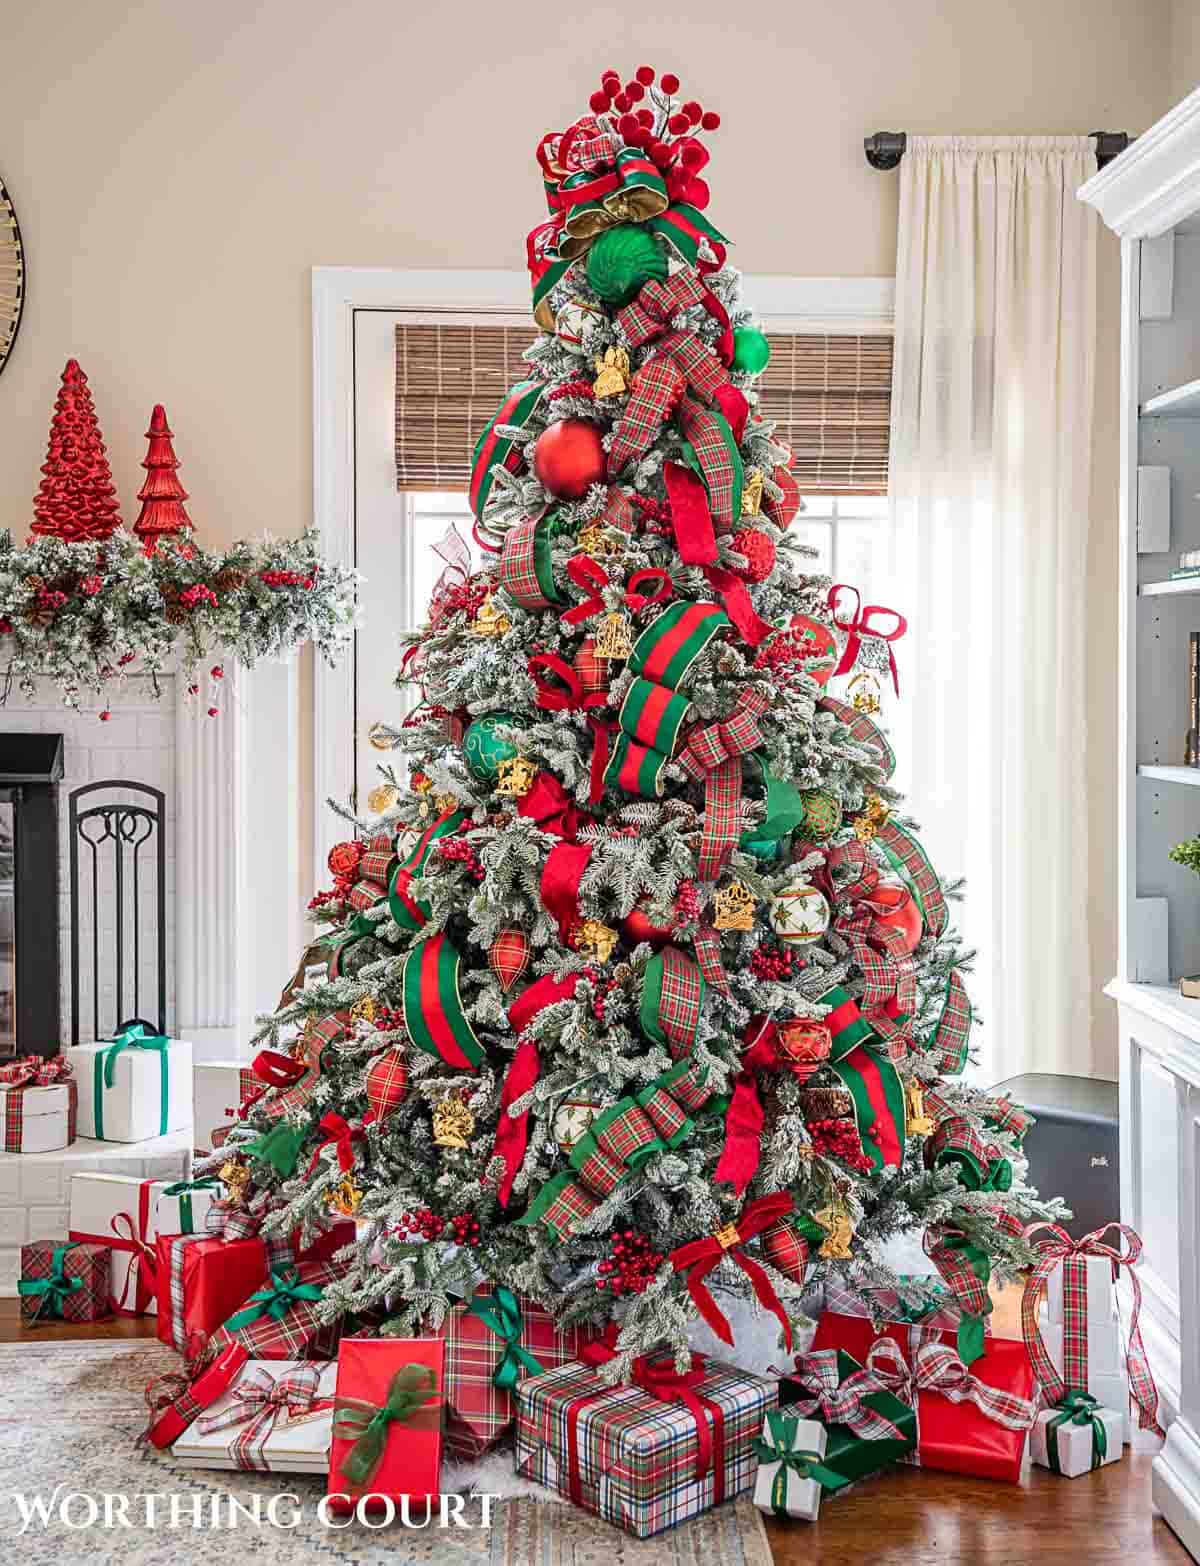
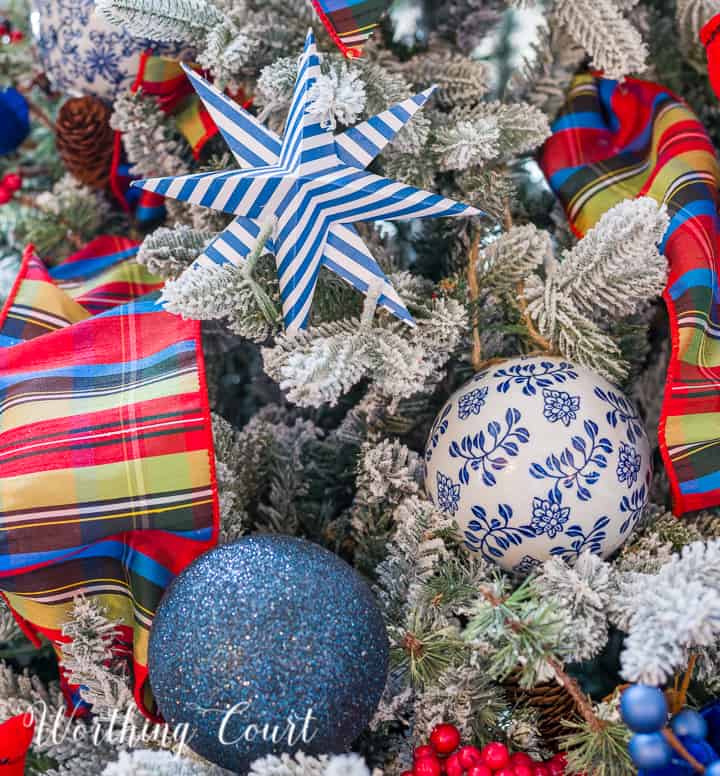
- Put up and decorate the Christmas tree. I have a step-by-step Christmas tree decorating tutorial, that you can find HERE. It was made after spending the day with a professional tree designer.
- Decorate your fireplace mantel or any other flat surface in your home.
- Purchase fresh wreaths and garlands. (I recommend not purchasing these until two weeks prior to Christmas.)
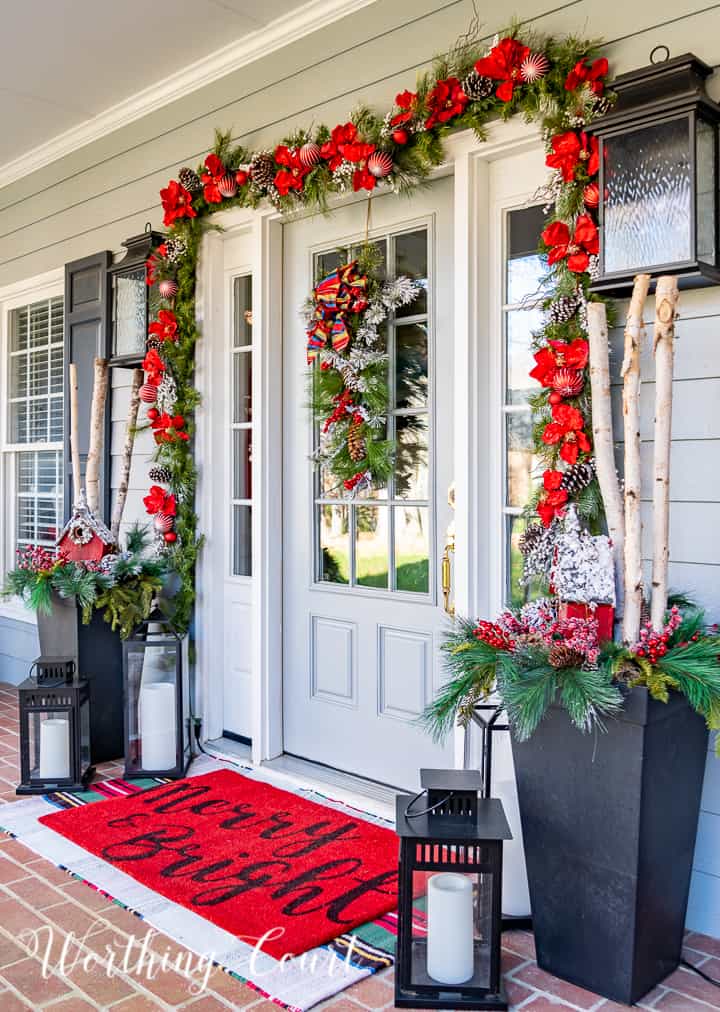
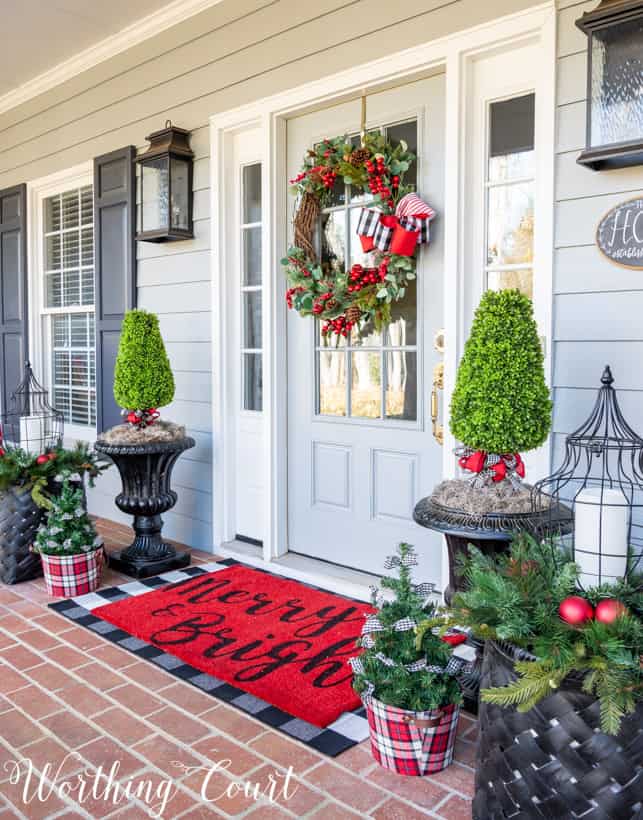
- Add Christmas decorations to the exterior front entry of your home.
- MOOD STARTER – set aside an evening to watch a favorite Christmas movie!
EVERYTHING YOU EVER WANTED TO KNOW ABOUT HOW TO DECORATE A CHRISTMAS TREE
WEEK 3:
- Switch out your dishware and table linens. Set your Christmas dinner table.
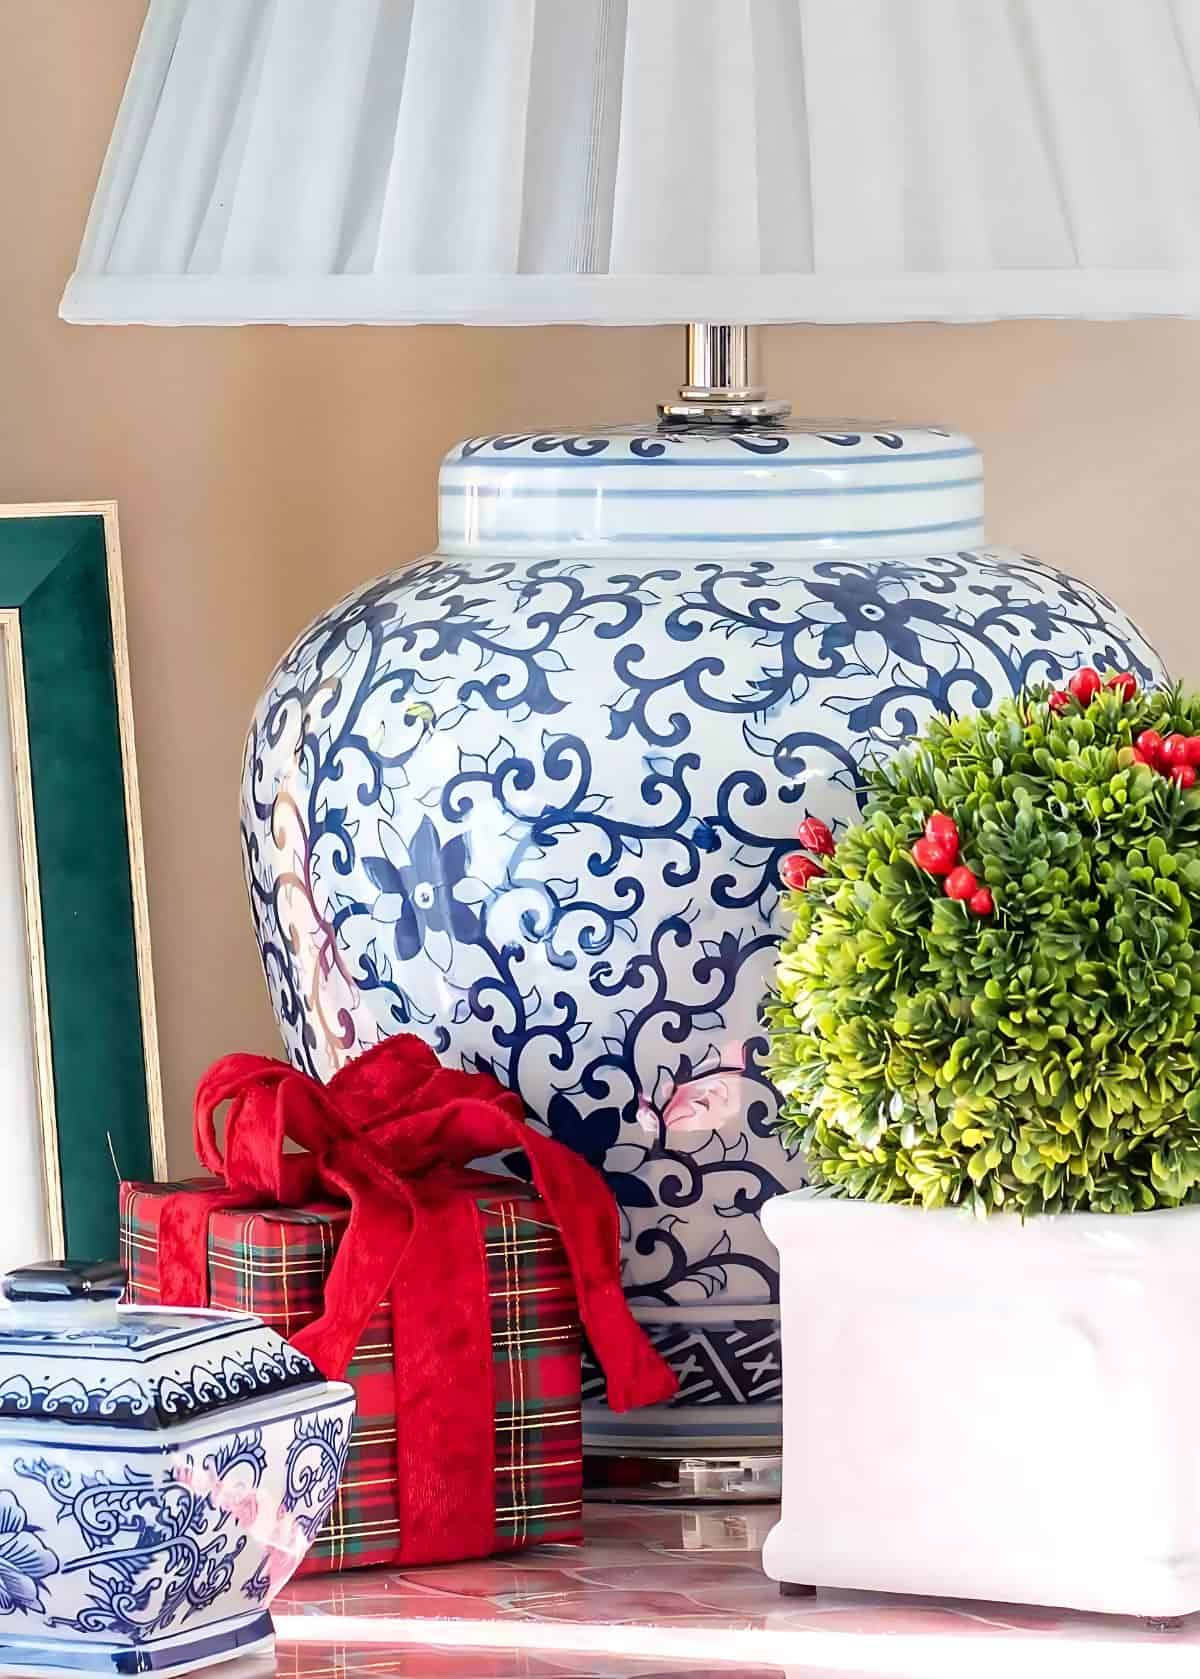
- Add the final touches around your home by creating holiday vignettes for your coffee table and other occasional tables. See the tip below.
- Add cozy throws and seasonal pillows to make your home extra cozy and inviting.
- Create a delicious hot cocoa bar.
- MOOD STARTERS – drink hot cocoa while watching another favorite Christmas movie!
- Enjoy your stress-free Christmas decor!
TIP: Vignettes are a quick and easy way to decorate for Christmas. Find a tutorial for how to create a vignette HERE.
COZY COTTAGE CHRISTMAS FRONT PORCH
There you have it, holiday rockstar! With this 3-week Christmas decorating timeline, you’ll be the MVP of merriment in no time.
So, dust off those ornaments, unleash your inner DIY elf, and get ready to sleigh the season. May your days be merry, your decorations be dazzling, and your hot cocoa be extra marshmallowy!
Here’s to a holly, jolly, and stress-free Christmas. Happy decorating, my festive friend!

Hi Suzy, Thanks for sharing your Christmas timeline. Your such a blessing! So far I have removed all the faux pumpkins. I have a laundry basket full of small size from Hobby Lobby. Should I just put them in a large bin with a lid or wrap each one in gift paper so they wont get scratched up? I’m having fun doing some frosted pinecone vignettes to slowly transition from Fall to Christmas.
Hi Connie. I’m glad that you’re finding the timeline helpful! I keep all of my faux pumpkins in a container or even a large black garbage bag. There’s no need to wrap them, but I do recommend avoiding placing anything heavy on top of them to avoid creating dents. 😀
Thank you, this will be a big help! God bless
My opinion……nothing worse than artificial poinsettias especaially that many….
Thankfully, we all like different things and can decorate our homes with what appeals to each of us or else it would be a boring world!
Hi Yvonne. I’m not able to print the checklist. Do you know if it’s on your end or mine?
Hi Patti. I’m sorry for the delay in responding – it took me a few days to figure out the problem. It should be corrected now, if you’d like to try again.